
DIY Planter Bench

Multi-Purpose Patio Bench
If you’re looking for a weekend woodworking project that’s easy, affordable, and looks like a million bucks—then this DIY double planter bench is right up your alley.
In this post, I’m walking you step-by-step through how I built this unique piece using nothing more than fence pickets and some basic 2x material. You don’t need a fancy workshop or expensive tools to knock this out—just a little time, a little patience, and maybe a cold drink to keep you company. Let’s get after it.
Materials You'll Need
Fence pickets (for the slats)
2x material (for structure and supports)
Wood glue
Exterior screws (deck screws work great)
Brad nails
Decorative stain and finish or paint of your choice
Tools You'll Need
Table saw or circular saw
Miter saw
Drill and counterbore bit
Measuring tape and pencil
Brad nailer
Clamps (helpful but optional)
Time To Bring Your Planter Bench To Life
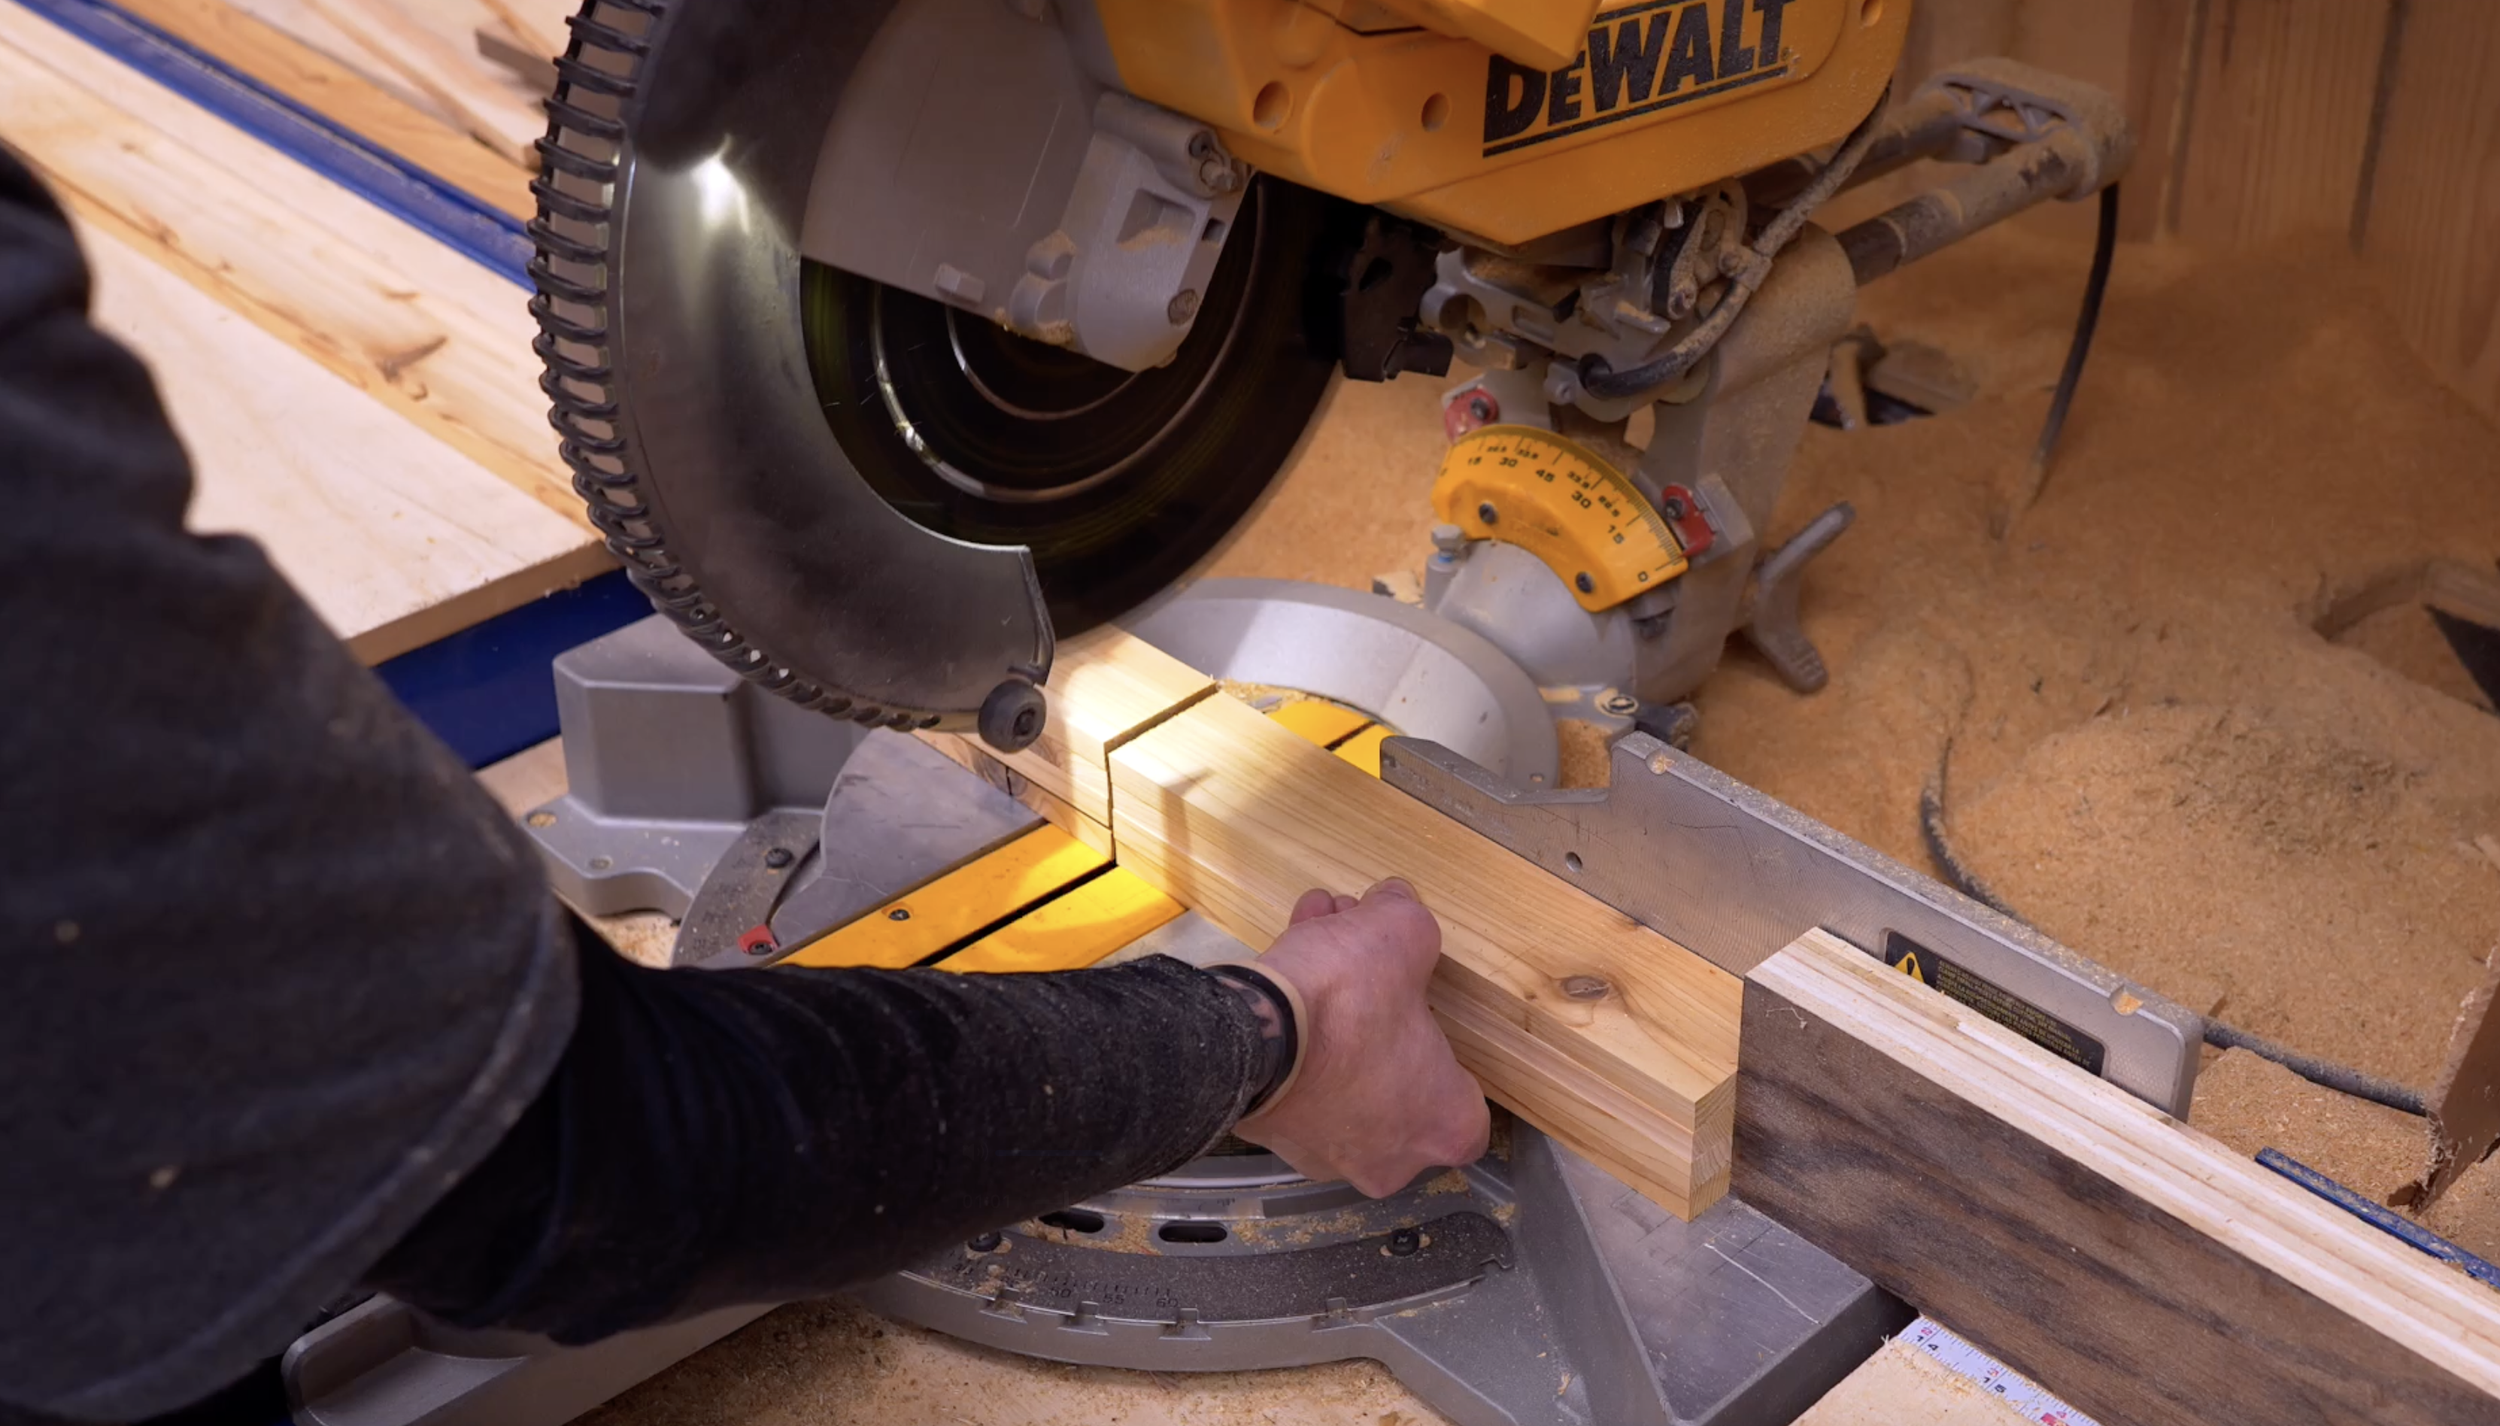
Cut Your Slats
Rip your fence pickets down to 2 ¼" wide. You’ll get two strips from each picket.
Now cut:
20 slats at 11 ¼" (short sides)
20 slats at 22 ½" (long sides)

Cut Inside Corner Boards
These are your support rails inside the box. Use 2x2s or rip down 2x4s to 1½" x 1½".
You’ll need 4 per box at 24 ¾" long. Paint them black for that nice contrast look.

Assemble the End Panels
Make a quick jig or measure manually to keep things spaced out evenly.
Lay down your two inside corner boards.
Space them 7¼" apart (this gives you a ½" overhang on each side of your slats).
Glue and screw each slat with a ¼" gap between.
Use spacers (I just ripped down a scrap 2x4) to keep that gap nice and even.
Repeat for the second end panel.
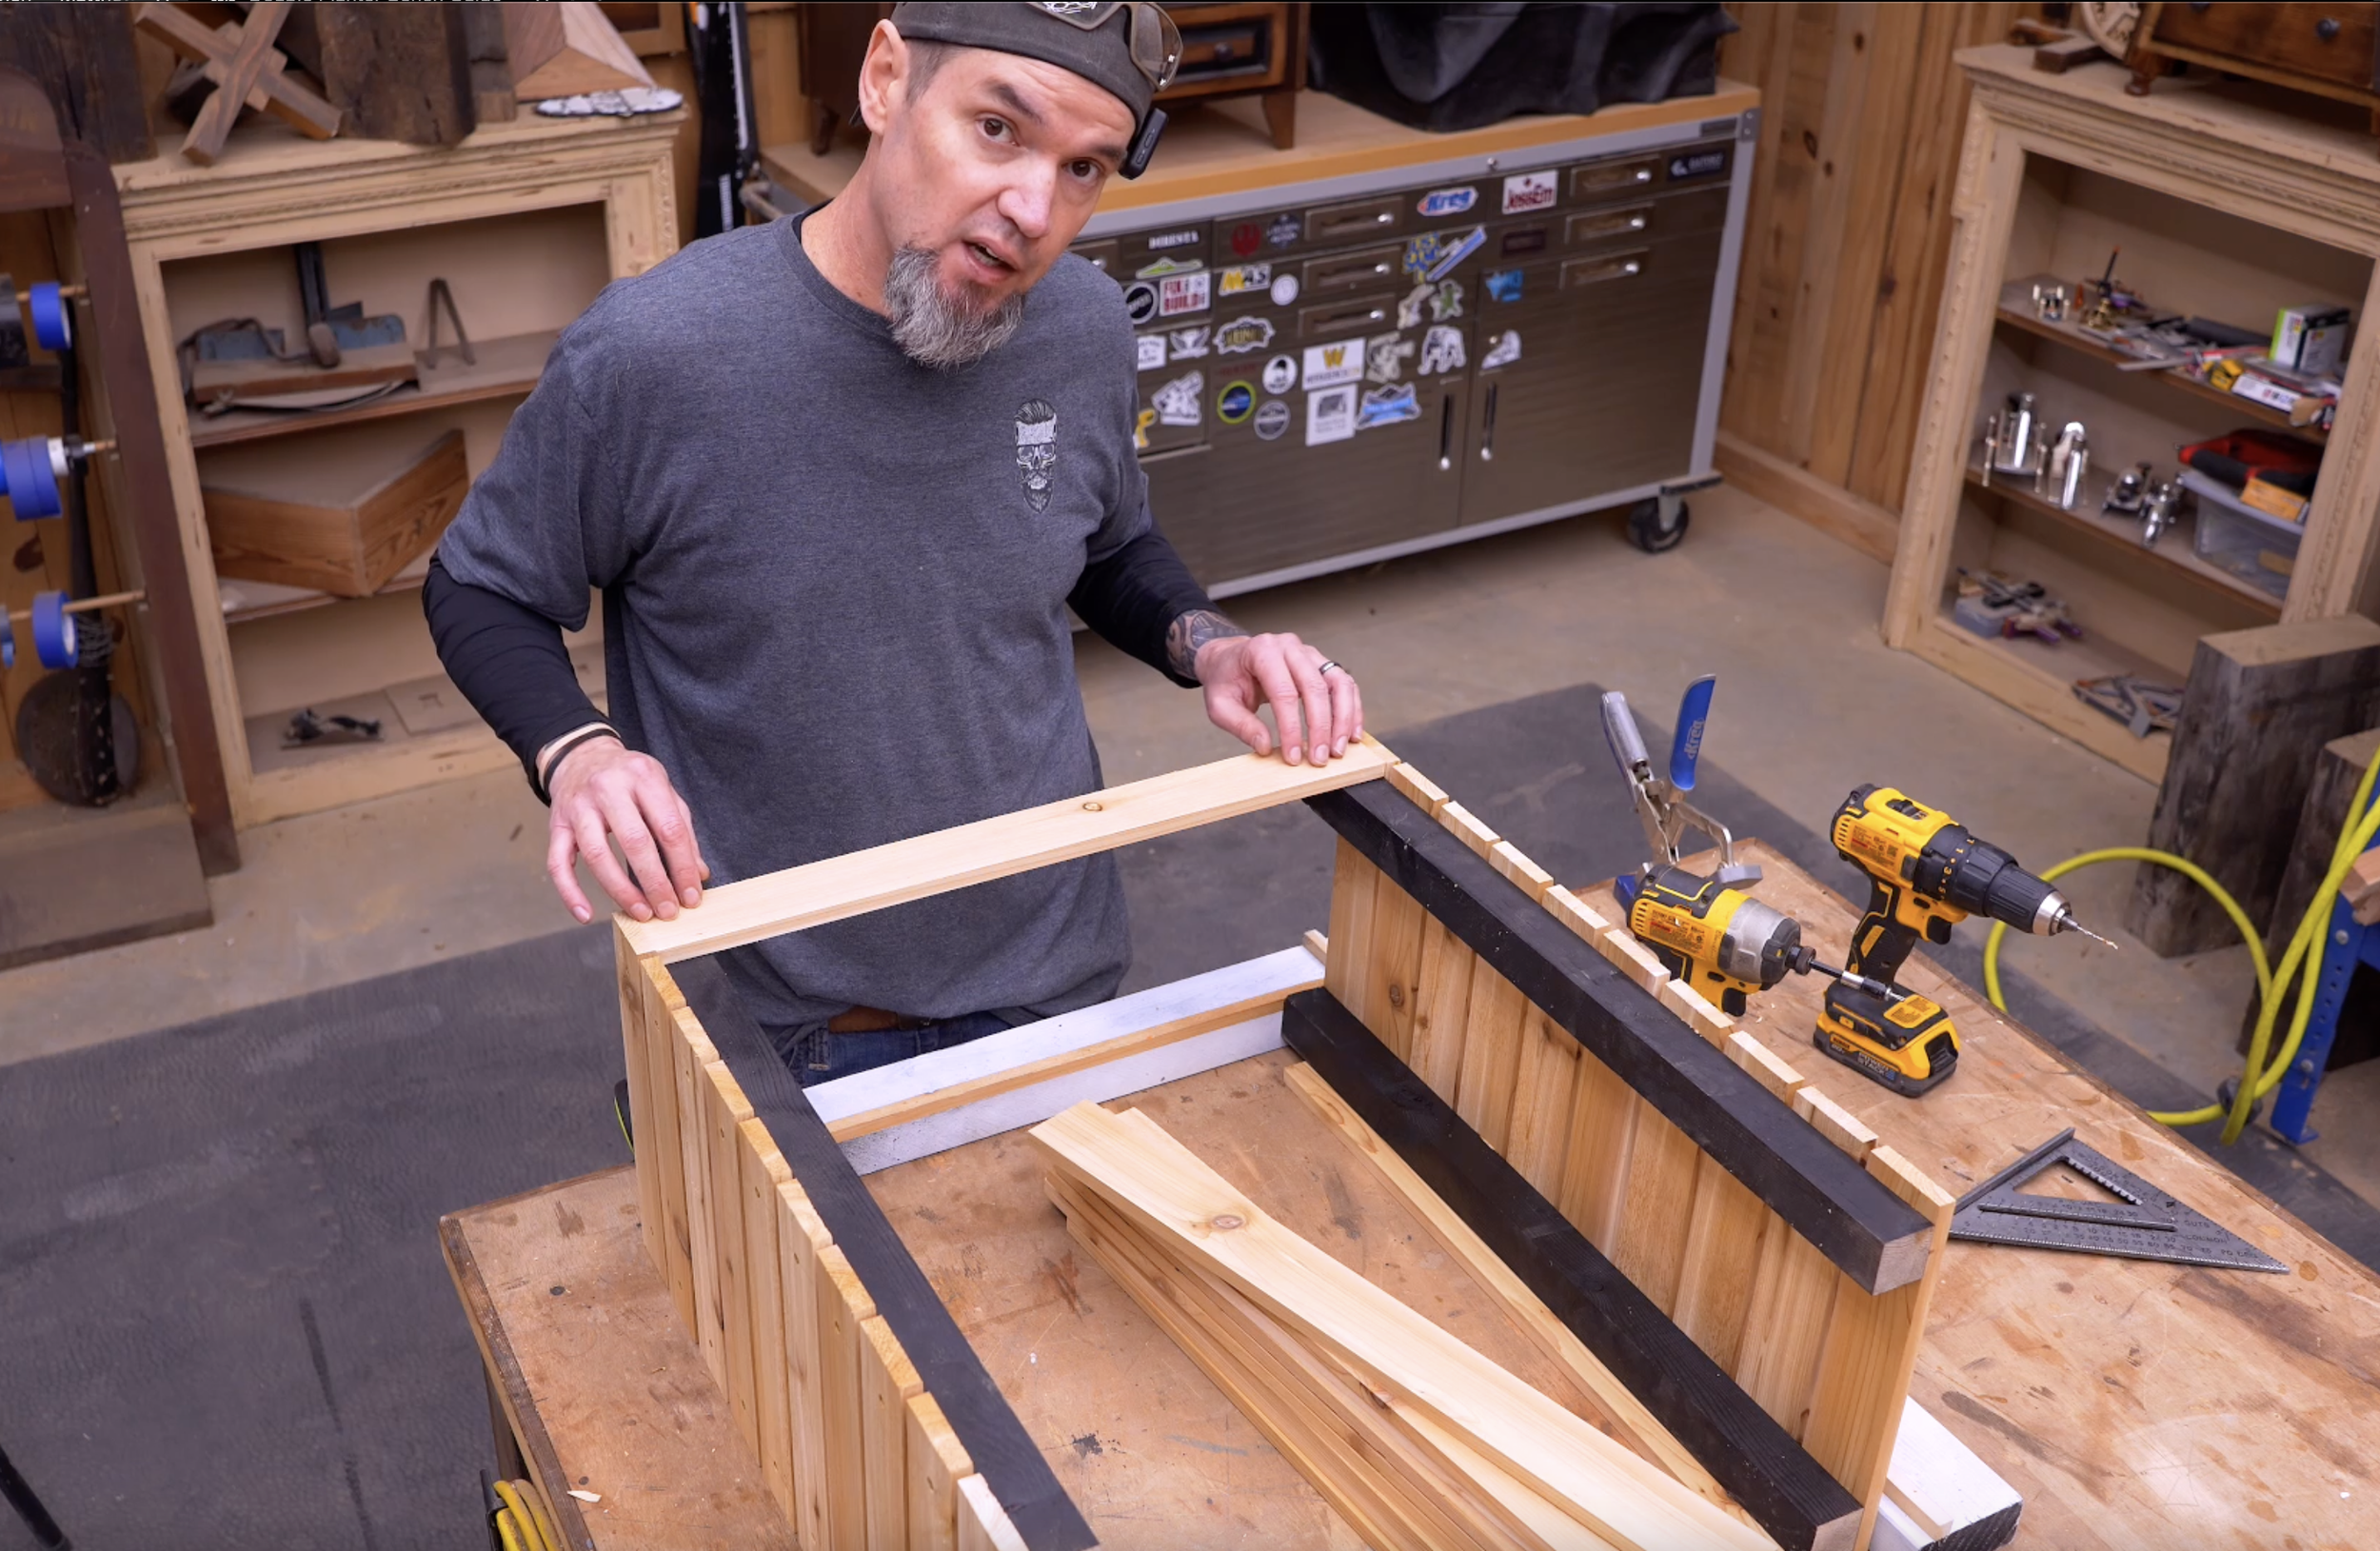
Add the Long Side Slats
Attach the 22 ½" slats straight onto the corner posts. Glue, pre-drill, countersink, and screw like we did with the ends.

Add Trim on Top
For a clean finished look, trim the top with mitered corners using the same 2 ¼" material.
Cut:
(2) Long trim boards at 24"
(2) Short trim boards at 11 ¾"
Attach with glue, brad nails, and screws. Be sure to hit those inside supports for strength.

Install the Planter Floors
Cut 4 boards at 10" (same slat material) per box.
Install two flush with the sides and two in the center with even spacing.
Time to Build the Bench

Cut Bench Slats
Rip down to 1" x 1½" slats.
You’ll need:
(14) slats at 46"
(1) slat at 45½"
Sand or stain them now—it’s WAY easier than doing it after assembly.

Make 3 Bench Supports
Each support has two parts:
Bottom board: 5° angle cuts, 22¾" long tip to tip
Backrest board: One end cut at 22°, the other at 17°, 13⅞" long
Glue and screw these together with the backrest offset 5" down from the top.
Make three total.

Attach Side Supports to the Planter Boxes
The two end supports will screw into the inside corner posts of your planters. Pre-drill and counterbore your holes for strength.
Clamp or flip your box to make this part easier.

Lay Out and Attach the Bench Slats
Space your planters 46" apart so your slats drop right in.
Pre-drill all your screw holes. Use ¾" spacers to keep it consistent.
Start with the front seat slat and the top backrest slat
Install center support under the middle
Work your way from front to back, keeping everything straight
Use your final 45½" slat between the trim pieces at the back to finish it off.

Ready To Build?
This double planter bench isn’t just a seat—it’s a statement piece for your porch, garden, or backyard. And the fact that you built it with basic materials? Even cooler.
Whether you’re new to woodworking or a seasoned pro, this project offers the perfect mix of functionality and creativity. If you’re a more “plans in the hand” person, click “Get Plan” down below for downloadable instructions. And if you’re ready to dive deeper into woodworking, check out my new course, “Woodworking Kickstart” (which is also linked below). It’s packed with step-by-step lessons to help you build confidence and skills, whether you’re a total beginner or an experienced DIYer. You’ll be building with confidence in no time.
Remember, creativity doesn’t have to be expensive; all you need is a little inspiration and a willingness to try.
Get Easy Step-By-Step Directions to build this by clicking the button below
⭐ 10,044 5 Star Reviews
📚 113 Plans to Choose From
🧩 Lego-Like Assembly Steps
📏 Exact Measurements
📋 Detailed cut and part list
🔍 X-Ray Views
🚀 Instant Delivery
