
The Hidden Storage Planter

Elevate Your Garden Game
This ain't just any planter. It's a two-in-one miracle worker that keeps your garden looking neat and gives your plants a stylish home. Made with simple materials, this planter is perfect for anyone who loves to tinker in the workshop or wants to add something special to their outdoor space. Plus, it's a great way to make a bit of extra cash if you're into selling your projects.
Key Features
Hides Your Hose: No more tripping over hoses or messing up your garden's look.
Cheap to Make: Uses basic stuff like fence pickets and some lumber. No need to break the bank.
Sell It or Keep It: Unique enough to sell for a nice price or keep and make your neighbors jealous.
What You’ll Need
Materials:
Lumber (1.5" x 1.5"): We're making the frame with this. It's sturdy and holds everything together.
Fence Pickets: These are for the sides. They give the planter a cool, rustic look.
Screws or Nails: Get the ones that won't rust outside. You don't want your awesome project falling apart.
Wood Glue: Not a must, but it'll make your planter even tougher.
Tools:
Saw: Any kind will do. You just need to cut the wood to size.
Drill: For putting it all together. Makes sure everything stays in place.
Sander: Nobody likes splinters. Sand it down for a smooth finish.
Measuring Tape and Square: Gotta make sure those cuts are straight and everything fits just right.
Measurements:
For a medium-sized planter, we're aiming for final dimensions of approximately 36" (L) x 24" (W) x 18" (H). Here are the measurements you would need for cutting your materials:
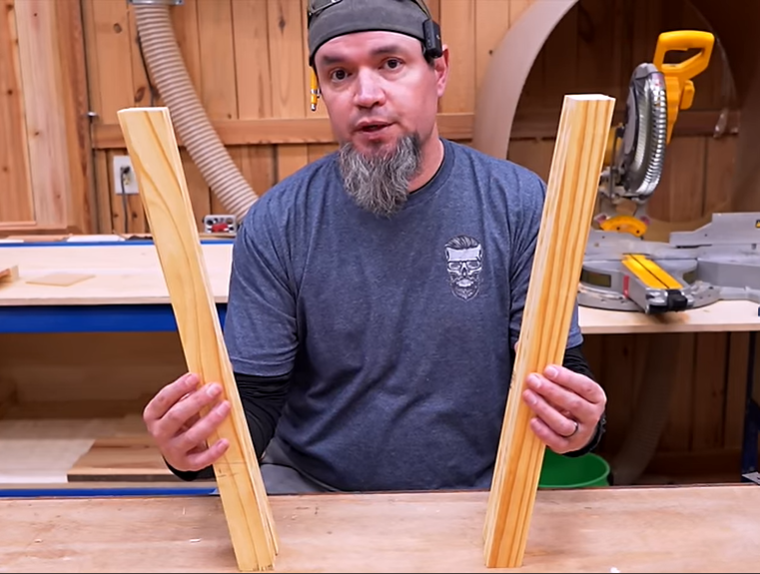
Lumber for Frame (1.5" x 1.5"):
Legs: You'll need 4 legs, each 18" long.
Top and Bottom Frames: To create the rectangular frames for the top and bottom, you will need:
2 pieces at 36" long (these will be the longer sides of the rectangle).
2 pieces at 21" long (these account for the width of the planter minus the thickness of the two lengths of lumber, ensuring a 24" external width).
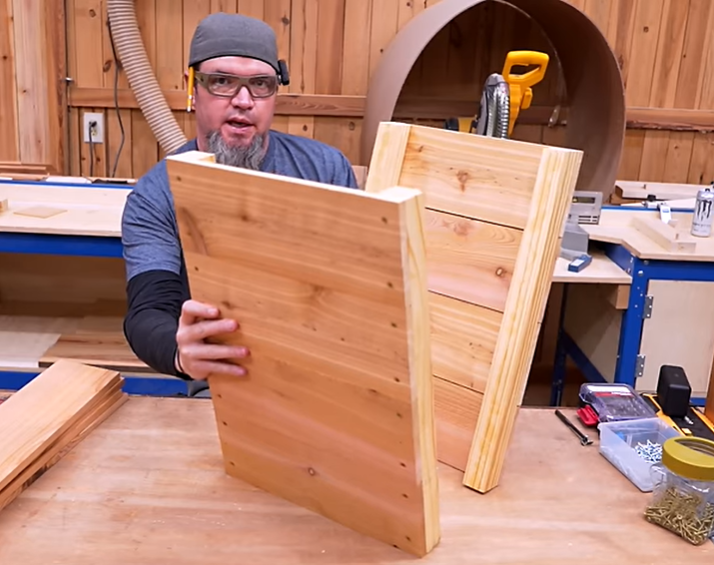
Fence Pickets for Walls:
For the sides (24" height), cut your pickets to:
Length Sides: Cut enough pickets to cover a length of 36" with your chosen overlap. Depending on the width of your pickets, this will dictate how many you need.
Width Sides: Cut enough pickets to cover a width of 24" with your chosen overlap, also dependent on the width of your pickets.
Note: The actual number of pickets required will depend on the picket width and the overlap you choose. If your pickets are 5.5" wide and you plan for a 0.5" overlap, you'll need to calculate the total coverage accordingly.
Step-by-Step Directions for The Hidden Storage Planter

Step 1: Measure Your Materials
Start by measuring and marking your lumber and fence pickets according to the plan dimensions. Remember, accuracy here means a smoother build later on.

Step 2: Cut Fence Pickets for Walls
Cut the fence pickets according to the height you’ve decided for your planter. These pickets will be used to create the side walls of your planter.

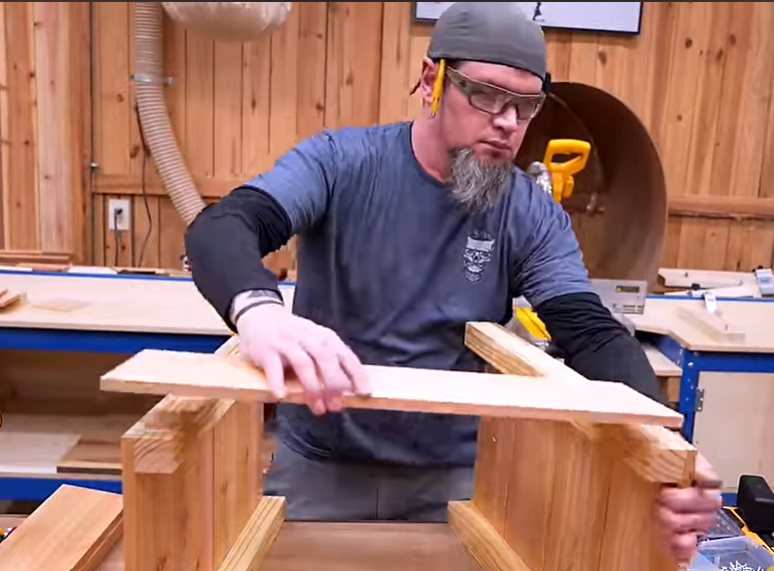
Step 3: Assemble the Top and Bottom Frames
Use the cut lumber to construct two rectangular frames. These will serve as the top and bottom of your planter. Secure the corners with screws or nails, making sure each joint is perfectly square.
Step 4: Attach the Legs
Cut legs to your desired height from the remaining lumber. Attach these legs to the corners of the bottom frame, ensuring they're straight and secure. Use a square to check for accuracy.
Step 5: Secure the Top Frame to the Legs
Once the legs are attached to the bottom frame, align and secure the top frame to the tops of the legs. This step is crucial for ensuring the planter’s stability and square shape.
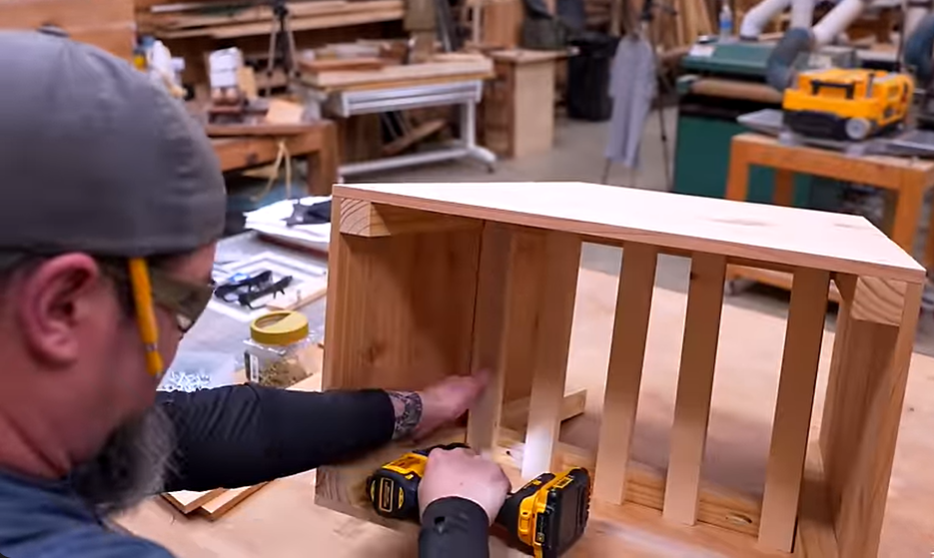
Step 6: Attach Side Pickets to the Frame
Start affixing the cut fence pickets around the frame, beginning at one corner and working your way around the planter. Pre-drilling holes can help prevent the wood from splitting. Secure the pickets with screws or nails, keeping them flush with the top and bottom of the frame.

Step 7: Create the Secret Hose Compartment
Decide on the location for your hose compartment within the planter. This could be a side that flips open or a hidden bottom compartment.
Construct the compartment using additional lumber, integrating it into the planter design so it remains discreet but accessible.
Step 8: Plan for Drainage
Ensure your planter has adequate drainage to keep your plants healthy. Drill holes in the bottom or include gaps between the bottom slats for water to escape.

Step 9: Add Finishing Touches
Apply trim pieces around the top edge of the planter for a polished appearance. These can be attached with wood glue and small nails or screws.
Sand the entire planter to smooth out rough edges and surfaces.
Finish by applying a coat of weather-resistant sealant or paint to protect the planter from the elements and enhance its appearance.
Explore More
Following these detailed steps, you'll have a beautifully crafted, functional planter that not only serves as a home for your plants but also cleverly conceals your garden hose, enhancing the overall aesthetics of your outdoor space.
But if you are a more visual person or prefer detailed guidance, I've crafted comprehensive plans available on my Etsy shop. These include exploded views, cutting layouts, and step-by-step instructions tailored to this project.