
Build a Premium Magnetic Knife Holder That Customers Love

If you're looking for a woodworking project that's inexpensive to build, looks high-end, and has excellent selling potential, this DIY swiveling magnetic knife block deserves a spot in your lineup.
Unlike traditional knife blocks that hide expensive kitchen knives, this modern magnetic design proudly displays them while keeping them securely in place with hidden rare earth magnets. Add a rotating Lazy Susan base, and you've created a premium kitchen accessory that looks like something found in an upscale home décor store.
Best of all, this project requires very little hardwood, can be completed in just a few hours, and offers excellent profit margins for woodworking businesses.
Materials & Tools
Lumber
Hardwood (3/4" thick)
Recommended species:
Walnut
Maple
White Oak
Cherry
Optional Center Insert
Approximately 350 bamboo barbecue skewers
Hardware
Rare Earth (Neodymium) Rectangular Magnets
Mini Lazy Susan Bearing
1/2" Wood Screws
Wood Glue
CA Glue (optional)
Painter's Tape
Food-Safe Finish (Mineral Oil, Butcher Block Finish, or Cutting Board Oil)
Tools
Table Saw
Miter saw w/ Depth Stop (or Dado-Equipped Table Saw)
Drill
Sandpaper or Random Orbital Sander
Measuring Tape
Clamps (Optional)
Foam Brush
Cut List
Side Panels (4)
5" wide
9" long
45° bevel on both long edges
Bottom Panel (1)
3½" × 3½"
Base (Choose One)
Option 1
5" × 5"
Option 2
6" × 6"
The smaller base creates a clean, modern appearance while the larger base gives the block a more substantial, furniture-quality look.
Let’s Get Going!
Step 1: Mill Your Lumber
Begin with 3/4-inch hardwood.
Square one edge of your board before ripping everything to five inches wide.
After ripping the boards, crosscut them to nine inches long.
You'll need four identical side panels.
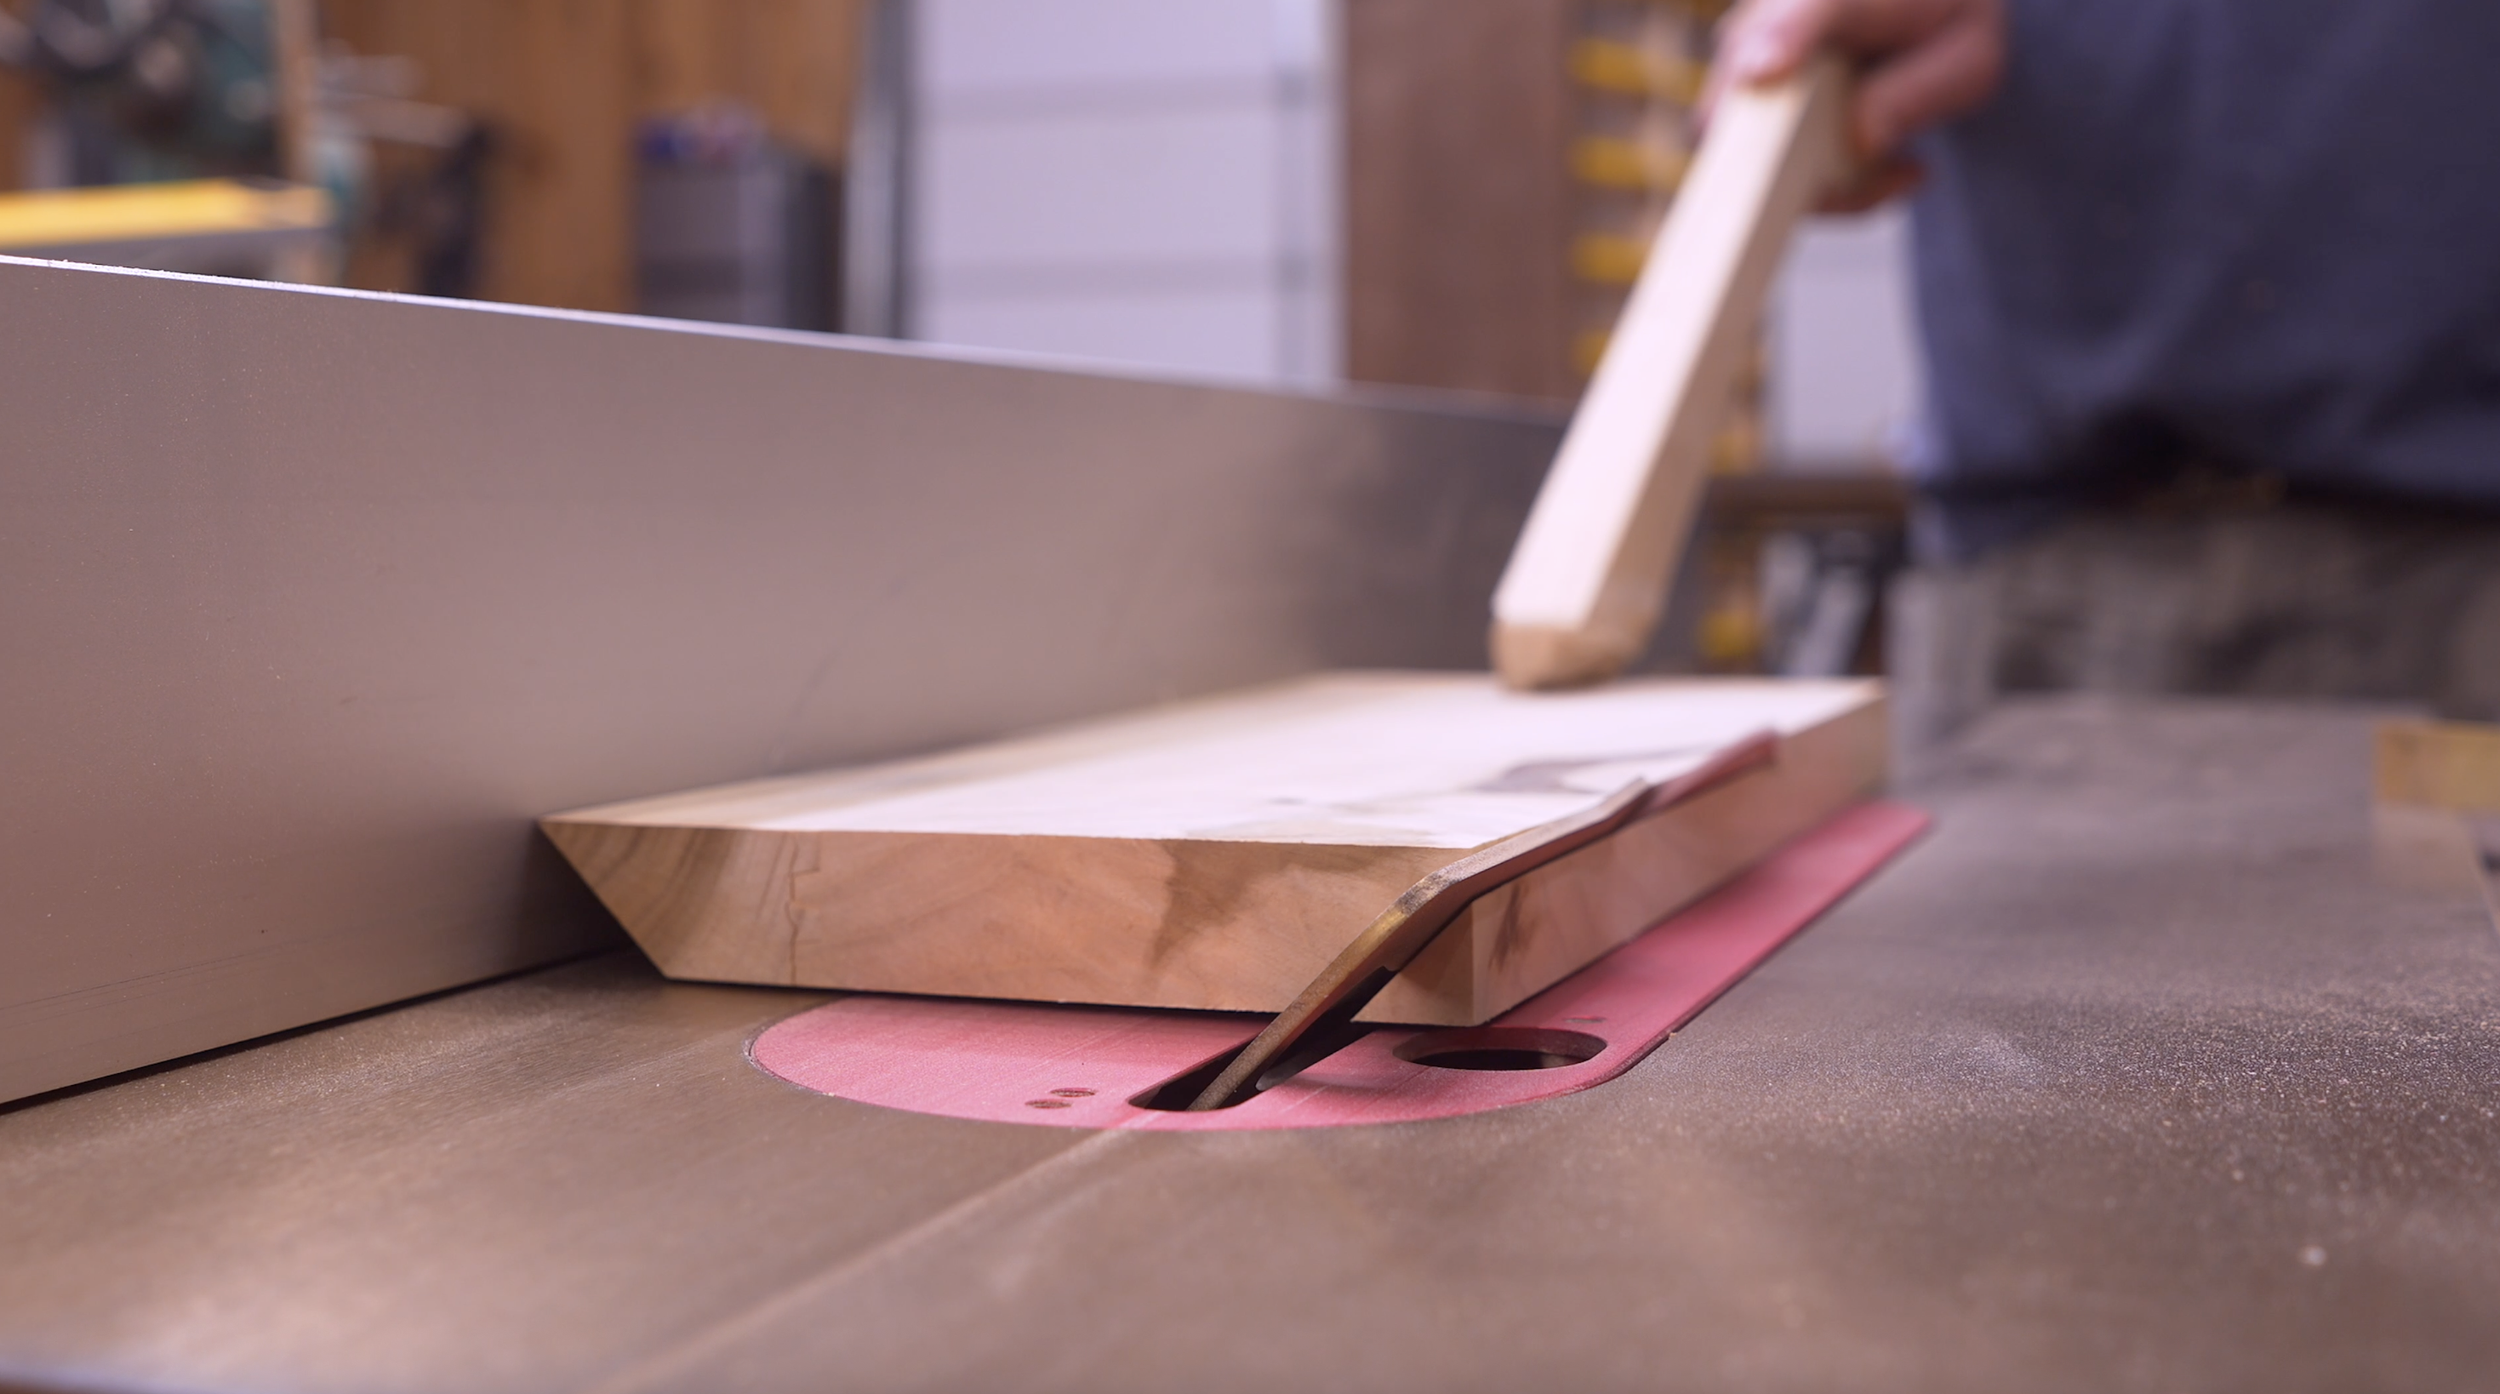
Step 2: Cut the 45-Degree Edges
Set your table saw blade to 45°.
Rip both long edges of every side panel.
These bevels allow the four pieces to fold together into a clean square tube while creating nearly invisible corner joints after sanding.
Take your time here because accurate bevels make assembly much easier.
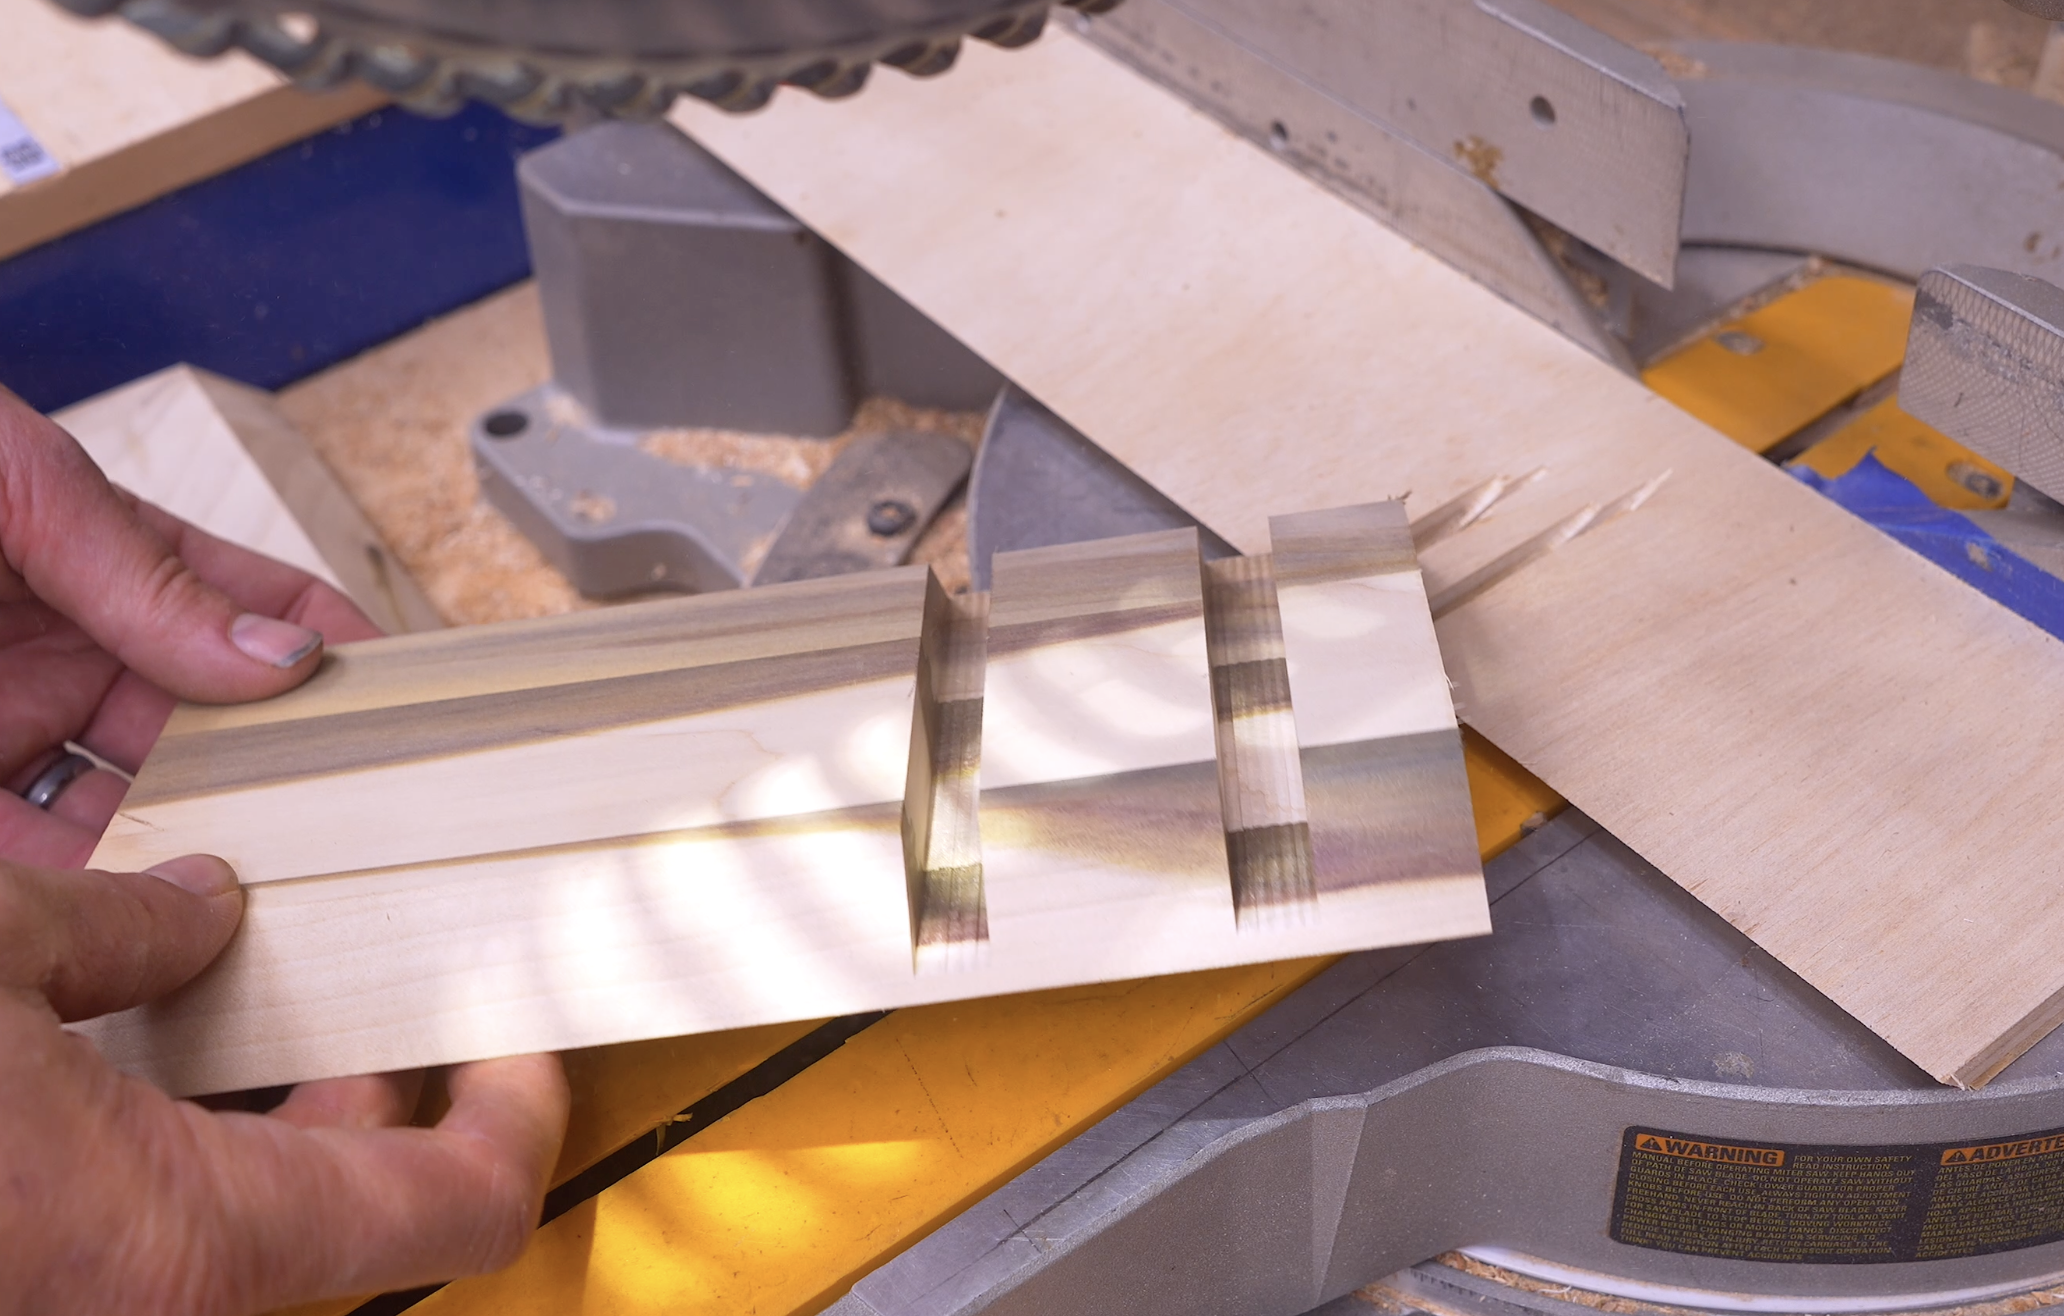
Step 3: Cut Hidden Magnet Grooves
One of the best features of this project is that the magnets are completely hidden inside the wood.
On the inside face of every side panel:
Mark your first groove:
1" from the top
½" wide
Mark the second groove:
3" from the top
½" wide
Cut both grooves approximately 1/8" deep.
This leaves just enough wood covering the magnets to hide them while still allowing strong magnetic attraction.
You can cut these grooves with:
Miter Saw using a Depth Stop
Table Saw Sled
Dado Blade
Router
Step 4: Install the Magnets
BPlace rare earth magnets inside each groove.
For extra holding power, stack two magnets together before gluing them into place.
Use CA glue to secure each magnet.
Be careful when handling neodymium magnets—they're extremely strong but surprisingly brittle.
Avoid letting them snap together forcefully.
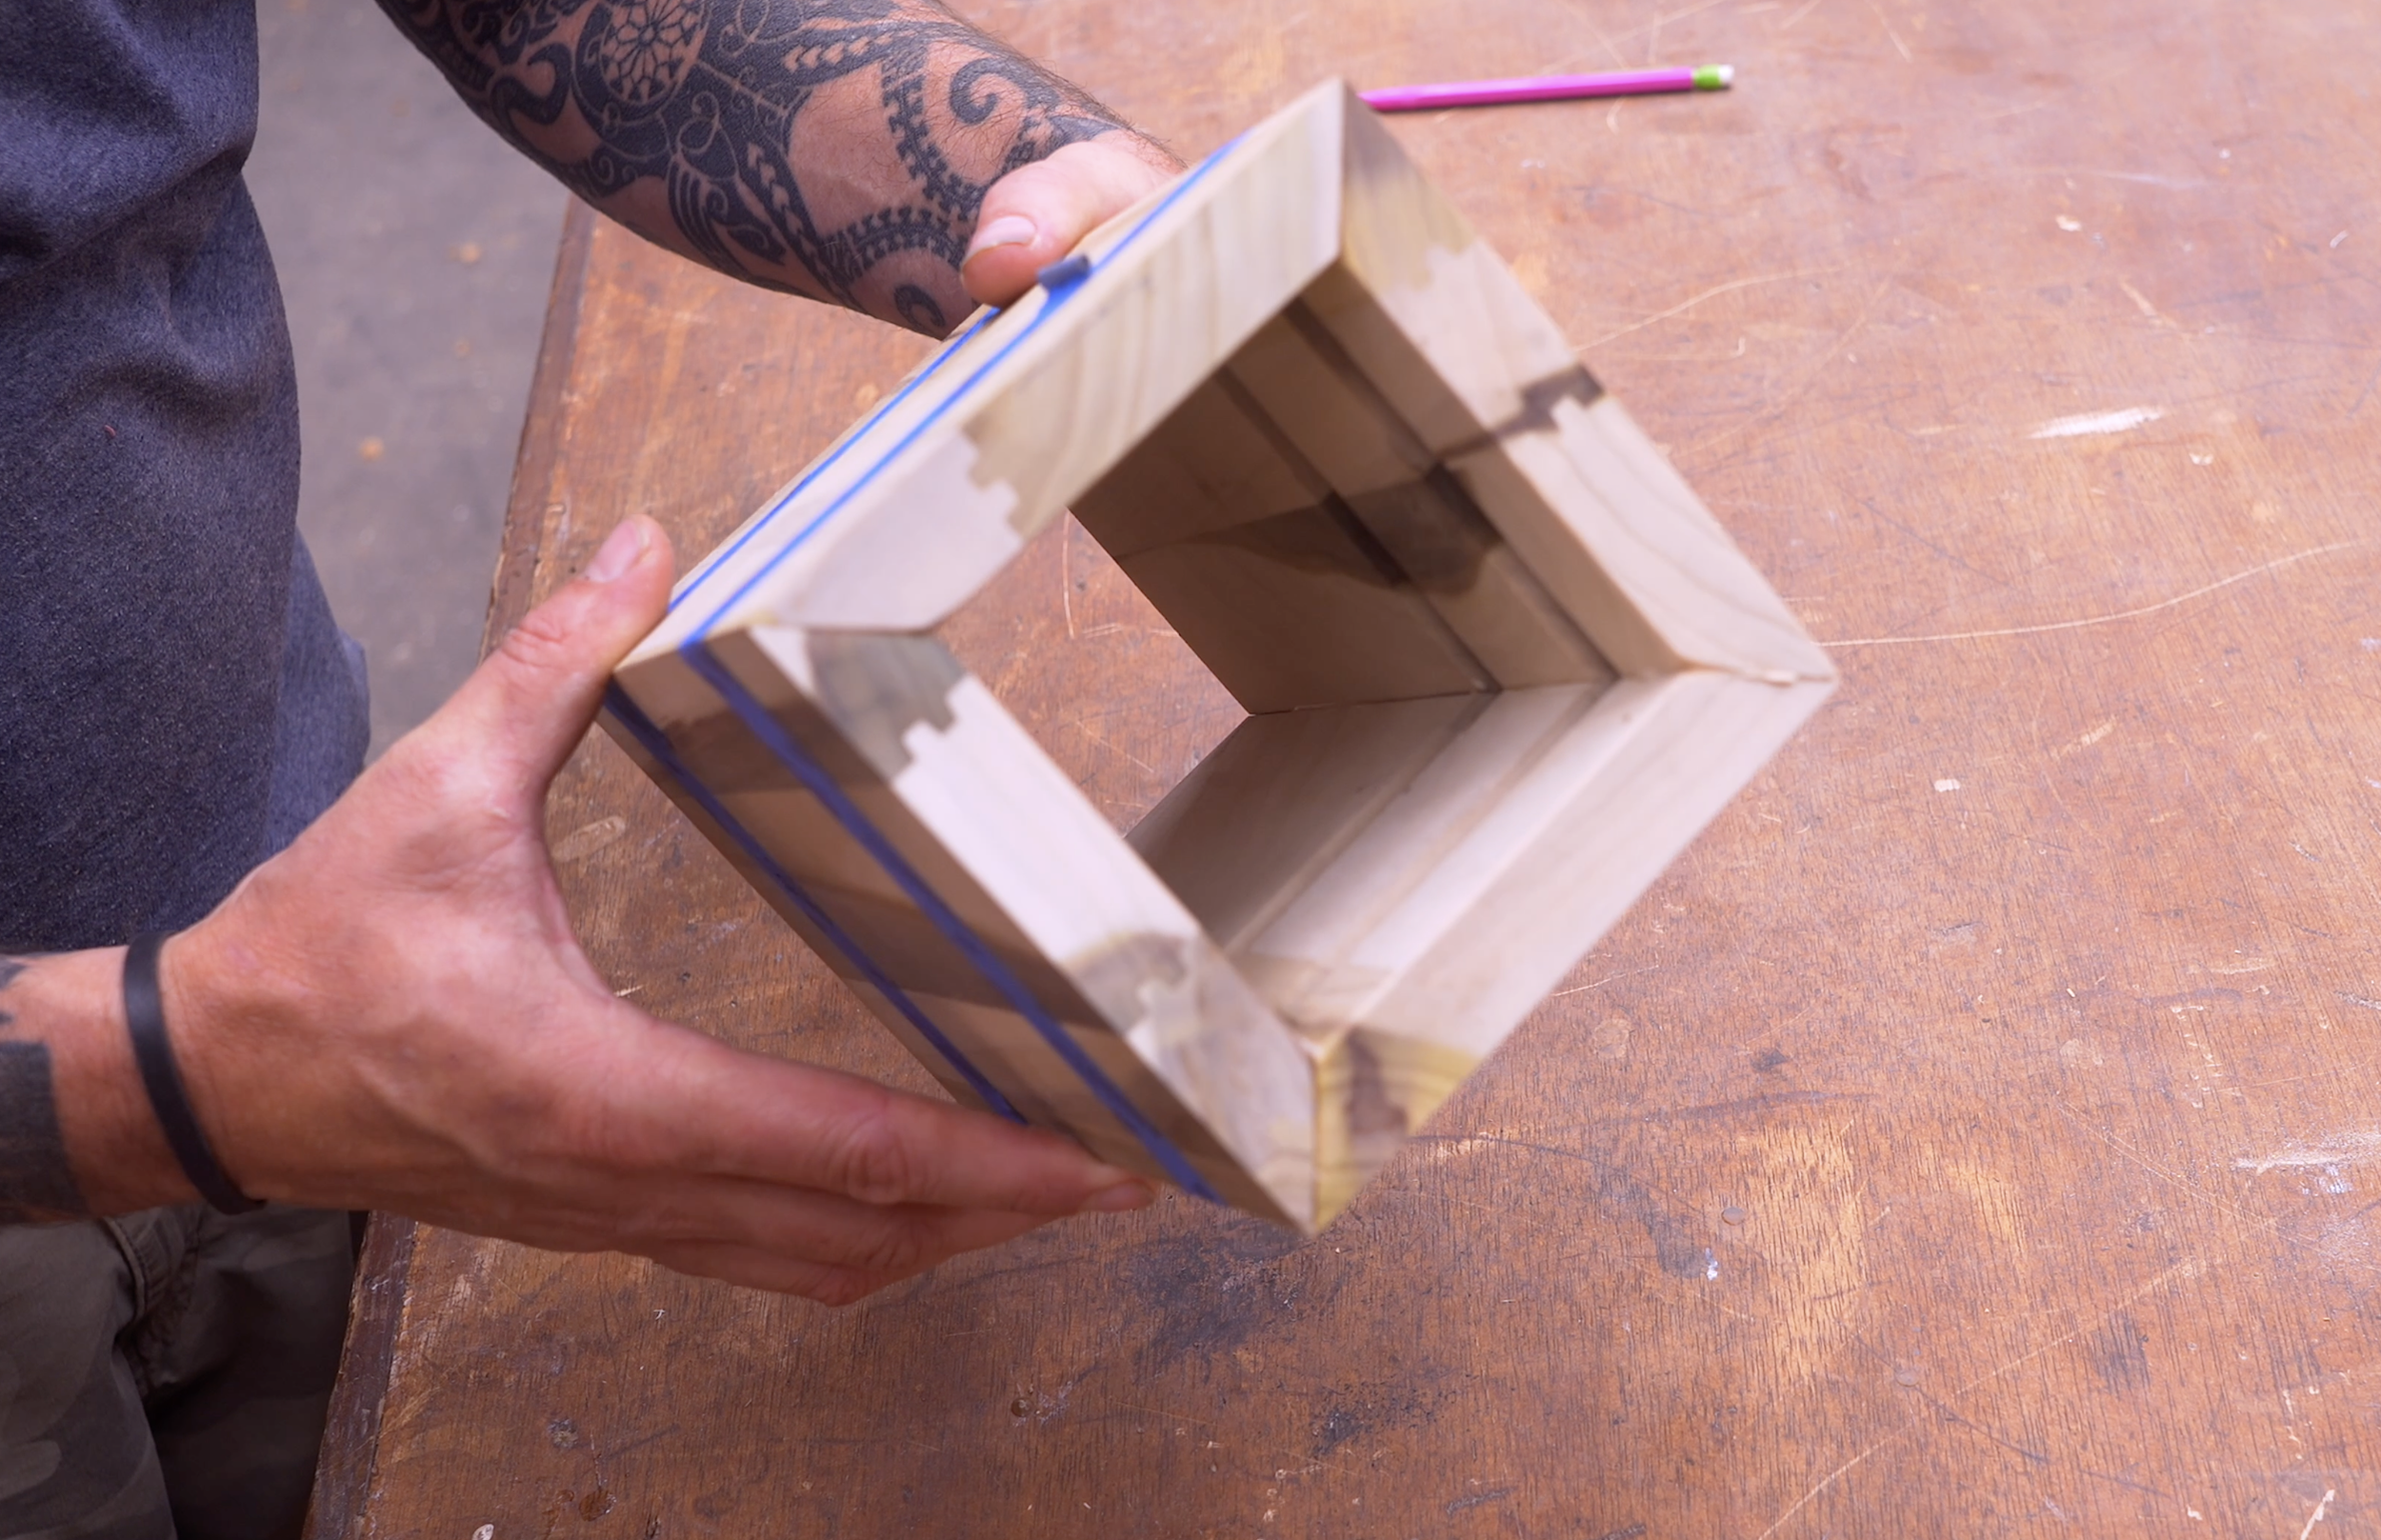
Step 5: Assemble the Body
Lay all four side panels flat with the outside faces facing downward.
Run strips of painter's tape across each joint.
Flip the assembly over.
Apply wood glue to every beveled edge.
Now simply roll the four sides together into a square.
Use more painter's tape to pull the corners tightly together while the glue dries.
This painter's tape method works surprisingly well and often eliminates the need for clamps.
Step 6: Install the Bottom
Cut a square measuring:
3½" × 3½"
Apply wood glue to all four edges.
Slide the bottom into the assembled body.
Remember:
The magnet grooves should be positioned toward the top of the finished knife block.
Allow everything to dry completely before moving on.
Step 7: Build the Base
Choose one of two styles.
Option One
5" × 5"
Creates a sleek appearance where the block and base align perfectly.
Option Two
6" × 6"
Leaves approximately ½ inch visible around the perimeter for a heavier furniture look.
Both styles look excellent, so the choice comes down to personal preference.
Step 8: Sand Everything Smooth
Round over all sharp corners.
Sand progressively through:
120 grit
180 grit
220 grit
The smoother the surface, the more premium the finished product will appear.
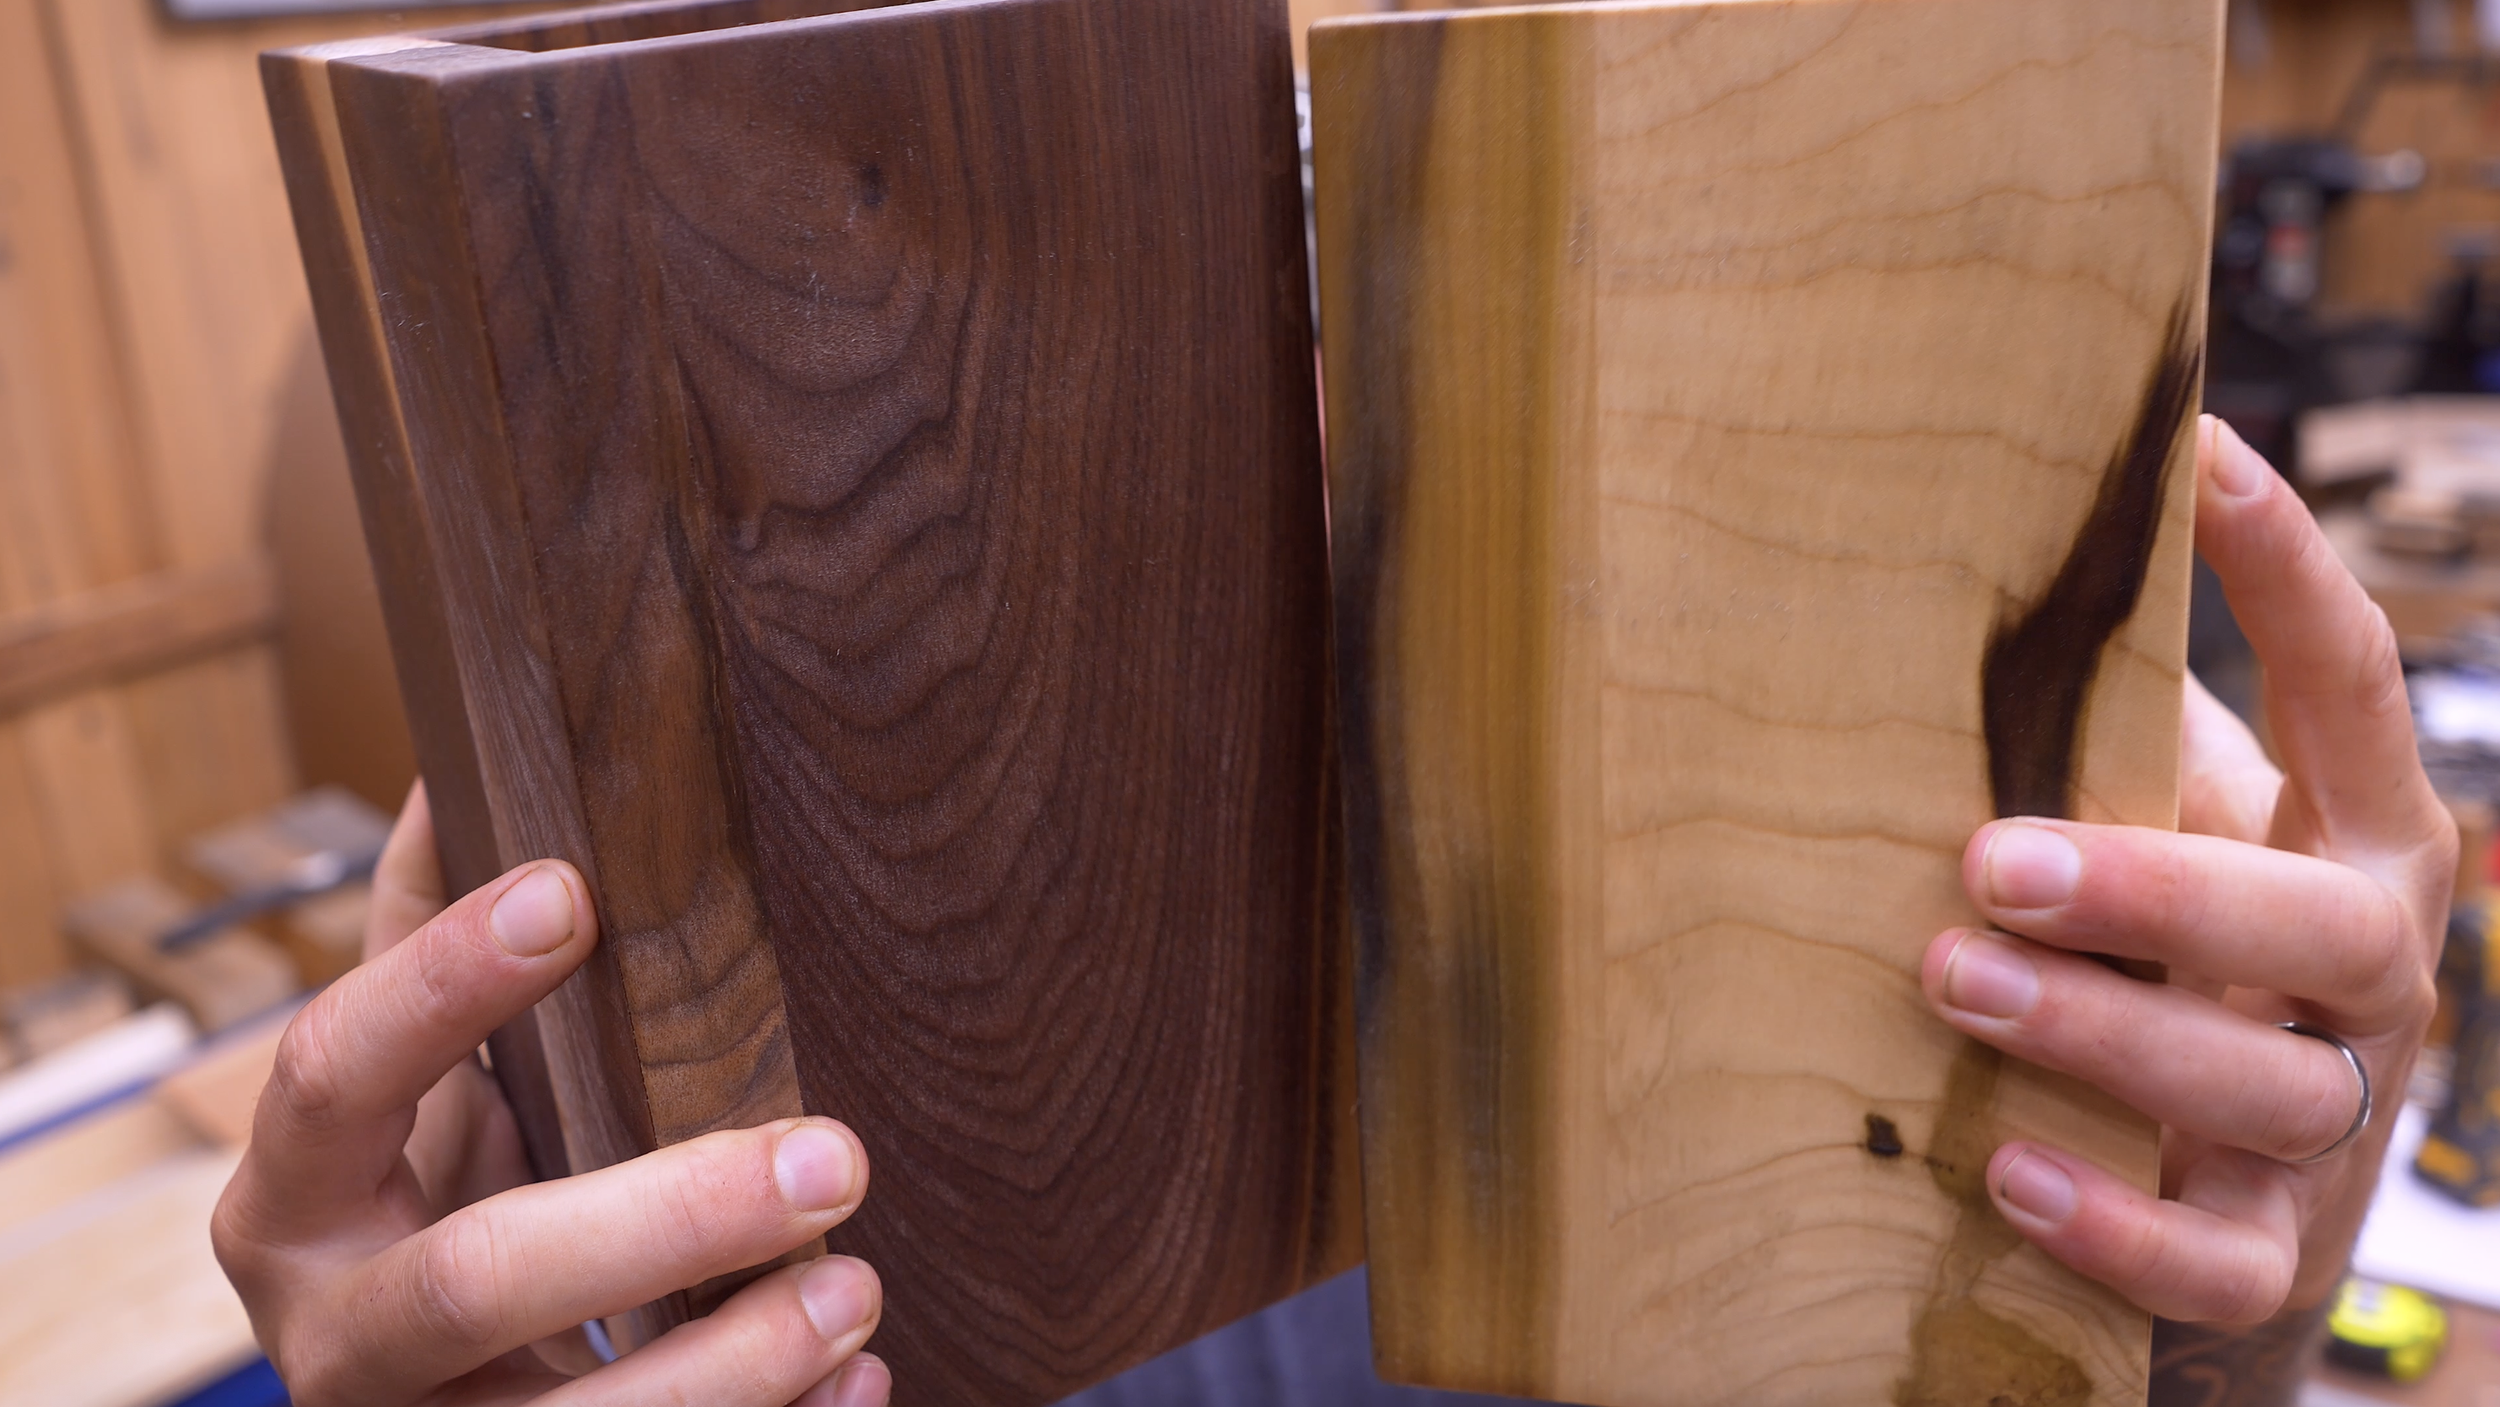
Step 9: Apply Finish
Since this project holds kitchen knives, use a food-safe finish whenever possible.
Popular choices include:
Mineral Oil
Cutting Board Oil
Butcher Block Conditioner
Food-Safe Hardwax Oil
Apply several thin coats and allow each coat to cure according to the manufacturer's directions.
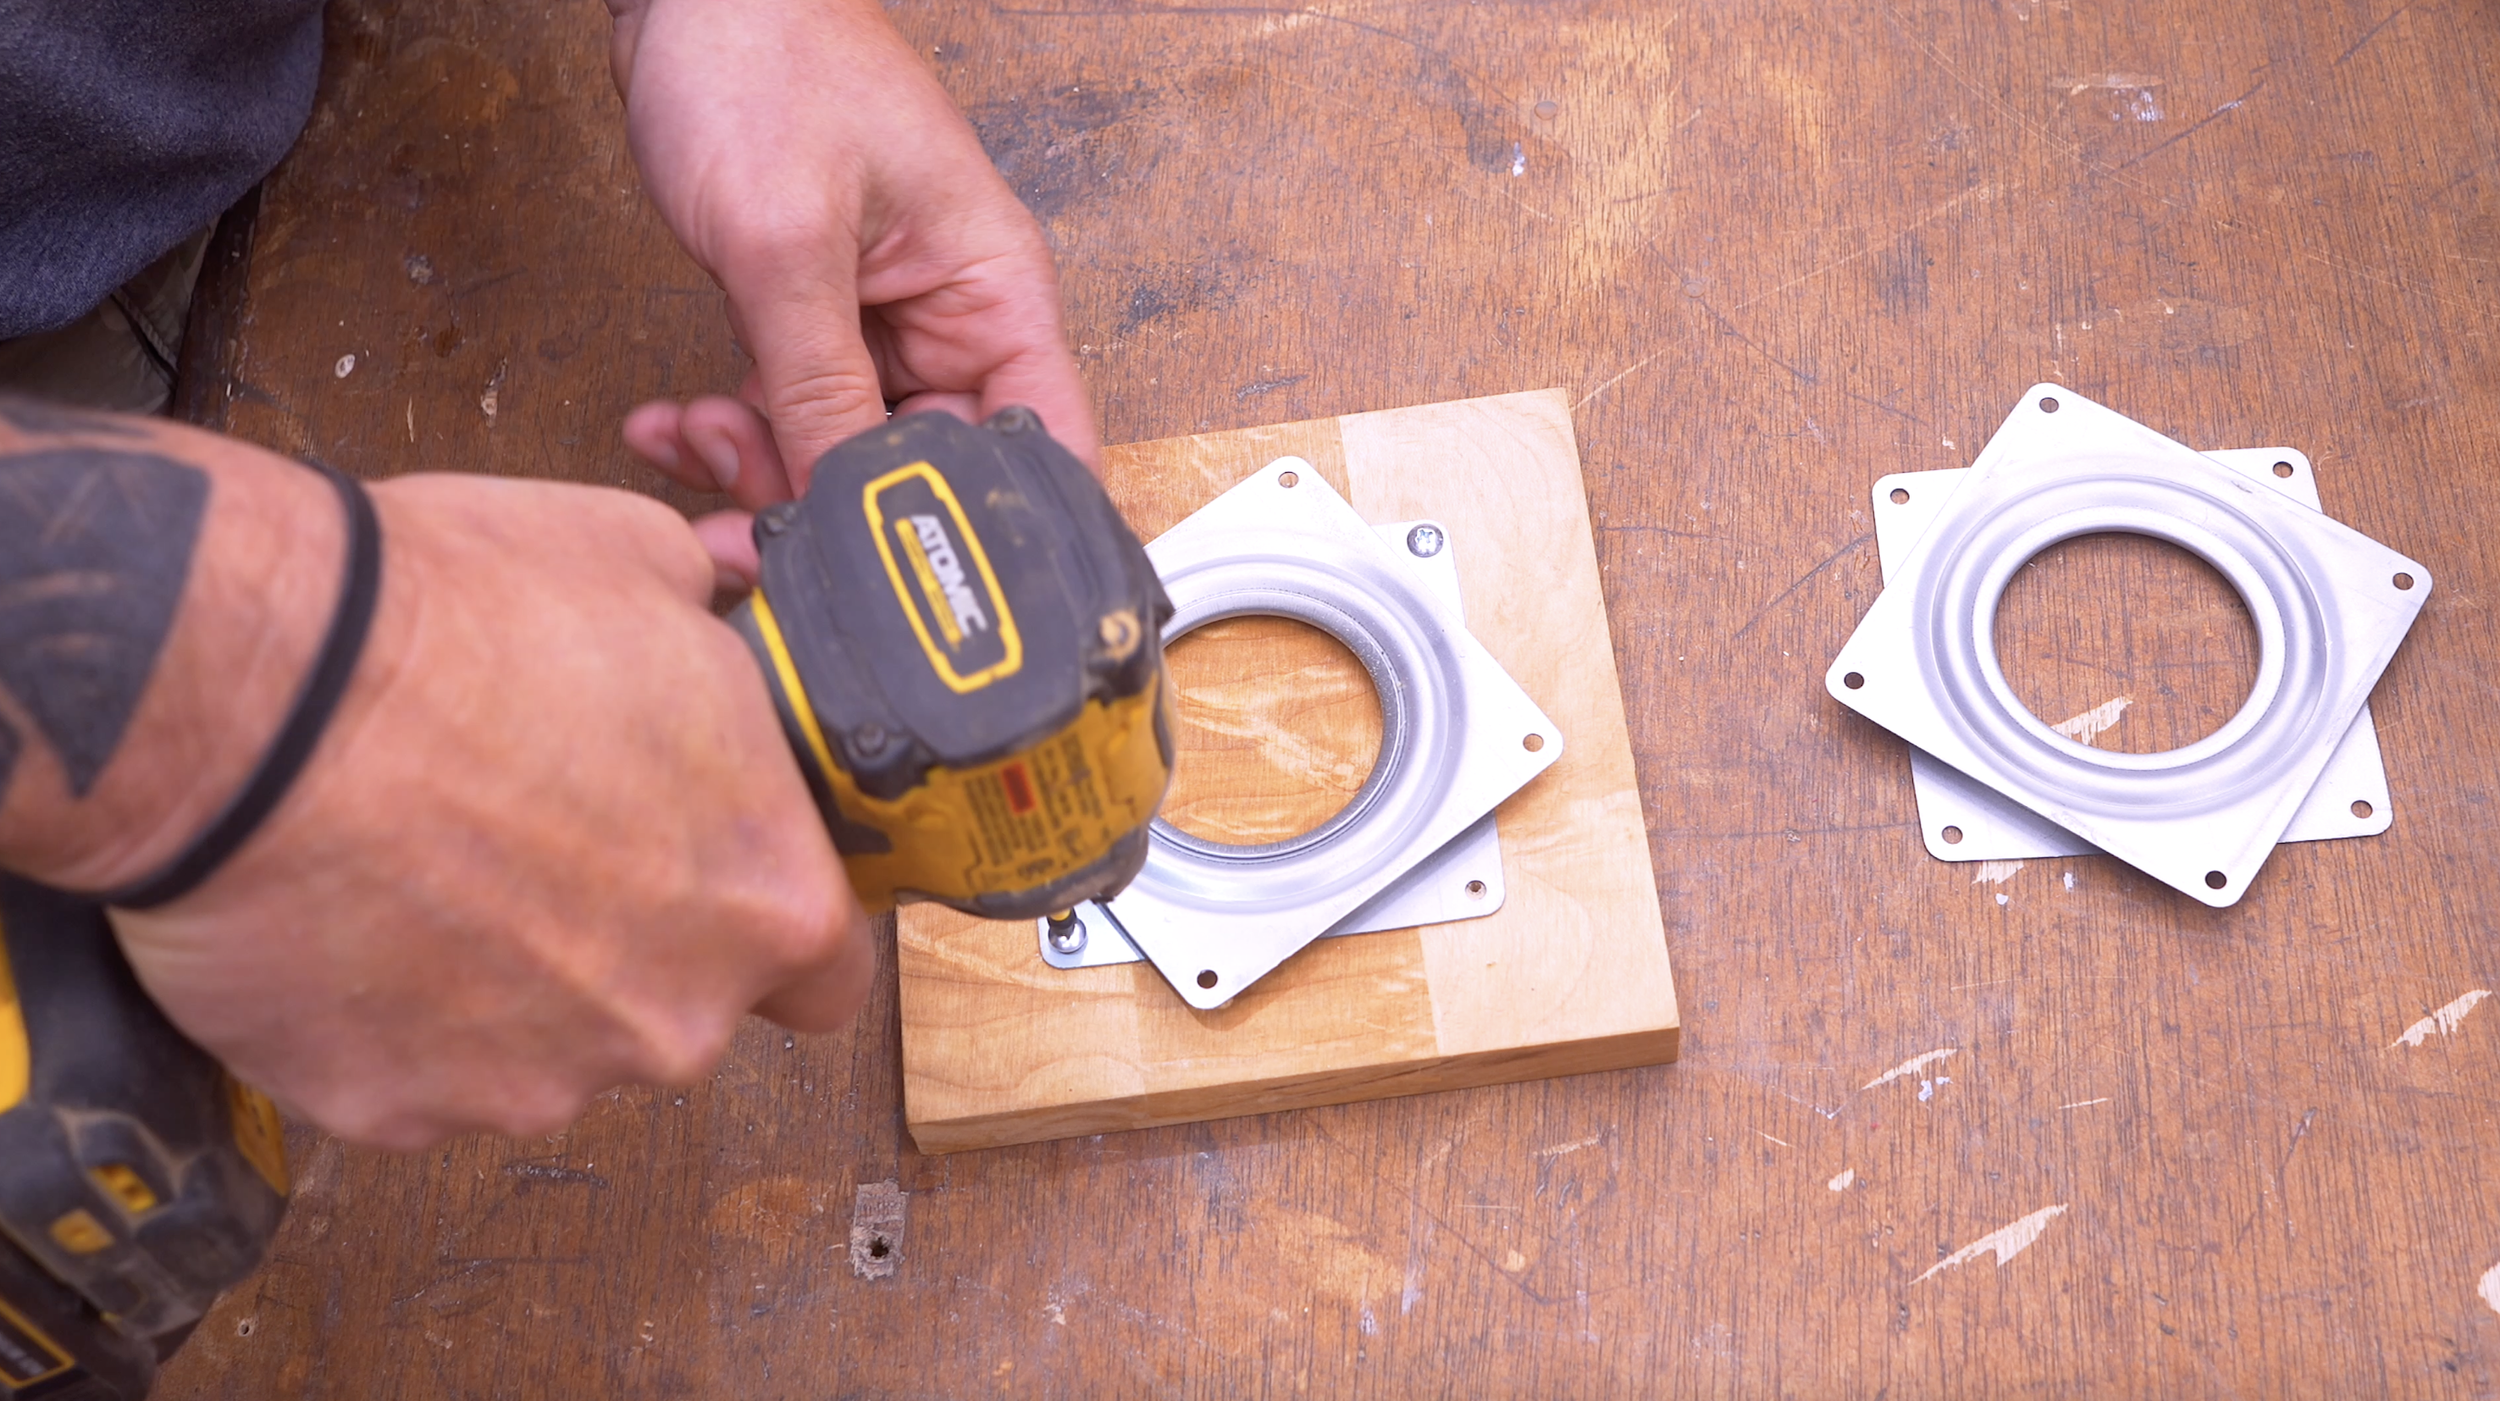
Step 10: Install the Swivel Base
Center the Lazy Susan bearing on the wooden base.
Mark and drill pilot holes.
Attach it using 1/2-inch screws.
Next, drill an access hole through the bottom of the base.
This allows you to rotate the bearing and install the remaining screws into the knife block itself.
Once assembled, the entire knife holder rotates smoothly for easy access from any angle.
Optional: Add the Bamboo Knife Insert
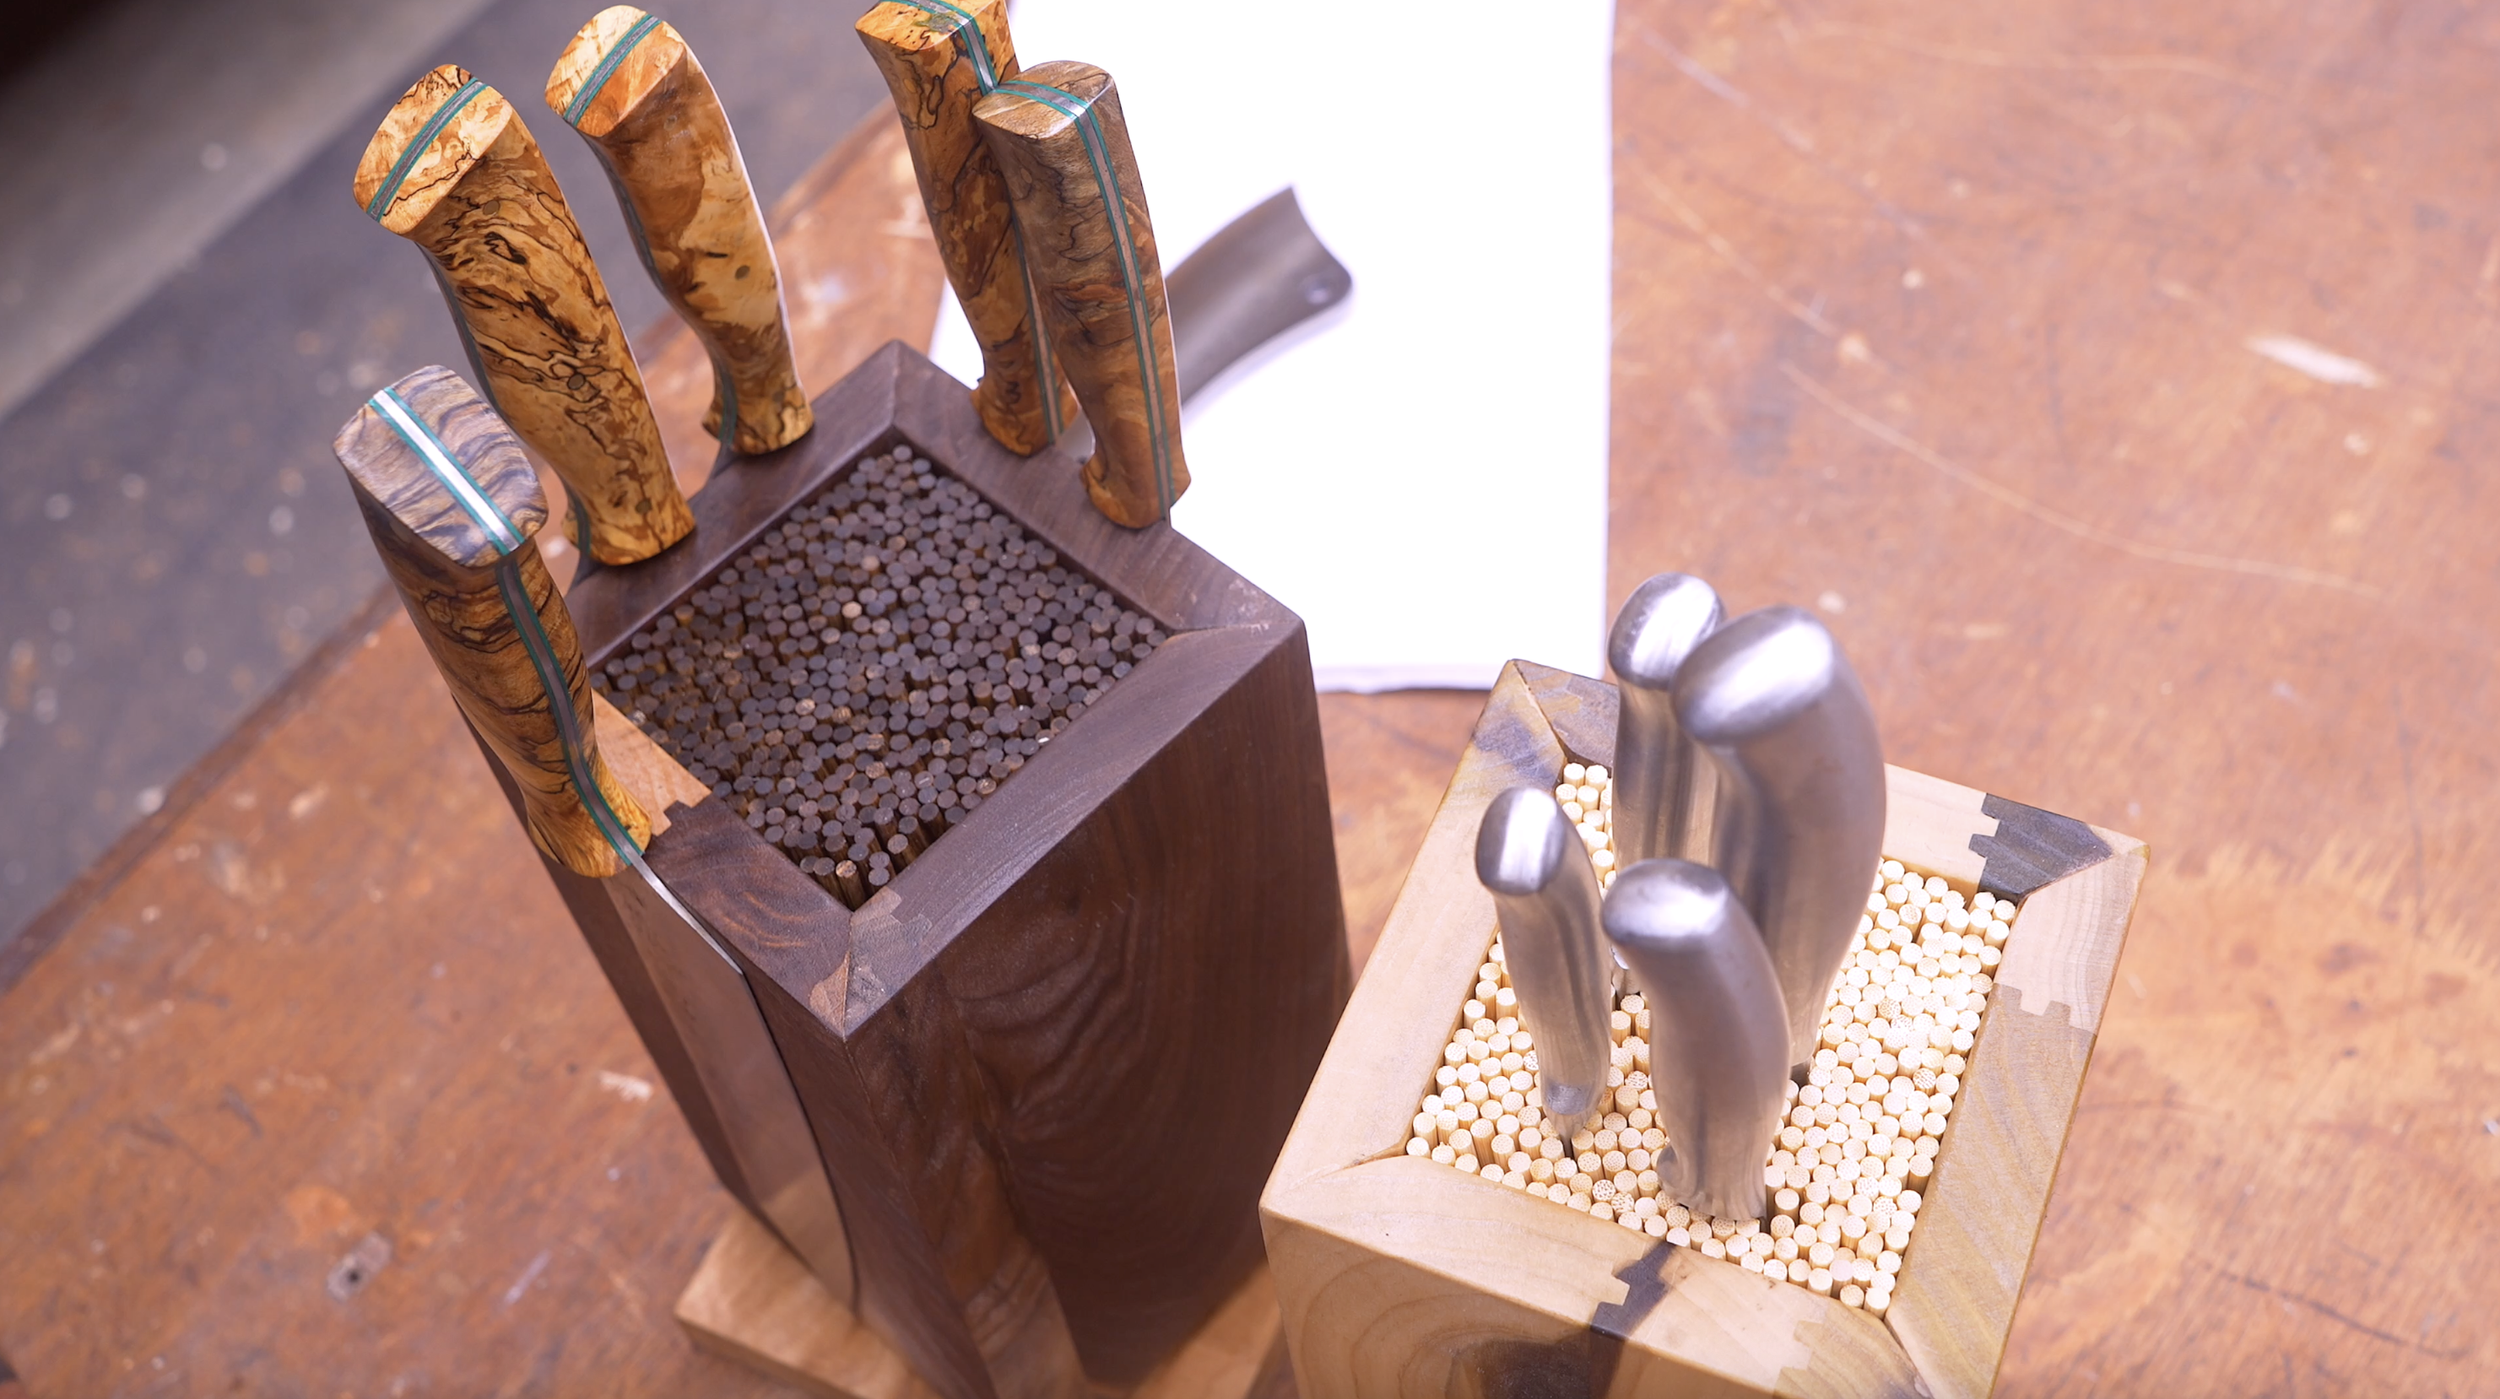
Instead of leaving the center open, you can create a premium universal knife holder.
Bundle approximately 350 bamboo skewers together.
Place the bundle inside the block.
Mark the correct height.
Trim all skewers to length.
You can leave the bamboo natural or stain the tops to match your hardwood.
The bamboo rods allow knives to slide into any position without requiring individual slots.
This gives the knife block a custom, high-end appearance while accommodating knives of different sizes.
Customization Ideas
One of the biggest selling points of this project is how easy it is to personalize.
Popular variations include:
Walnut with Black Bamboo Insert
Maple with Natural Bamboo
Cherry with Brass Hardware
White Oak finished with Hardwax Oil
Personalized Laser Engraving
Two-Tone Hardwood Combinations
These simple upgrades can dramatically increase the perceived value of the finished product.
Ready To Build?
This swiveling magnetic knife block combines beautiful hardwood, clever hidden magnets, and a rotating base into one project that's both functional and eye-catching. It's easy enough for beginners yet polished enough to impress experienced woodworkers and customers alike.
If you're building projects to sell, this design is an excellent addition to your product lineup. With minimal material, a straightforward build process, and plenty of opportunities for customization, it's the kind of woodworking project that can quickly become a customer favorite.
Whether you're making one for your own kitchen or producing several for sale, this is a build that's as enjoyable to make as it is useful to own.
And if you’re ready…
You already know the next step.
👉 Get up, get out, and get your build on.
Whether you’re new to woodworking or a seasoned pro, this project offers the perfect mix of functionality and creativity. Below I have the YouTube video linked for a step-by-step video tutorial for you to follow along with. If you’re a more “plans in the hand” person, click “Get Plan” down below for downloadable instructions. And if you’re ready to dive deeper into woodworking, check out my new course, “Woodworking Kickstart” (which is also linked below). It’s packed with step-by-step lessons to help you build confidence and skills, whether you’re a total beginner or an experienced DIYer. You’ll be building with confidence in no time.
Remember, creativity doesn’t have to be expensive; all you need is a little inspiration and a willingness to try.
Get Easy Step-By-Step Directions to build this by clicking the button below
⭐ 10,044 5 Star Reviews
📚 113 Plans to Choose From
🧩 Lego-Like Assembly Steps
📏 Exact Measurements
📋 Detailed cut and part list
🔍 X-Ray Views
🚀 Instant Delivery
