
How to Build a Primitive Bread Box (Step-by-Step DIY Guide)
There's something about primitive woodworking that never goes out of style.
While home décor trends constantly change, rustic farmhouse pieces continue finding their way into kitchens, dining rooms, and country homes. One item that's making a huge comeback is the classic bread box—but not the shiny oak version from the 1970s. Today's buyers are looking for weathered finishes, handmade details, and timeless primitive styling.
If you've been looking for an easy woodworking project that's inexpensive to build, looks great in any farmhouse kitchen, and even has excellent selling potential, this primitive bread box checks every box.
In this guide, I'll walk you through the entire build, from cutting the lumber to creating an authentic distressed finish that looks like it's been sitting on Grandma's kitchen counter for decades.
Materials & Tools
Lumber
One 1x12 board (or shelving board at least 11" wide)
Hardware
Wood Glue
1¼" Brad Nails or Crown Staples
Leather Strips for Hinges
Small Brass Tacks
Small Screw for Door Knob
Small Screw for Swivel Door Catch
Tools
Miter saw
Table saw
Brad nailer or crown stapler
Palm sander
Drill/driver
Bread Box Cut List
Cut the following pieces before beginning assembly:
Side Panels (2) 8”x11”
Back Panel (1) 11”x15”
Bottom Panel (1) 7 1/4”x 15”
Bottom Front (1) 2”x 16 1/2”
Top Front (1) 2 1/2”x 16 1/2”
Door (1) 8”x 16 1/2”
Top (1) 5 1/4” x 17 1/2”
Cut all pieces square before adding the angled cuts.
Let’s Get Going!
Step 1: Shape the Side Panels
The side panels create the signature sloped top of the bread box.
Starting with each 8" × 11" side panel:
Measure 4 inches from the upper left corner.
Measure 2 inches up from the lower right corner.
Connect the two marks with a straight line.
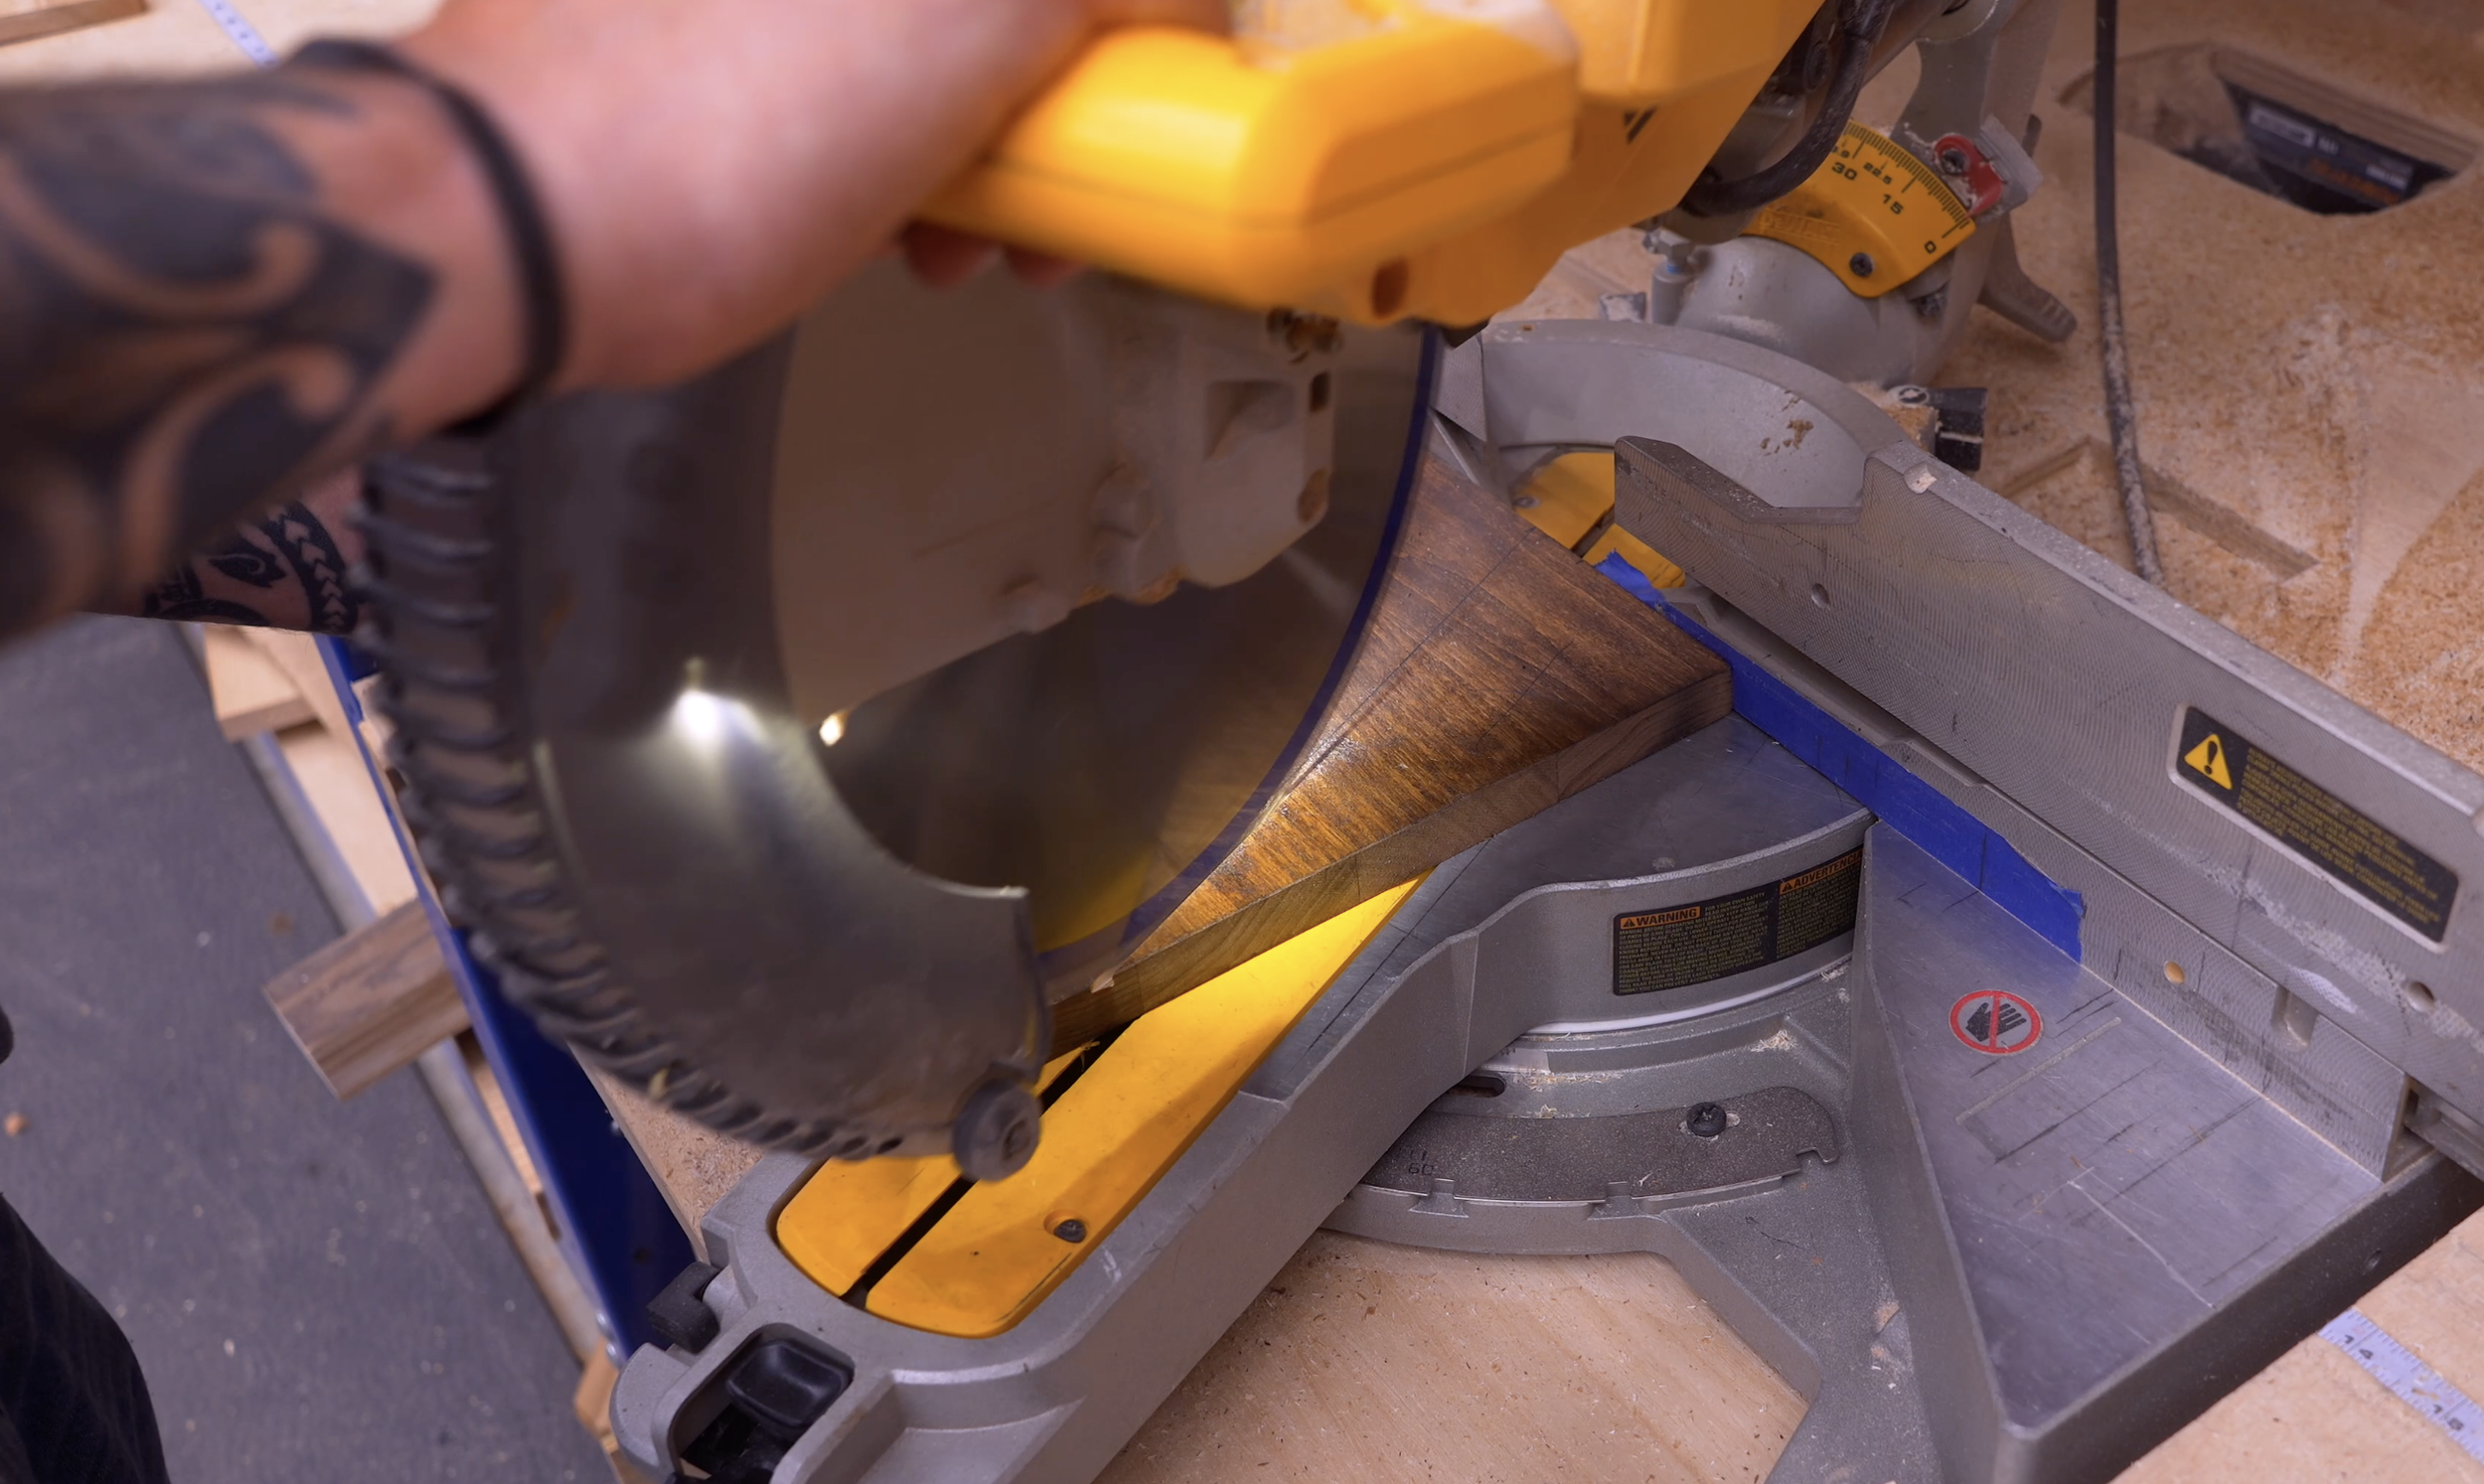
Cut along that line using your miter saw.
An easier option is to simply measure 4½ inches down from the top, set your miter saw to 23½ degrees, and make the cut. Repeat for the second side panel.
Step 2: Prepare the Door and Upper Front Board
Because the sides are angled, two additional pieces need matching bevels.
Rip a 23½-degree bevel along one edge of:
The 8" × 16½" door
The 2½" × 16½" upper front board
These angled edges allow everything to fit tightly against the sloped sides of the bread box.
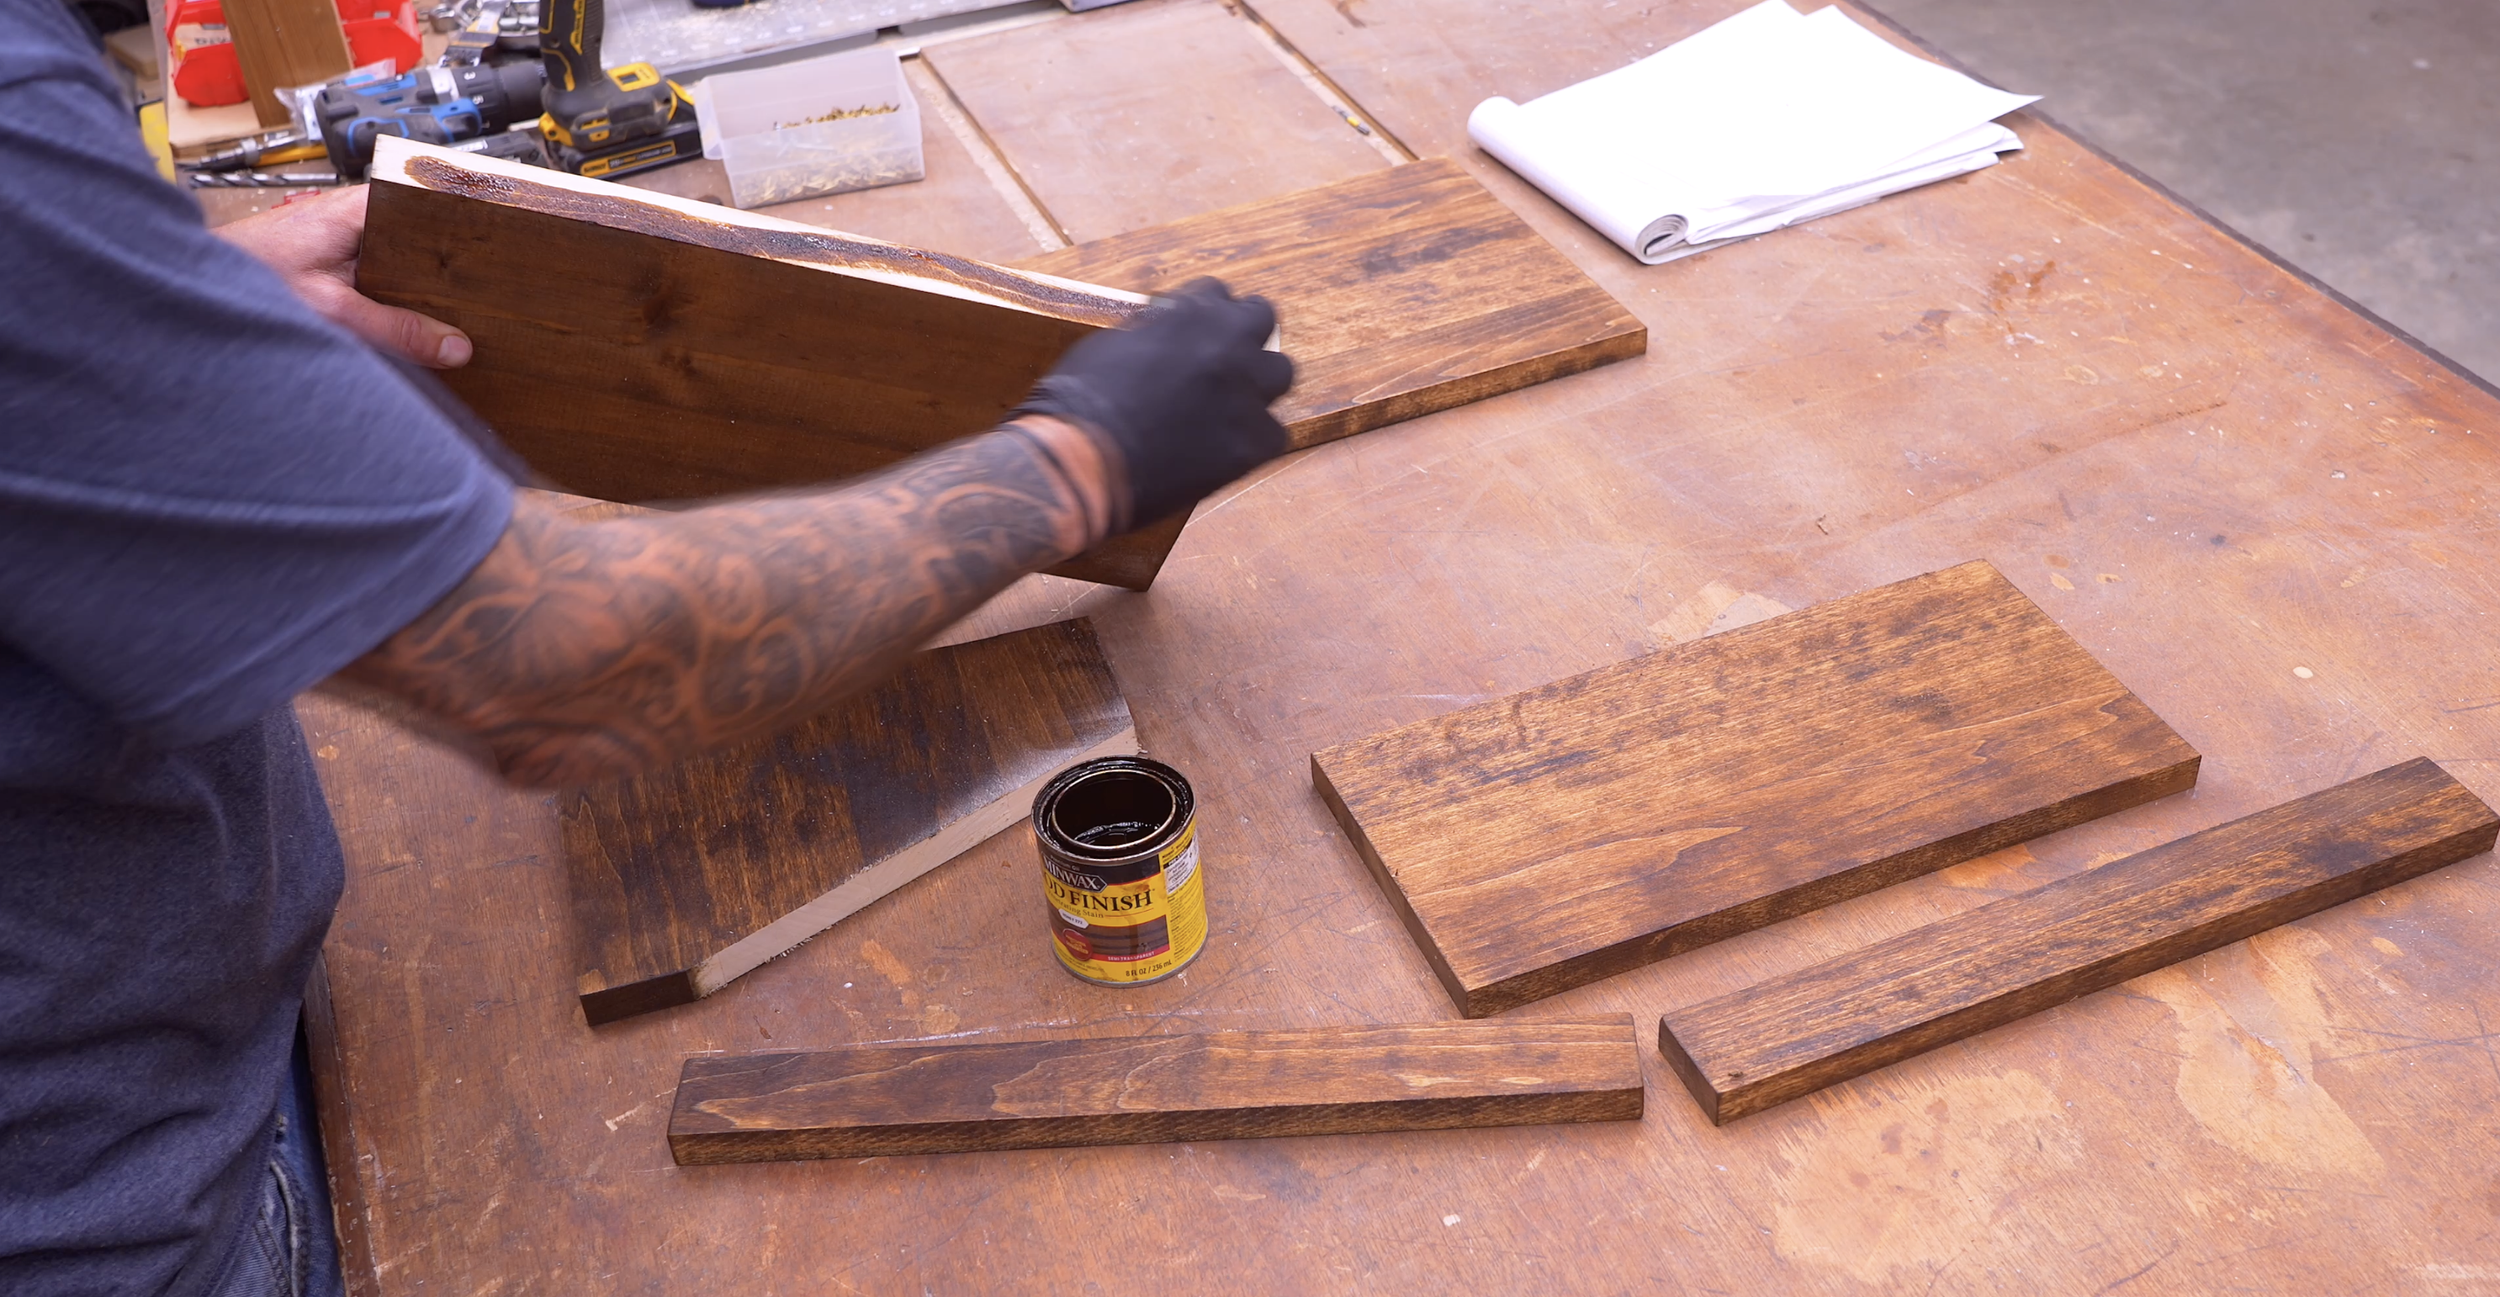
Step 3: Stain Every Piece Before Assembly
One small detail that makes finishing much easier is staining all of the individual pieces before assembling the box.
Apply your favorite dark stain to every board, including the freshly cut bevels.
Don't worry if this isn't your final color. The stain simply becomes the base layer for the distressing process later.
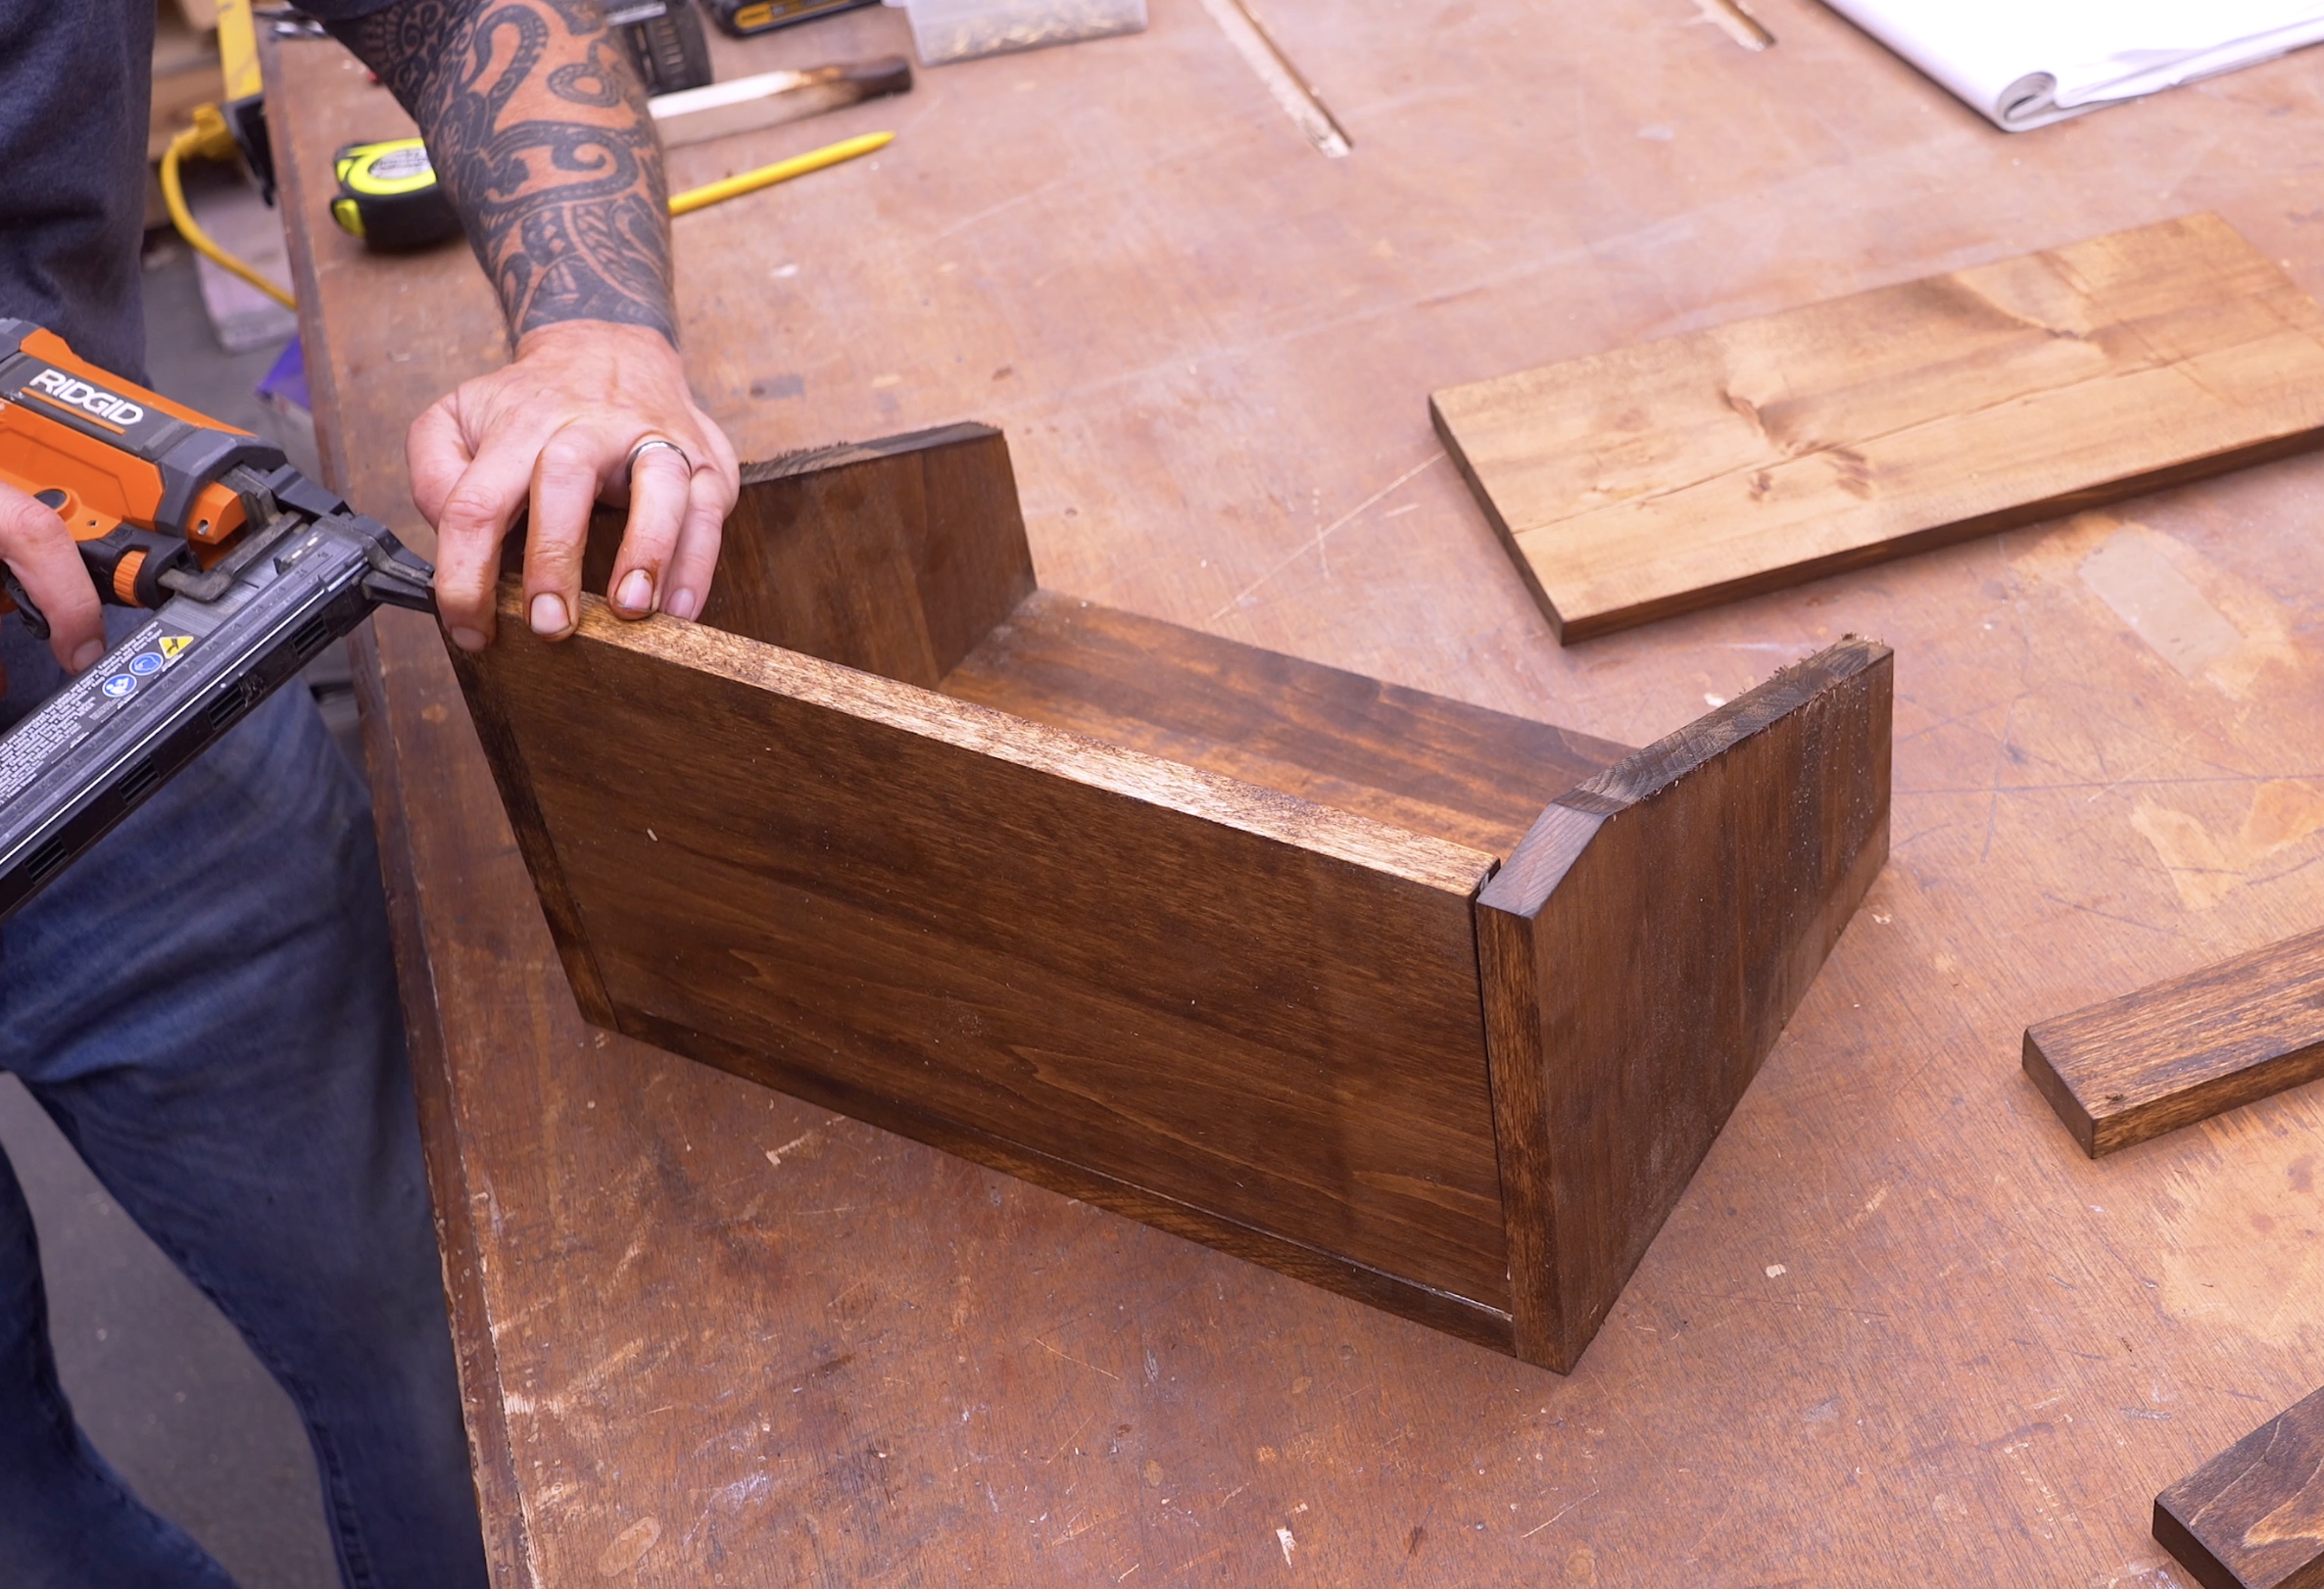
Step 4: Assemble the Main Box
Begin by attaching both side panels to the 11" × 15" back panel.
Apply wood glue along each edge, then secure everything using crown staples or brad nails.
Next, install the 7¼" × 15" bottom panel between the two sides and against the back panel.
This forms the main structure of the bread box.
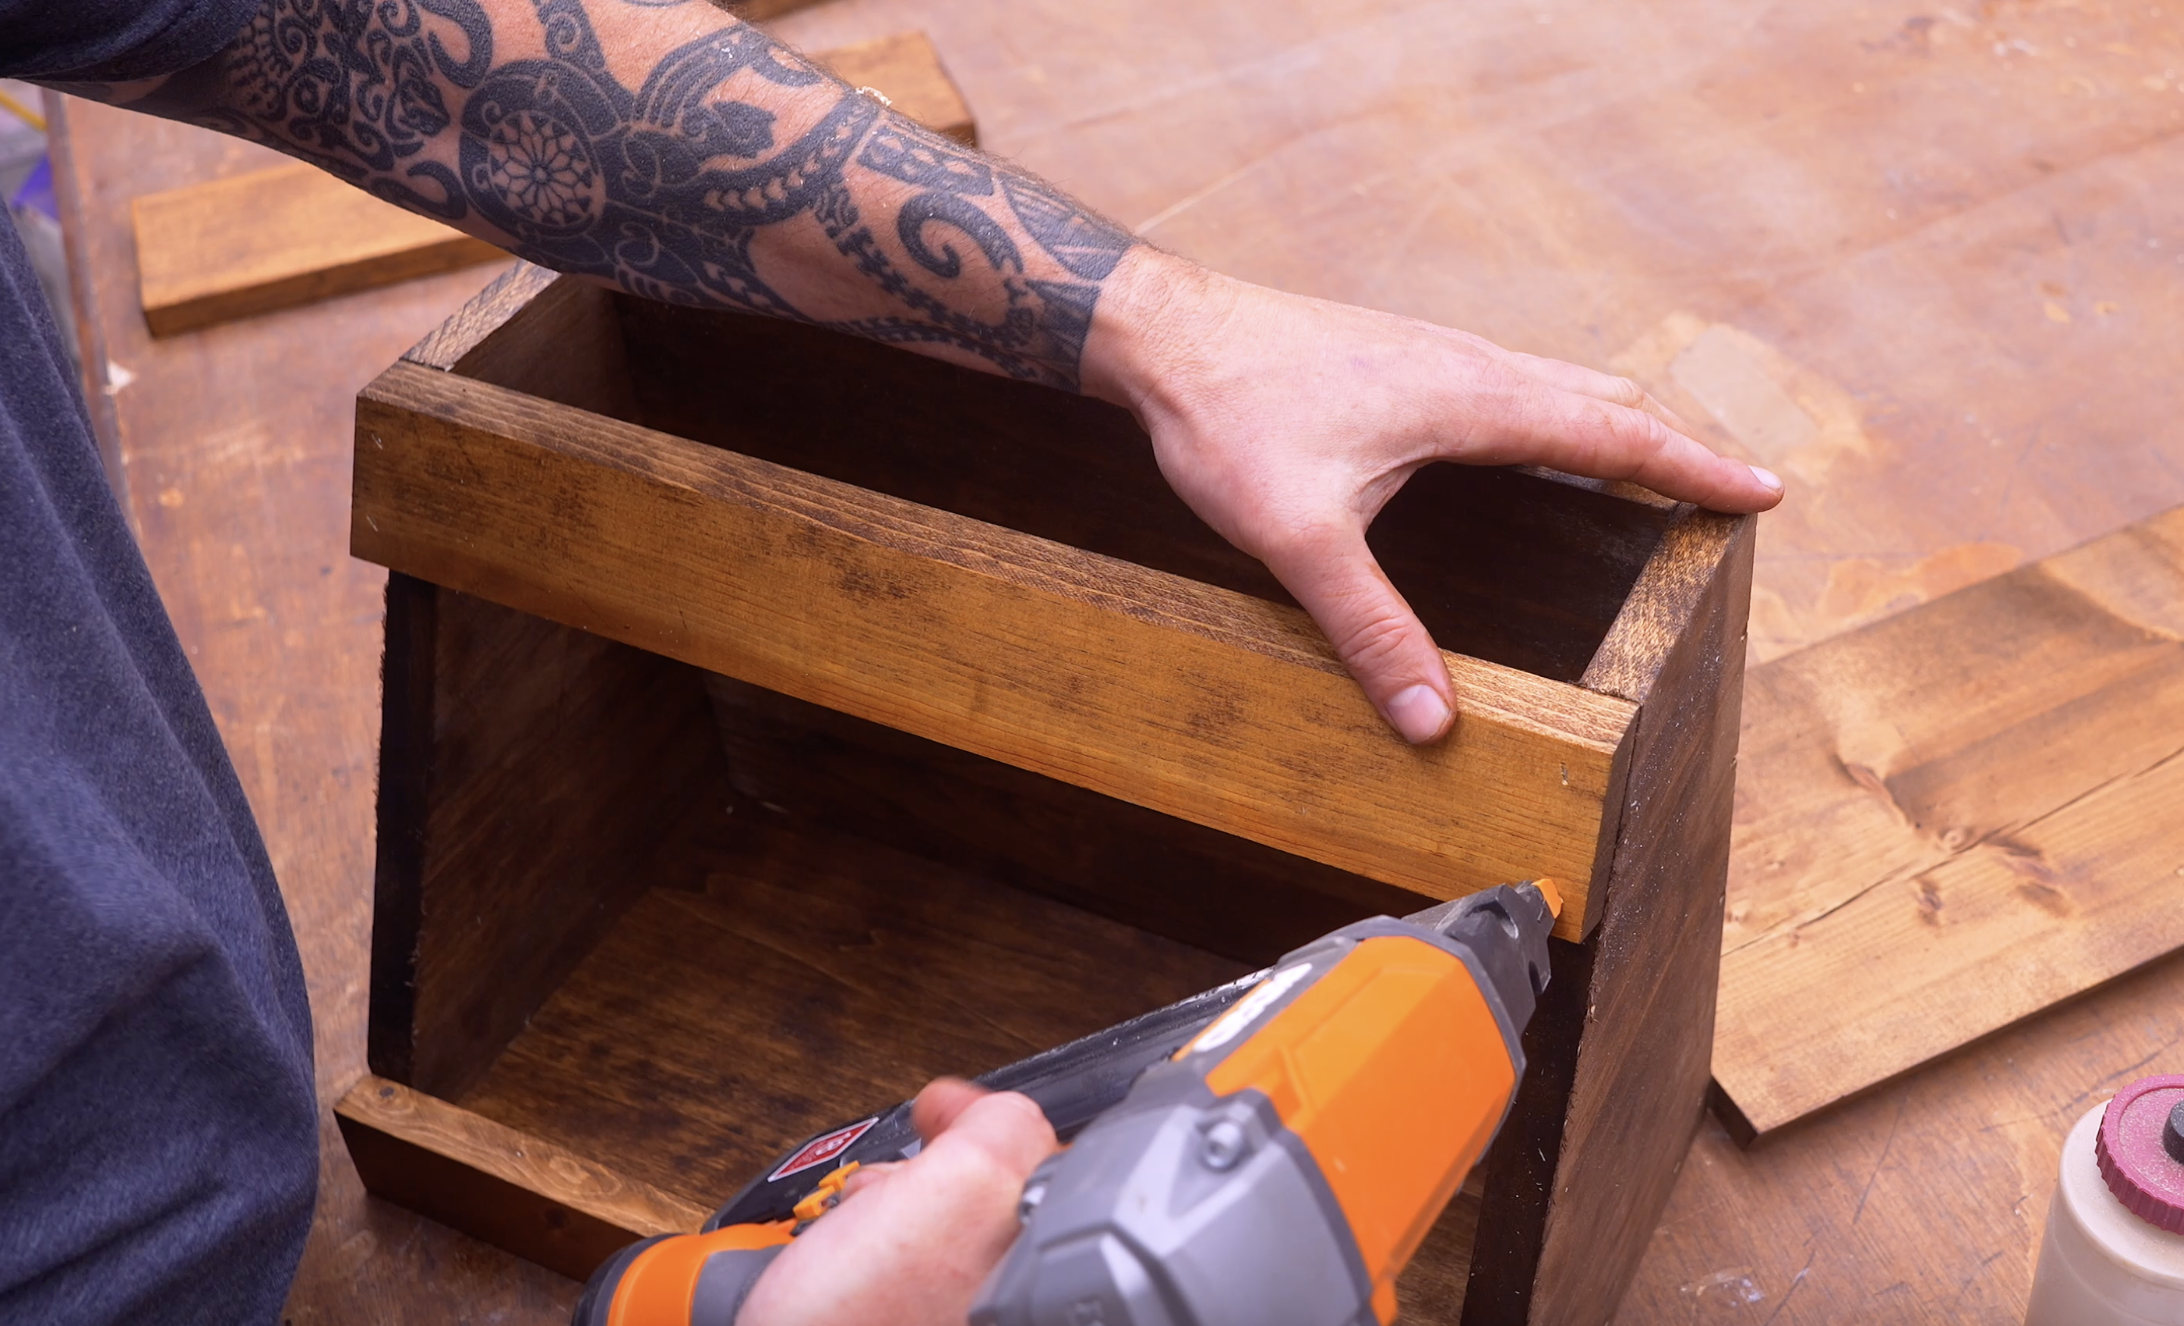
Step 5: Install the Front Pieces
Attach the 2" × 16½" lower front board between the sides.
Next, install the 2½" × 16½" upper front board, making sure:
The beveled edge faces upward.
The top edge sits perfectly flush with the angled sides.
At this point, your bread box should already be taking shape.
Step 6: Install the Top
Center the 5¼" × 17½" top panel over the box.
Leave approximately:
½-inch overhang on each side
½-inch overhang on the front
This small overhang gives the finished piece a more traditional primitive appearance.

Step 7: Create an Authentic Primitive Finish
This is where the project really comes to life.
Instead of simply painting the bread box black, create a naturally worn finish that looks like decades of use.
Apply Petroleum Jelly
Using a small paintbrush, brush petroleum jelly onto random corners, edges, and areas that would naturally wear over time.
Think about where hands would touch the bread box most often.
These areas will eventually expose the stained wood underneath.
Spray with Black Paint
Once the petroleum jelly is applied, coat the entire bread box with black paint.
Allow it to dry completely before moving on.
Reveal the Chipped Paint
Wipe away the petroleum jelly.
Wherever it was applied, the paint will lift away, exposing the dark stain beneath and creating a realistic chipped paint finish without hours of sanding.
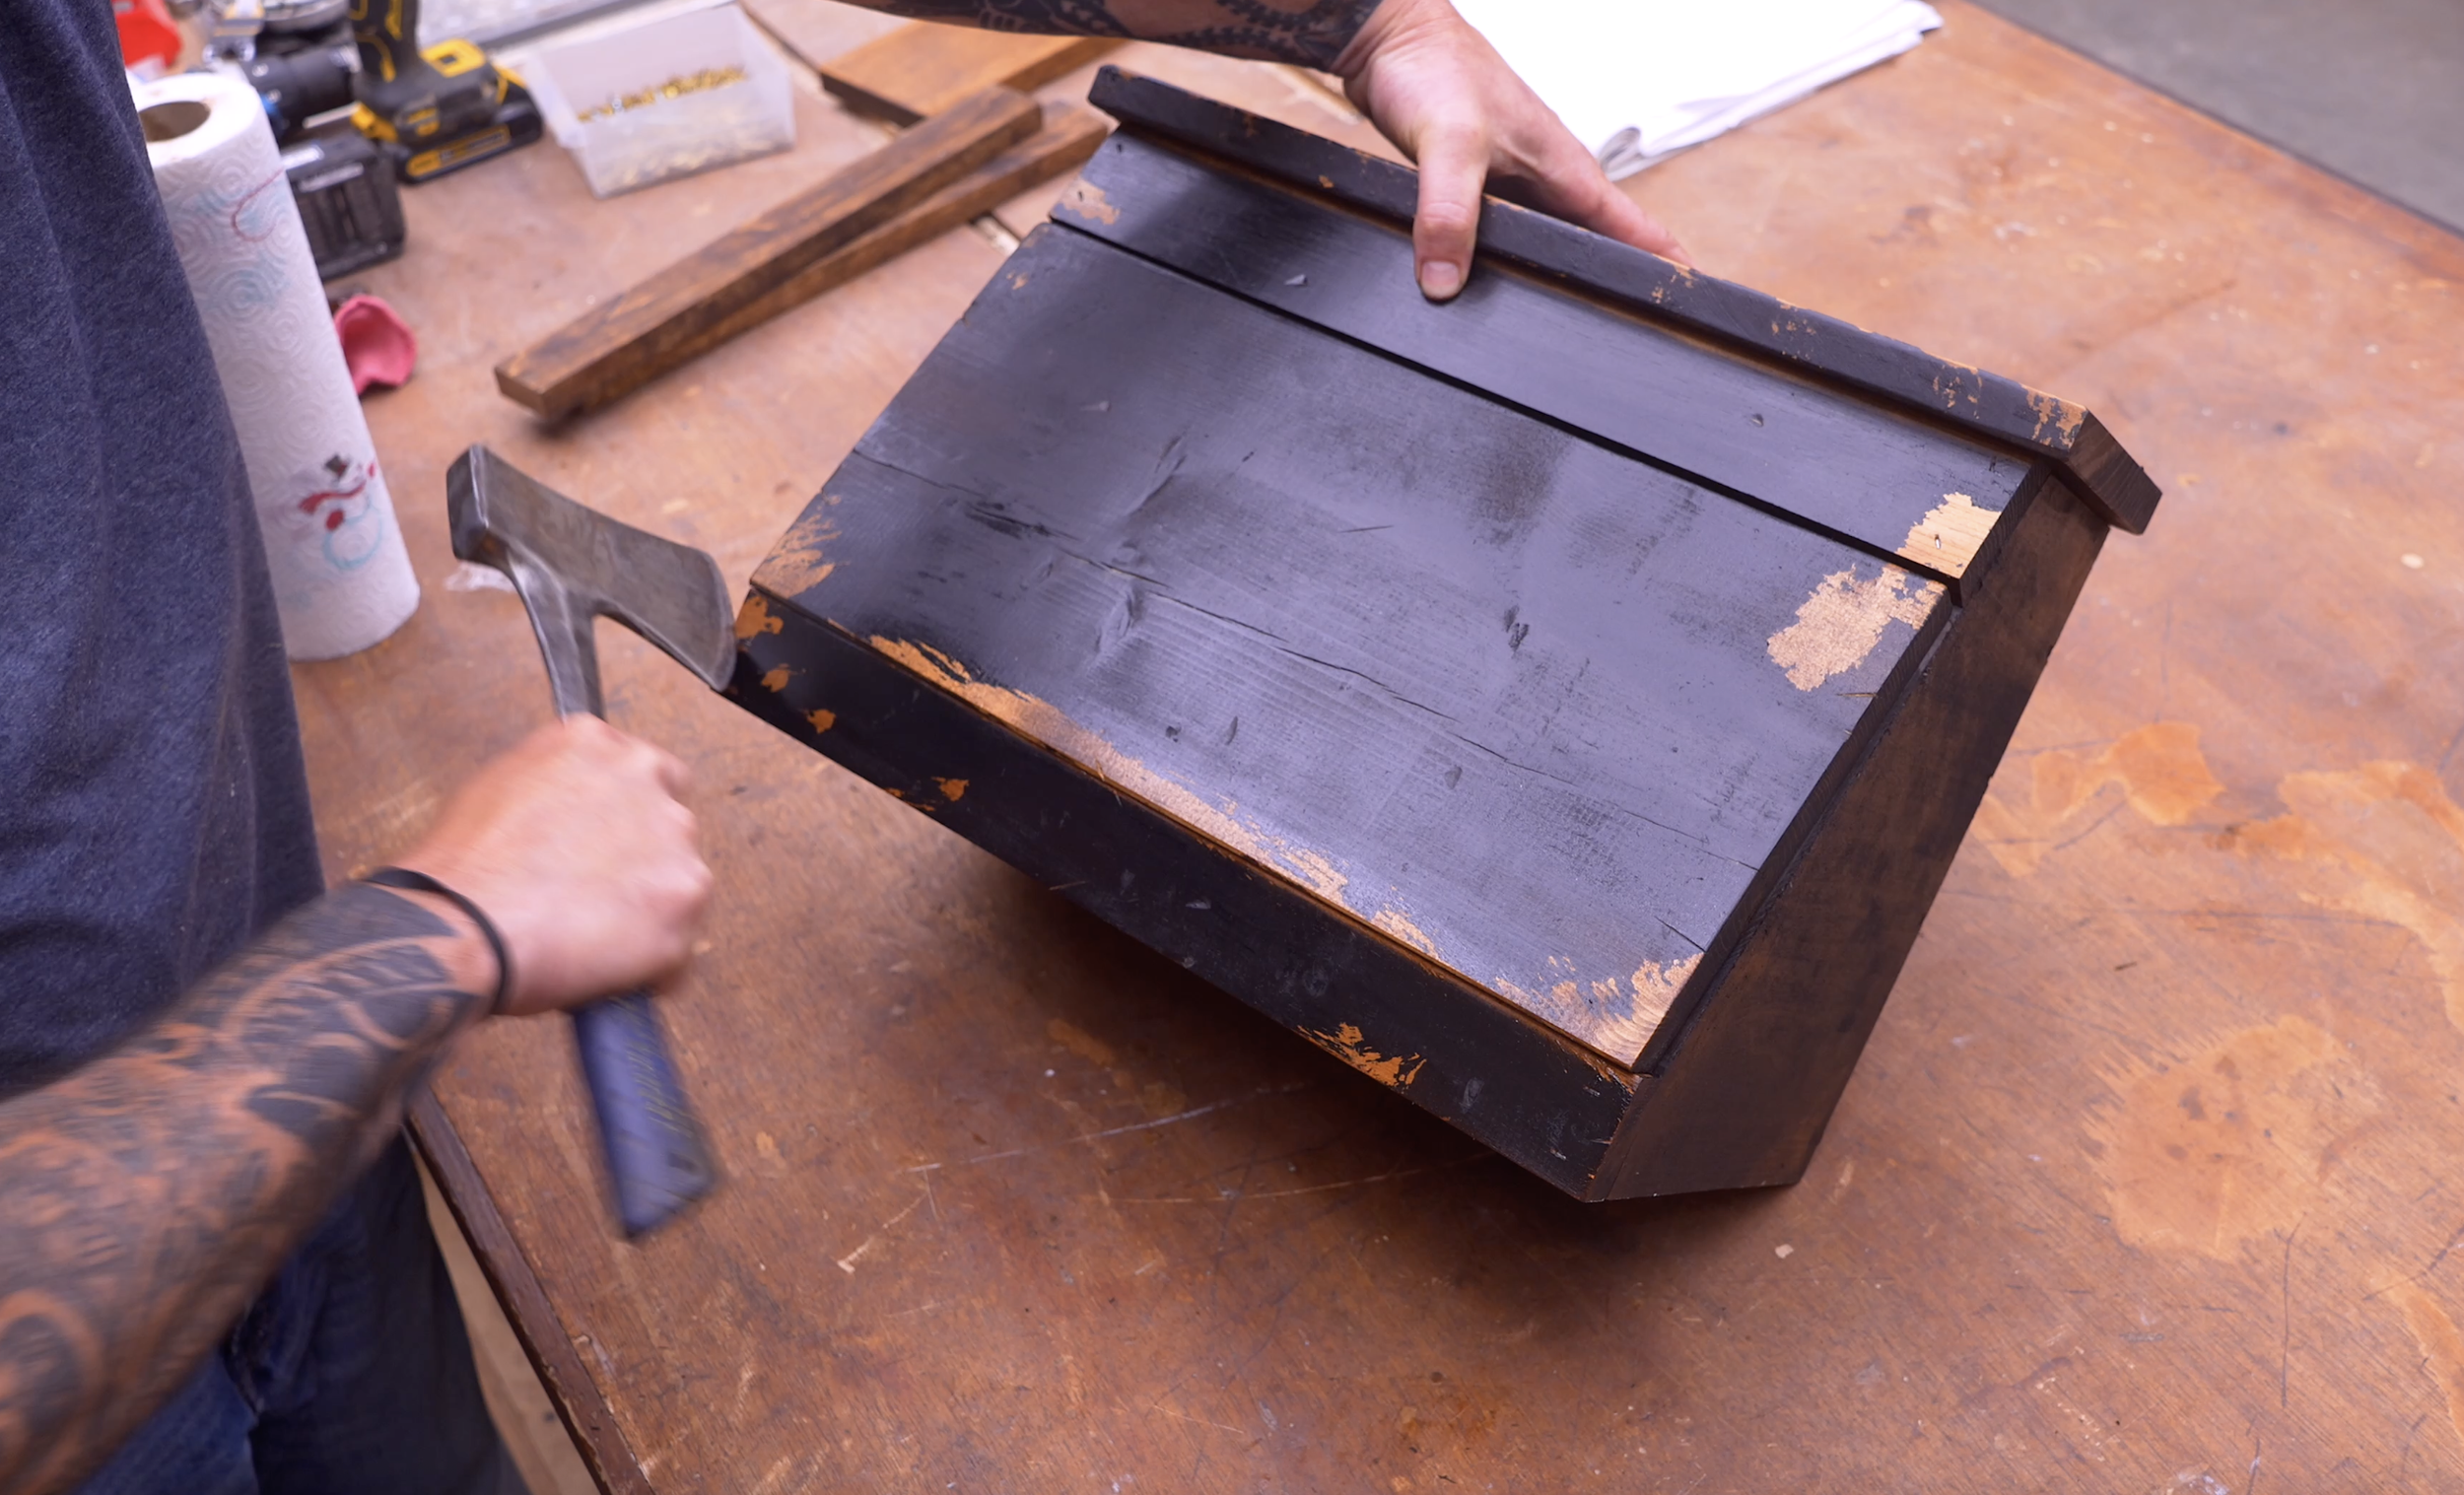
Step 8: Add Years of Character
Real antique furniture didn't become beautiful by staying perfect.
Before sanding:
Tap corners lightly with a hammer.
Add a few dents.
Create small scratches.
Soften sharp edges.
Once satisfied, sand everything lightly using fine-grit paper.
This removes the remaining paint sheen while leaving paint inside dents and scratches, making the distressing look completely natural.
Step 9: Build the Door
Drill a centered hole near the top of the door.
Create a simple wooden knob from a small piece of scrap lumber by rounding the edges with sandpaper.
Secure it from the back using a screw.
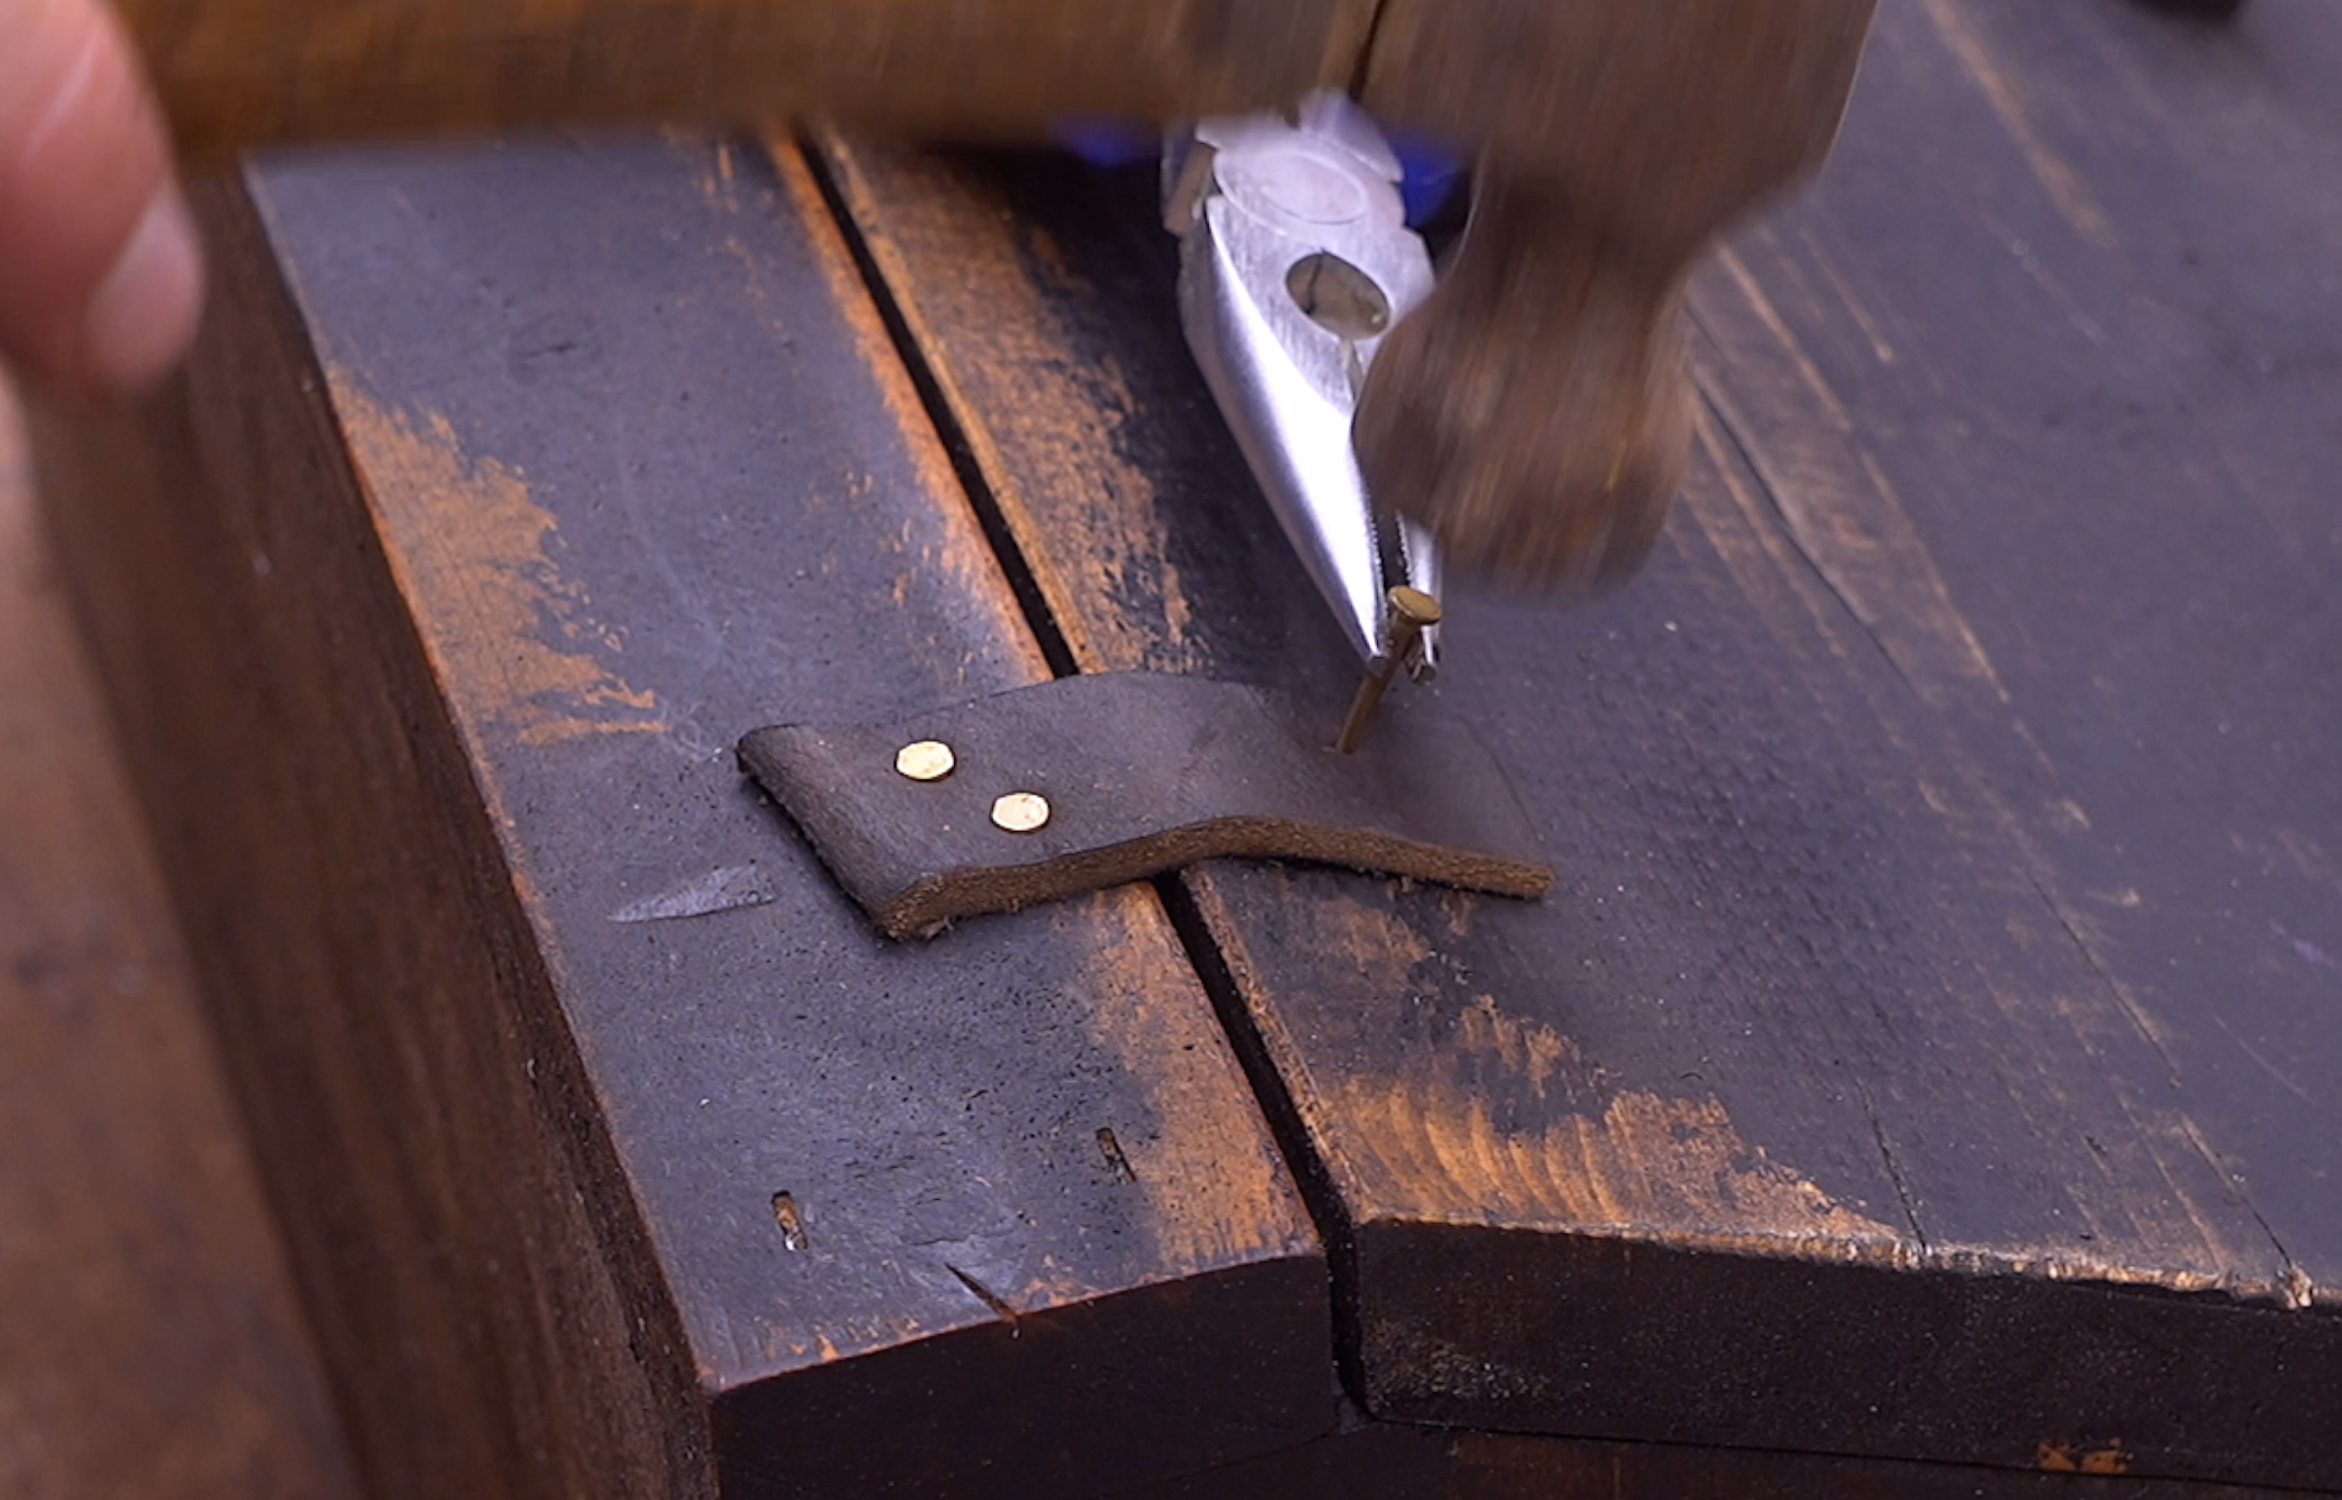
Step 10: Install Primitive Leather Hinges
Rather than using modern cabinet hinges, cut two short leather straps.
Attach each strap using small brass tacks.
Not only is this historically appropriate for a primitive-style piece, but it also becomes one of the most eye-catching details on the finished bread box.
Step 11: Add the Swivel Door Catch
Finish the project by creating a simple rotating wooden latch.
Shape a small piece of scrap wood into an oval or rounded rectangle.
Predrill the center, countersink the screw, and fasten it just enough so it rotates freely.
This simple addition keeps the door securely closed while matching the primitive style of the project.

Finishing Ideas
One of the best things about this project is how easy it is to customize.
Some popular finishes include:
Primitive Black
Black paint with heavy distressing and exposed wood.
Farmhouse White
White over dark stain with chipped paint effects.
Natural Rustic
Dark walnut stain with only light sanding for an aged wood appearance.
Antique Gray
Gray stain with subtle black glazing around the edges.
Each finish creates an entirely different personality while using the exact same construction.
Ready To Build?
The beauty of this primitive bread box isn't complicated joinery or expensive hardwoods.
It's the character.
With a handful of simple boards, basic woodworking tools, and a little creativity during the finishing process, you can create a project that looks like it's been passed down through generations.
Whether you're building one for your own kitchen or adding it to your inventory for your next craft show, this is the kind of timeless woodworking project that never seems to go out of style.
And if you’re ready…
You already know the next step.
👉 Get up, get out, and get your build on.
Whether you’re new to woodworking or a seasoned pro, this project offers the perfect mix of functionality and creativity. Below I have the YouTube video linked for a step-by-step video tutorial for you to follow along with. If you’re a more “plans in the hand” person, click “Get Plan” down below for downloadable instructions. And if you’re ready to dive deeper into woodworking, check out my new course, “Woodworking Kickstart” (which is also linked below). It’s packed with step-by-step lessons to help you build confidence and skills, whether you’re a total beginner or an experienced DIYer. You’ll be building with confidence in no time.
Remember, creativity doesn’t have to be expensive; all you need is a little inspiration and a willingness to try.
Get Easy Step-By-Step Directions to build this by clicking the button below
⭐ 10,044 5 Star Reviews
📚 113 Plans to Choose From
🧩 Lego-Like Assembly Steps
📏 Exact Measurements
📋 Detailed cut and part list
🔍 X-Ray Views
🚀 Instant Delivery
