
Top 10 Budget-Friendly Woodworking Tools Under $30
Let’s Improve Your Shop Today
I’ve been tinkering in my shop for years, and some of the best tools I use cost less than a good pizza—under $30, with a few even under $5! If you’re looking to level up your shop game without breaking the bank, this step-by-step guide will walk you through my top 10 affordable tools that I use daily.

Multipurpose Power Switch
I can’t tell you how many times I’ve skipped turning on my dust collection for a quick cut because I didn’t want to walk across the shop. A multipurpose power switch with two outlets is a game-changer. Mount it under your mobile workbench or router table for easy access.
How to Use: Screw the switch to the underside of your workbench or router table. Plug your tool (like a router) and dust collector into the switch’s outlets. Flip one switch to power both on/off. For extra convenience, pair it with a $14 foot pedal activator to turn equipment on hands-free.
Pro Tip: If you’re running multiple small tools, connect a power strip to the switch—just don’t overload it with big machines.

Set of Push Blocks
Push blocks are like the best friend who keeps you safe. I’ve had my offset-handle push blocks with felt pads for 15 years, and they’re still going strong. They’re perfect for keeping your fingers away from blades while applying downward pressure.
How to Use: On a table saw, use them for non-through cuts like dados or grooves to press material down and forward. On a router table or jointer, they keep your stock flush against the fence for clean cuts. For band saws, they ensure even pressure for smooth, controlled cuts.
Pro Tip: Always use two push blocks on a jointer—one to press down, one to guide along the fence—to avoid your hands getting near the blades.
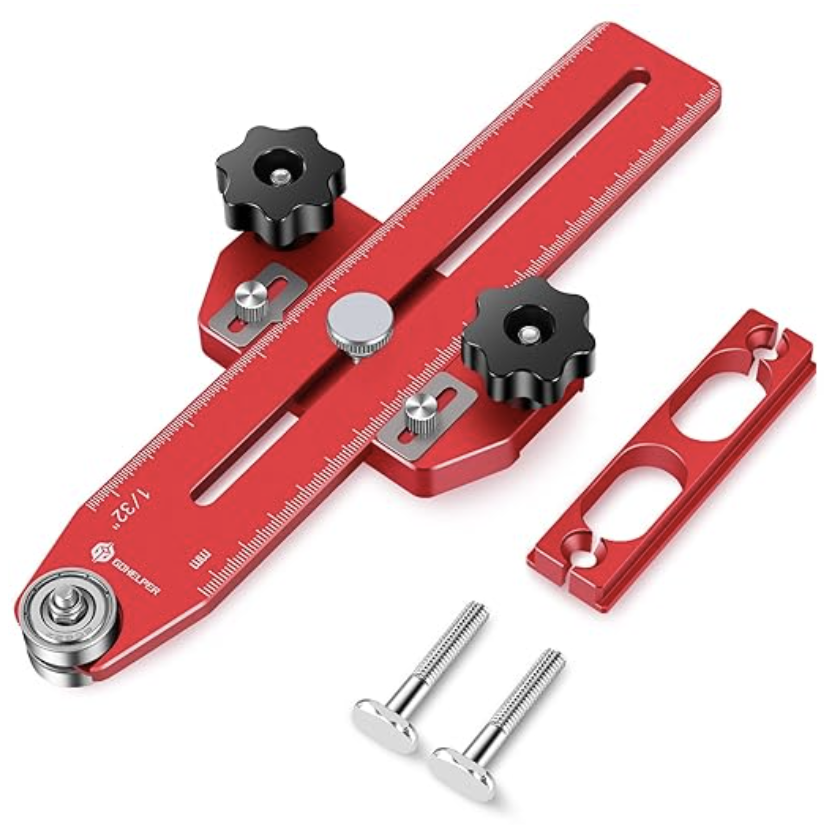
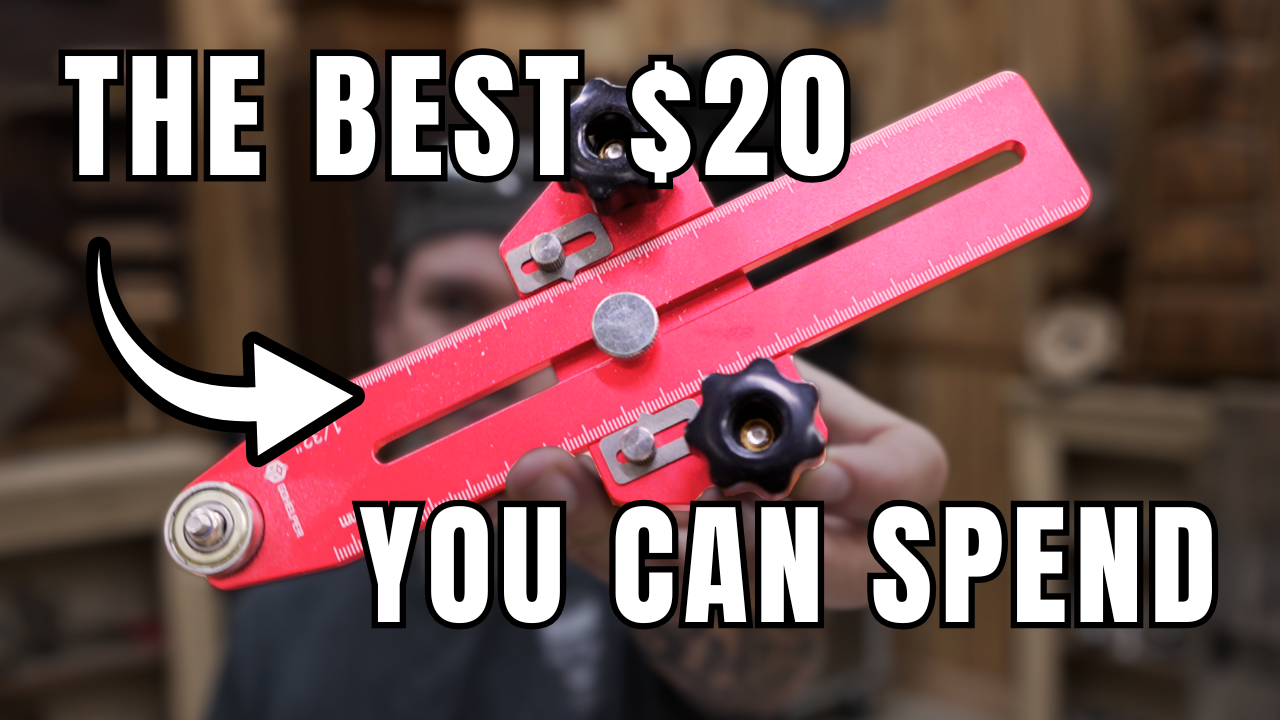
Thin Rip Guide
Cutting thin strips against a table saw fence can feel like a high-stakes game. A thin rip guide with dual bearings makes it safer and faster.
How to Use: Slide the guide into your table saw’s T-track or U-slot. Position it 2-3 inches in front of the blade and tighten the knobs to lock it. Set your fence to the desired strip thickness, slide the guide’s center until the bearings touch your wood, and lock it in place. Push the material through; the bearings guide it smoothly. To repeat, slide the fence until the wood touches the bearings again.
Pro Tip: Double-check the guide’s position before cutting to ensure consistent strip thickness.

Pick and Needle File Set
These little guys are the unsung heroes of my shop. I use them for everything from cleaning resin off blades to digging out stubborn staples in reclaimed wood.
How to Use: Scrape pitch or resin from saw blades, router bits, or miter saws with the pick. Use the needle file for tighter spots or to clean sawdust from screw heads and glue bottle tips. For reclaimed wood, pry out broken nails or staples. To start a drill hole, gently tap the pick to create a divot and prevent bit wandering.
Pro Tip: Keep a few sets around your shop for quick access—they’re dirt cheap and endlessly useful.

9mm Mechanical Pencil
A good pencil is your shop’s MVP. I love my 9mm Pentel sharp pencil for everyday marking and the fancier Graph Gear 1000 for sketching. The Graph Gear’s retractable lead and clip are nice, but the cheaper version works just as well for most tasks.
How to Use: Use the pencil for marking cuts, sketching plans, or layout lines for dovetails. The Graph Gear’s retractable lead prevents accidental scratches if you keep it behind your ear. Clip it to your pocket or workbench to avoid losing it.
Pro Tip: If you’re a “pencil in the hair” guy like me, stick with the lighter, cheaper version for comfort.

Set of Engineering Squares
These little machinist squares are precision tools for checking 90-degree angles, and they’re tougher than they look—my 100-year-old one still works perfectly!
How to Use: Check table saw blades, miter saw fences, or jointer tables for 90-degree accuracy before starting a project. Use them to verify square joints or draw precise dovetail layouts. Keep a 2”, 3”, 4”, and 6” square at different workstations for quick access.
Pro Tip: Use the outside and inside edges of the square for versatility when checking or setting up equipment.

Magnetic LED Work Light
No matter how many shop lights you have, there’s always a dark corner. A magnetic, pivoting work light is a lifesaver for close-up tasks.
How to Use: Stick the light to a metal surface near your work (like a tool cabinet) or attach it to a 1-2-3 block for non-metal surfaces. Pivot the head to aim light at blades when changing them, or use it on a lathe, band saw, or drill press to see details clearly. Check finishes for dust or flaws before they dry. If you drop a screw, use the magnet to find it.
Pro Tip: Recharge it every few months—it’s LED, so it lasts forever.
Organize Your Workflow
These tools aren’t just random gadgets—they streamline your shop’s workflow. Keep push blocks and squares near your table saw, jointer, and band saw. Place picks and files in multiple spots for quick fixes. Mount the power switch where you’ll use it most, like under a workbench or router table. Stick the magnetic light on your tool cabinet when not in use.
Ready To Improve Your Shop?
These essential tools will make your shop hum without emptying your wallet. I’ve been using these for years, and they’ve saved me time, kept me safe, and made woodworking a blast. Whether you’re just starting out or you’ve been at it a while, these are the kind of tools that become old friends in your shop. Grab a couple, try ‘em out, and let me know how they work for you. Oh, and if you want to dive deeper into woodworking, my Woodworking Kickstart program is waiting for you—let’s build something awesome together!
