
Modern Mailbox DIY: Build a Cedar Mailbox Post with Light-Up Numbers
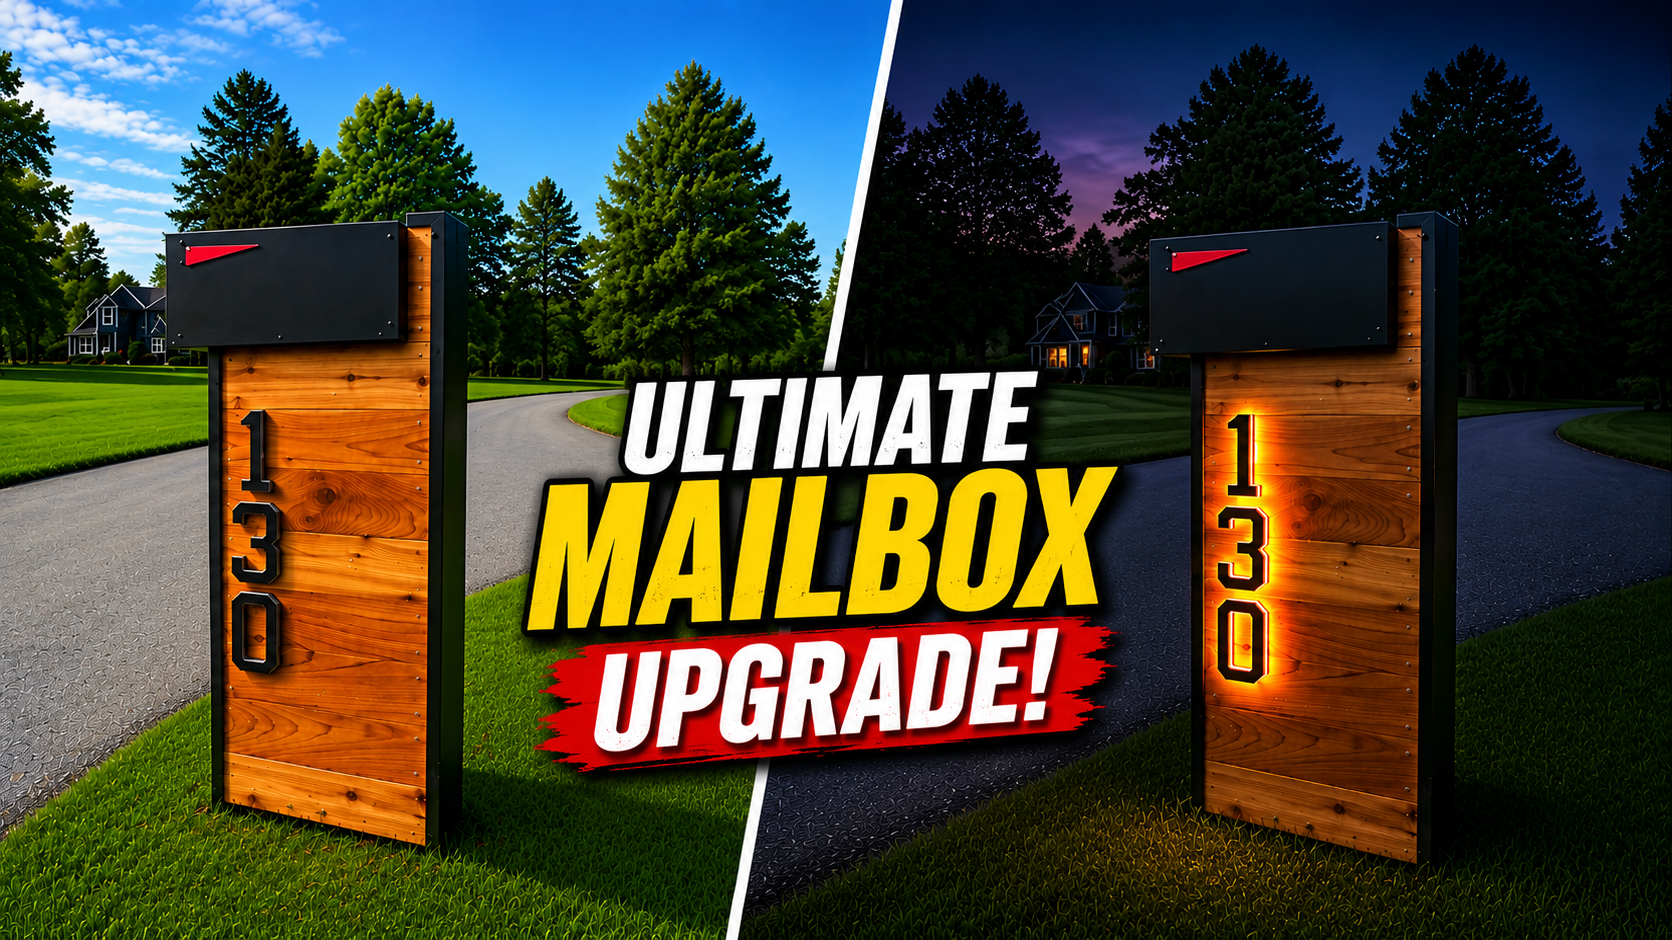
A modern mailbox can completely change the curb appeal of a home. Clean lines, natural cedar, bold black accents, and illuminated house numbers can turn an ordinary mailbox into something that looks like a high-end architectural feature.
The only problem? Similar modern mailboxes can cost more than $1,000.
That's exactly what inspired this project. Instead of buying one, we're going to build a modern mailbox using common materials. The internal structure is also designed to slide directly over a standard 4x4 mailbox post, making this a great option for replacing an existing mailbox or installing a completely new one.
Materials You’ll Need
Lumber
2x4 Lumber
1x6 Lumber
Cedar Fence Pickets
Hardware and Supplies
3 1/2" Exterior Screws
Brad Nails
Exterior Wood Glue
Wood Plugs, Dowels, or Wooden Buttons
Exterior Paint
Outdoor Urethane or Exterior-Rated Finish
Solar Light-Up Address Numbers
Mailbox
Standard 4x4 Mailbox Post
Tools
Miter Saw
Table Saw
Drill/Driver
Brad Nailer
Countersink or Counterbore Bit
Sander
Tape Measure
Speed Square
Let’s Get Going!
Step 1: Cut and Paint the Front, Back, and Top Cap
Start with the pieces that will receive the black finish so they can dry while you work on the rest of the project.
Cut your front board to 45 inches and your back board to 53 inches. Rip both pieces to 4 1/2 inches wide.
Prepare the top cap from the same material and cut a 45-degree angle on one end.
Paint these pieces with an exterior-rated black paint—or use whatever color works with your home.
The black-and-cedar combination creates the modern look used in the original build, but this is an easy place to customize the design.
Step 2: Assemble the Internal 2×4 Frame
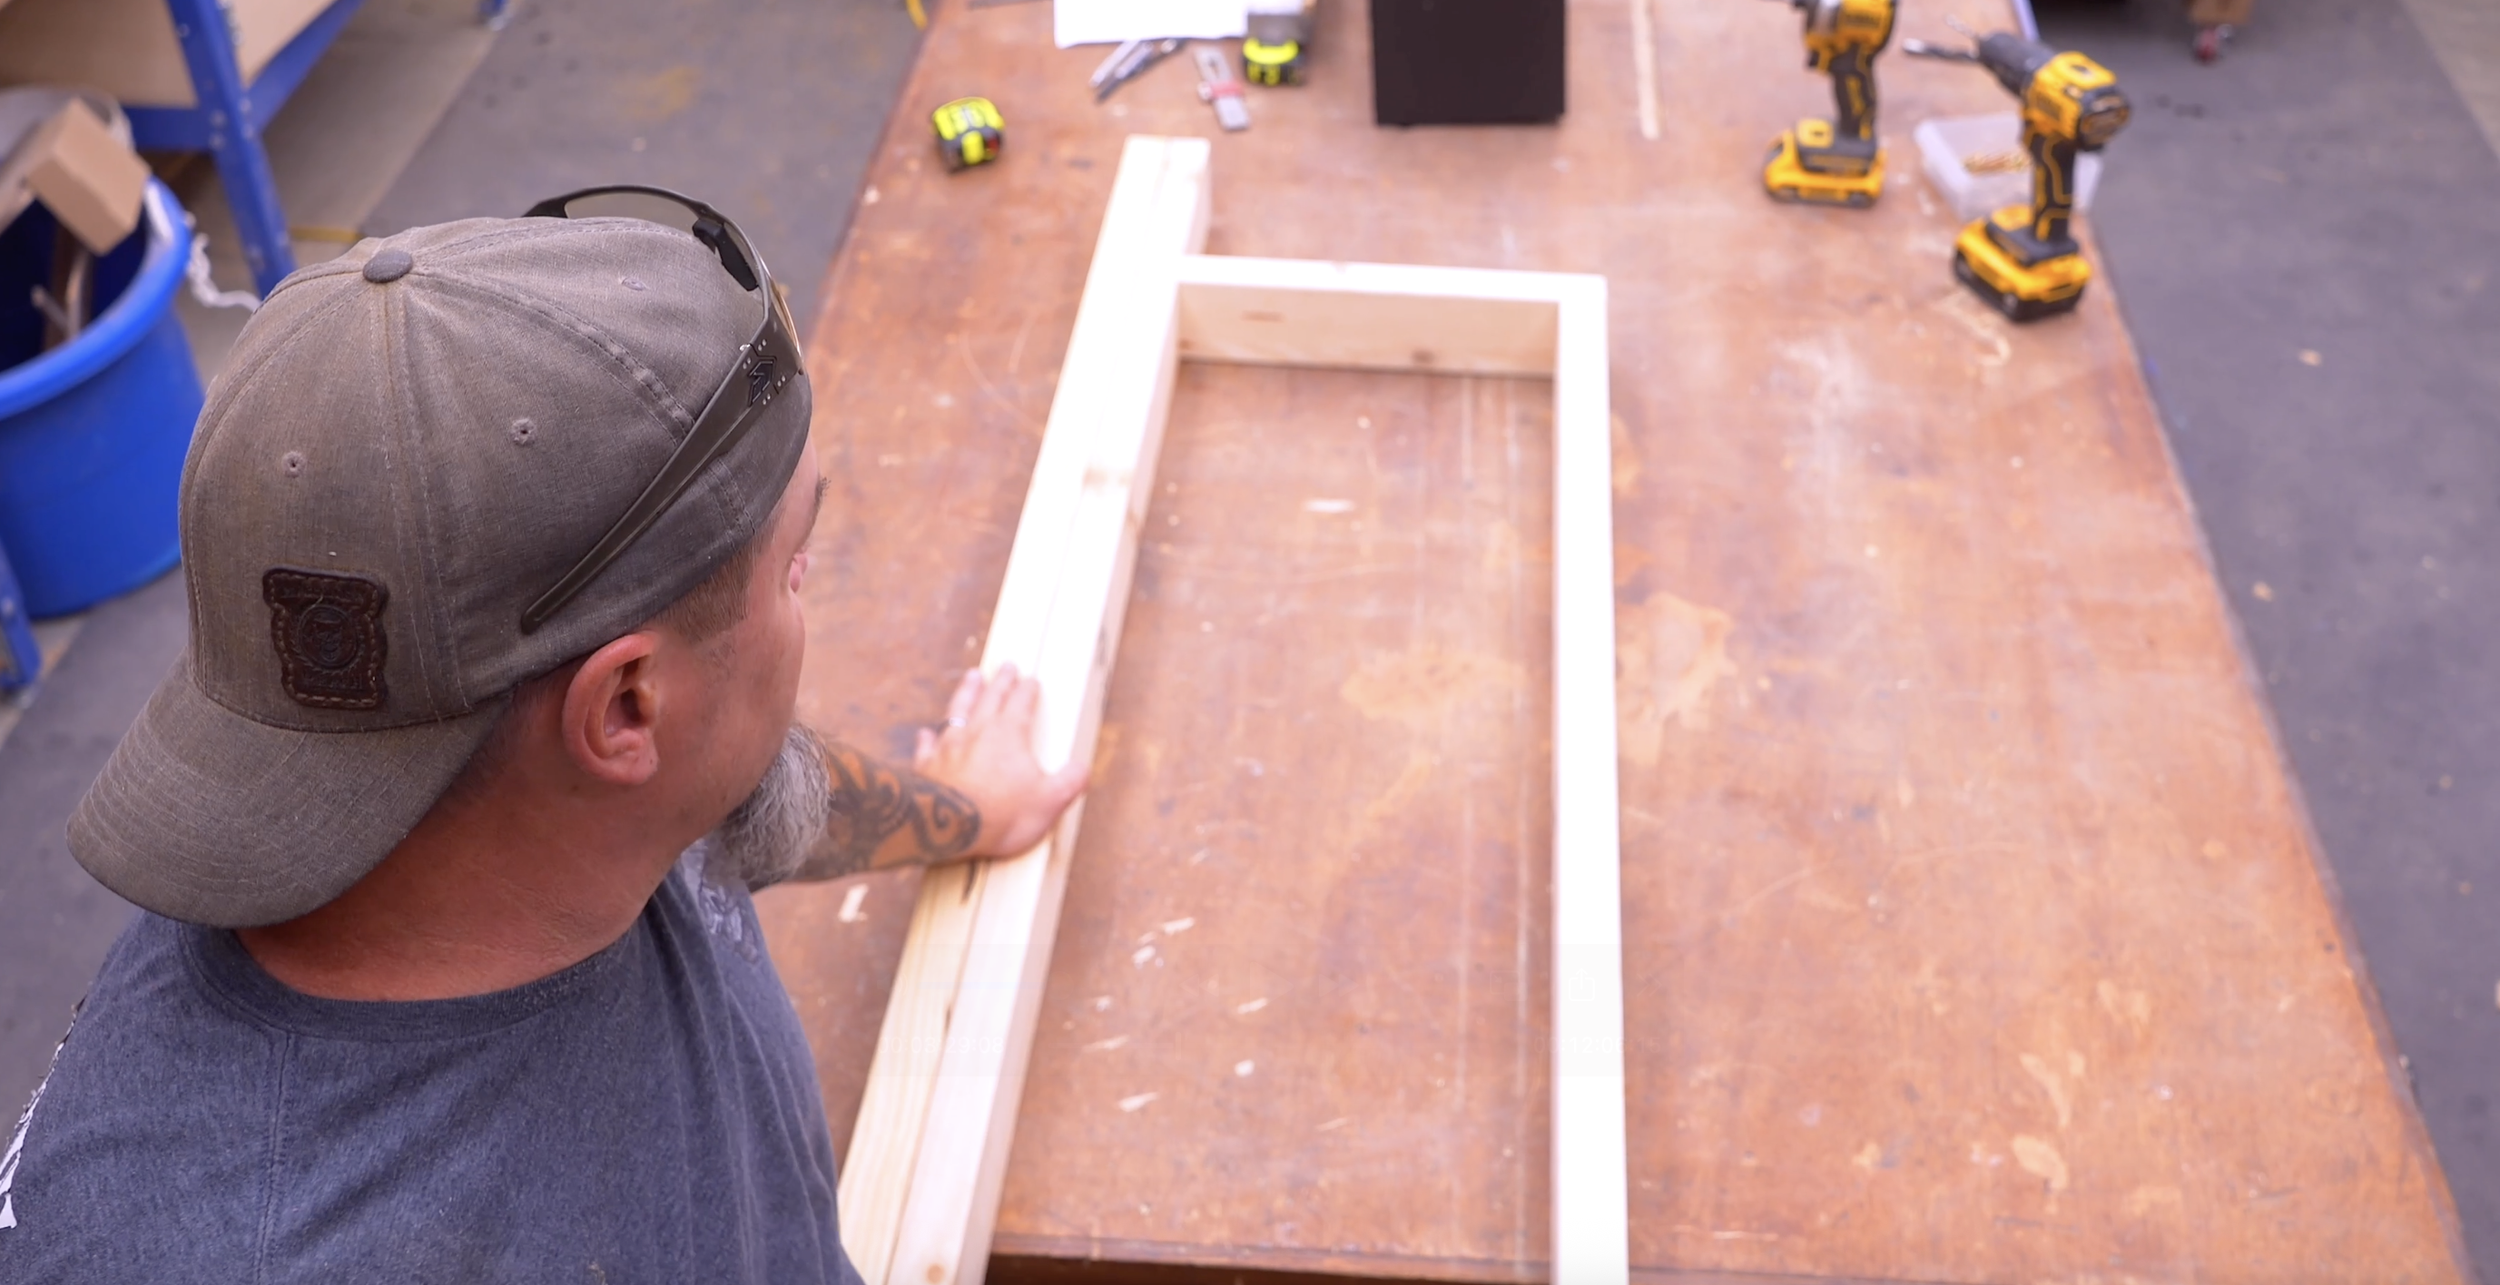
The hidden 2x4 frame provides the structure for the entire mailbox stand.
Start by attaching the 15-inch board to the top of the 43 1/2-inch board.
Attach the opposite end of that 15-inch piece to one of the 53 1/4-inch boards, making sure the ends are square.
Next, attach the second 53 1/4-inch board along the outside edge using 3 1/2-inch screws.
Pre-drill whenever you're fastening close to the end of a board to reduce the chance of splitting.
You'll notice that there isn't a board connecting the bottom of the frame.
Don't add one.
That opening is intentional because the completed structure needs to slide over a standard 4x4 post.
Step 3: Cut and Install the Cedar Slats
Rip your cedar fence pickets to 5 inches wide and cut 18 slats at 18 inches long.
Save the leftover material because you'll use some of those scraps later.
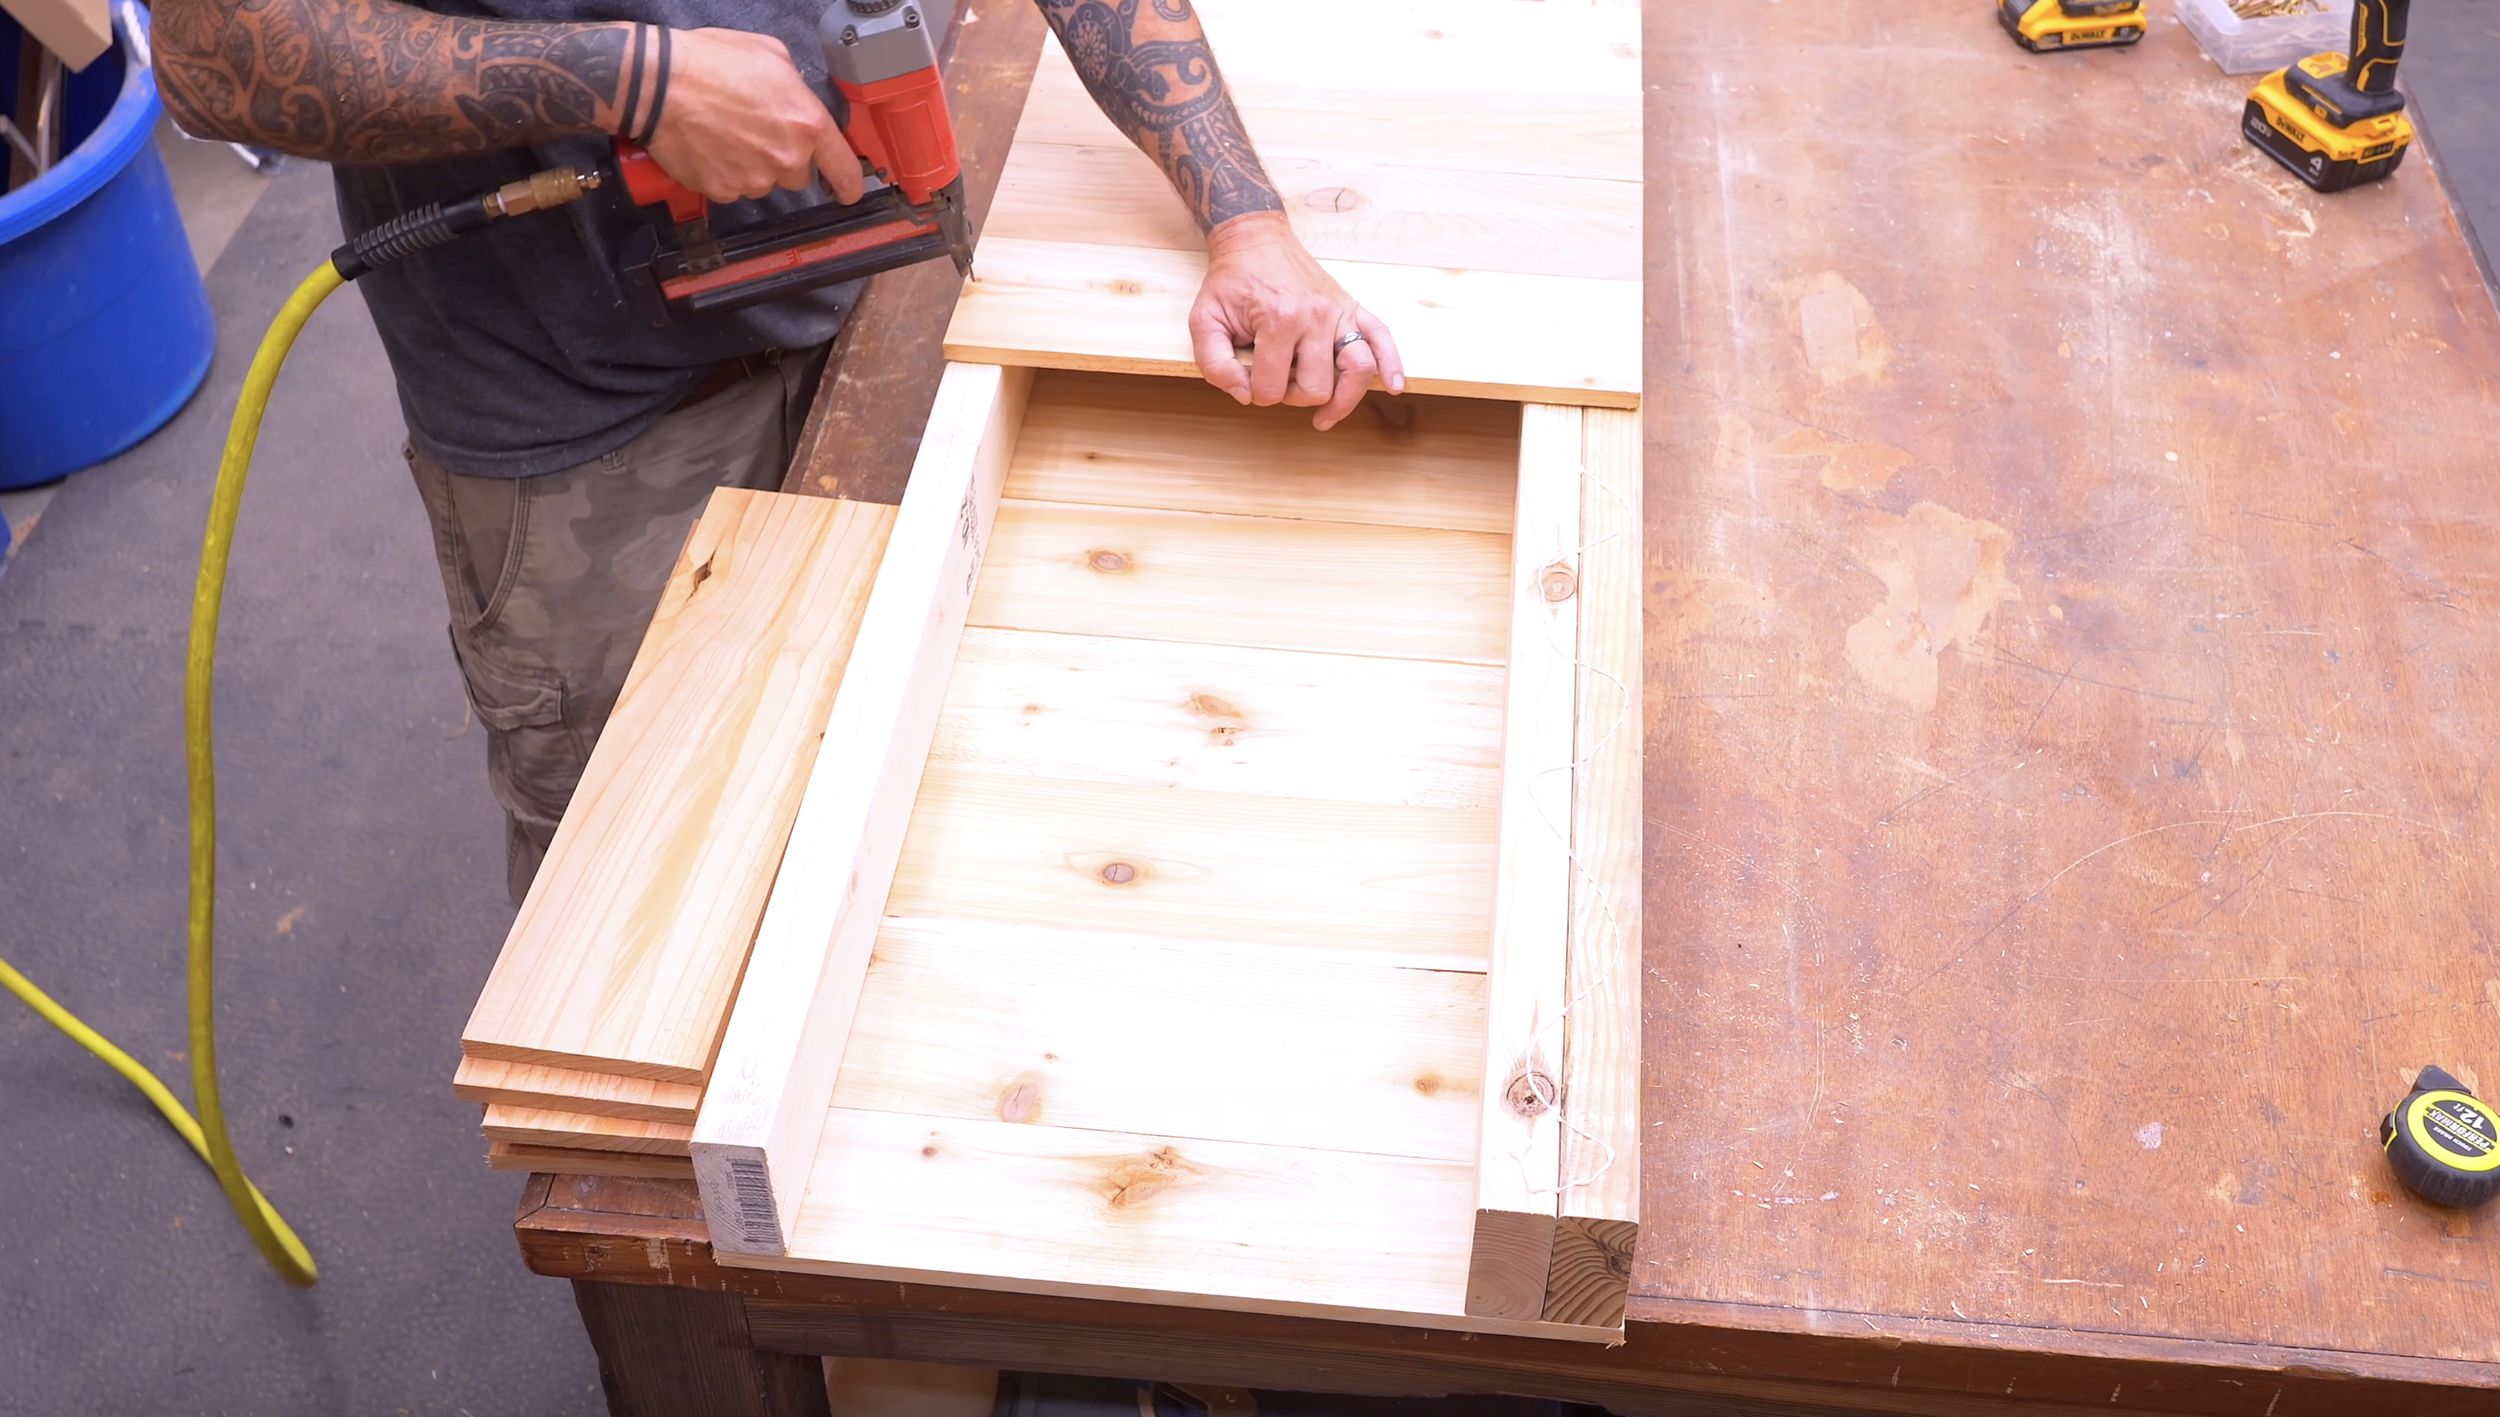
Apply exterior wood glue to the frame and begin installing the cedar slats at the top of the 15-inch board, working downward.
Butt the slats tightly against one another for a continuous horizontal pattern. If you'd prefer a slightly different modern look, you could leave a consistent gap between the boards.
Use a brad nail at each end to temporarily lock each slat in place.
Once one side is finished, flip the structure over and repeat the process on the opposite side.
Important Material Adjustment
The original build uses cedar pickets approximately 1/2 inch thick.
If you're using 3/4-inch material, increase the width of your front and back pieces from 4 1/2 inches to approximately 5 inches so everything remains flush.
Step 4: Permanently Fasten the Slats and Hide the Screws
Once you're satisfied with the position of all the cedar slats, reinforce them with screws.
For the screw layout, position the holes approximately:
1 inch from the edge
3/4 inch from the ends
That works out to four screws per slat.
Pre-drill and counterbore the holes before driving the screws. The counterbored holes allow you to cover the screw heads with wood plugs later, giving the finished mailbox a much cleaner appearance.
Step 5: Adjust the Mailbox Position and Finish the Upper Slats
Before moving on to the trim, temporarily place your mailbox on the structure and step back to look at the proportions.
I originally built the frame according to the initial dimensions but decided that I wanted his mailbox to sit farther back.
If you prefer that look, shorten the appropriate inside board to approximately 45 inches.
This is an optional design adjustment rather than a requirement. If you like the original mailbox position, you can leave the frame as originally constructed.
Now use the cedar scraps you saved earlier.
On each side, add:
One 5" × 1 1/2" piece
One 3 1/4" × 1 1/2" piece
These complete the cedar pattern around the upper portion of the mailbox stand.
Step 6: Plug the Screw Holes and Sand Everything Smooth
Now hide the visible screw heads.
You can use:
Pre-cut wood plugs
Wooden buttons
Dowel rods cut into short sections
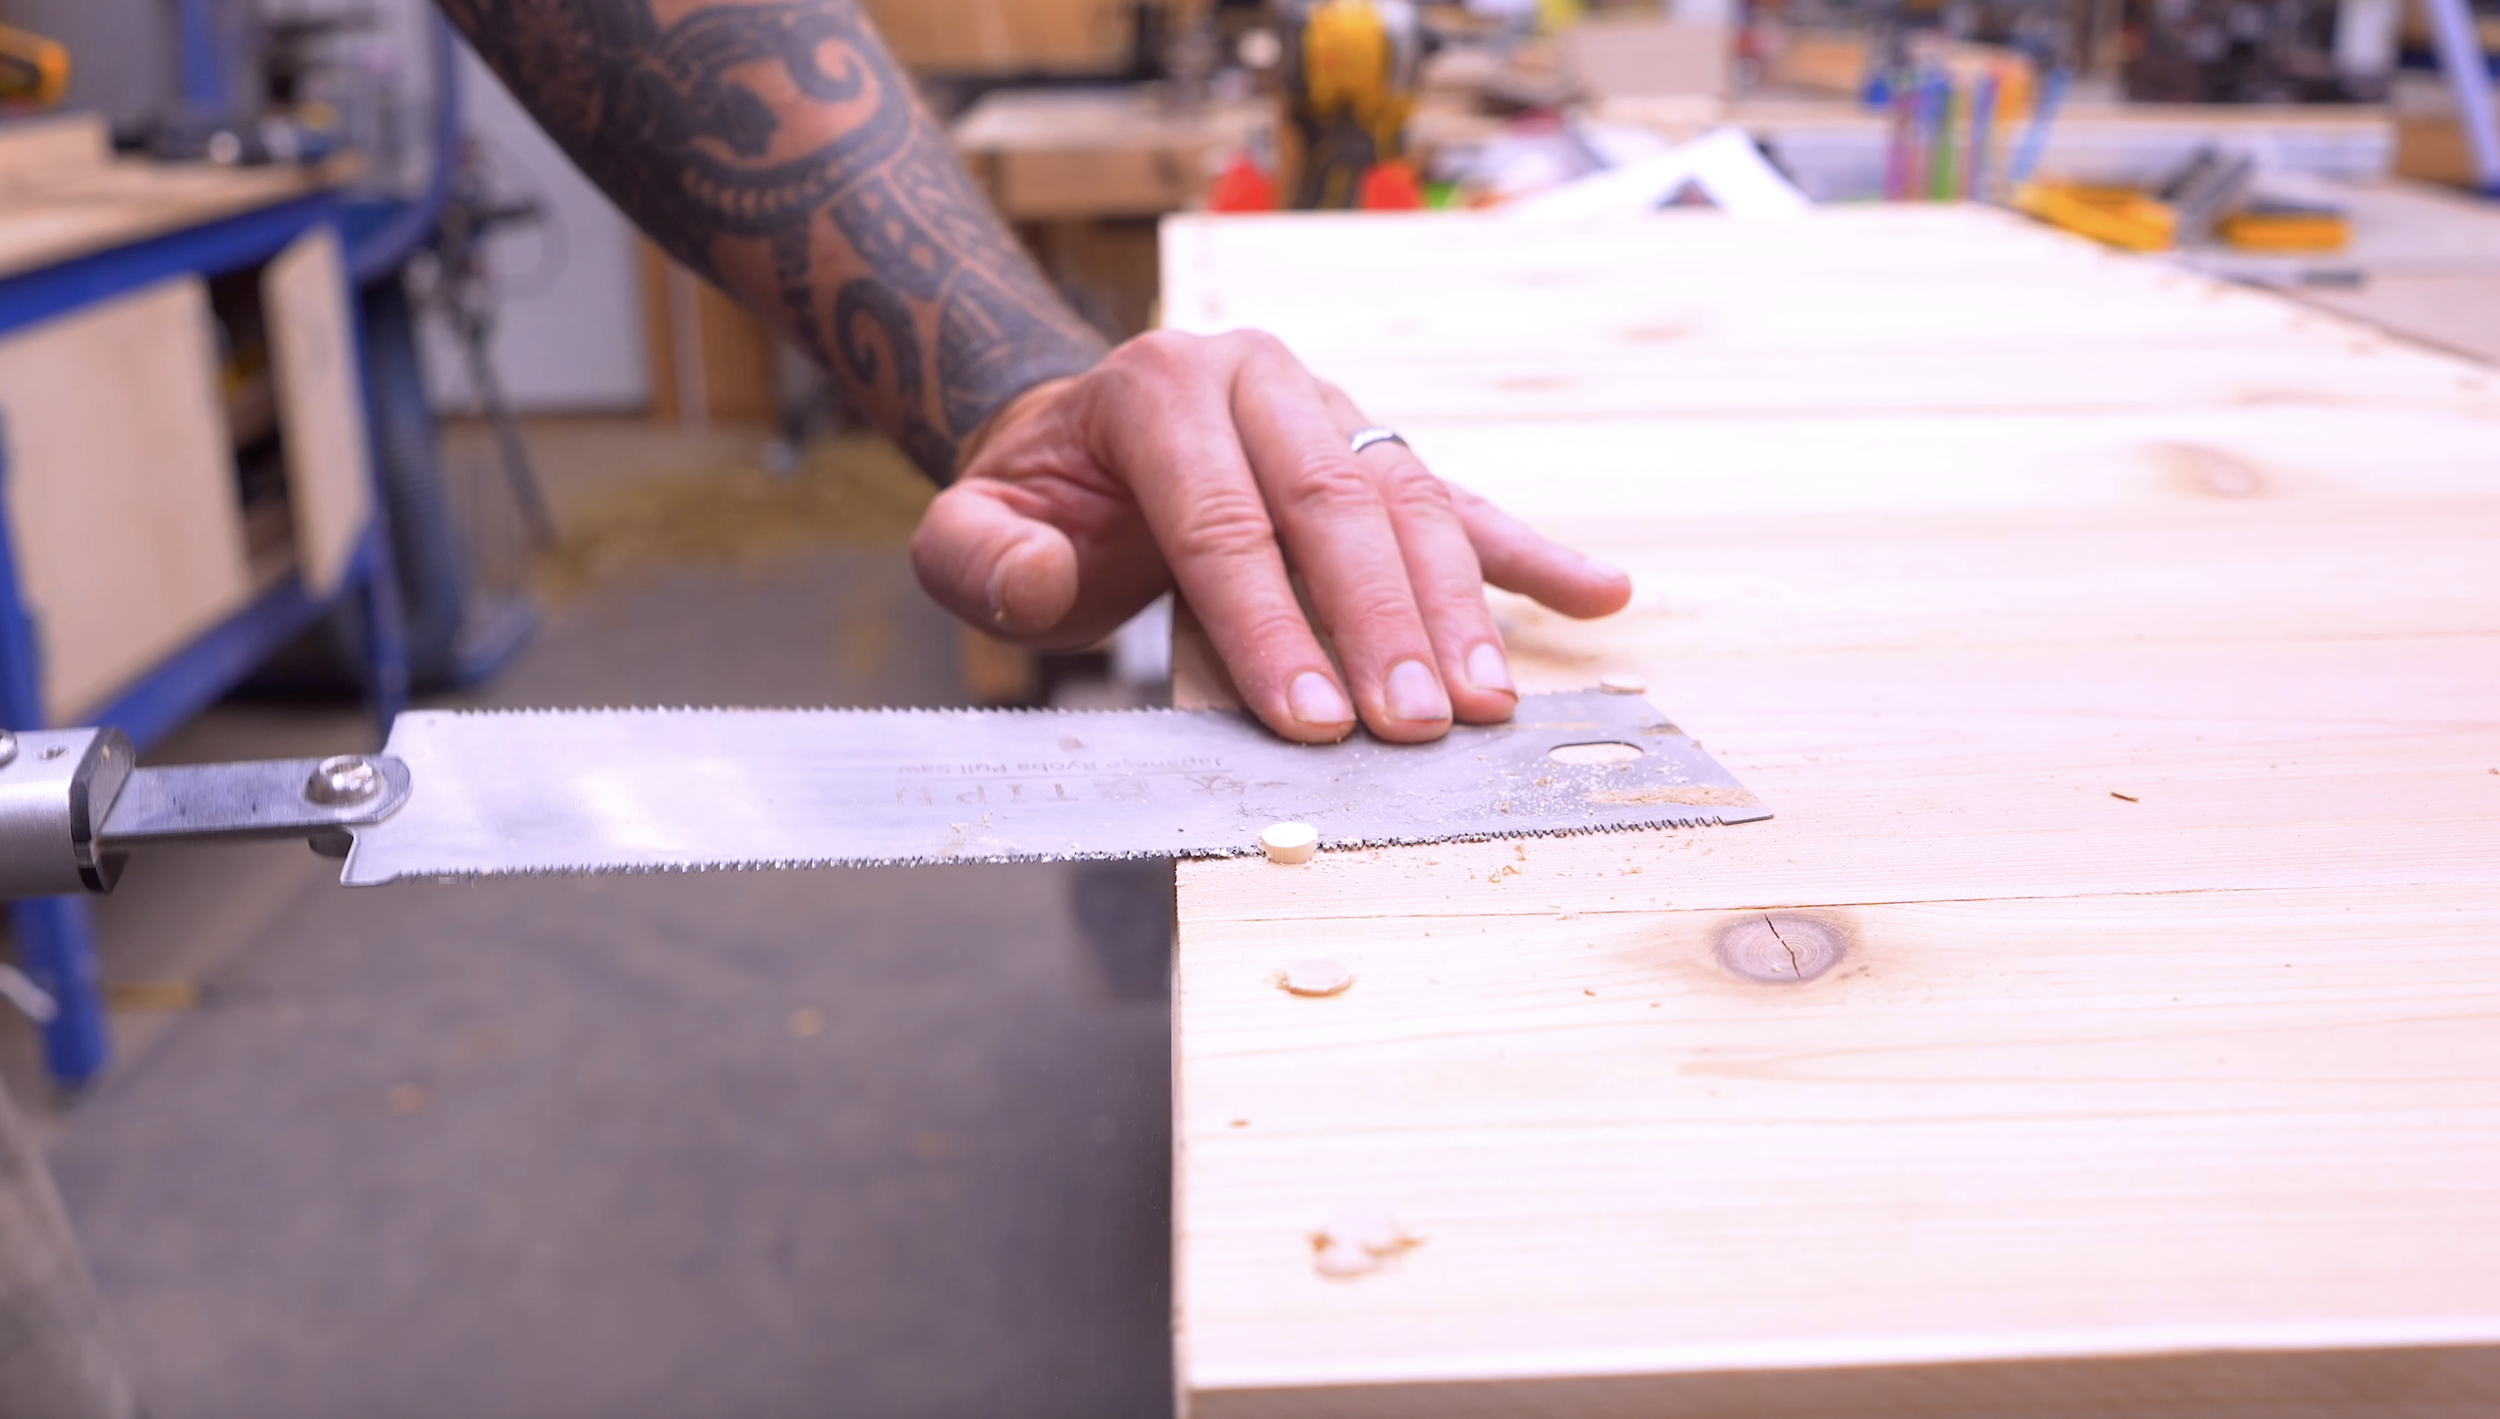
Apply wood glue and tap each plug into its counterbored hole.
Let the glue dry before trimming the plugs flush with the surface.
Then sand everything smooth.
Step 7: Install the Black Trim and Top Cap
Now the modern design really starts coming together.
Position the painted front and back trim pieces against the cedar-covered frame.
The back board receives a 45-degree angle at the top.
Attach the trim using:
Wood glue
Brad nails to hold everything in position
Screws for the final connection
Counterbore those screws as well and use plugs with the exposed ends painted black to hide the fasteners and maintain the clean appearance of the trim.
Step 8: Apply the Exterior Finish
Once all of the plugs are installed and the glue has dried, coat the entire project with outdoor urethane.
The protective finish is especially useful on the cedar because it helps bring out the natural color and grain while giving the outdoor project additional protection.
Allow your finish to dry completely before installing the address numbers and mailbox.
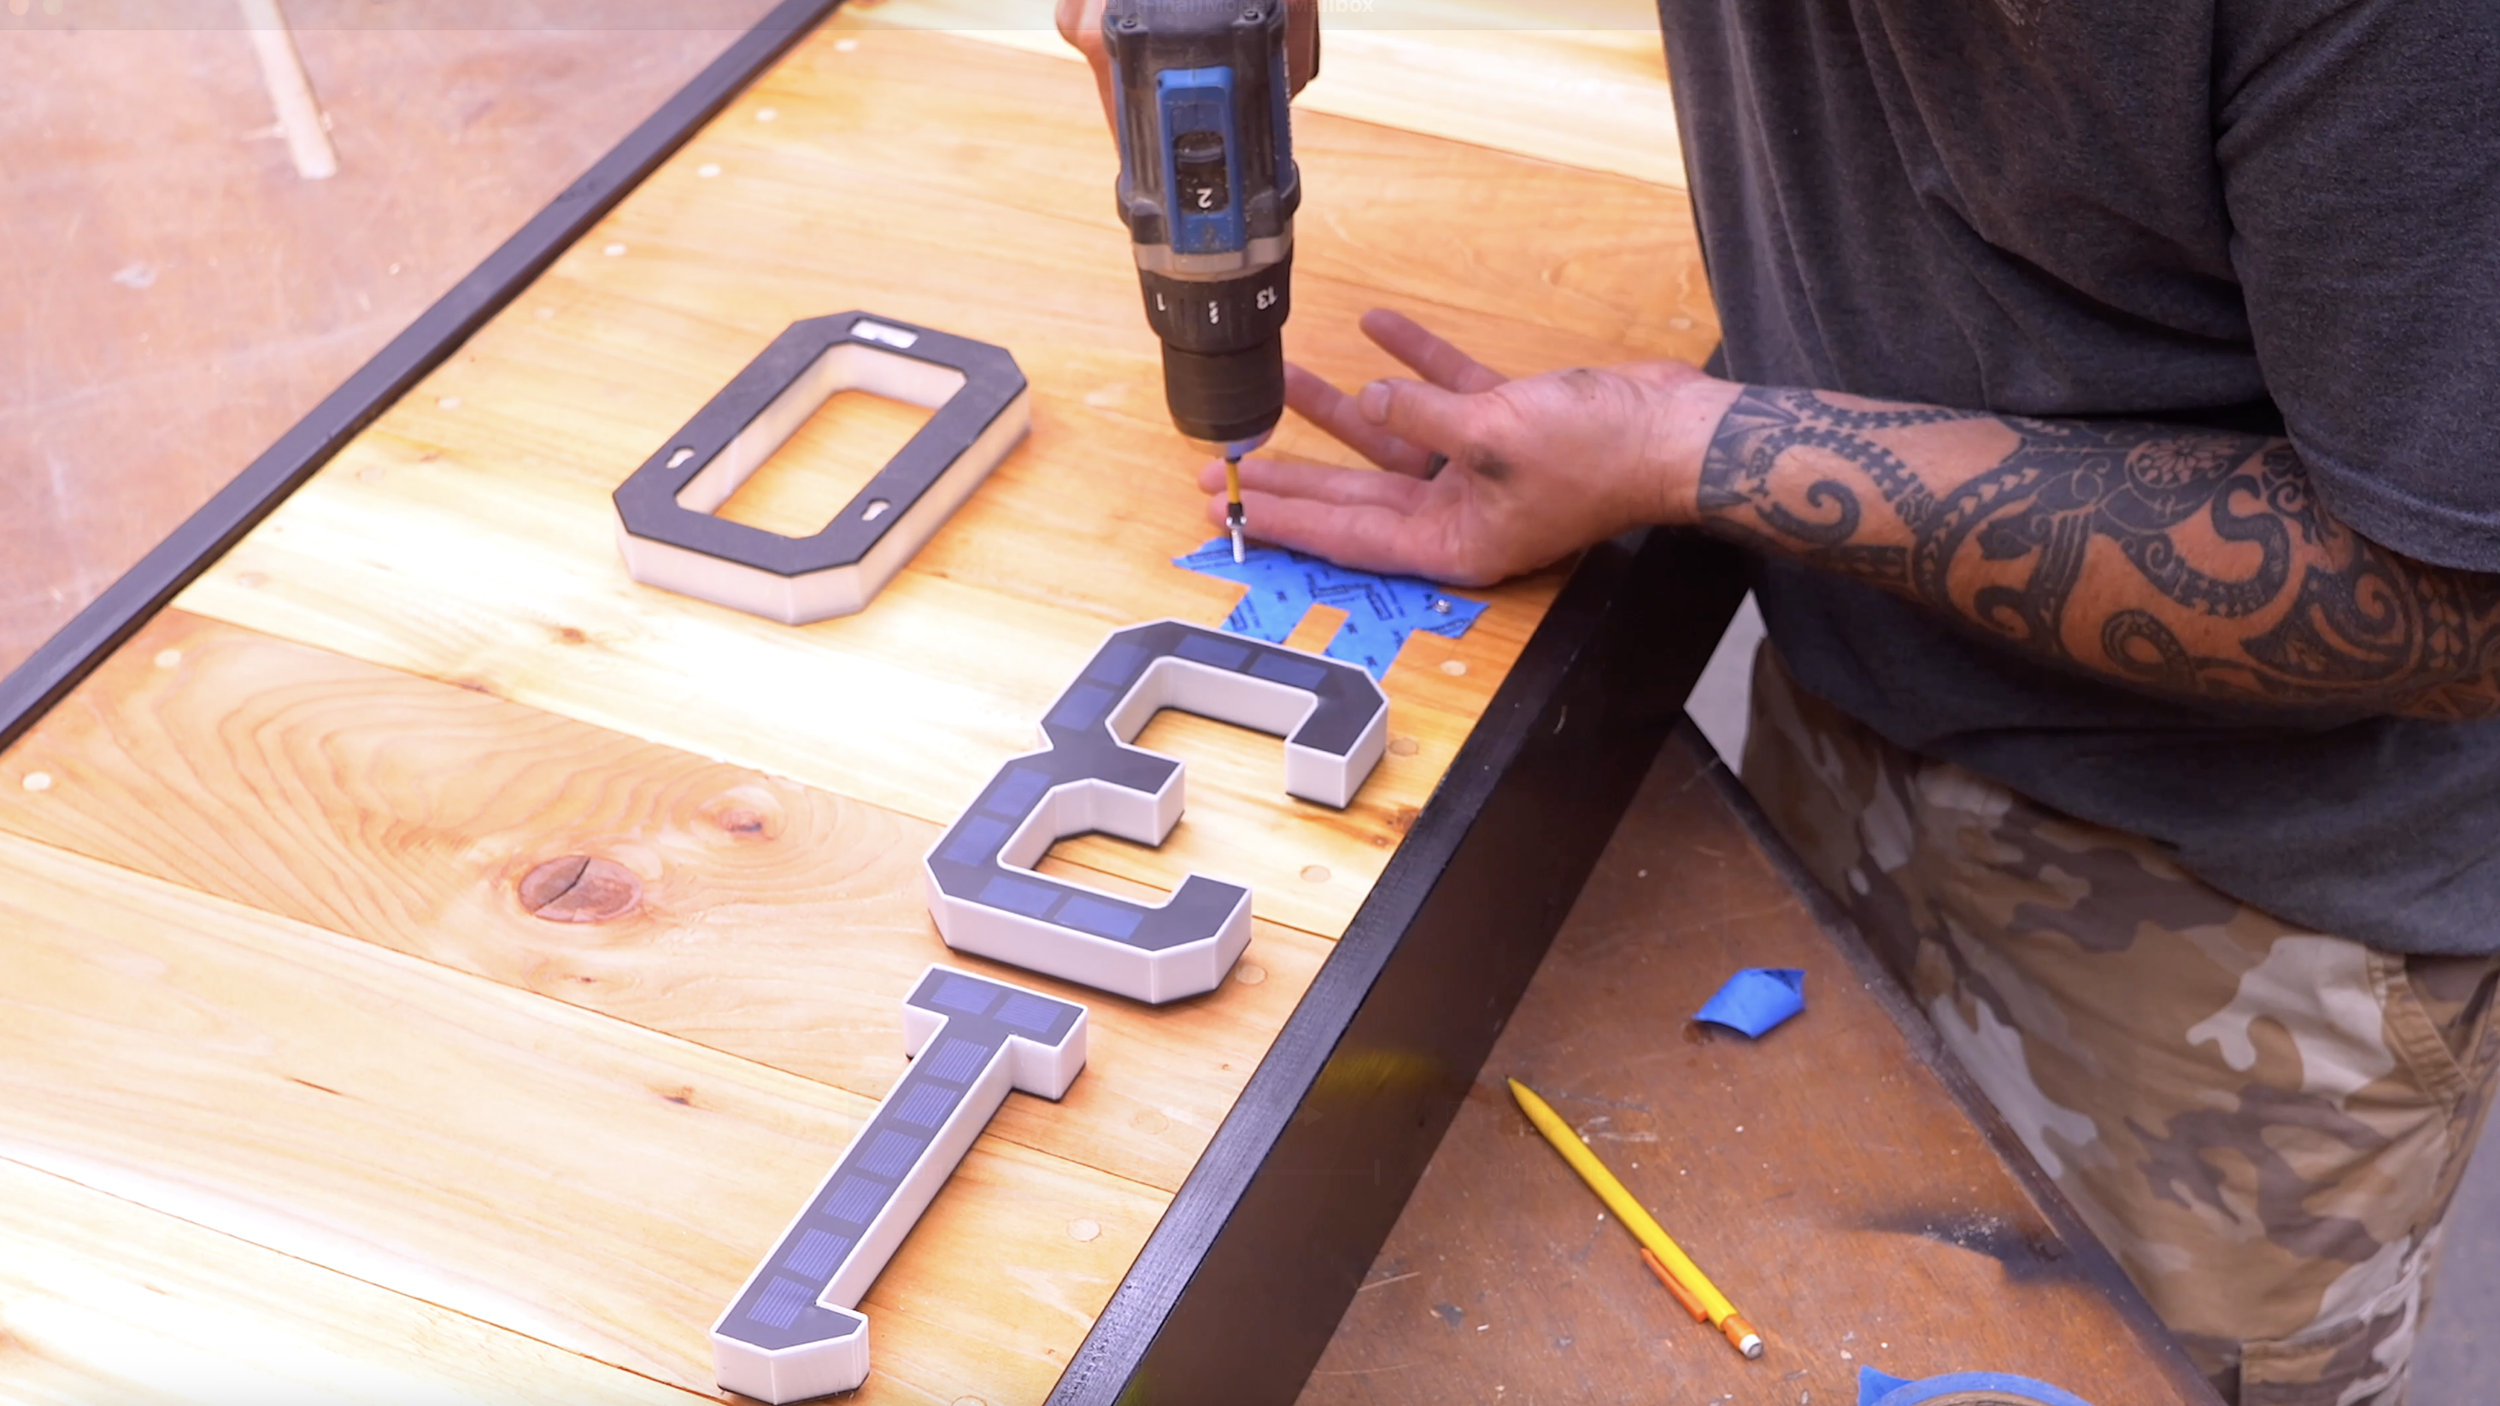
Step 9: Install the Solar Light-Up Address Numbers and Mailbox
The illuminated numbers are what take this project from a nice wooden mailbox to a real curb-appeal upgrade.
The numbers used in the build have a small solar panel built into the front. During daylight hours, the panels charge internal batteries. At night, the numbers become backlit.
To keep yours straight:
Apply painter's tape as a layout guide.
Position all of the numbers before drilling.
Check the spacing visually from several feet away.
Install the mounting screws.
Hang each number on its screws.
You can arrange your address horizontally, vertically, or in another configuration that fits your house number and mailbox design.
Step 10: Install the Mailbox
The final step is getting the entire assembly into place.
Most standard mailboxes have mounting holes through the bottom.
Position your mailbox on top of the stand, make sure it's straight, and fasten it through those mounting holes into the supporting structure below.
And that's it.
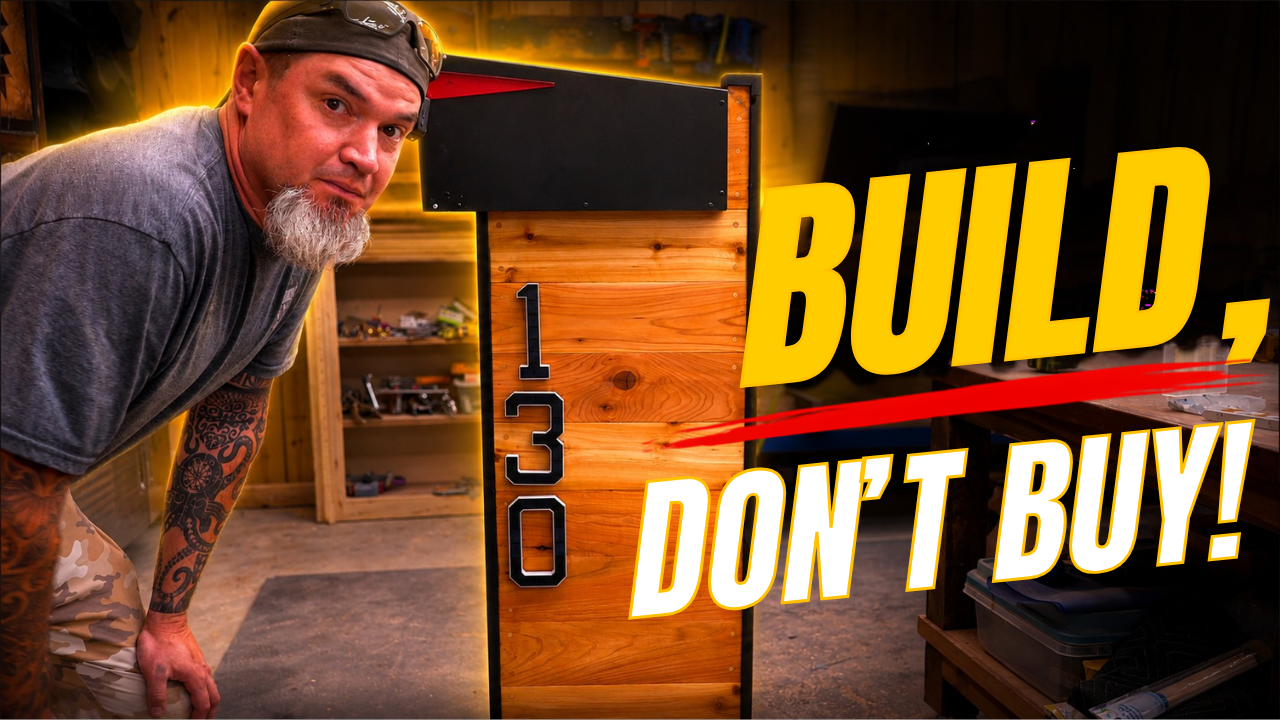
You now have a custom modern mailbox with cedar accents and illuminated address numbers.
Ready To Build?
This modern mailbox is a great example of how common building materials can be transformed into something that looks considerably more expensive.
The result is a clean, modern mailbox that can dramatically improve the curb appeal of a home without spending more than $1,000 on a designer version.
More importantly, the project is approachable. Take it one section at a time, follow the measurements carefully, and don't be afraid to make small adjustments to fit your particular mailbox or preferred proportions.
That's one of the best parts of building it yourself:
You aren't limited to what's available in a store—you can build exactly what you want.
And if you’re ready…
You already know the next step.
👉 Get up, get out, and get your build on.
Whether you’re new to woodworking or a seasoned pro, this project offers the perfect mix of functionality and creativity. Below I have the YouTube video linked for a step-by-step video tutorial for you to follow along with. If you’re a more “plans in the hand” person, click “Get Plan” down below for downloadable instructions. And if you’re ready to dive deeper into woodworking, check out my new course, “Woodworking Kickstart” (which is also linked below). It’s packed with step-by-step lessons to help you build confidence and skills, whether you’re a total beginner or an experienced DIYer. You’ll be building with confidence in no time.
Remember, creativity doesn’t have to be expensive; all you need is a little inspiration and a willingness to try.
Get Easy Step-By-Step Directions to build this by clicking the button below
⭐ 10,044 5 Star Reviews
📚 113 Plans to Choose From
🧩 Lego-Like Assembly Steps
📏 Exact Measurements
📋 Detailed cut and part list
🔍 X-Ray Views
🚀 Instant Delivery
