
One Fence Picket, Two Quick & Profitable Projects!
If you've followed me for any amount of time, you know I love a simple woodworking project—especially when we can build something that looks great without spending a bunch of money on materials…and it doesn't get much cheaper than these two builds.
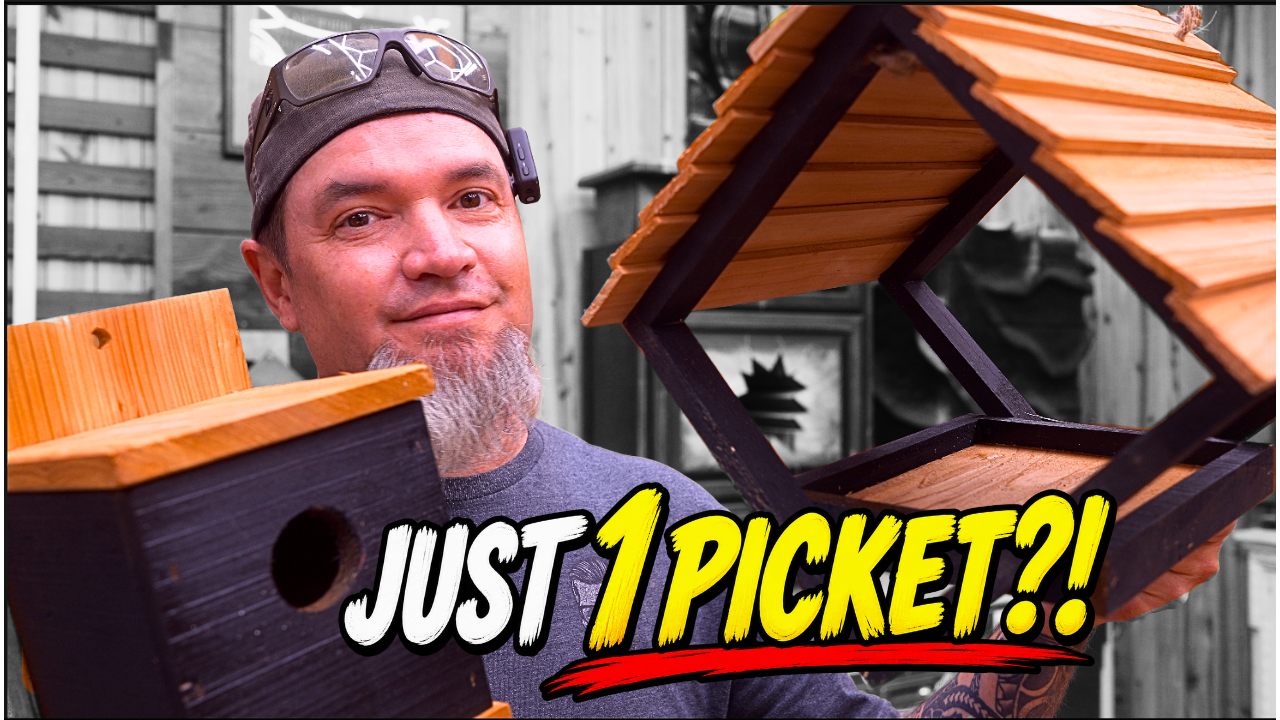
Today, I'm going to show you how to build two different bird projects using cedar fence pickets: a modern wooden birdhouse and a hanging bird feeder.
These are exactly the types of woodworking projects I like. They're inexpensive, don't require complicated joinery, and once you have your cuts figured out, you can batch several of them out pretty quickly.
So whether you're looking for an easy weekend woodworking project, something to make from inexpensive lumber, or another small woodworking project to build and sell, grab a fence picket and let's get started.
Build #1: Easy Modern Birdhouse
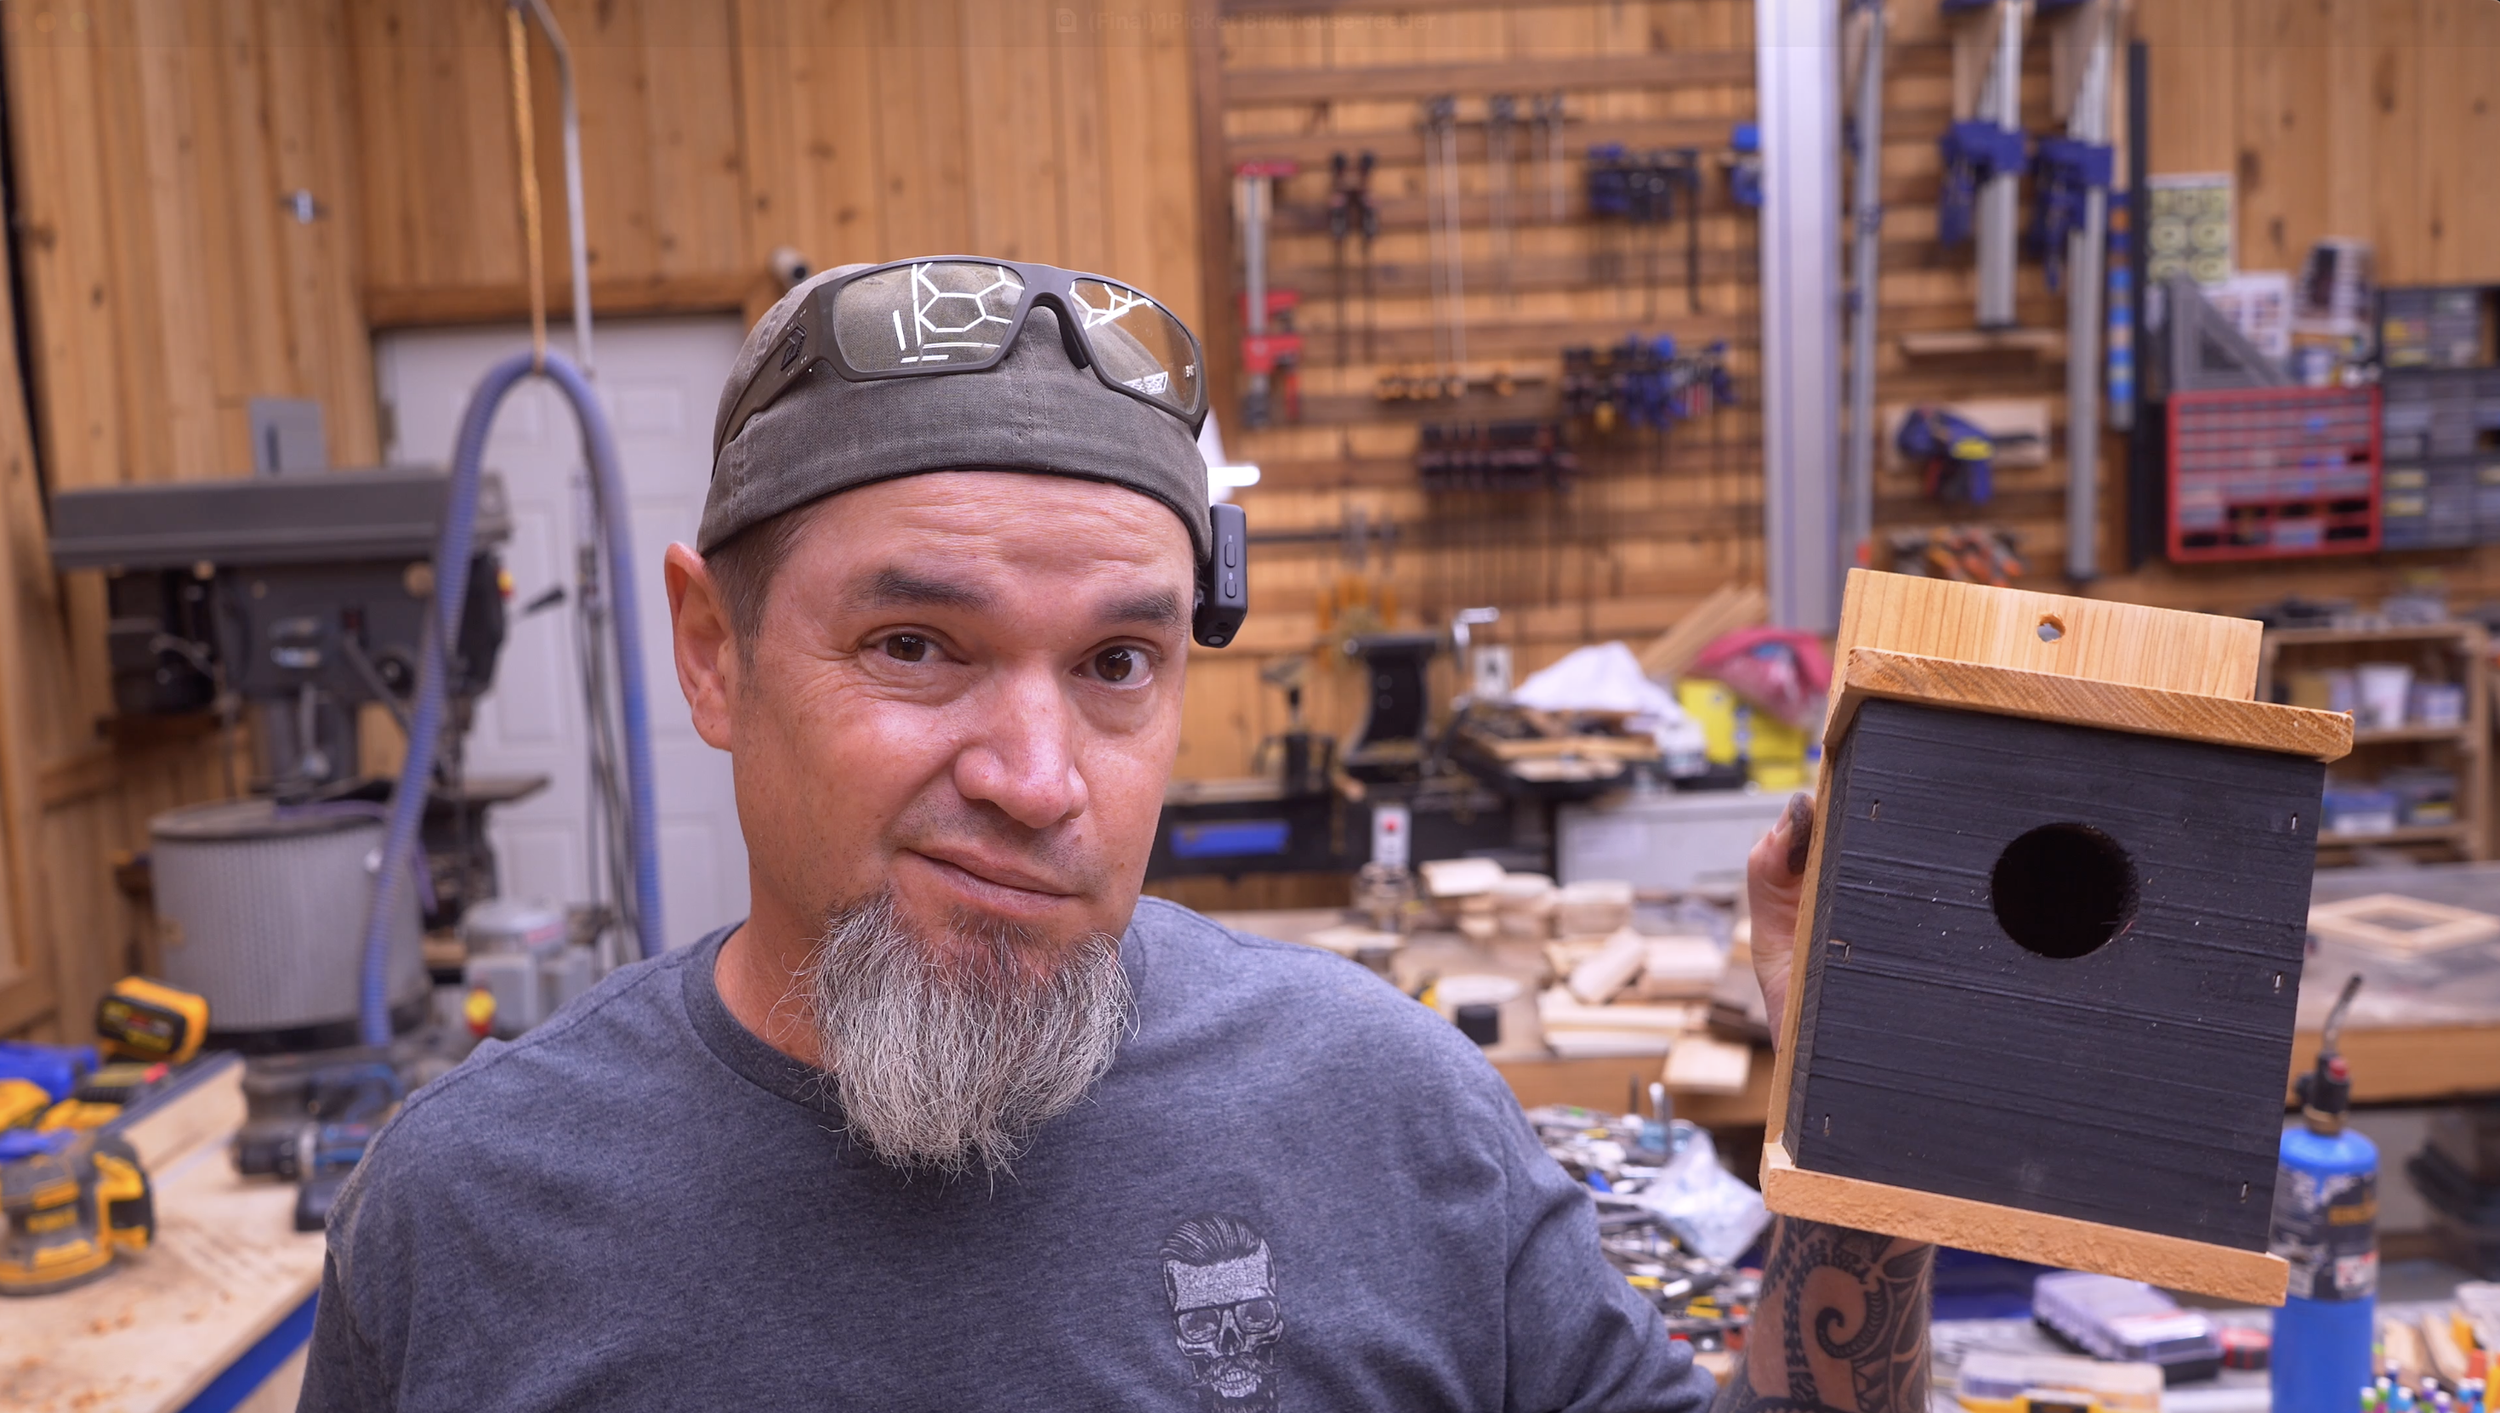
This is basically my modern take on a traditional birdhouse. Instead of the typical peaked-roof design, we're going with a really clean, square shape and a two-tone black-and-cedar finish.
And we're not doing any complicated ripping for the main body pieces. I'm starting with a standard 5 1/2-inch-wide fence picket and using it at full width.
I've also taken about the first 20 inches of my picket and painted it black. That's going to give us the material for the front and side pieces and create the two-tone look.
Step 1: Cut and Prepare Your Six Birdhouse Pieces
Start with your full-width fence picket.
Cut the top and bottom at 5 1/2 inches long, giving you two 5 1/2-inch squares.
Cut the back at 8 1/2 inches long.
For the contrasting section, I'm using that approximately 20-inch portion of the picket that I painted black before assembly.
From that material, cut:
One 5-inch-long front
Two 4 3/4-inch-long sides
And that's the entire birdhouse body.
If you don't want the black-and-cedar look, don't paint it. You could leave the whole thing natural, stain it, paint everything one color, or come up with your own combination.
That's part of the fun with these little builds.
Step 2: Drill the Birdhouse Entrance
Before we assemble anything, let's drill the entrance hole.
I'm using a standard 1 1/2-inch hole.
To find my center point, I measure:
1 3/4 inches down from the top
3/8 inch in from the side
Then drill the opening.
I'm using a Forstner bit, but you don't have to. A spade bit or hole saw will work just fine.
The important thing is getting this done now. It's much easier to drill the front while it's lying flat on your workbench than after the birdhouse is assembled.
Step 3: Assemble the Front, Sides, and Top
Stand the two side pieces on their edges.
Apply a little wood glue where the front will meet the sides, line up your front board, and fasten everything together using brad nails or crown staples.
If you're planning to make a bunch of these, here's a little tip:
Make yourself a jig.
A simple jig that holds those two sides at exactly the right spacing will make assembly go incredibly fast.
Once the front and sides are together, add wood glue around the upper edges and position your 5 1/2" × 5 1/2" top.
Make sure you've got equal spacing around it, then secure it with brad nails.
Step 4: Make the Bottom Removable and Attach the Back
Now, I could just glue and nail the bottom on like we did the top…but I'm not going to.
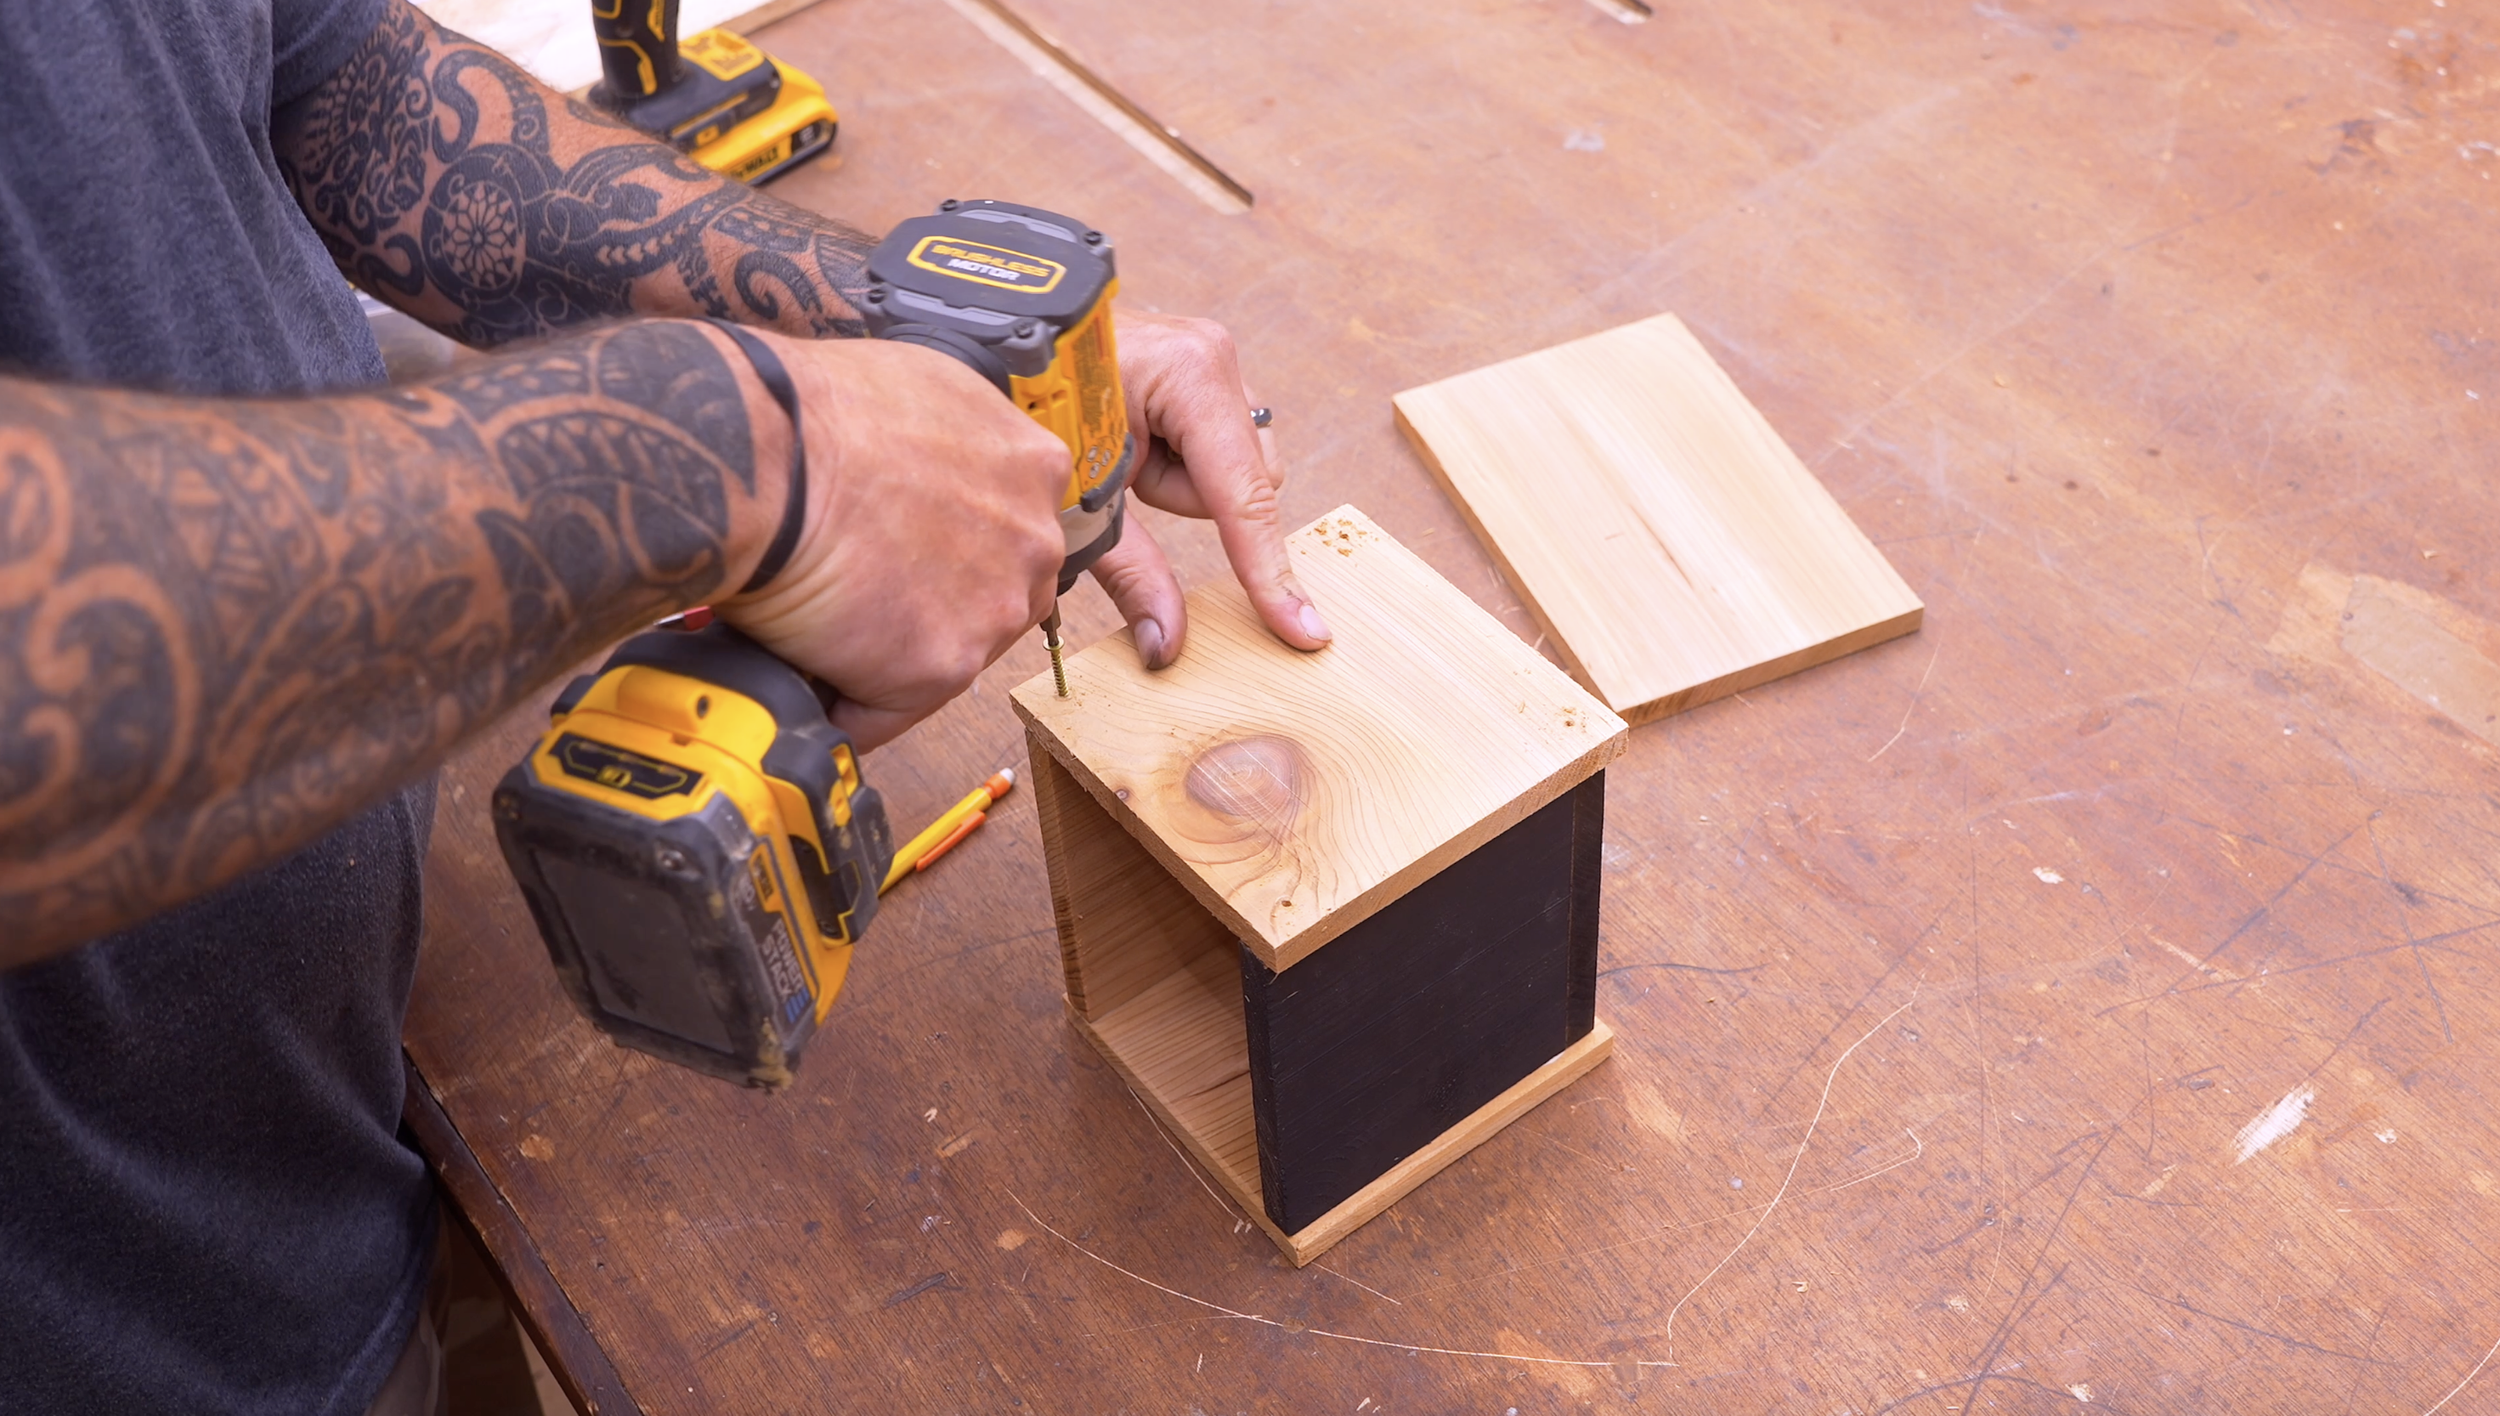
Eventually, somebody is going to need to clean this birdhouse out. So instead, I'm going to make the bottom removable.
Position your 5 1/2-inch-square bottom and mark the screw locations approximately 1/2 inch in from each side at each corner.
Pre-drill the holes and install the bottom using four 1-inch screws. Now, whenever the birdhouse needs cleaning, you can simply remove those four screws and take the bottom off.
To install the back, lay the birdhouse face-down.
Line up the bottom of the birdhouse with the bottom edge of the 8 1/2-inch back board, then secure the back in place.
Step 5: Drill the Hanging Hole and Finish It
We've got one final hole to drill.
At the top of the back board, measure:
2 3/4 inches over
1/2 inch down
Drill a hanging hole using a 3/8-inch drill bit.
And that's it. Seriously. That's the whole birdhouse.
These things take almost no time to build, and we're only using around half of a fence picket. Depending on what you're paying for pickets, there's hardly any material cost involved at all.
And once you've got a jig and your saw setup ready, you could batch-build these things in no time.
But we've still got plenty of picket left, so let's build something else!
Build #2: One-Picket Hanging Bird Feeder
Now we're going to take that same basic idea—cheap material, simple cuts, and an easy assembly—and build something completely different.
This time, we're making a hanging bird feeder with a tray and slatted roof.
The finished feeder looks like it has a lot going on, but once you break it down into individual components, it's actually a really simple build.
Step 1: Cut the Tray, Frame, and Roof Pieces
Start at the miter saw and cut an 8-inch-long piece from your full-width fence picket.
Since the picket is already 5 1/2 inches wide, you've now got an 8" × 5 1/2" tray bottom.
Next, rip two full-length 1-inch-wide strips from your remaining material.
Use those to cut the eight 7 1/2-inch frame pieces and the four tray-trim pieces.
Now take what's left of the picket and rip it into 1 1/2-inch strips.
Stand those strips on edge at the table saw and carefully rip them through their thickness. Each one will produce two thinner roof strips measuring a little less than 3/8 inch thick.
Cut 14 of those strips to 12 inches long.
Now we've got all our parts.
Step 2: Assemble the Two Square Frames
We're going to make two matching square frames from those eight 1" × 7 1/2" pieces.
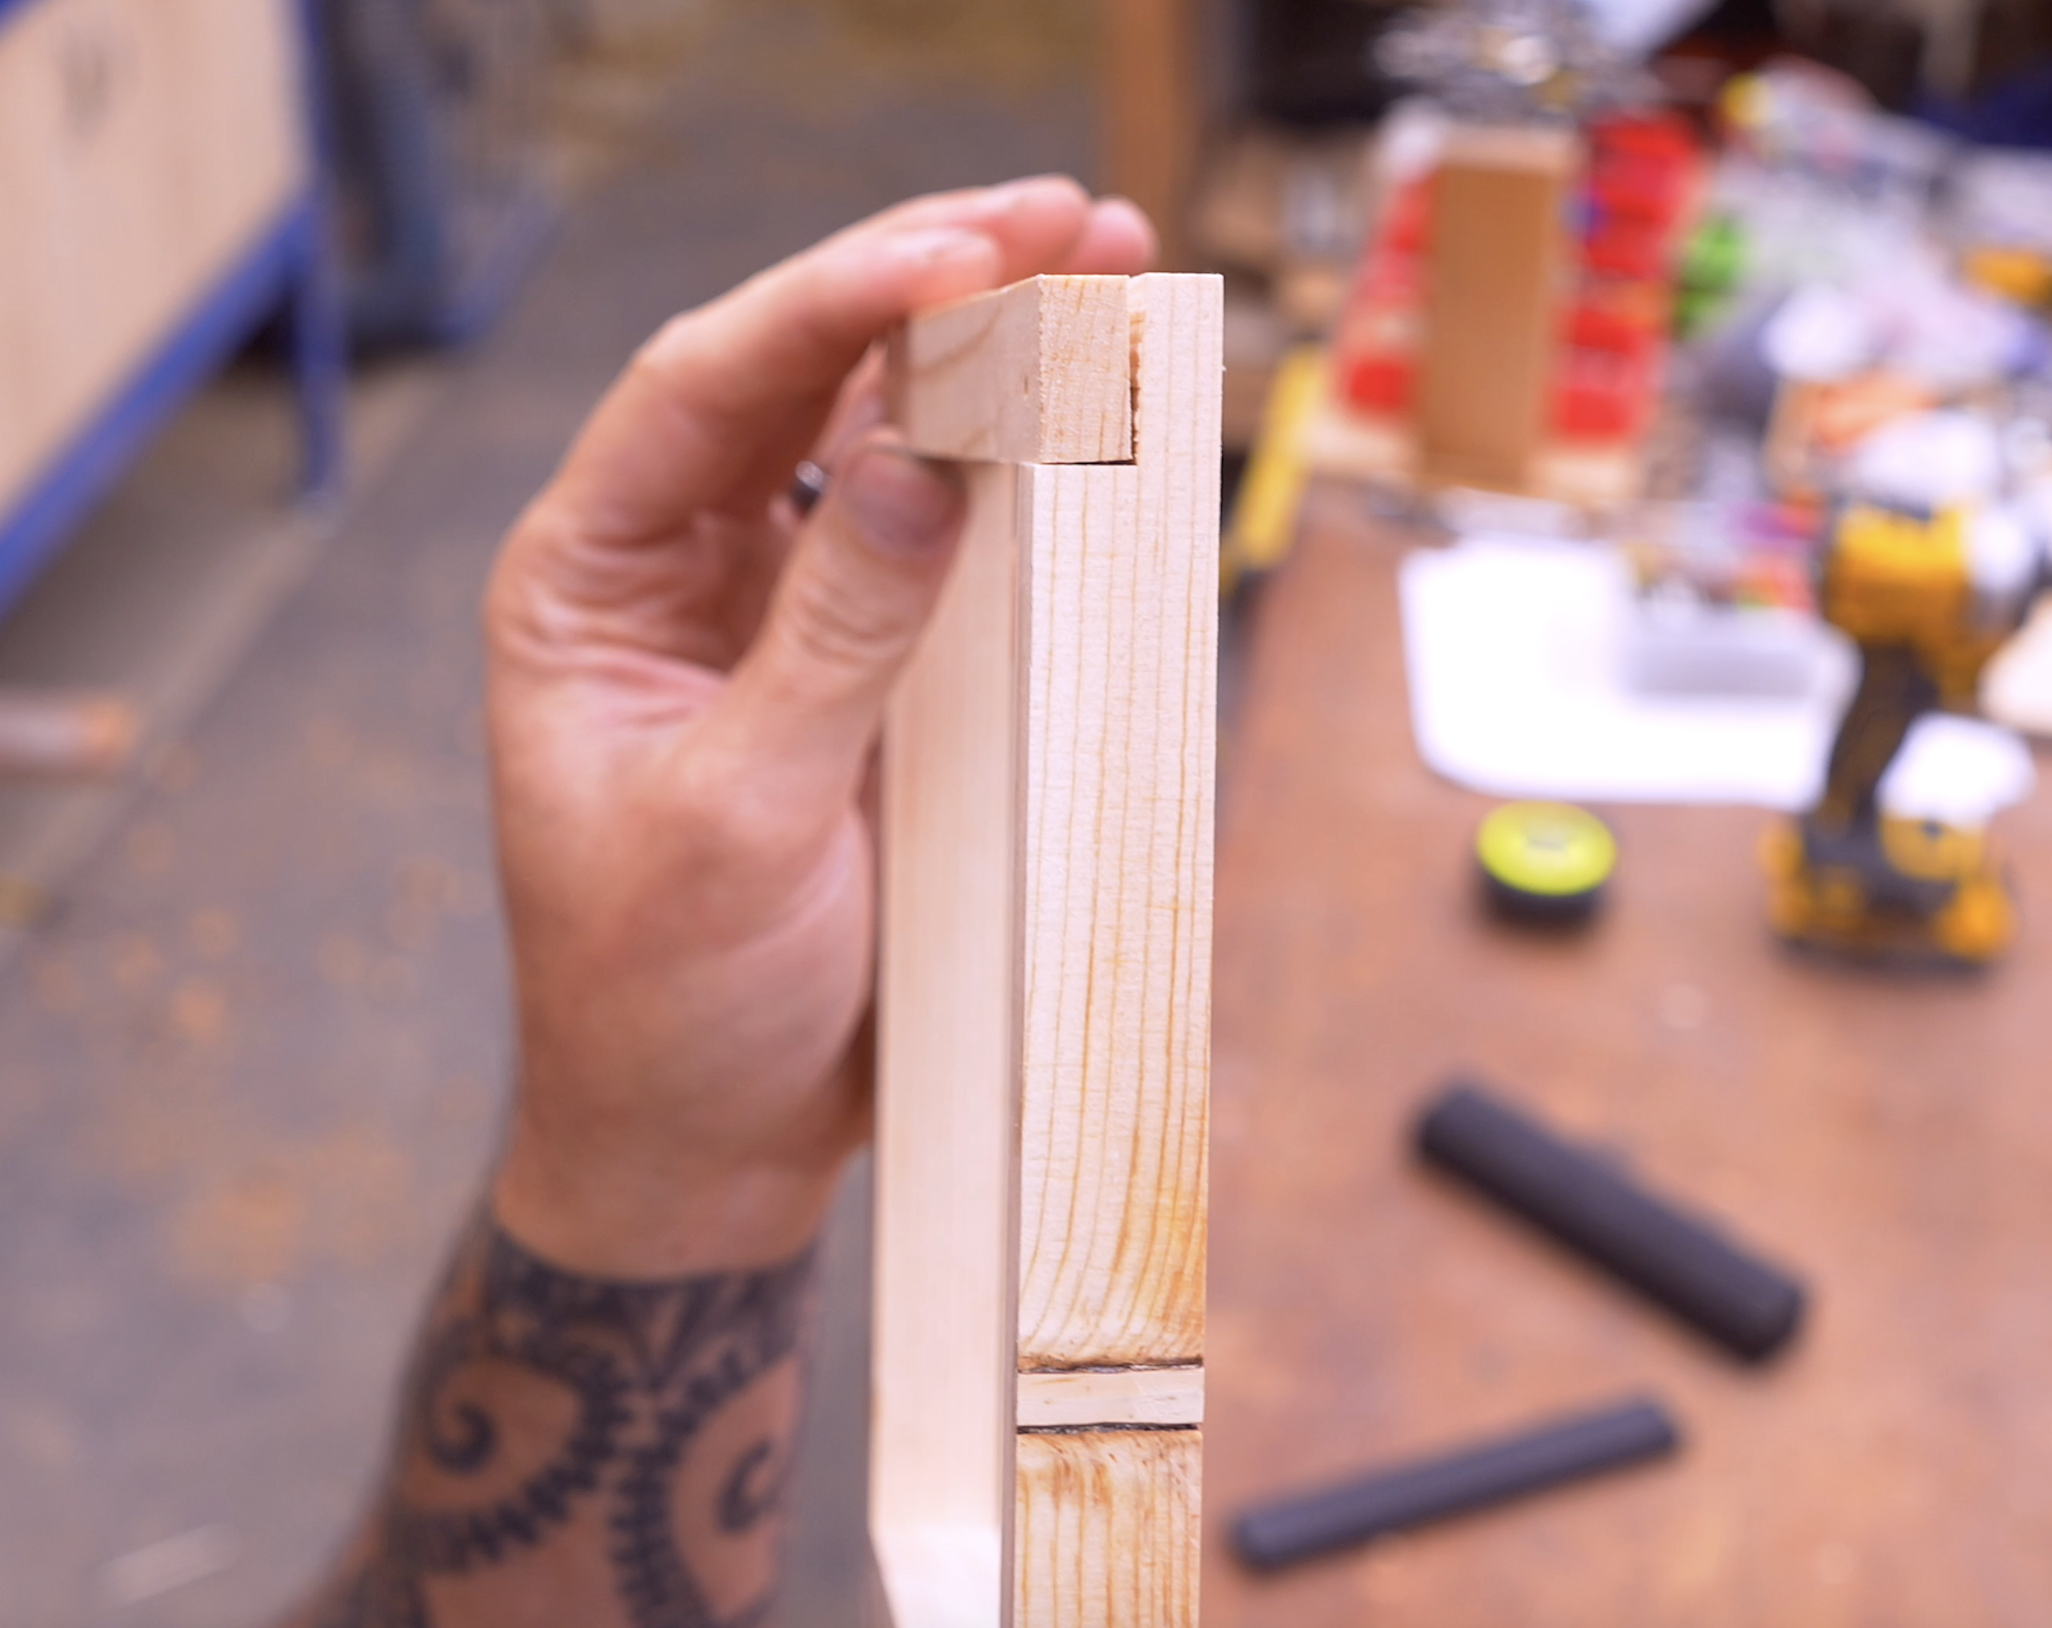
You could half-lap the corners if you want to get fancy. But that's not what we're doing. I want to keep this project simple, so we're going to use what I call a rotating butt joint.
Instead of having two full sides capped by the other two pieces, rotate the direction of the butt joint at each corner as you work your way around the frame.
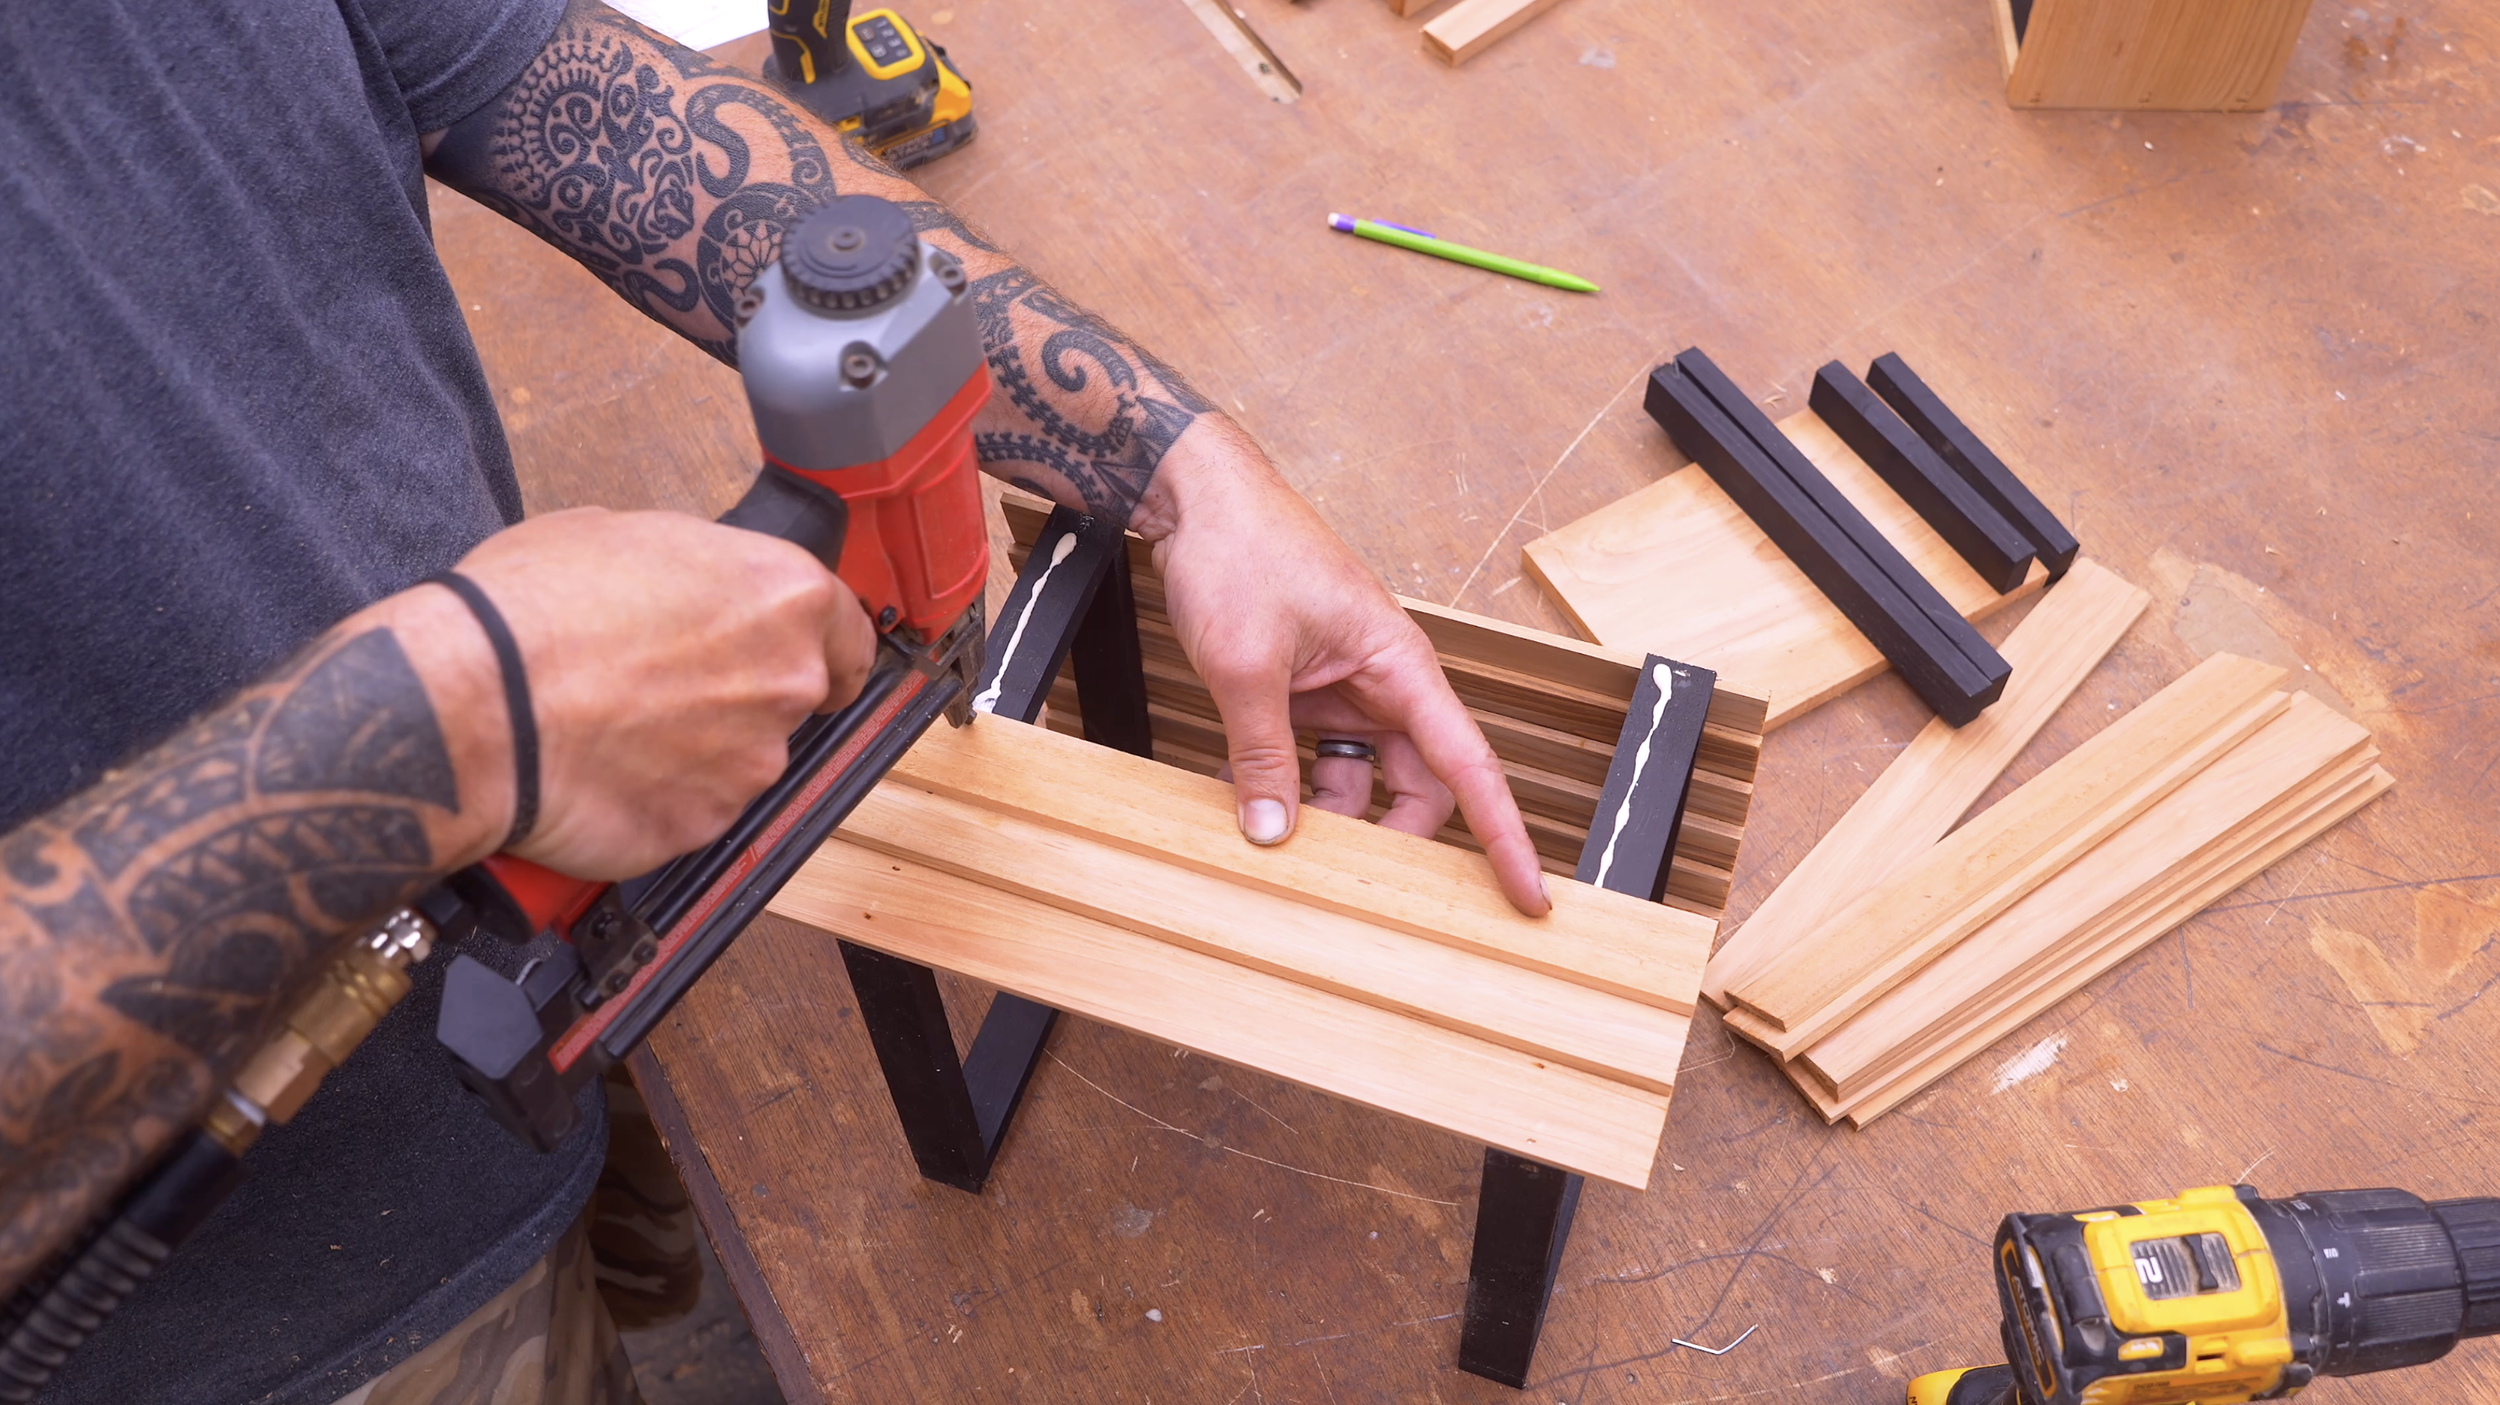
When all four pieces are installed, you end up with a nice square frame. Apply wood glue at each connection and secure the joints with brad nails or crown staples.
Build two identical frames.
Step 3: Build the Slatted Roof
Now let's turn those two frames into something that actually looks like a bird feeder.
Apply wood glue along the upper edges of the frames. Take your first 12-inch roof strip and align it with the top edge while leaving approximately 1/2 inch of overhang at each end.
Secure it with brad nails.
Now begin installing the remaining roof strips with approximately 1/4 inch of overlap from one board to the next.
Here's another little trick…place your brad nails toward the back of each strip so the next overlapping strip covers the nail heads. That gives you a much cleaner finished roof.
At the peak, install one of the final strips flush with the top and overlap it with the last strip.
You could trim those final boards to fit perfectly, but I actually like the heavier overlap around the gable. It gives the roof a little more character.
Step 4: Build and Install the Birdseed Tray
Now let's build the tray.
Take your 8" × 5 1/2" bottom and attach the two 5 1/2-inch end pieces first. Then install the two 9-inch side pieces. Use wood glue and brad nails or crown staples to attach the trim around the tray.
And voilà. Bird tray!
To install it between the two frames, measure 2 5/8 inches up from the bottom of each frame and mark your screw locations. Pre-drill and counterbore the holes.
Slide the completed tray between the frames until it sits approximately 1 3/4 inches up from the bottom tip. Secure the tray using 1 1/4-inch screws.
Step 5: Add the Hangers and Finish the Feeder
This design is meant to hang from a branch, hook, or similar location, so the last thing we need is a way to hang it.
Drill holes through the upper portion of the frames on both sides. Then run your hanger through those holes.
You can use:
Wire rope
Coated wire
Cord with internal wire
Another suitable outdoor hanging material
Make sure the feeder hangs level before you fill the tray.
And that's it.
You've taken a cheap fence picket and turned it into a pretty cool hanging bird feeder.
Ready To Build?
We're not using expensive hardwood. We're not doing complicated joinery. And you don't need some giant shop full of fancy equipment to make these builds.
We're taking an inexpensive cedar fence picket and turning it into something people can actually use.
Make a natural cedar version. Paint one white. Distress one for a farmhouse look. Change the roof color. Make several different styles and see which ones people like best. The greatest thing about woodworking is that YOU are the creator. These projects are cheap enough and fast enough that they're perfect for experimenting.
They're also exactly the kind of small woodworking builds that make sense if you're trying to create inventory to sell. So grab a couple of fence pickets, get your tools set up, and make one.
Or better yet...
Make a bunch of them.
And if you’re ready…
You already know the next step.
👉 Get up, get out, and get your build on.
Whether you’re new to woodworking or a seasoned pro, this project offers the perfect mix of functionality and creativity. Below I have the YouTube video linked for a step-by-step video tutorial for you to follow along with. If you’re a more “plans in the hand” person, click “Get Plan” down below for downloadable instructions. And if you’re ready to dive deeper into woodworking, check out my new course, “Woodworking Kickstart” (which is also linked below). It’s packed with step-by-step lessons to help you build confidence and skills, whether you’re a total beginner or an experienced DIYer. You’ll be building with confidence in no time.
Remember, creativity doesn’t have to be expensive; all you need is a little inspiration and a willingness to try.
Get Easy Step-By-Step Directions to build this by clicking the button below
⭐ 10,044 5 Star Reviews
📚 113 Plans to Choose From
🧩 Lego-Like Assembly Steps
📏 Exact Measurements
📋 Detailed cut and part list
🔍 X-Ray Views
🚀 Instant Delivery
