
2-in-1 DIY Workbench That Turns Into a Panel Cart
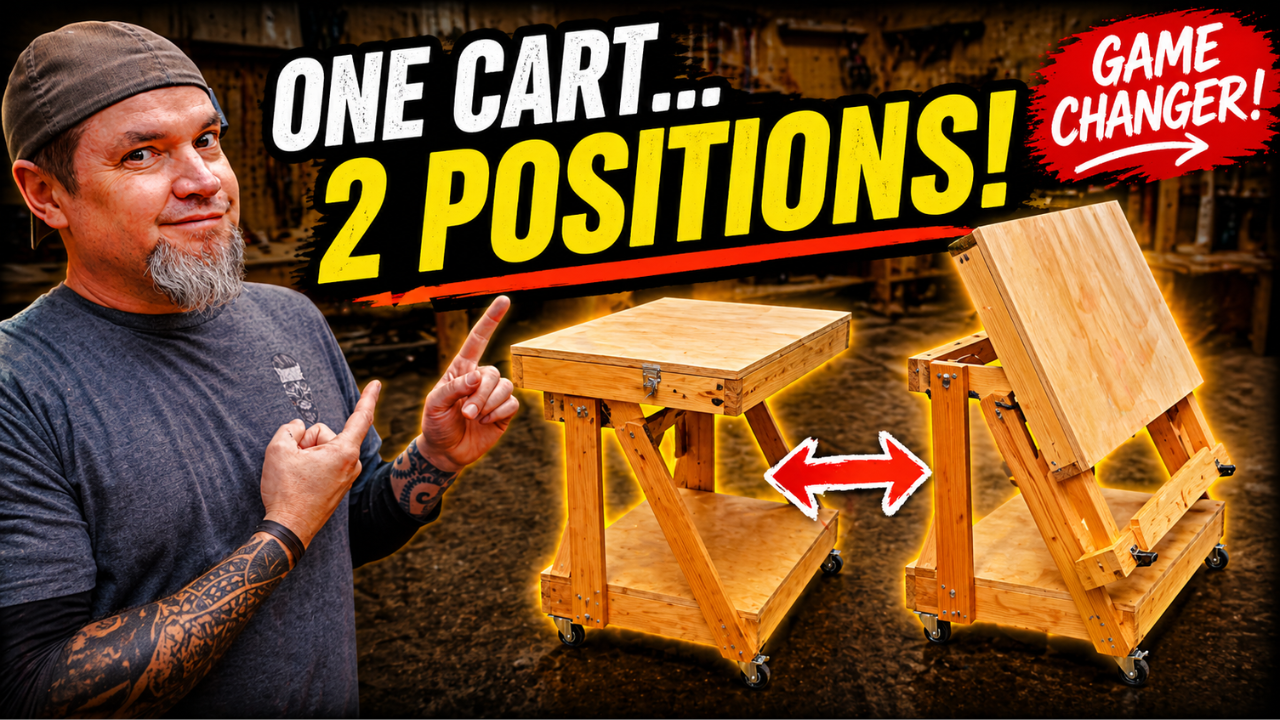
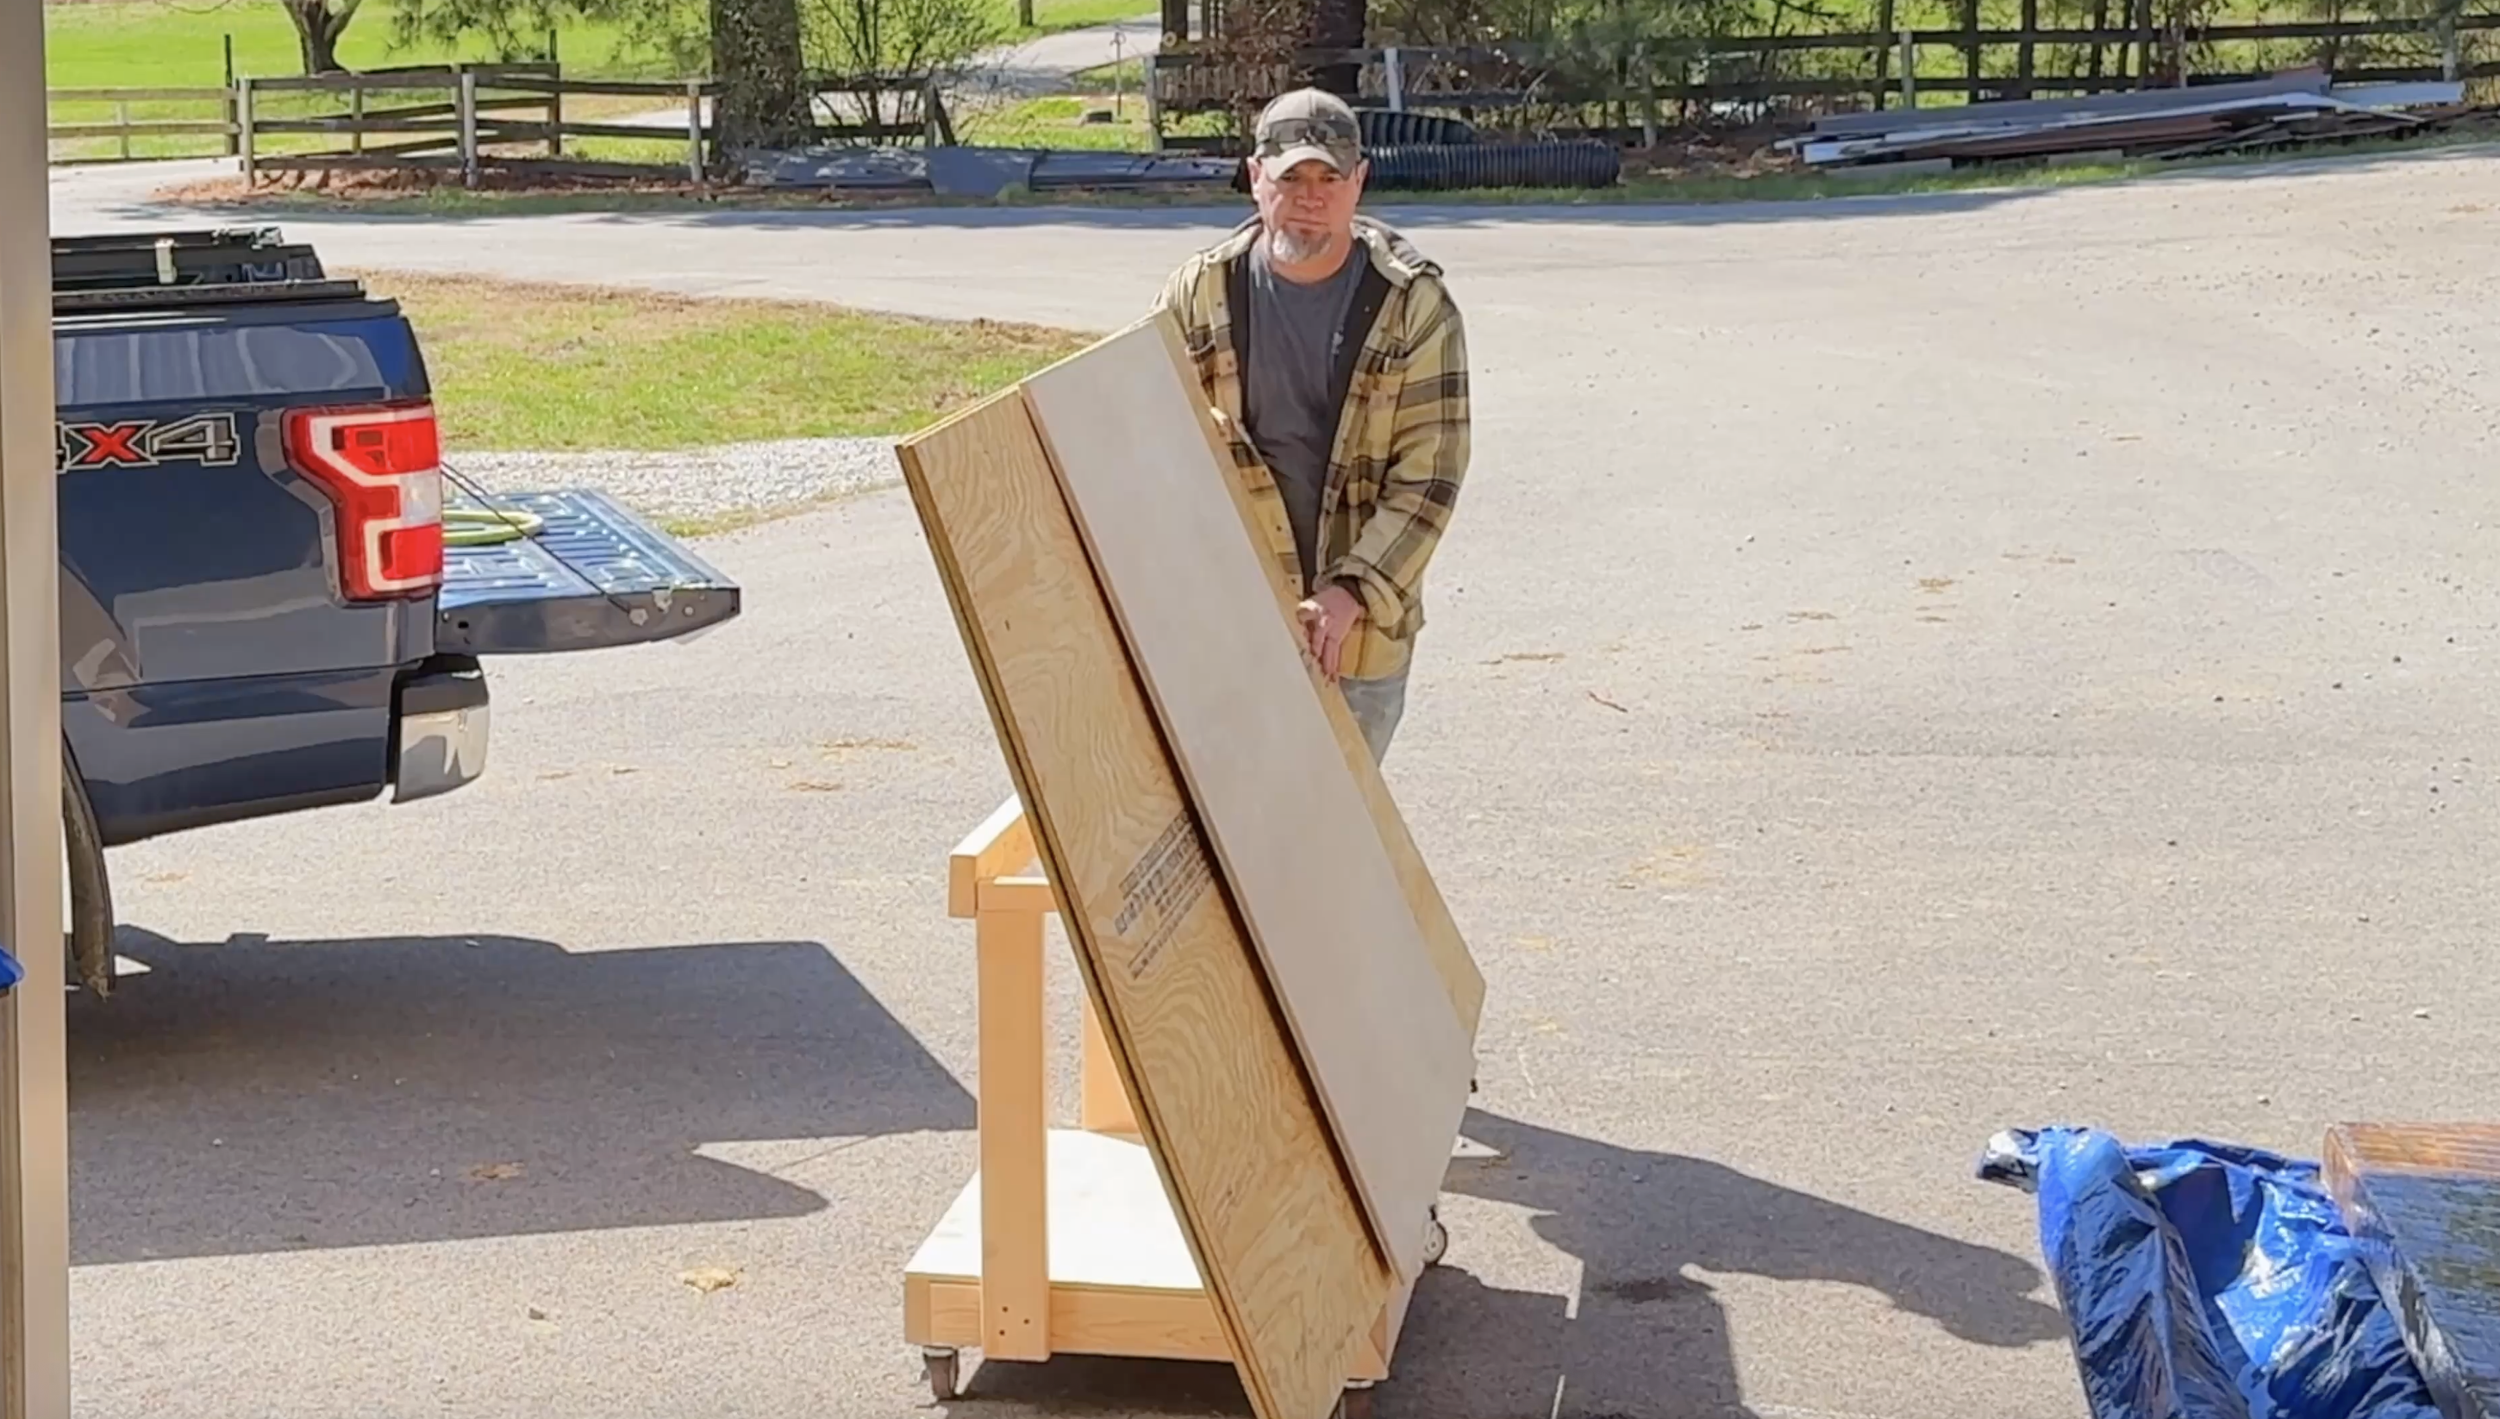
If you’ve ever tried to wrestle a full sheet of plywood through your shop… you already know the struggle.
You’re balancing it on your shoulder, fighting the wind, trying not to smash into anything—and somehow still get it where it needs to go. And even if you’ve got a workbench? That doesn’t always help. This build solves both problems at once.
👉 Mobile Workbench
👉 Transformable Panel Cart
Same build. Two jobs. Way more useful in a real shop.
Let’s break down exactly how to build it.
Materials & Tools
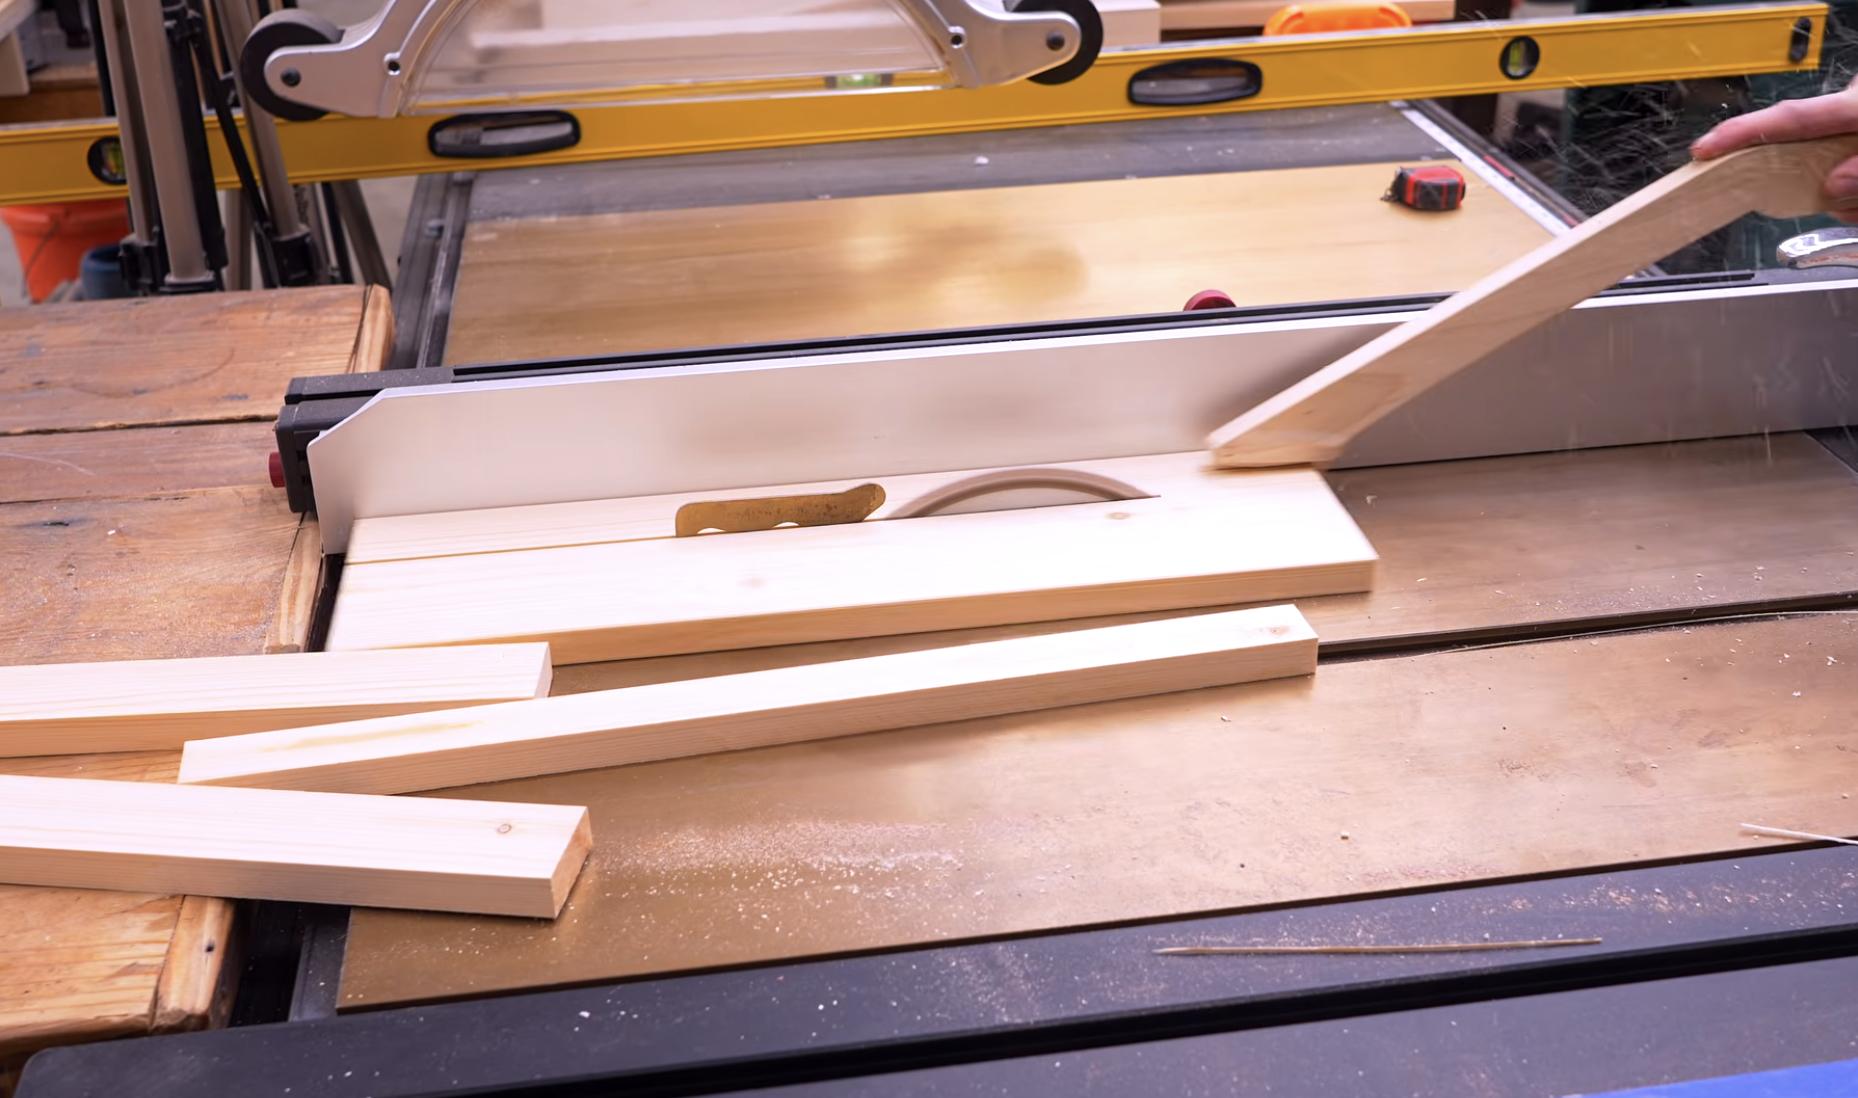
One of the best parts about this project is that you don’t need expensive lumber.
Lumber
Plywood (Top & Bottom)
2×4 Boards (Main Structure)
Hardware
3" construction screws (T25 recommended)
2 ¼" screws
2 ½" screws
¼" bolts (5" long + washers + lock nuts)
Locking casters (4)
Small angle brackets
Optional hooks
Tools
Table saw
Miter saw
Drill/driver
Clamps
Time To Bring Your New Workbench To Life
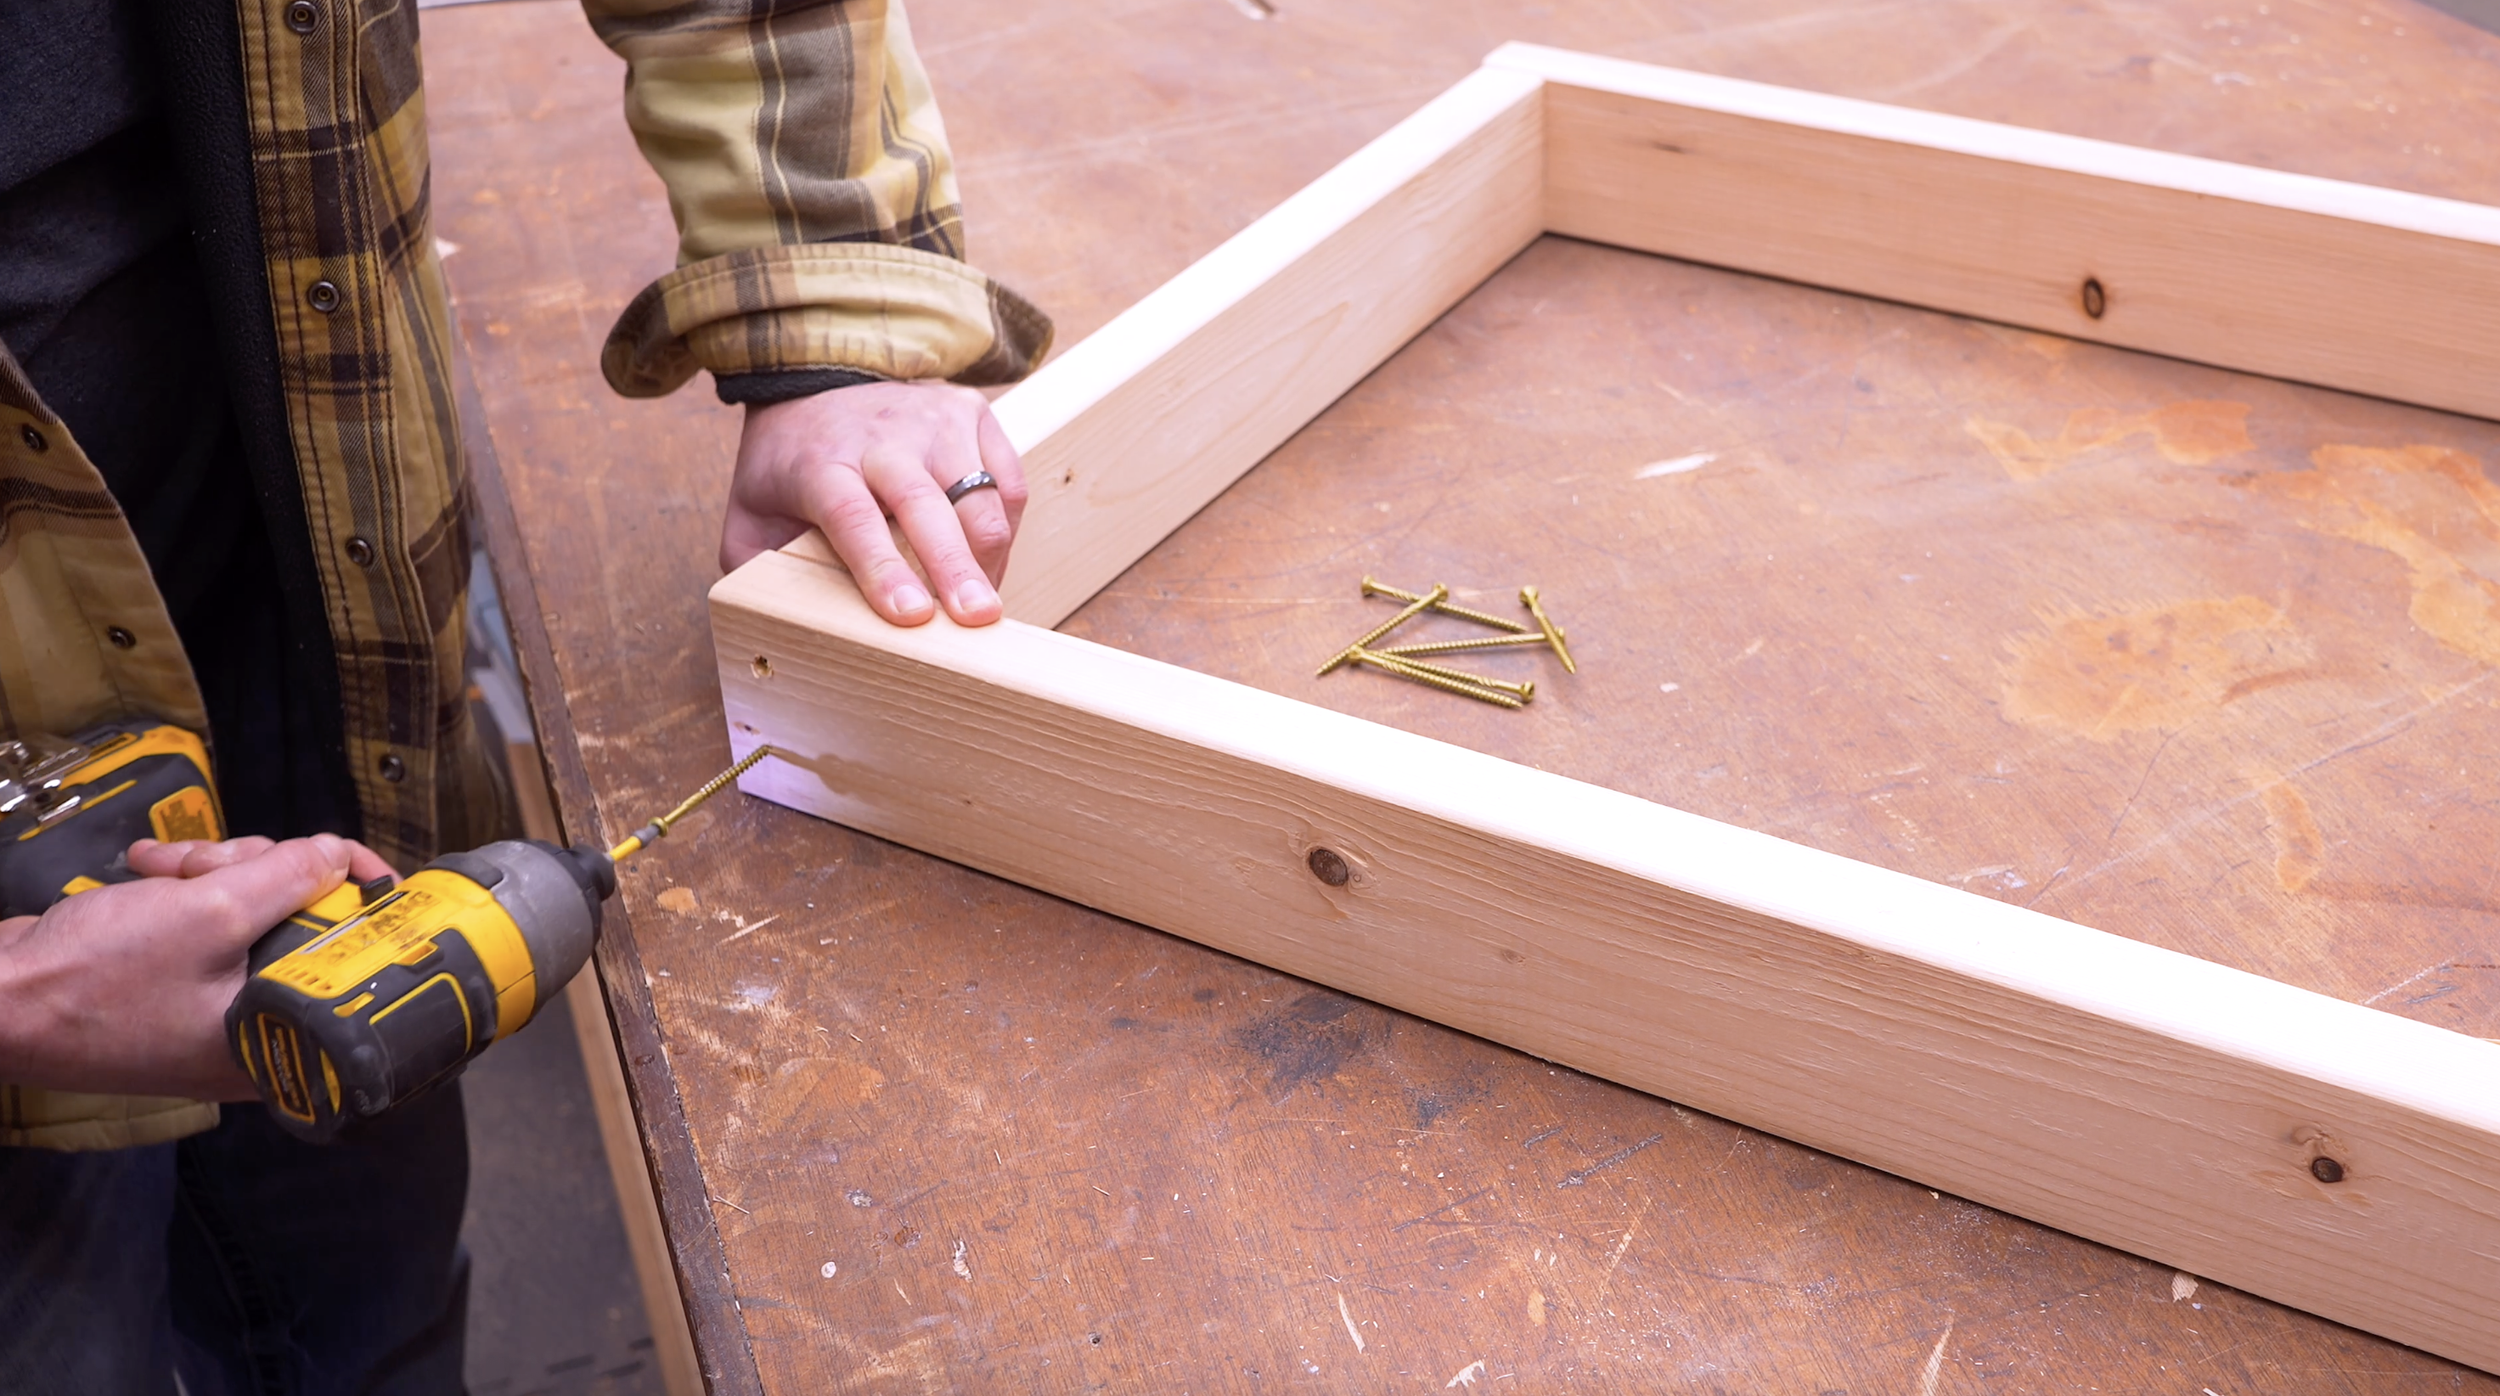
Step 1: Build the Base Frame
Cut:
(2) boards → 33"
(2) boards → 22 ½"
Assemble:
Form a rectangle
Overlap long boards over short boards
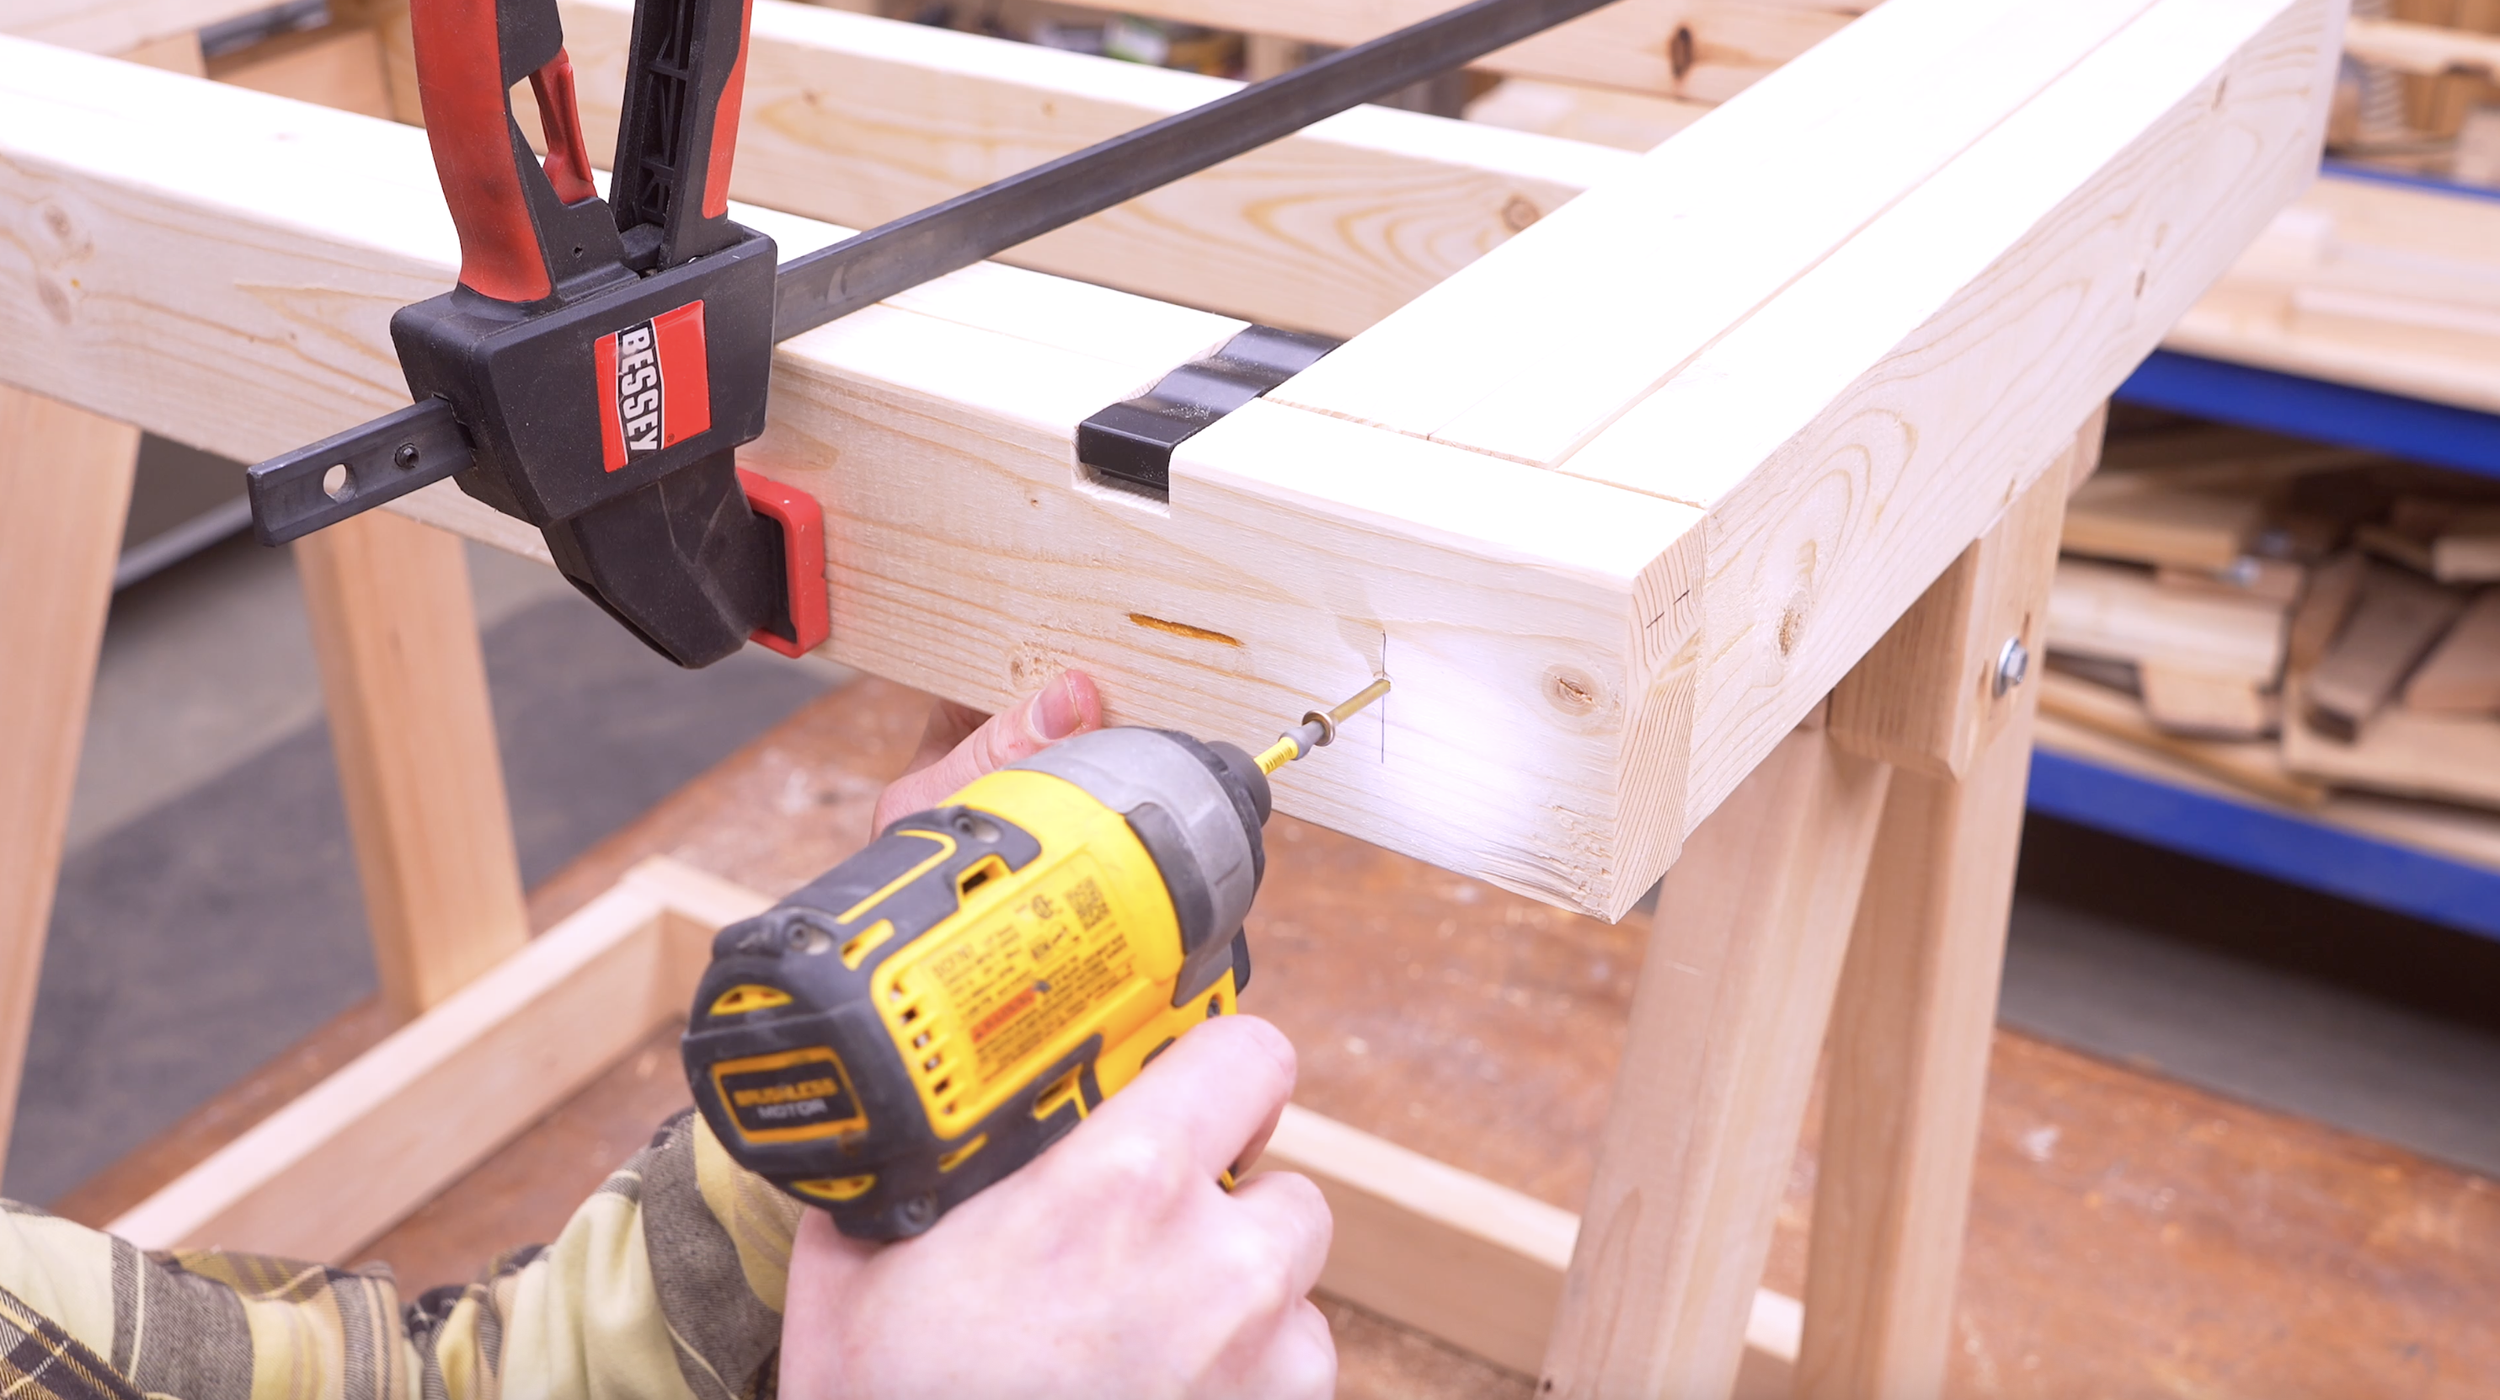
Secure with 3" construction screws
💡 Tip: Use T25 screws—they don’t strip like Phillips.
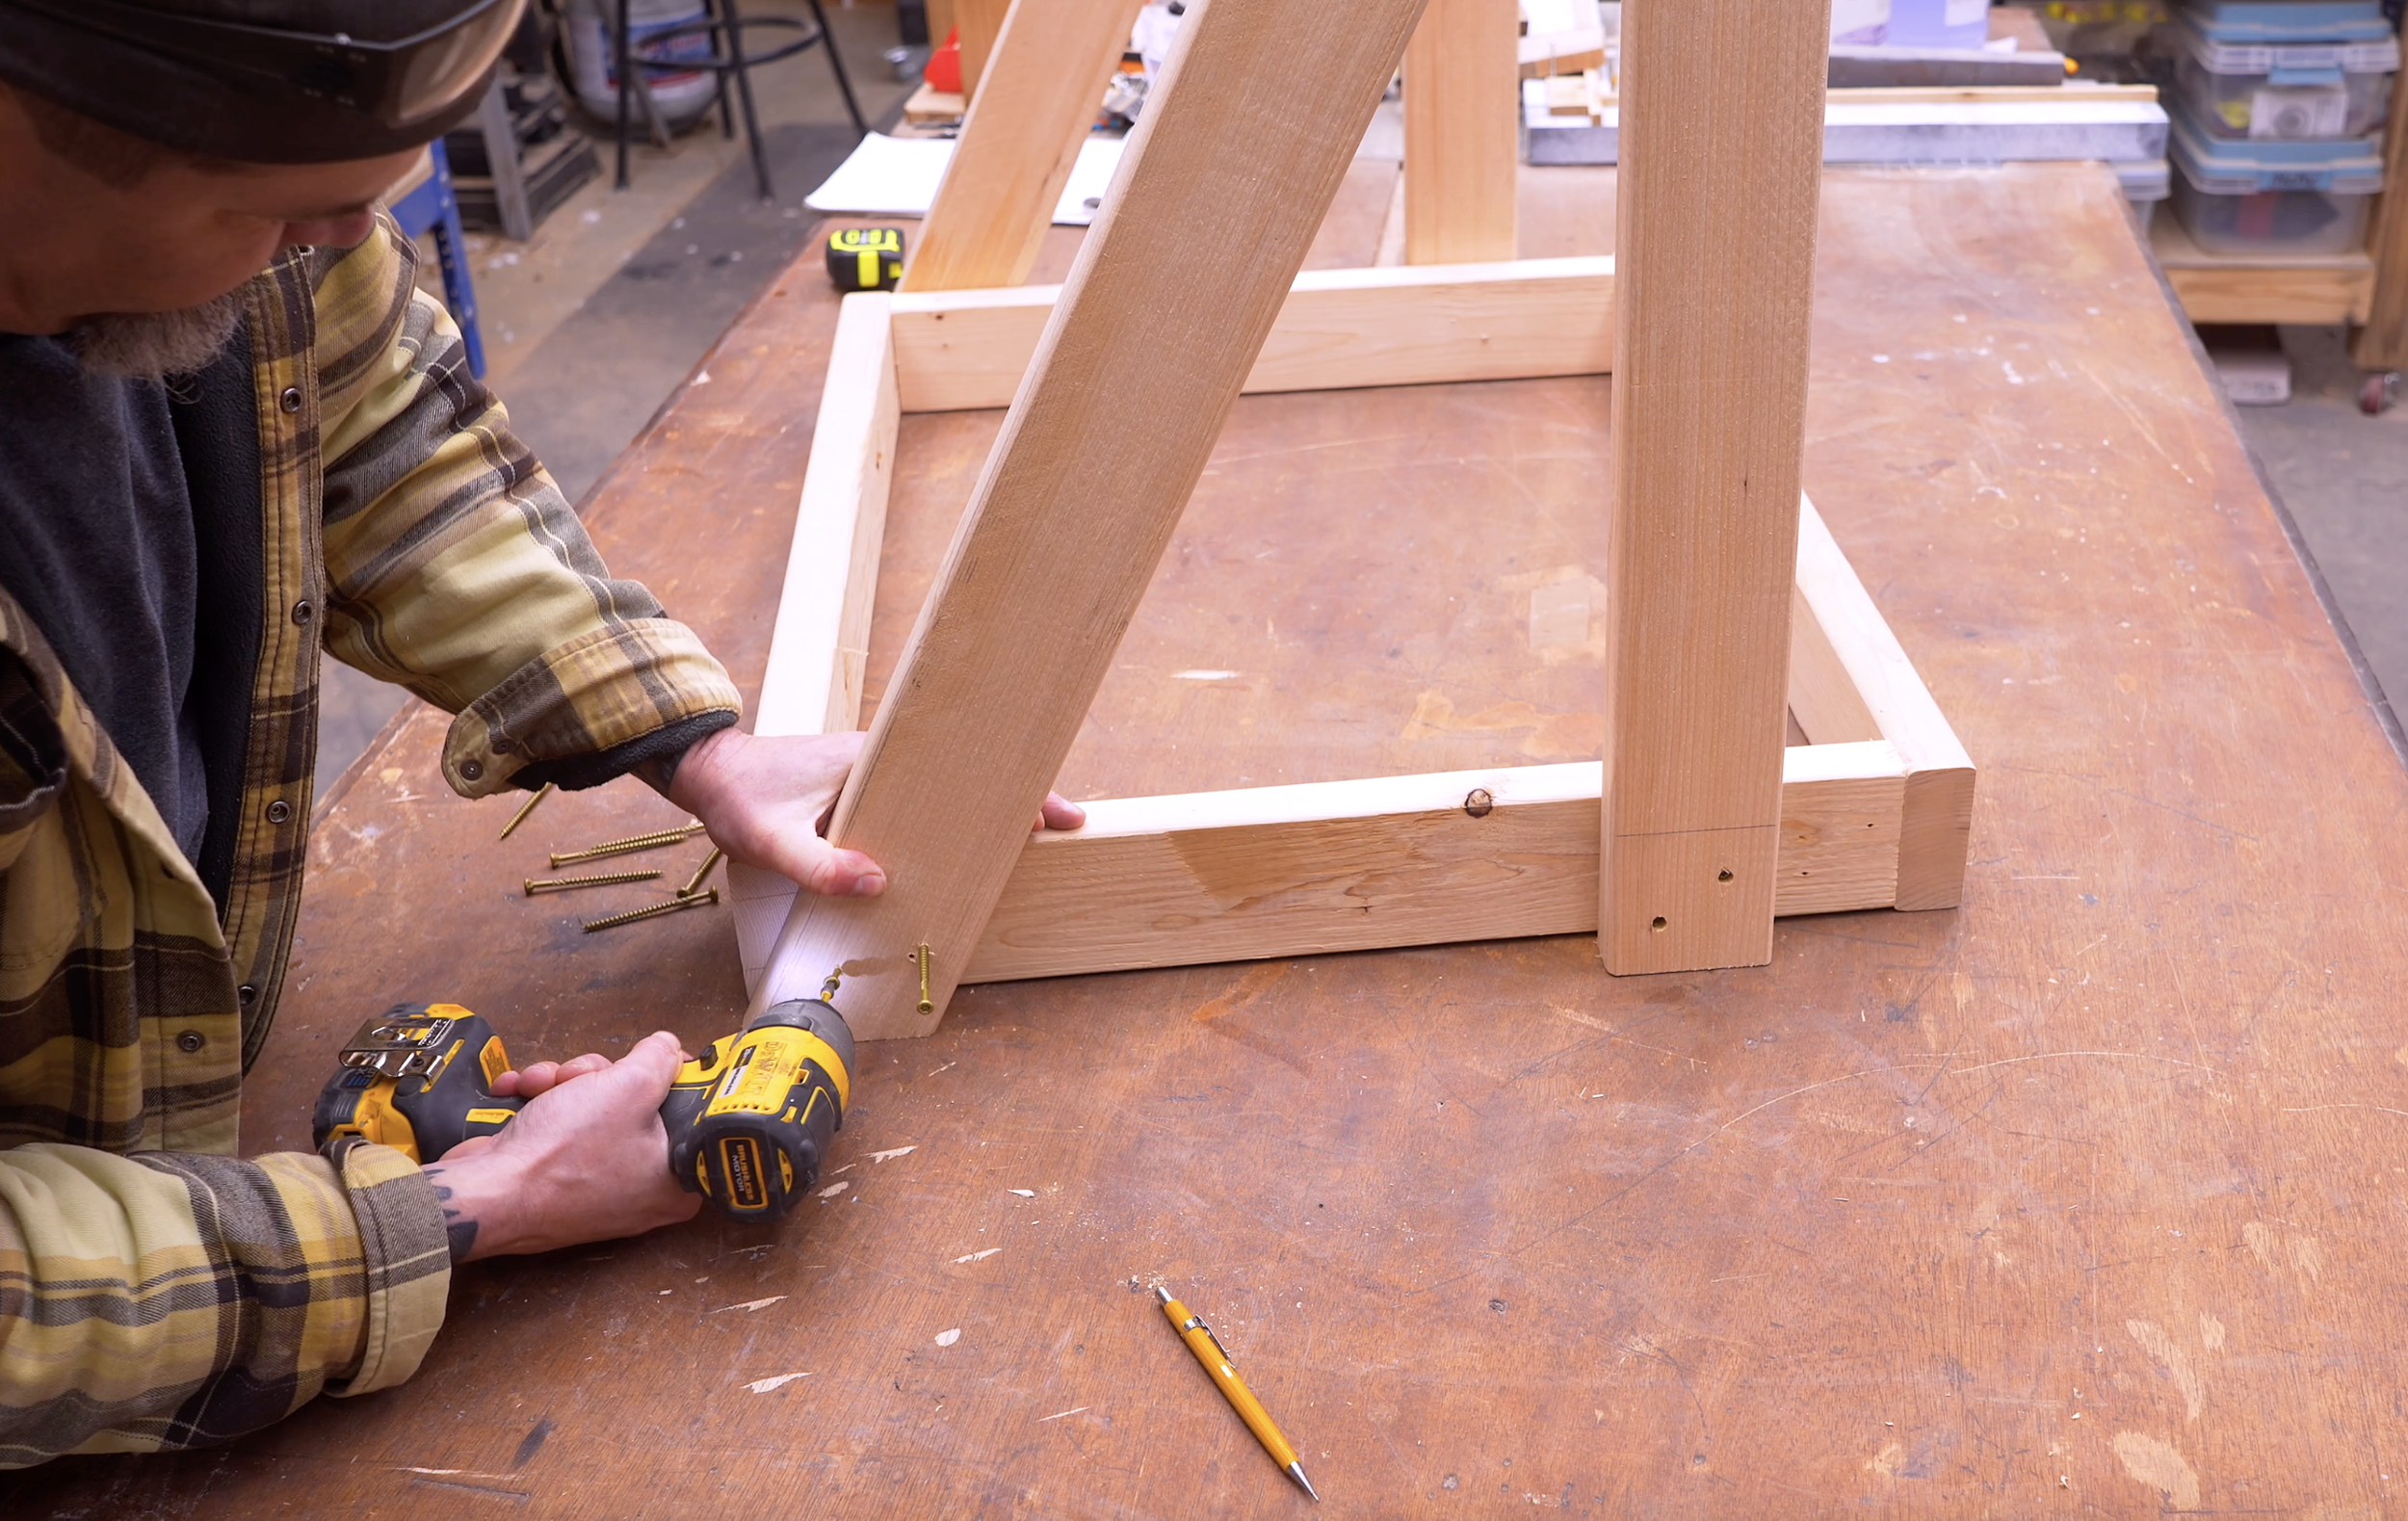
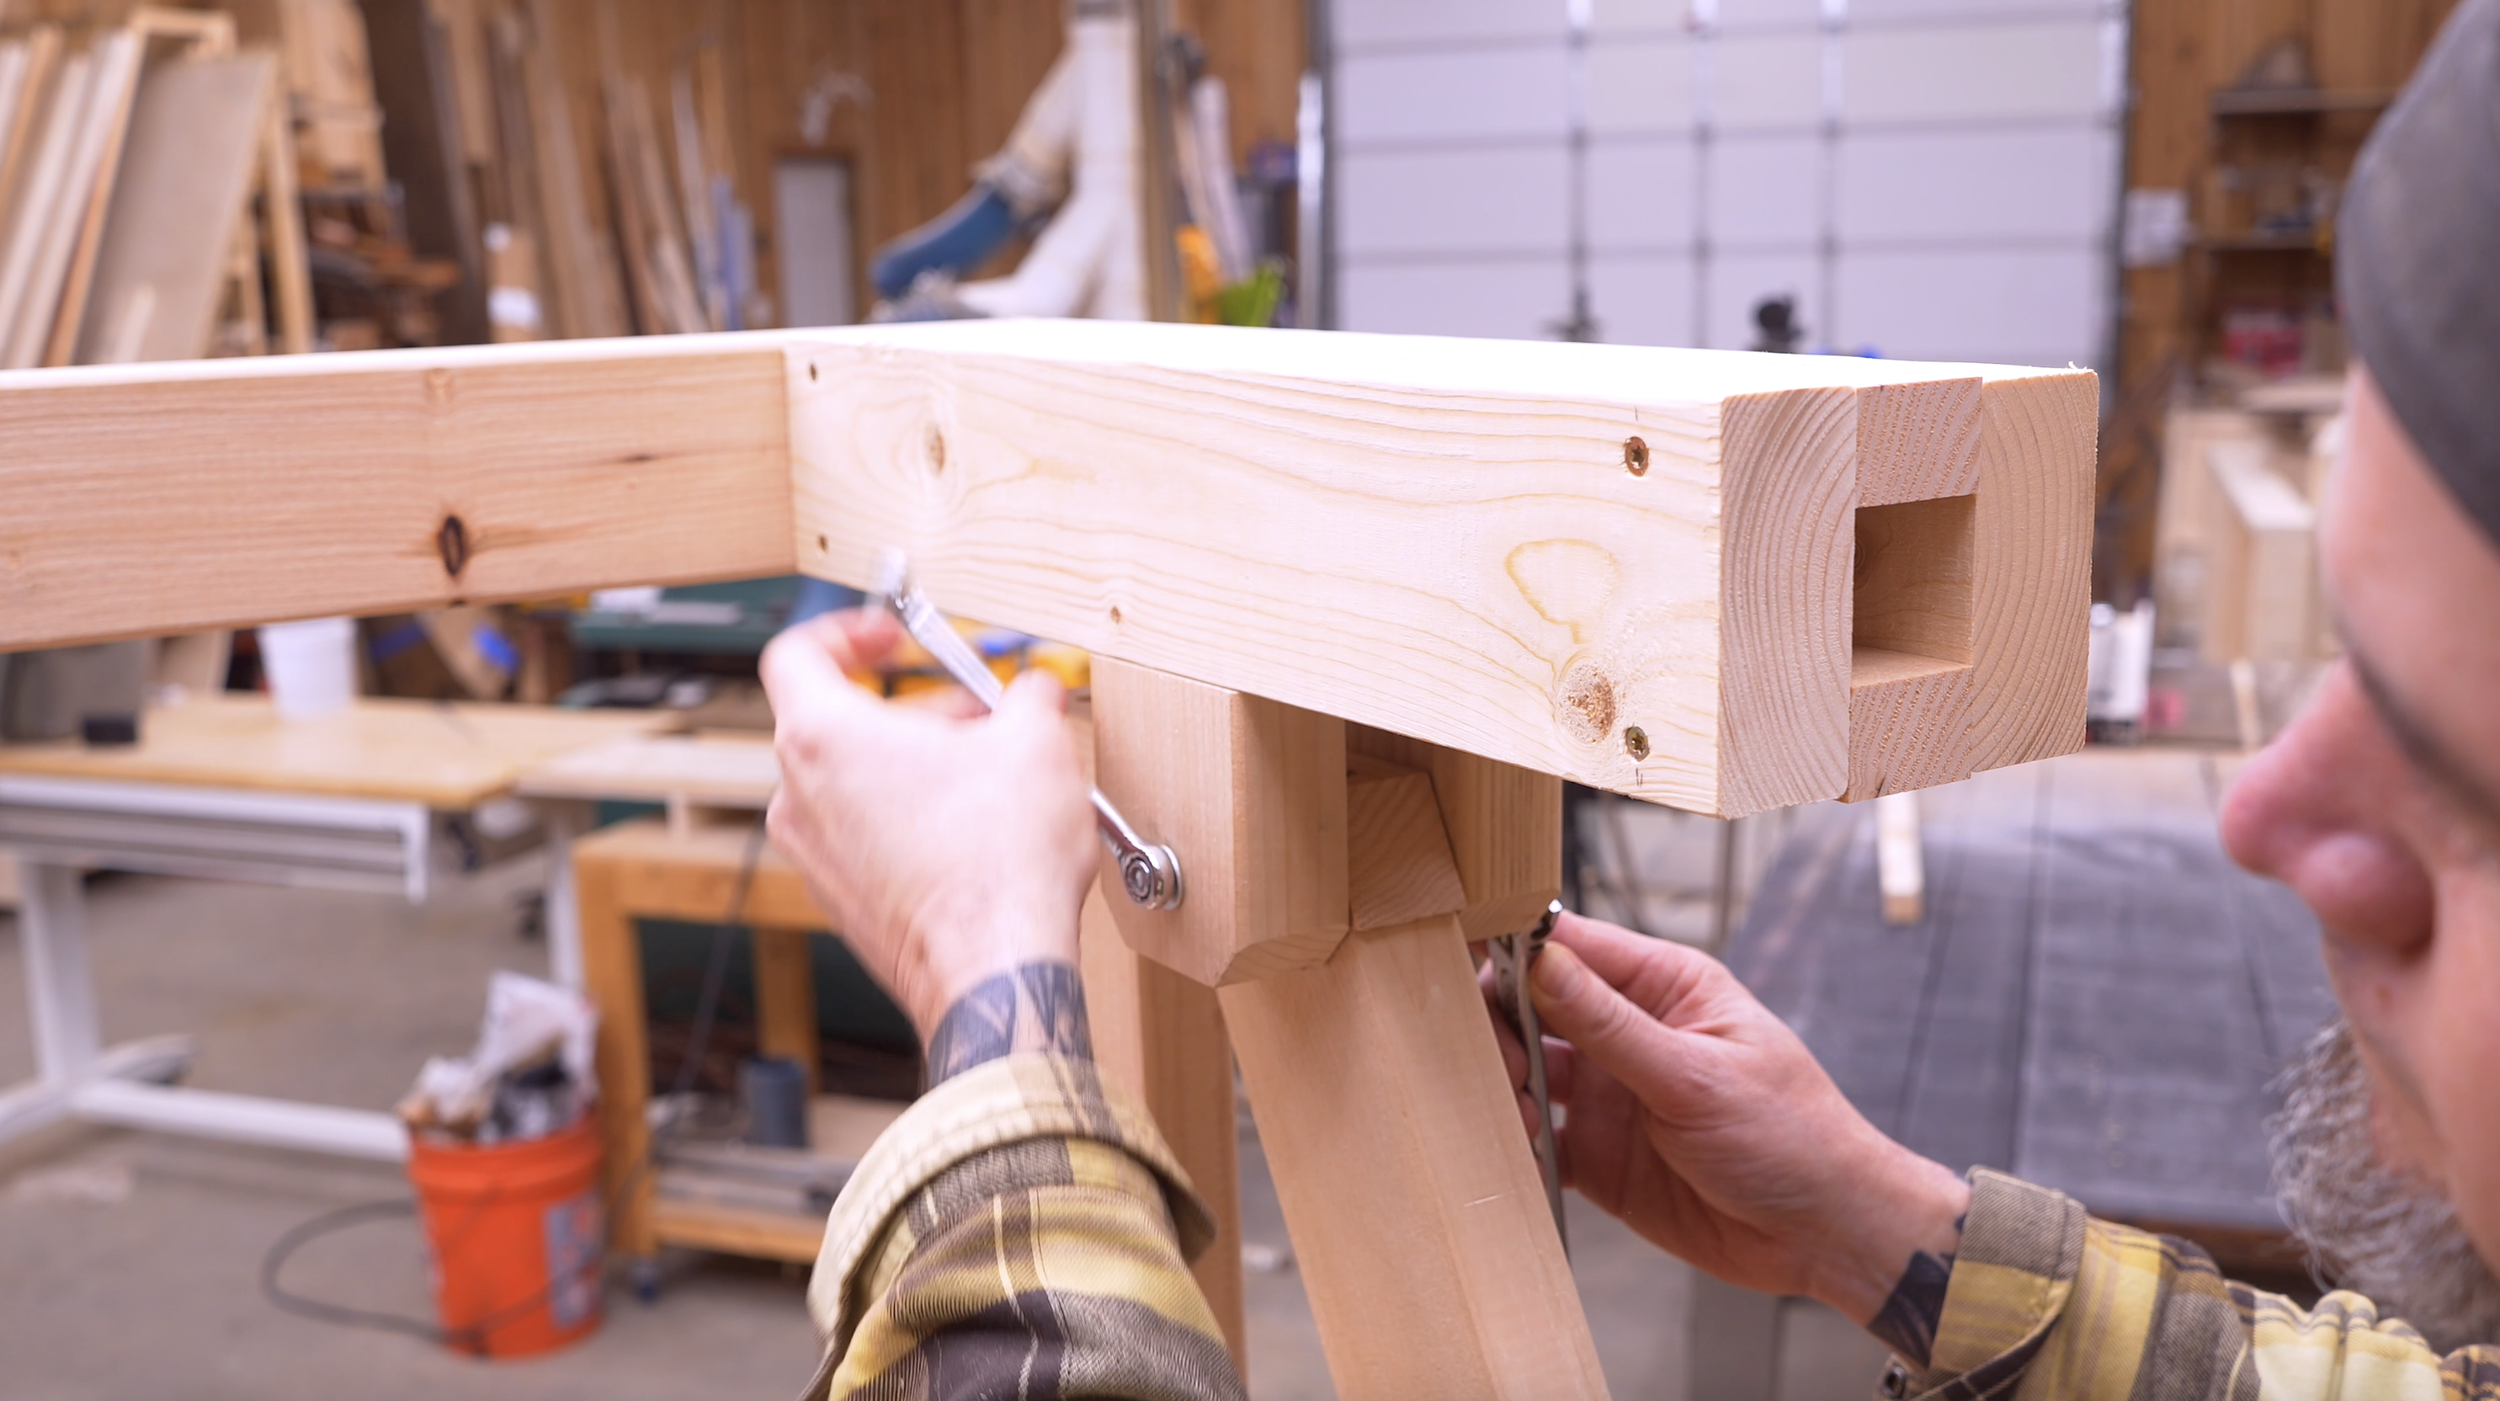
Step 2: Install the Legs
Back legs:
(2) boards → 24"
Attach:
4 ½" in from back edge
Front legs:
(2) boards
Cut 27° angles on both ends
Length measured along face: 27 ½"
Install:
Angle sits flat on ground
Tip flush with front of base
👉 This angled front is what allows the pivot system to work later.

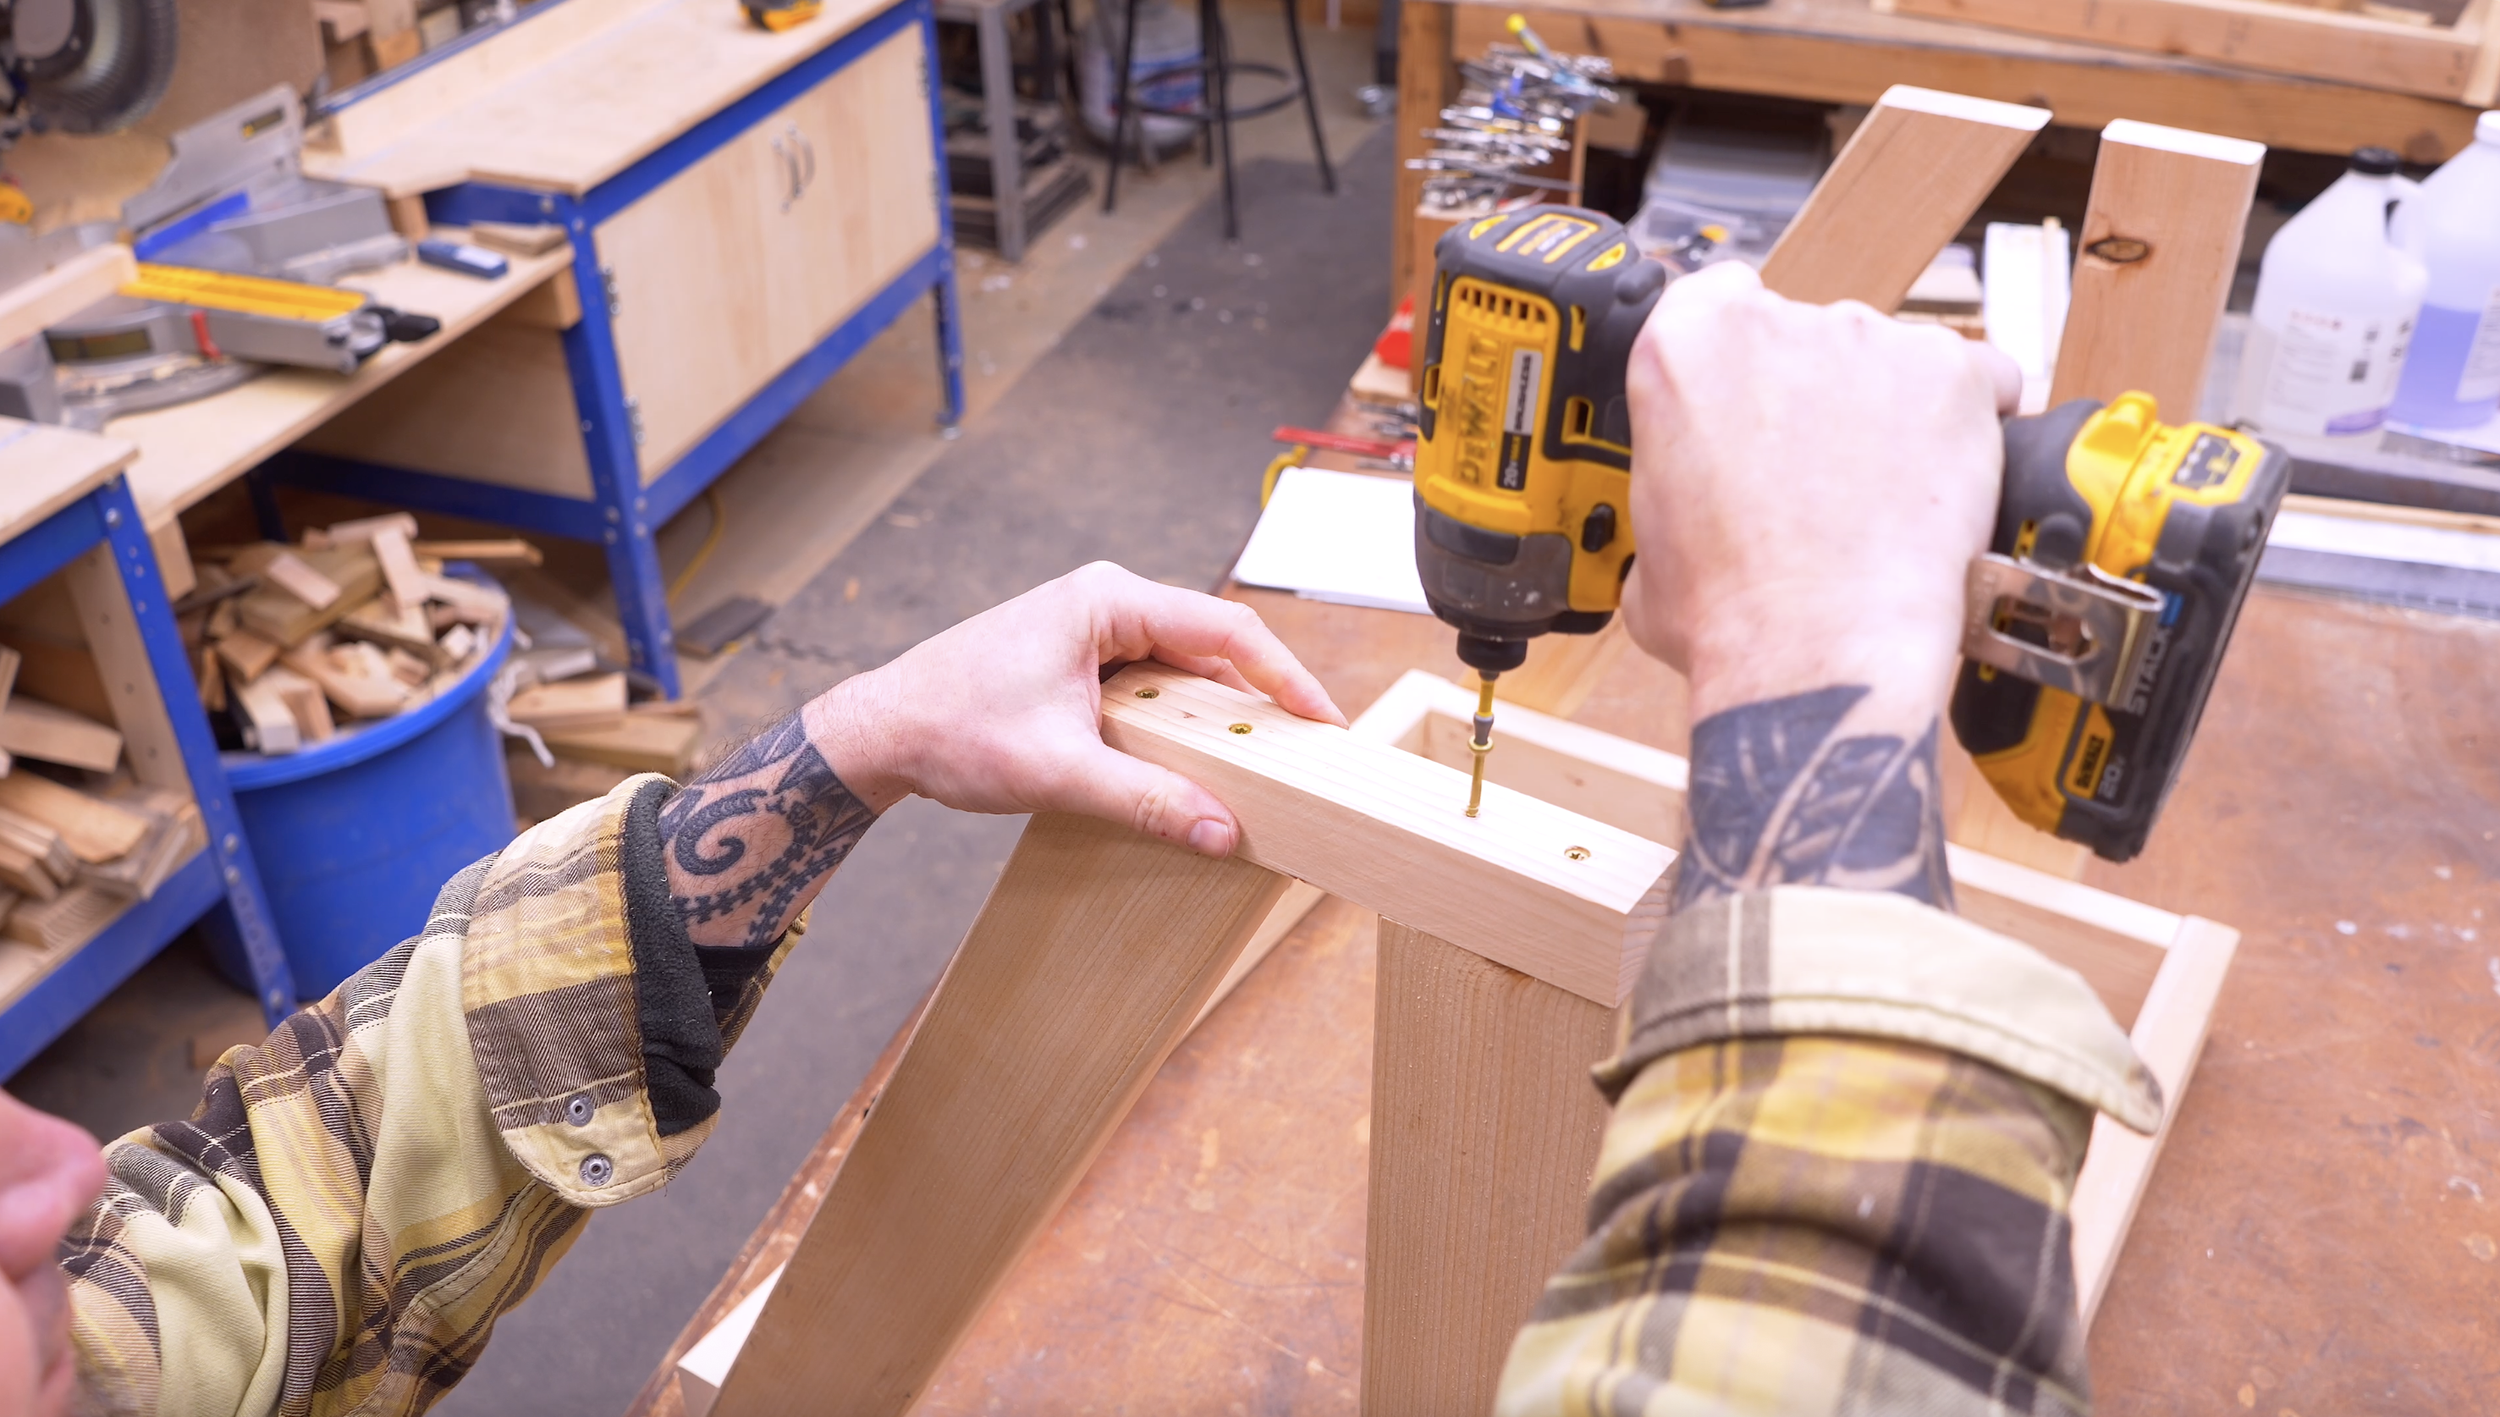
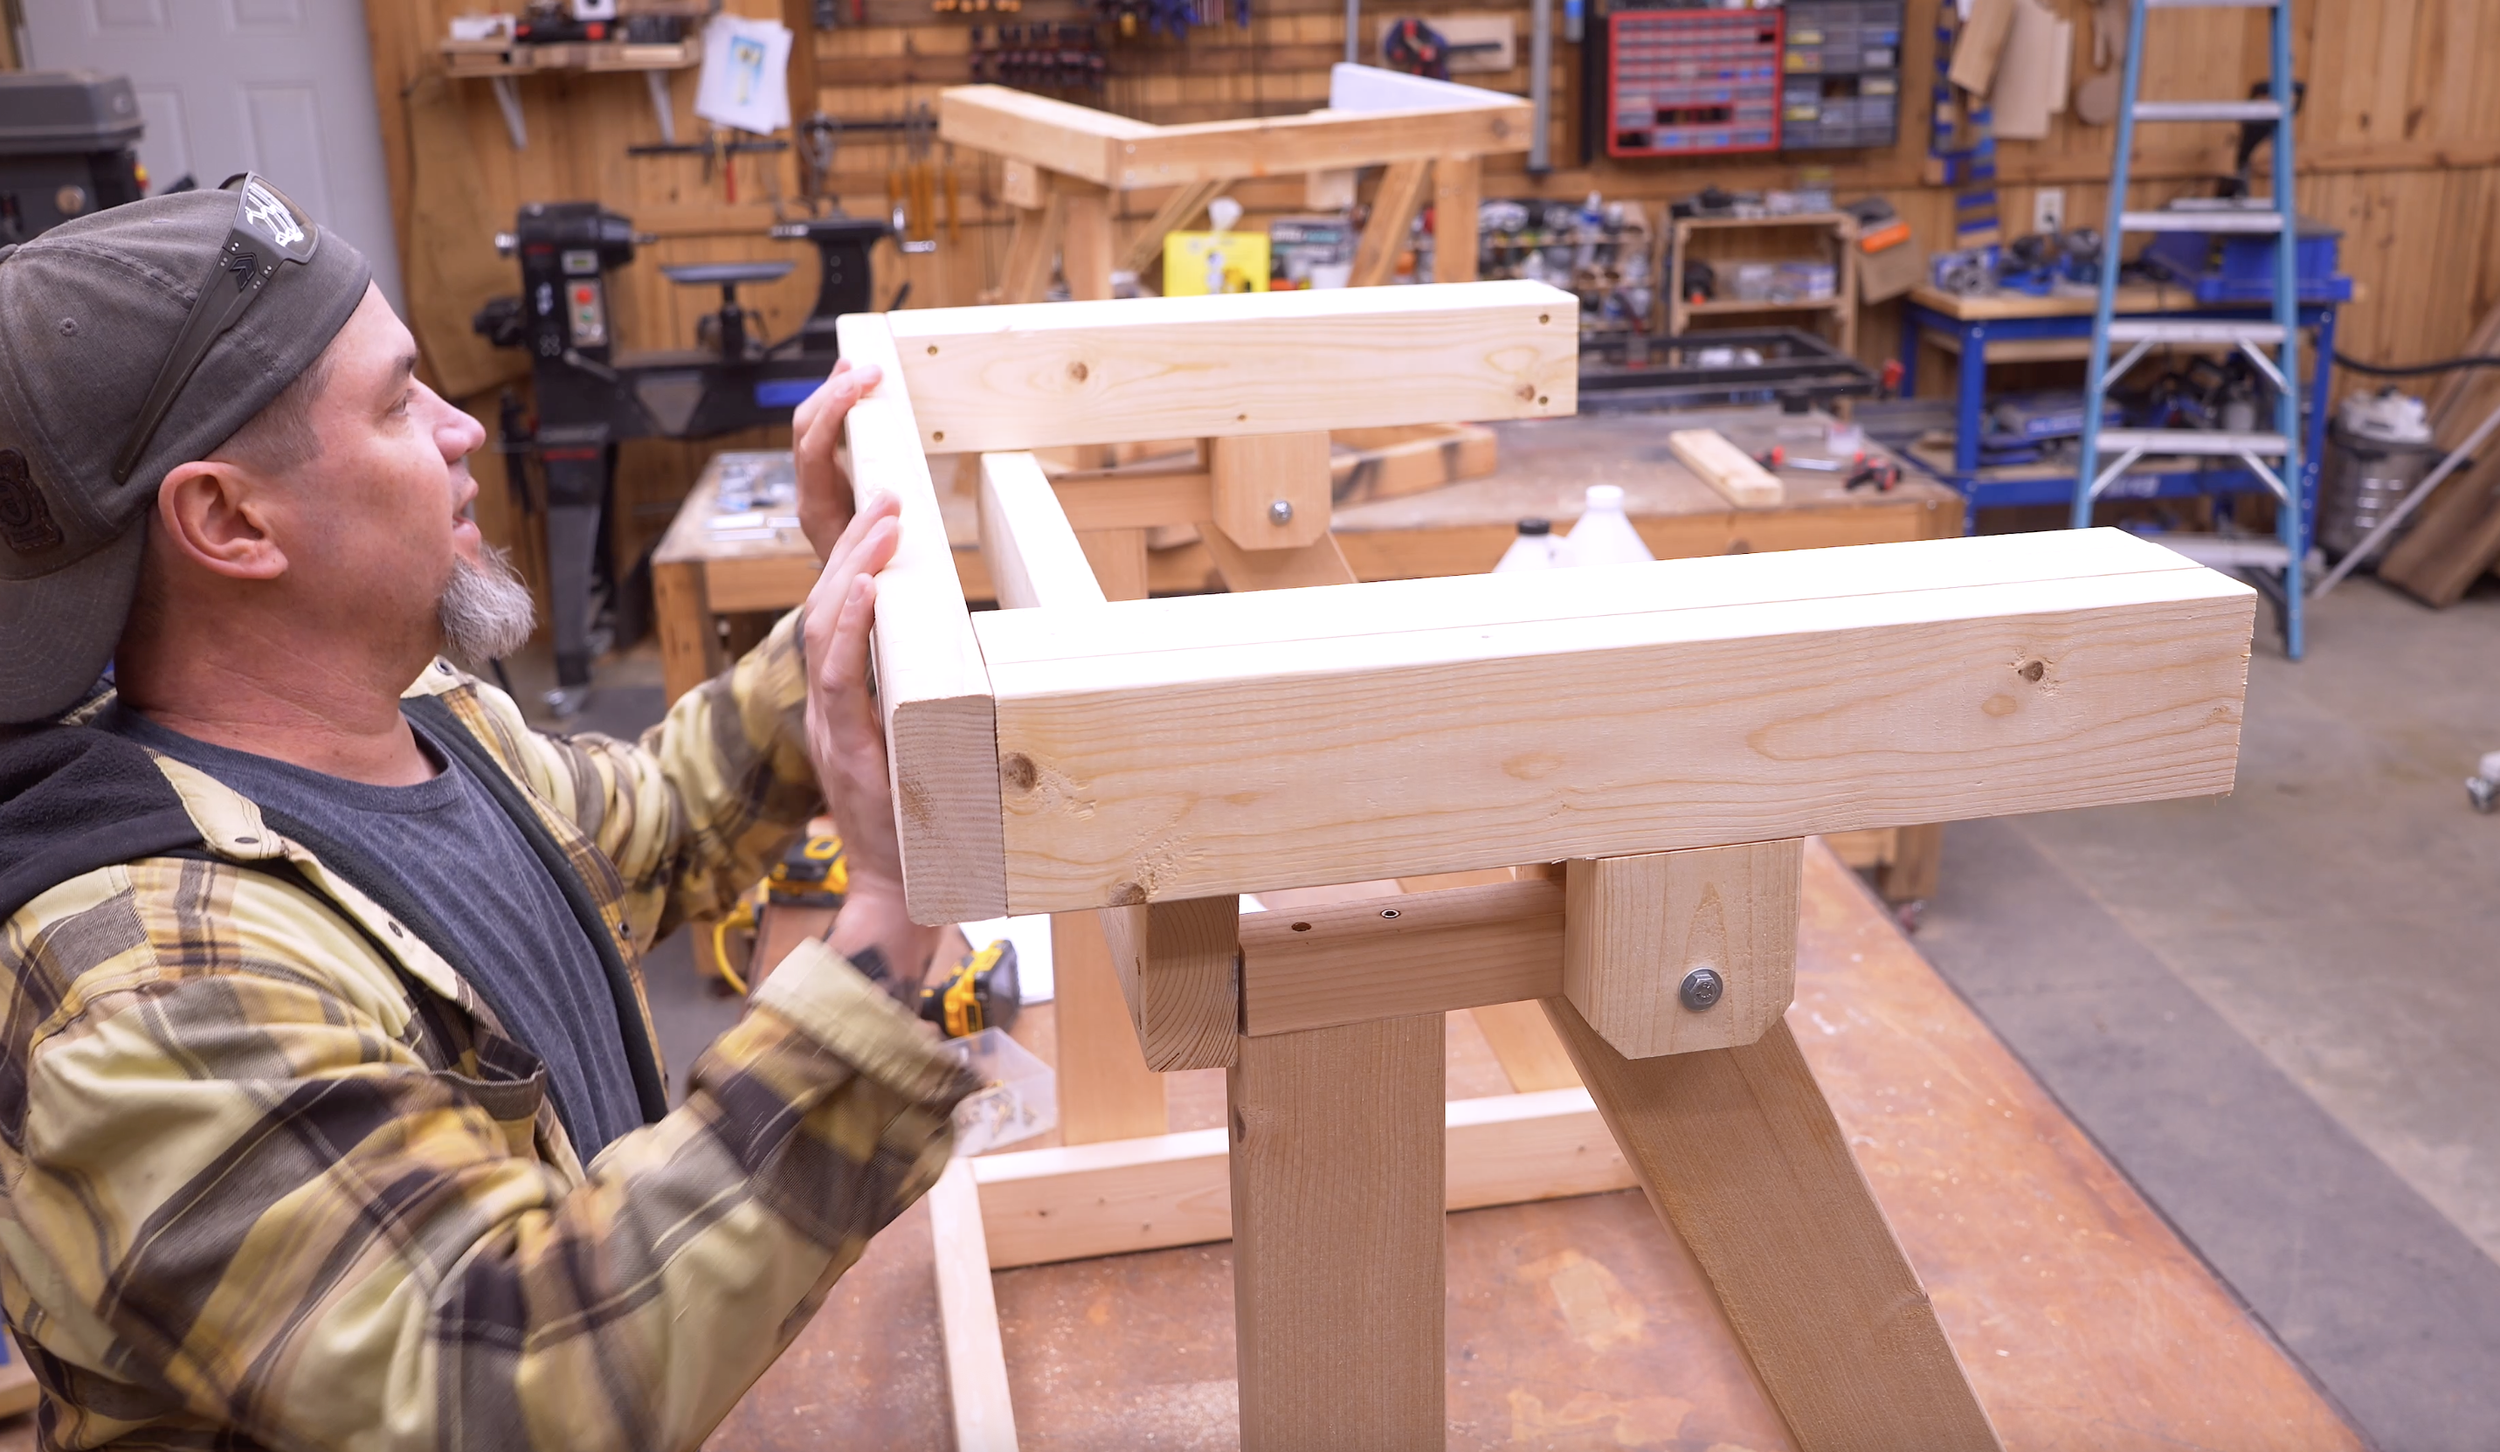
Step 3: Add Top Leg Connectors
Cut (2x2 material):
(2) boards → 8 ⅞"
One end at 27° angle
Install:
Attach across tops of legs
Pre-drill to avoid splitting
Screw into place
This locks your leg structure together.
Step 4: Build the Pivoting Top Frame
Cut:
(6) boards → 20"
(1) board → 39" (back board)
Pivot blocks:
Cut corners at 45°
Trim to ~3" long
Build arms:
Attach 1" spacer strips to edges of 20" boards
Add second board on top → creates channel
Repeat → 2 arms total
Step 5: Install Pivot Blocks
Mark 9" up from bottom of each arm
Attach pivot blocks using pocket holes
Then:
Attach both arms to 39" back board
Now you have your full pivoting top assembly.
Step 6: Attach Top to Base (Pivot System)
Drill pivot holes:
1 ¾" from side
¾" up from bottom
Install:
¼" x 5" bolts
Add washers on both sides
Use lock nuts (don’t overtighten)
👉 The top should pivot smoothly.
Step 7: Install Stop Board (Critical Step)
Cut:
(1) board → ~36"
Install:
Level the top
Slide board up from back until it touches
Secure in place
This:
👉 Stops the top at the correct angle
👉 Keeps your workbench level when flat
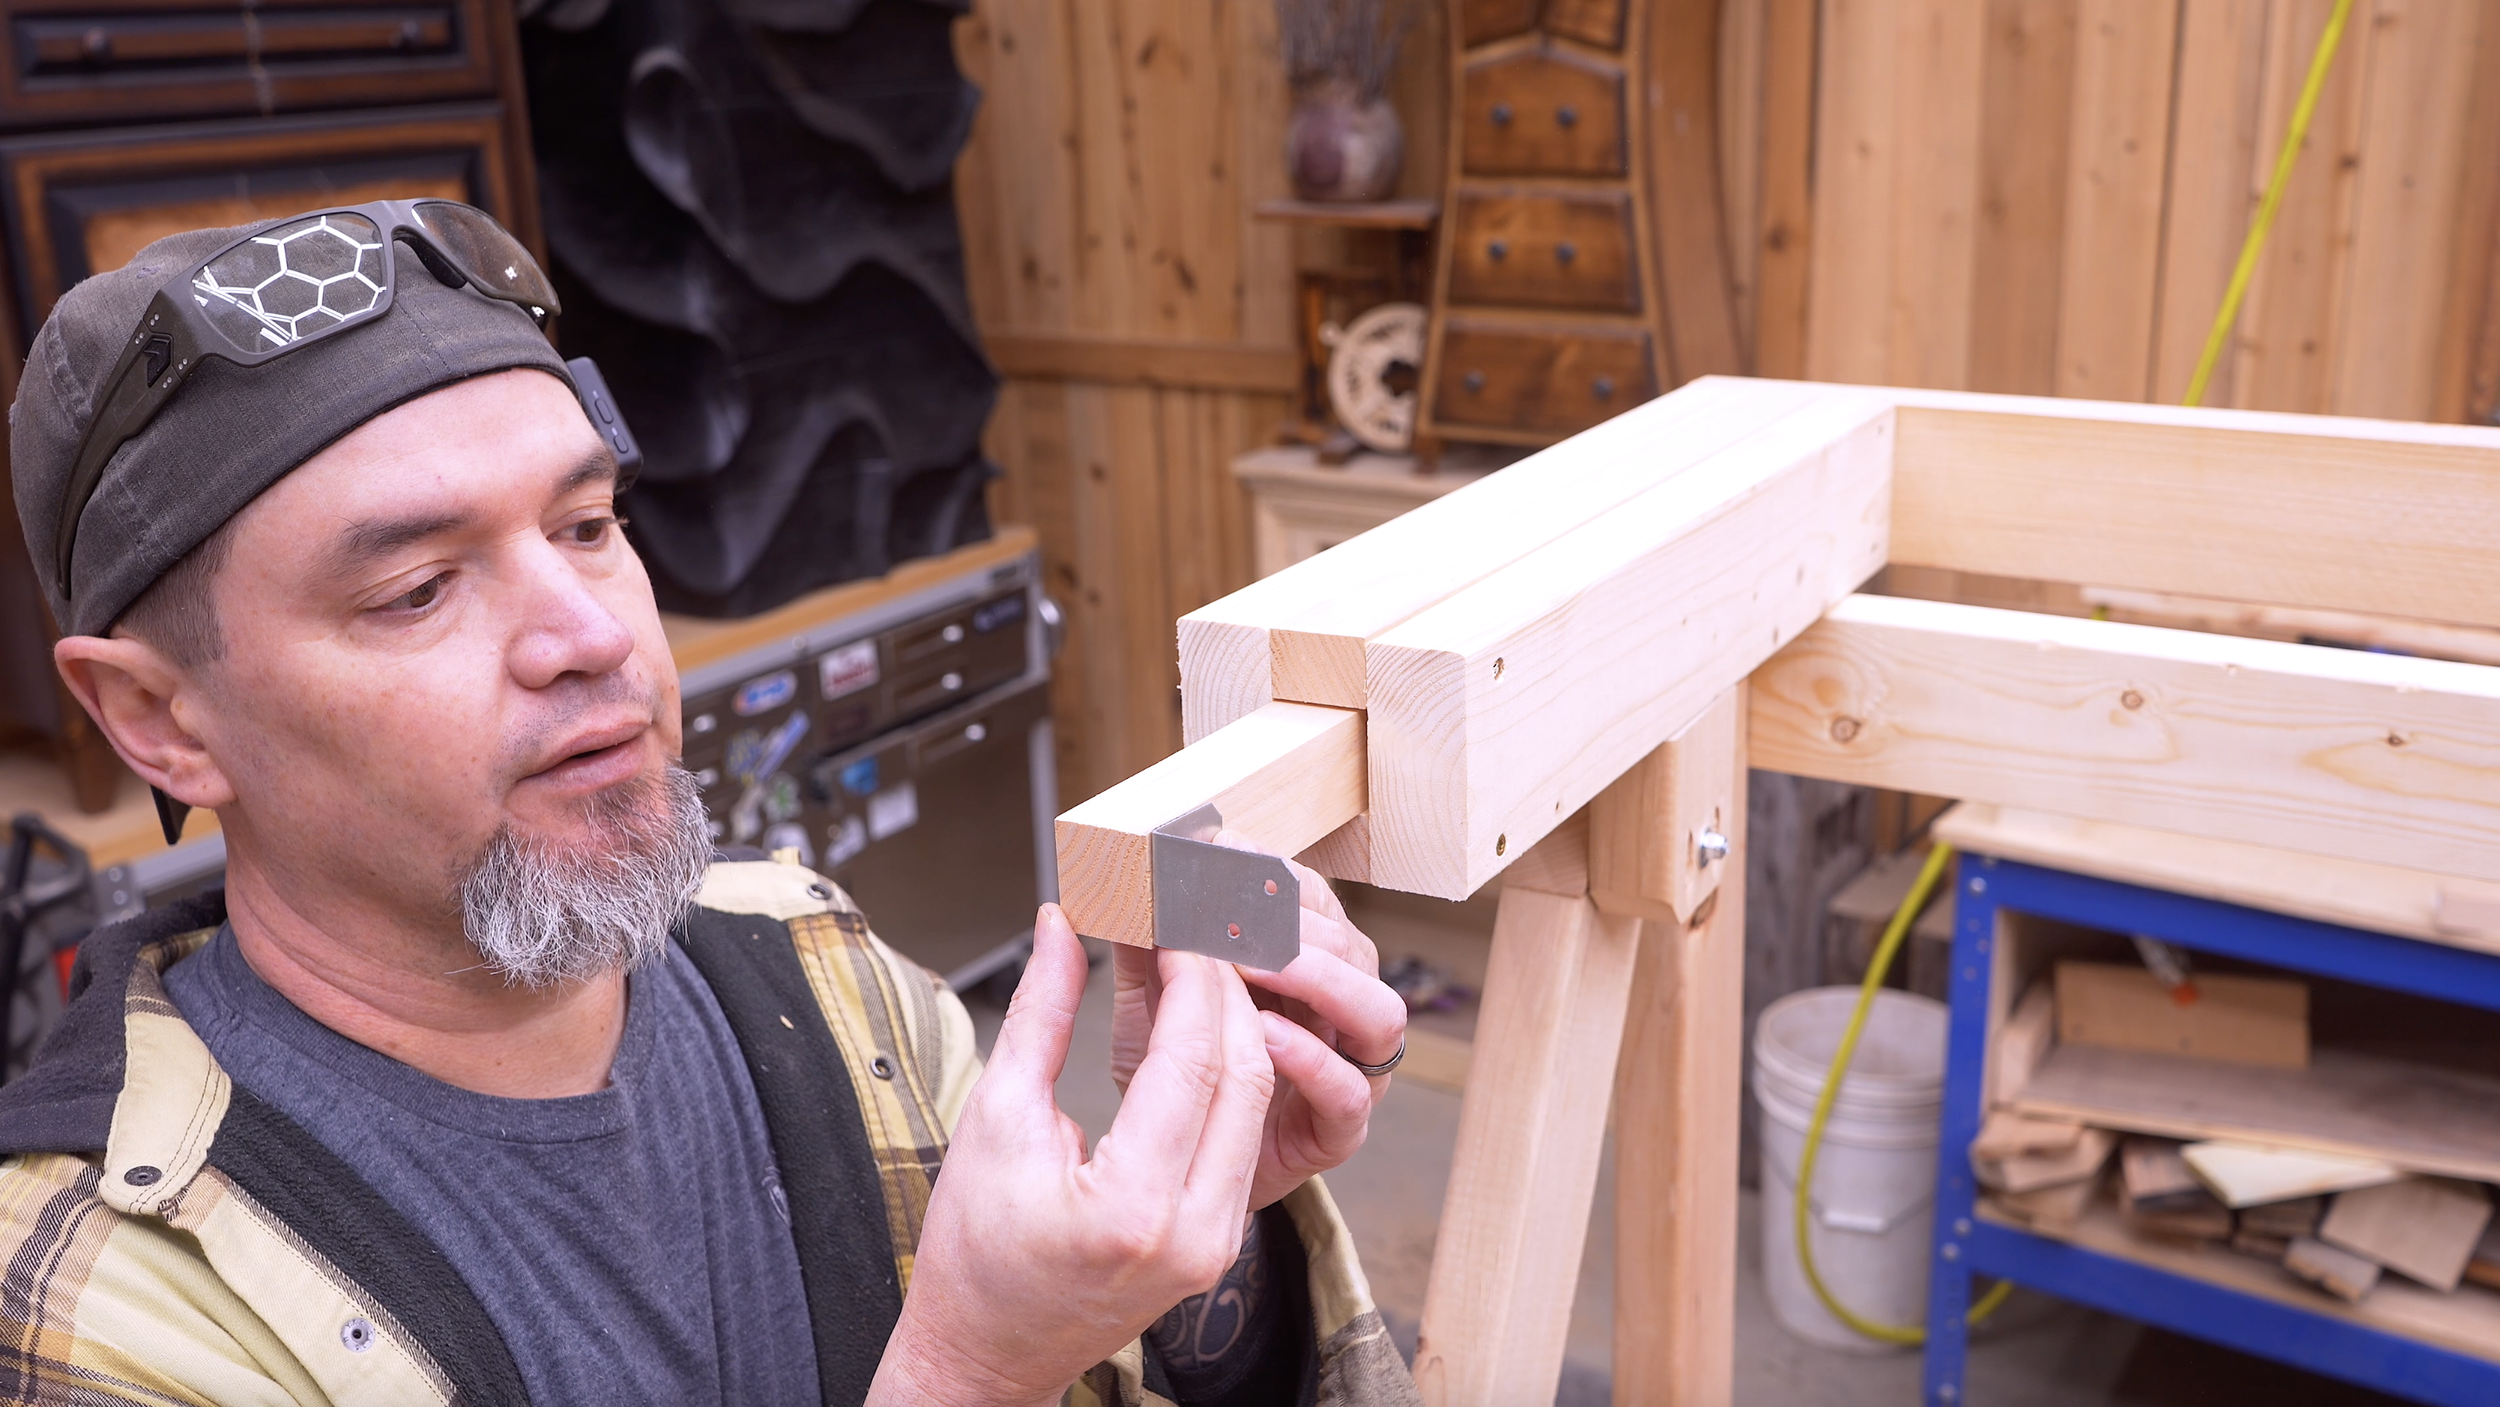
Step 8: Build Adjustable Front Support
Cut sliding arms:
(2) boards → 1 ¼" x 1 ½" x 20"
Cut support beam:
(1) 2x4 → 39"
(1) 2x2 → 30"
Assemble:
Attach 2x2 to 2x4
Leave 4 ½" from each end
Add:
Angle brackets (for strength)
Folding hooks (to hold sheet goods)
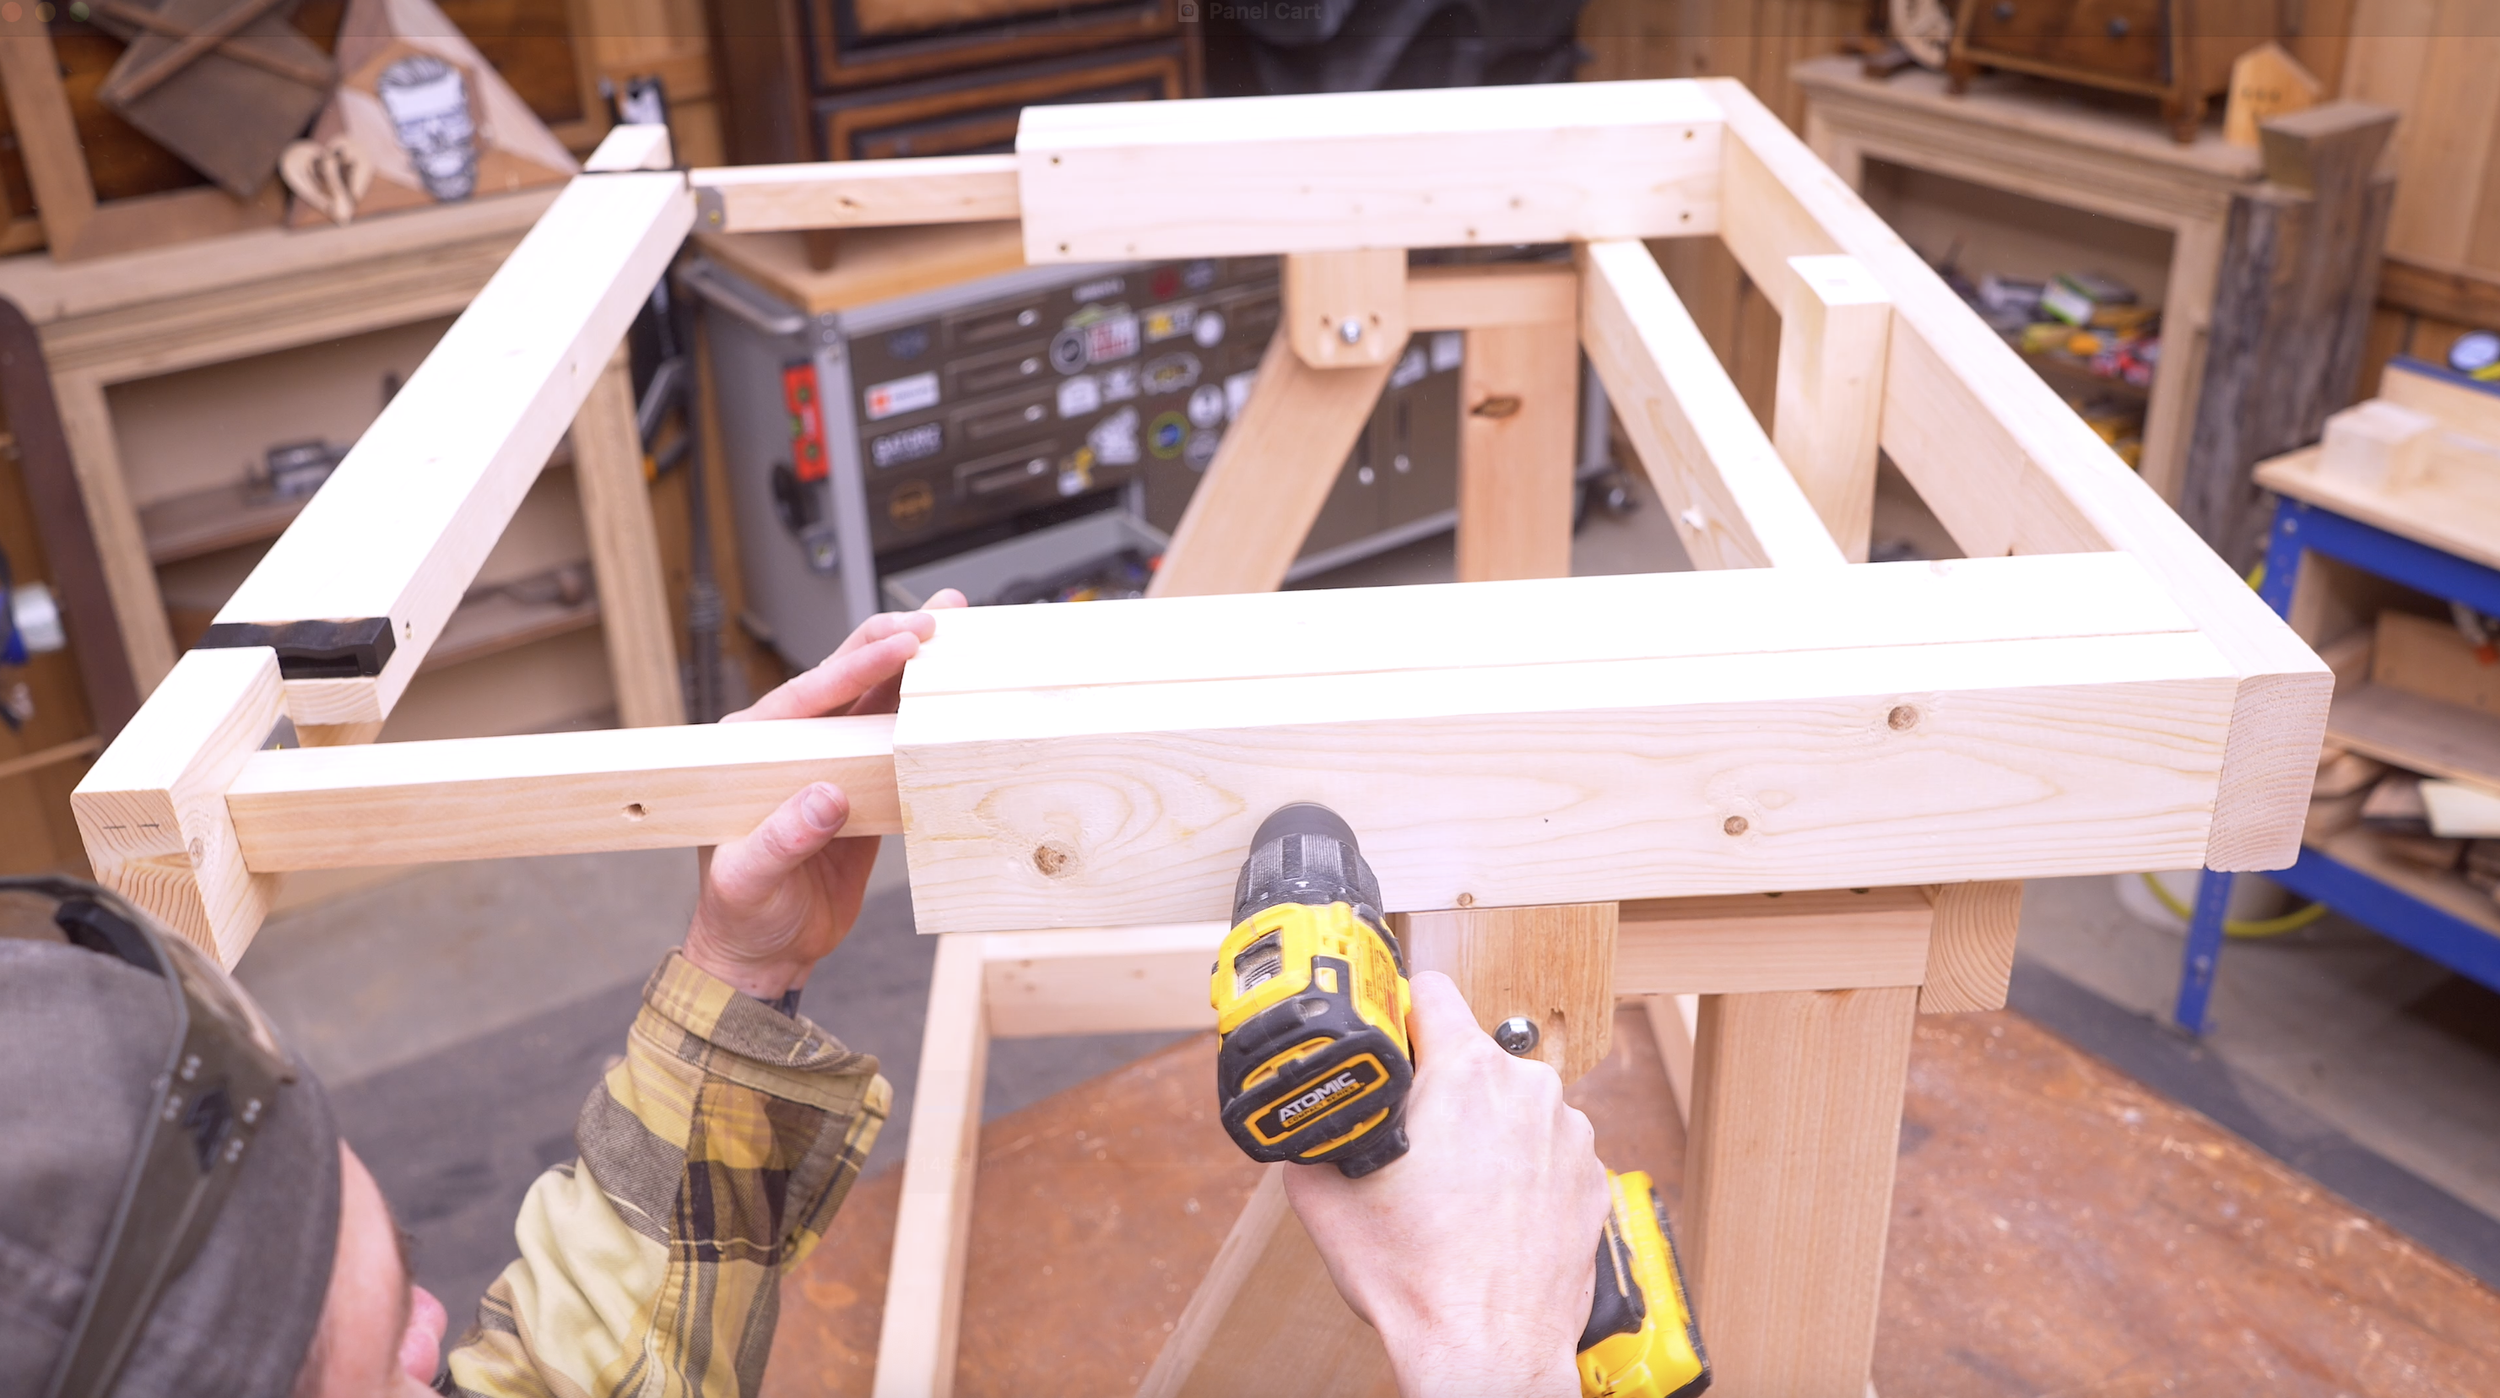
Step 9: Attach Front Support
Slide arms into channels
Leave ¼" clearance for brackets
Attach support beam to arms
Now you have:
👉 Adjustable support for different angles
Step 10: Install Locking Positions (VERY Important)
Closed position:
Drill hole through arm + frame
Insert bolt
Open position:
Extend arms 12"
Drill second locking hole
⚠️ Important:
Always lock this before use—this build has moving parts.
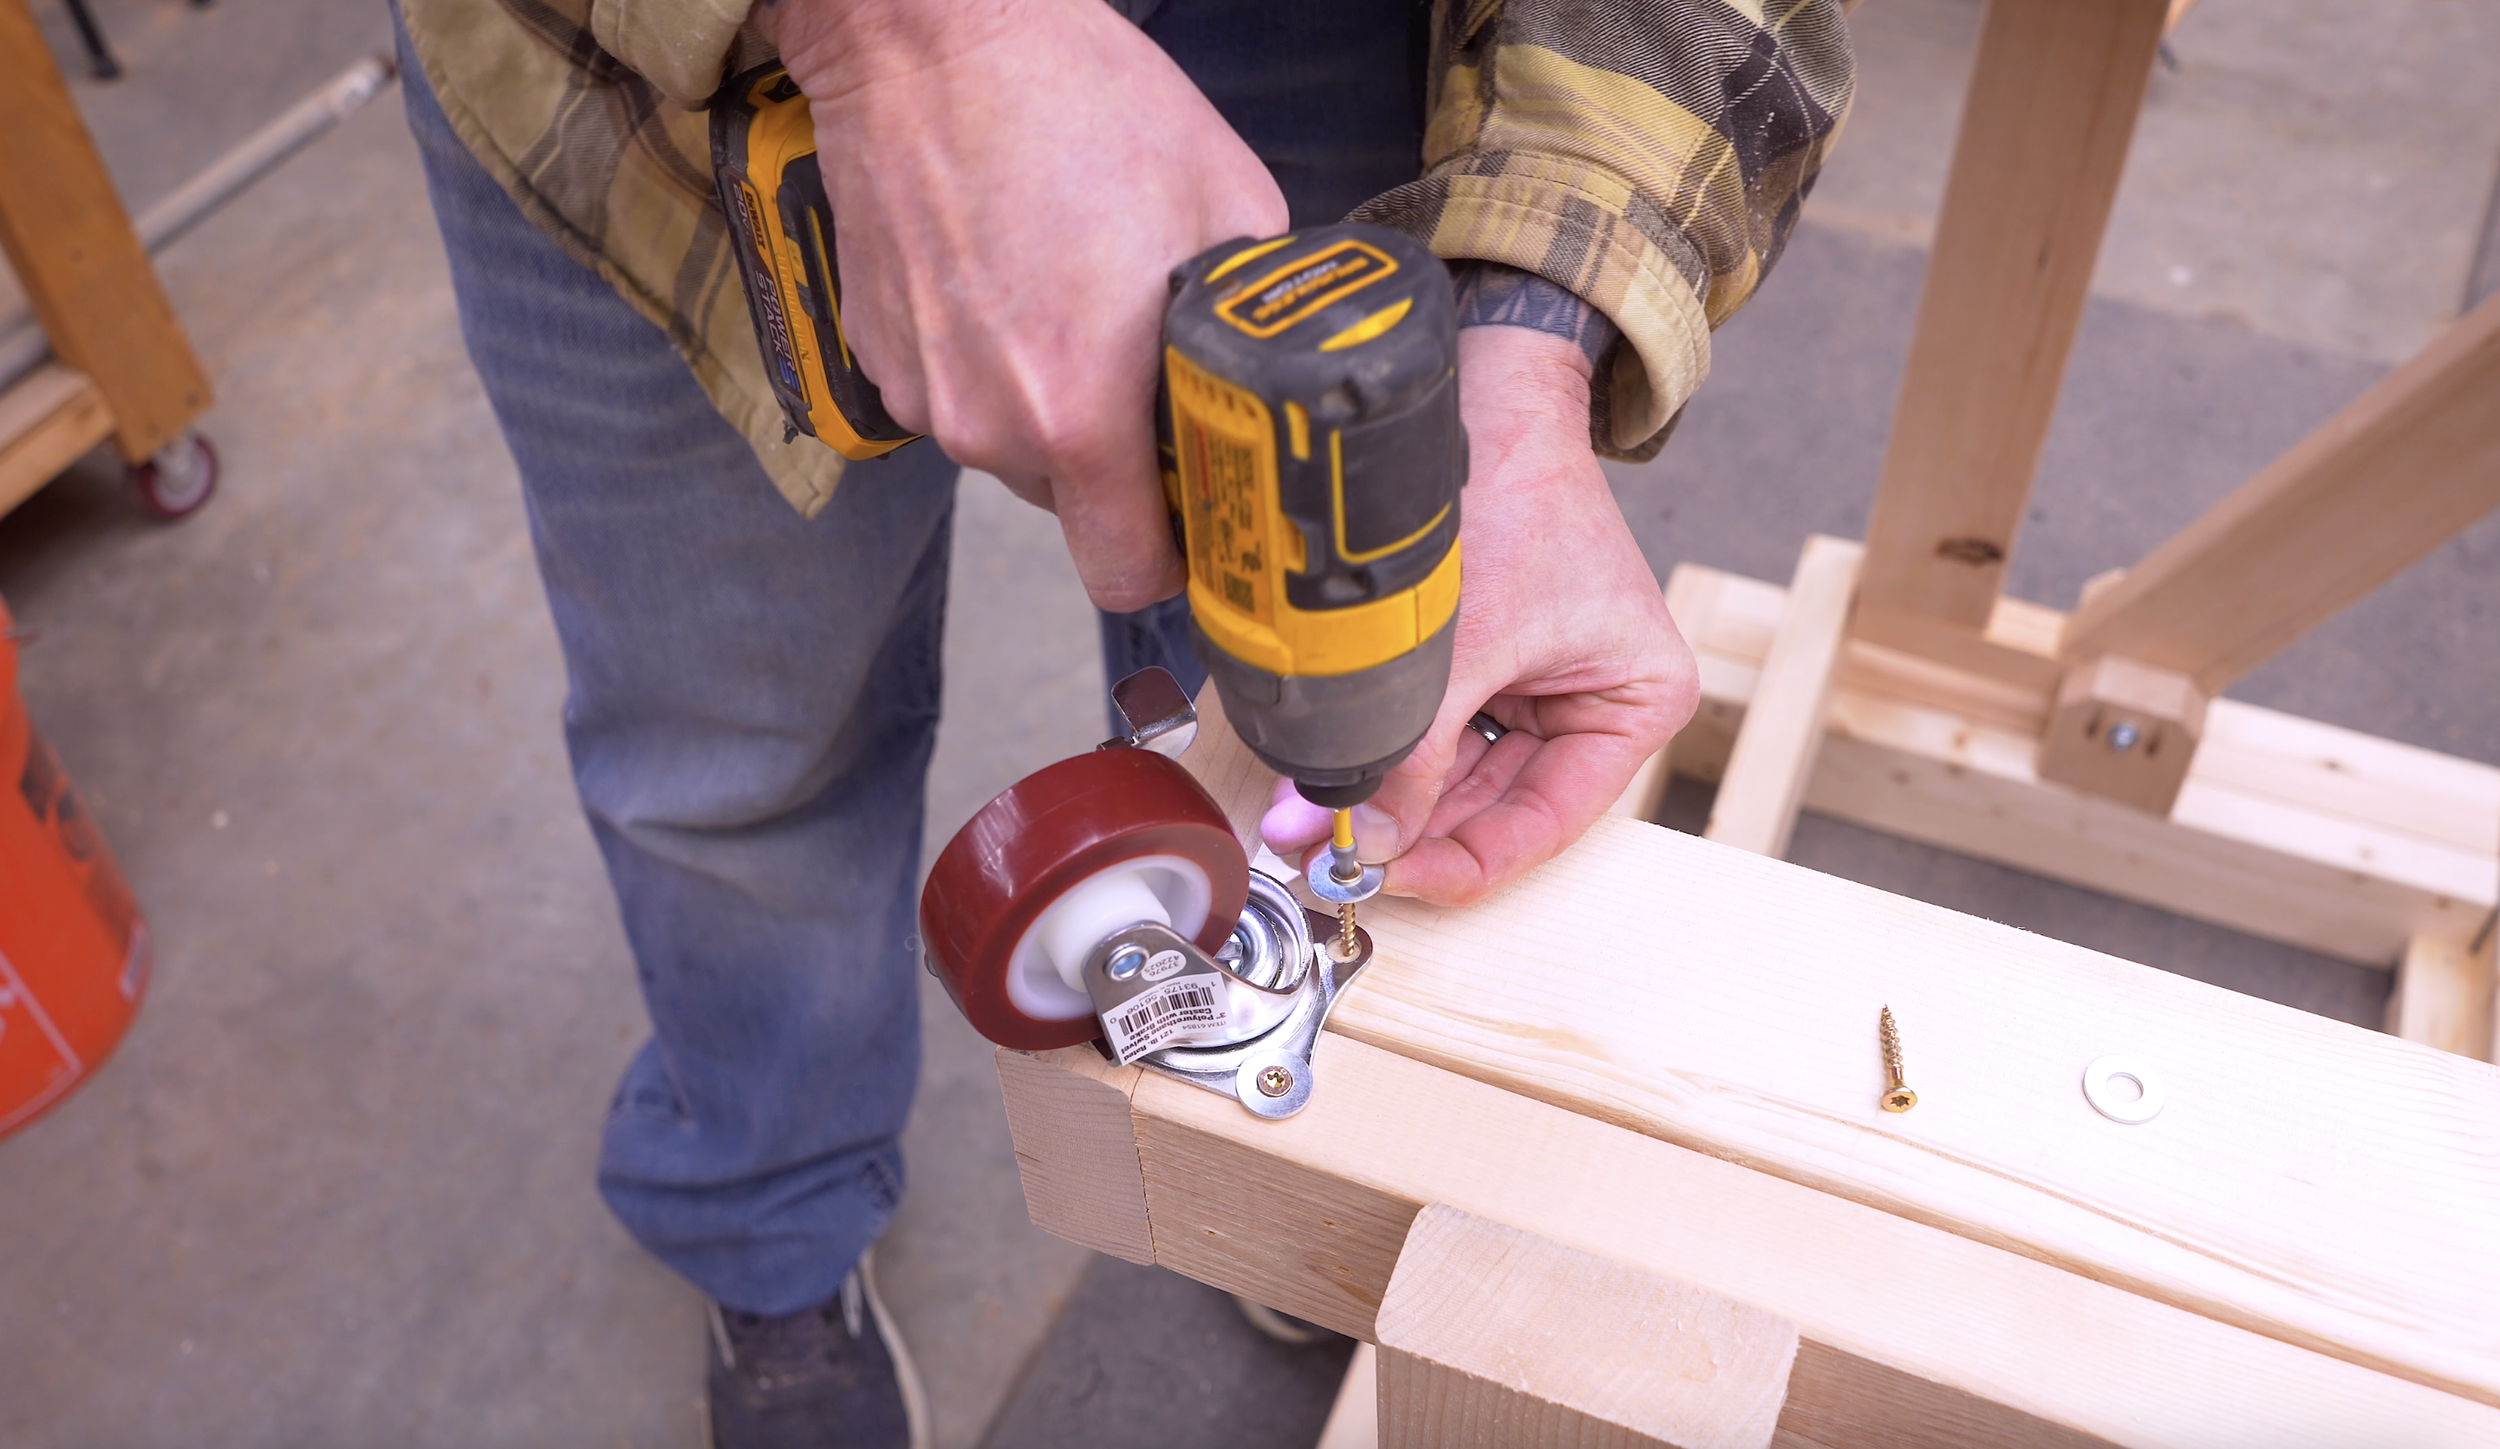
Step 11: Install Casters
Add supports:
(2) boards → 22 ½"
Attach inside base frame.
Install:
4 locking casters
👉 Locking wheels are REQUIRED for safety and usability.
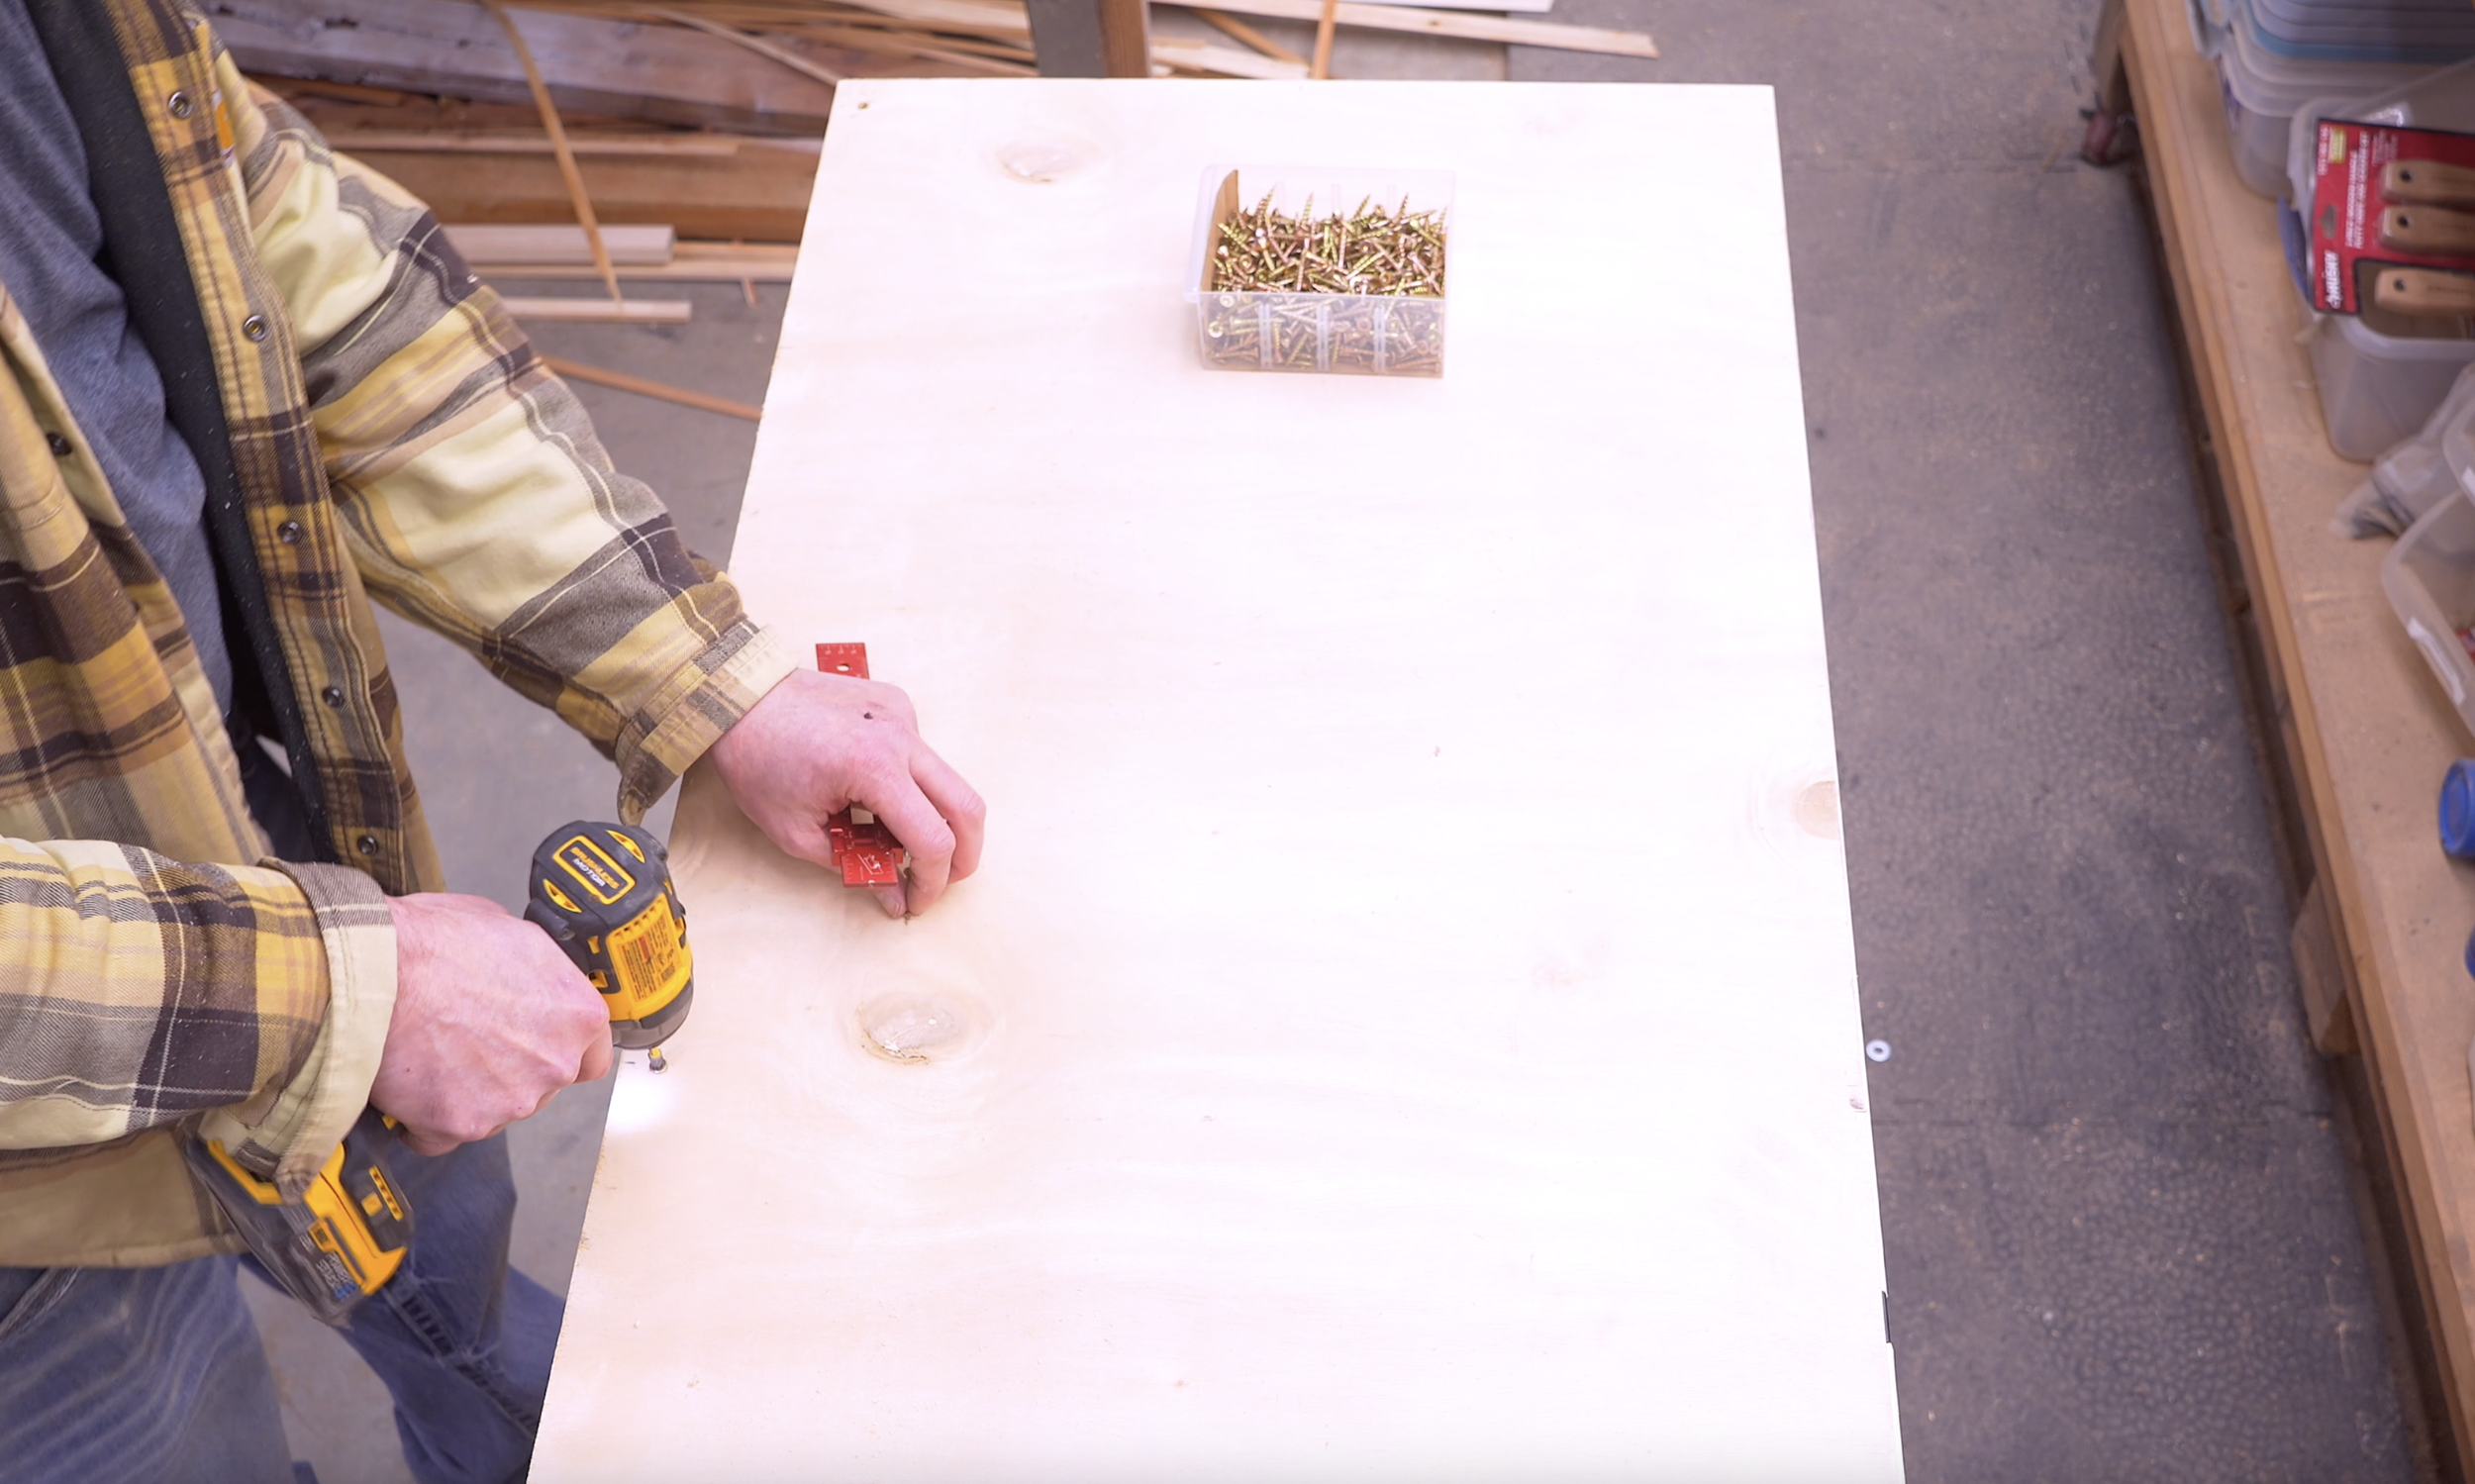
Step 12: Add Plywood Top & Bottom
Bottom:
25 ½" x 33"
Top:
33" x 25 ½"
Benefits:
Strengthens structure
Adds storage
Turns cart into full workbench
Ready To Build?
This is one of those builds that makes you wonder:
“Why didn’t I build this sooner?”
It’s simple, practical, and solves a real problem every woodworker runs into.
And once you use it?
You won’t want to go back.
And if you’re ready…
You already know the next step.
👉 Get up, get out, and get your build on.
Whether you’re new to woodworking or a seasoned pro, this project offers the perfect mix of functionality and creativity. Below I have the YouTube video linked for a step-by-step video tutorial for you to follow along with. If you’re a more “plans in the hand” person, click “Get Plan” down below for downloadable instructions. And if you’re ready to dive deeper into woodworking, check out my new course, “Woodworking Kickstart” (which is also linked below). It’s packed with step-by-step lessons to help you build confidence and skills, whether you’re a total beginner or an experienced DIYer. You’ll be building with confidence in no time.
Remember, creativity doesn’t have to be expensive; all you need is a little inspiration and a willingness to try.
Get Easy Step-By-Step Directions to build this by clicking the button below
⭐ 10,044 5 Star Reviews
📚 113 Plans to Choose From
🧩 Lego-Like Assembly Steps
📏 Exact Measurements
📋 Detailed cut and part list
🔍 X-Ray Views
🚀 Instant Delivery
