
The Rotating Tote Storage Organizer You Need!

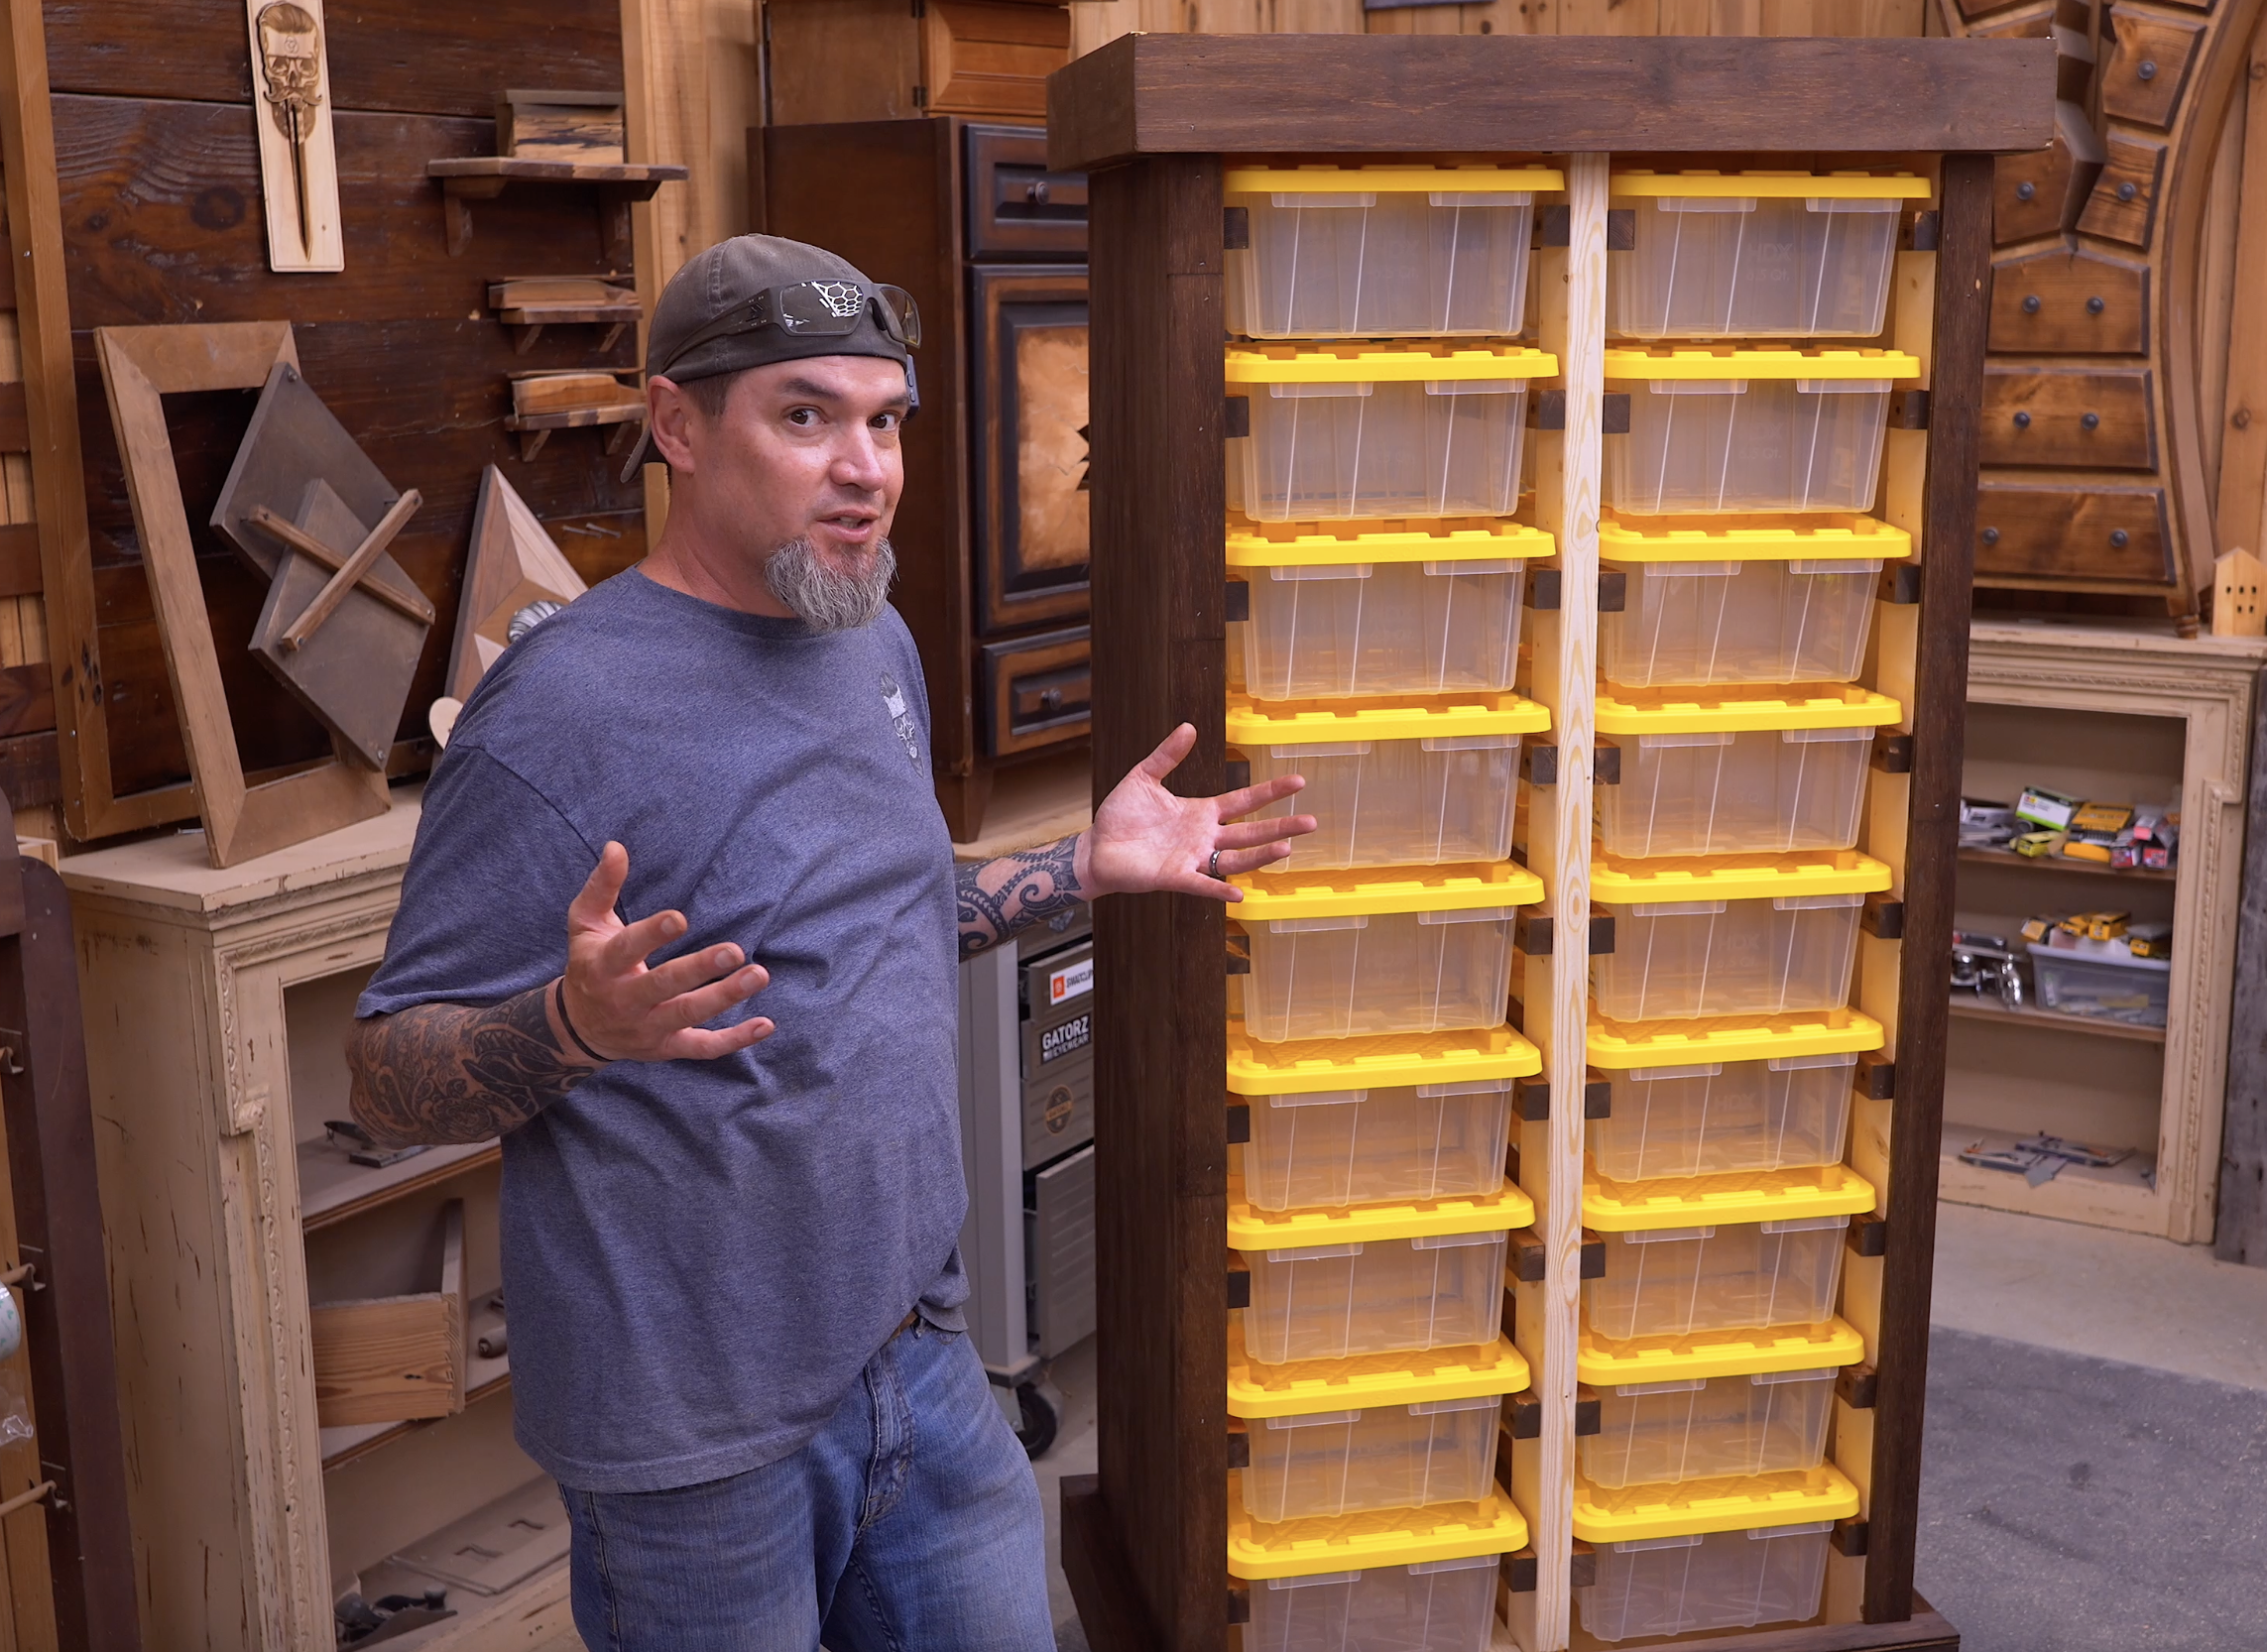
Instead of tossing everything into giant black totes where tools and supplies disappear forever, this rotating tote organizer lets you store 36 different bins in only about six square feet of floor space—while keeping everything visible and easy to reach.
Not only is this organizer mobile, but it also swivels using a lazy Susan base to double the accessible storage space while keeping the footprint compact.
Let’s break down exactly how to build it.
Materials & Tools
Lumber
2x4 or 2x6 material (for legs and rails)
Plywood or OSB
Optional trim plywood
Hardware
2 ¼" screws
2" screws
1 ¼" screws
Crown staples or brad nails
¼" bolts, washers, and nuts
3" locking casters
12" lazy Susan swivel bearing
Tools
Miter saw
Table saw
Drill/driver
Countersink bit
Stapler or nailer
Let’s Get Going!
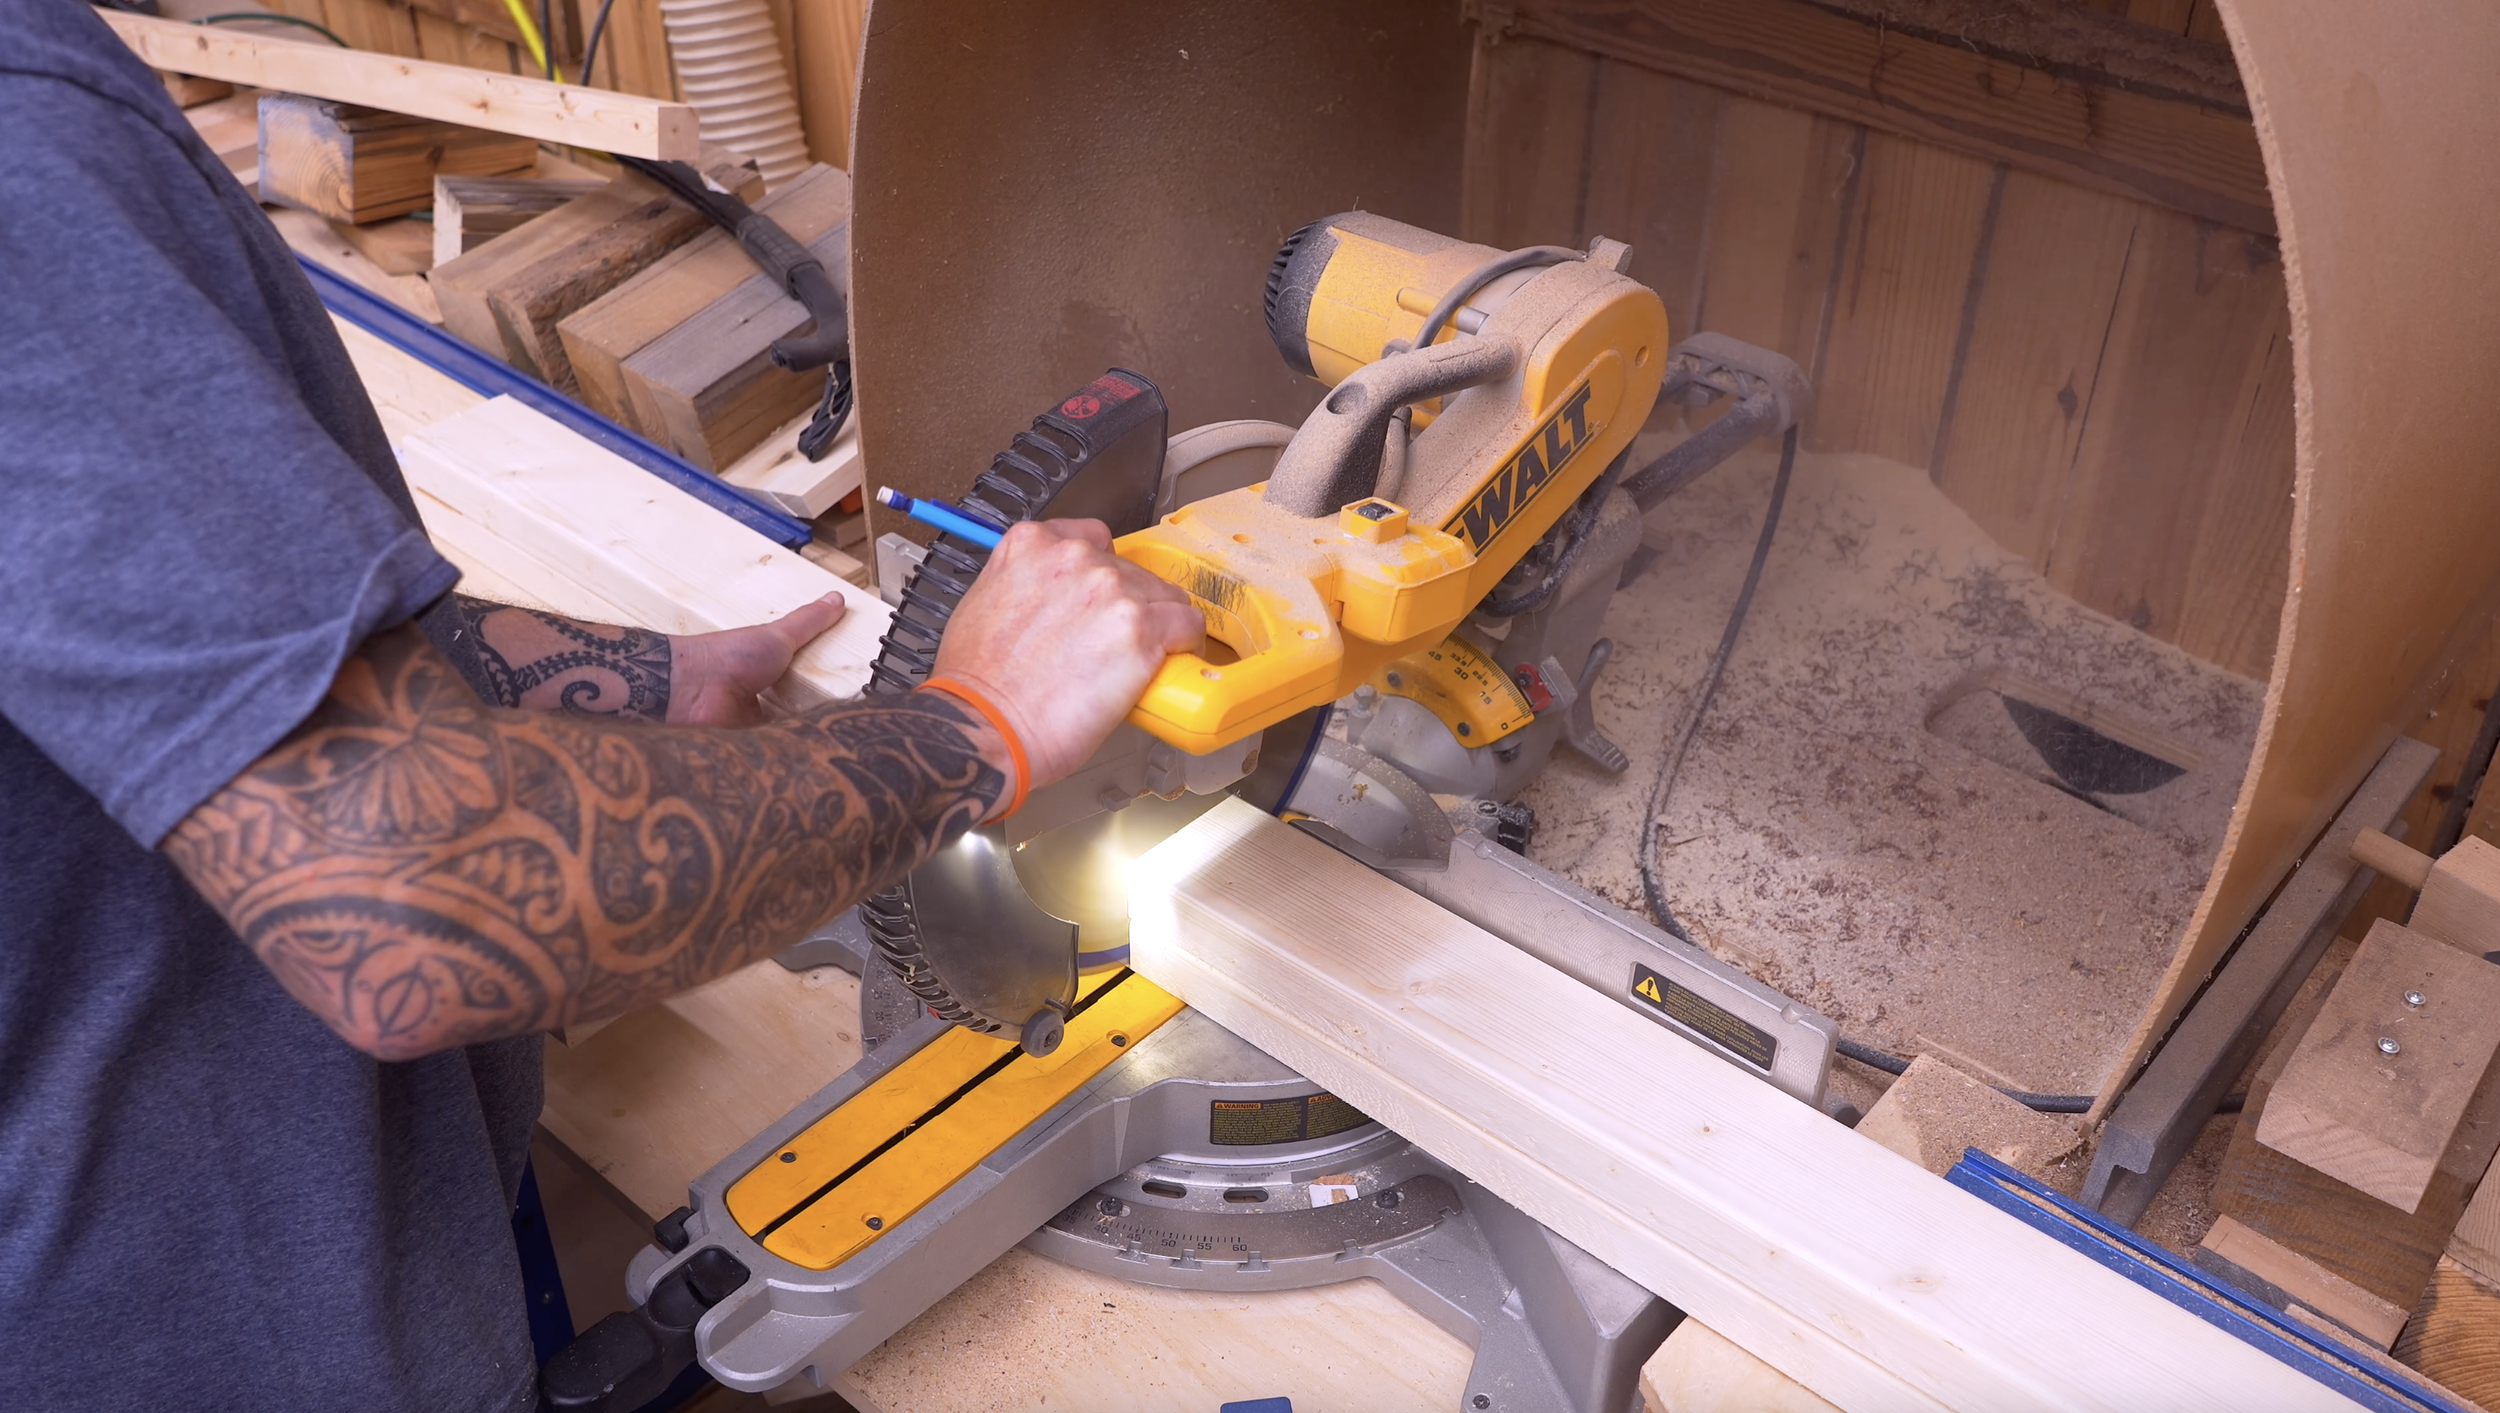
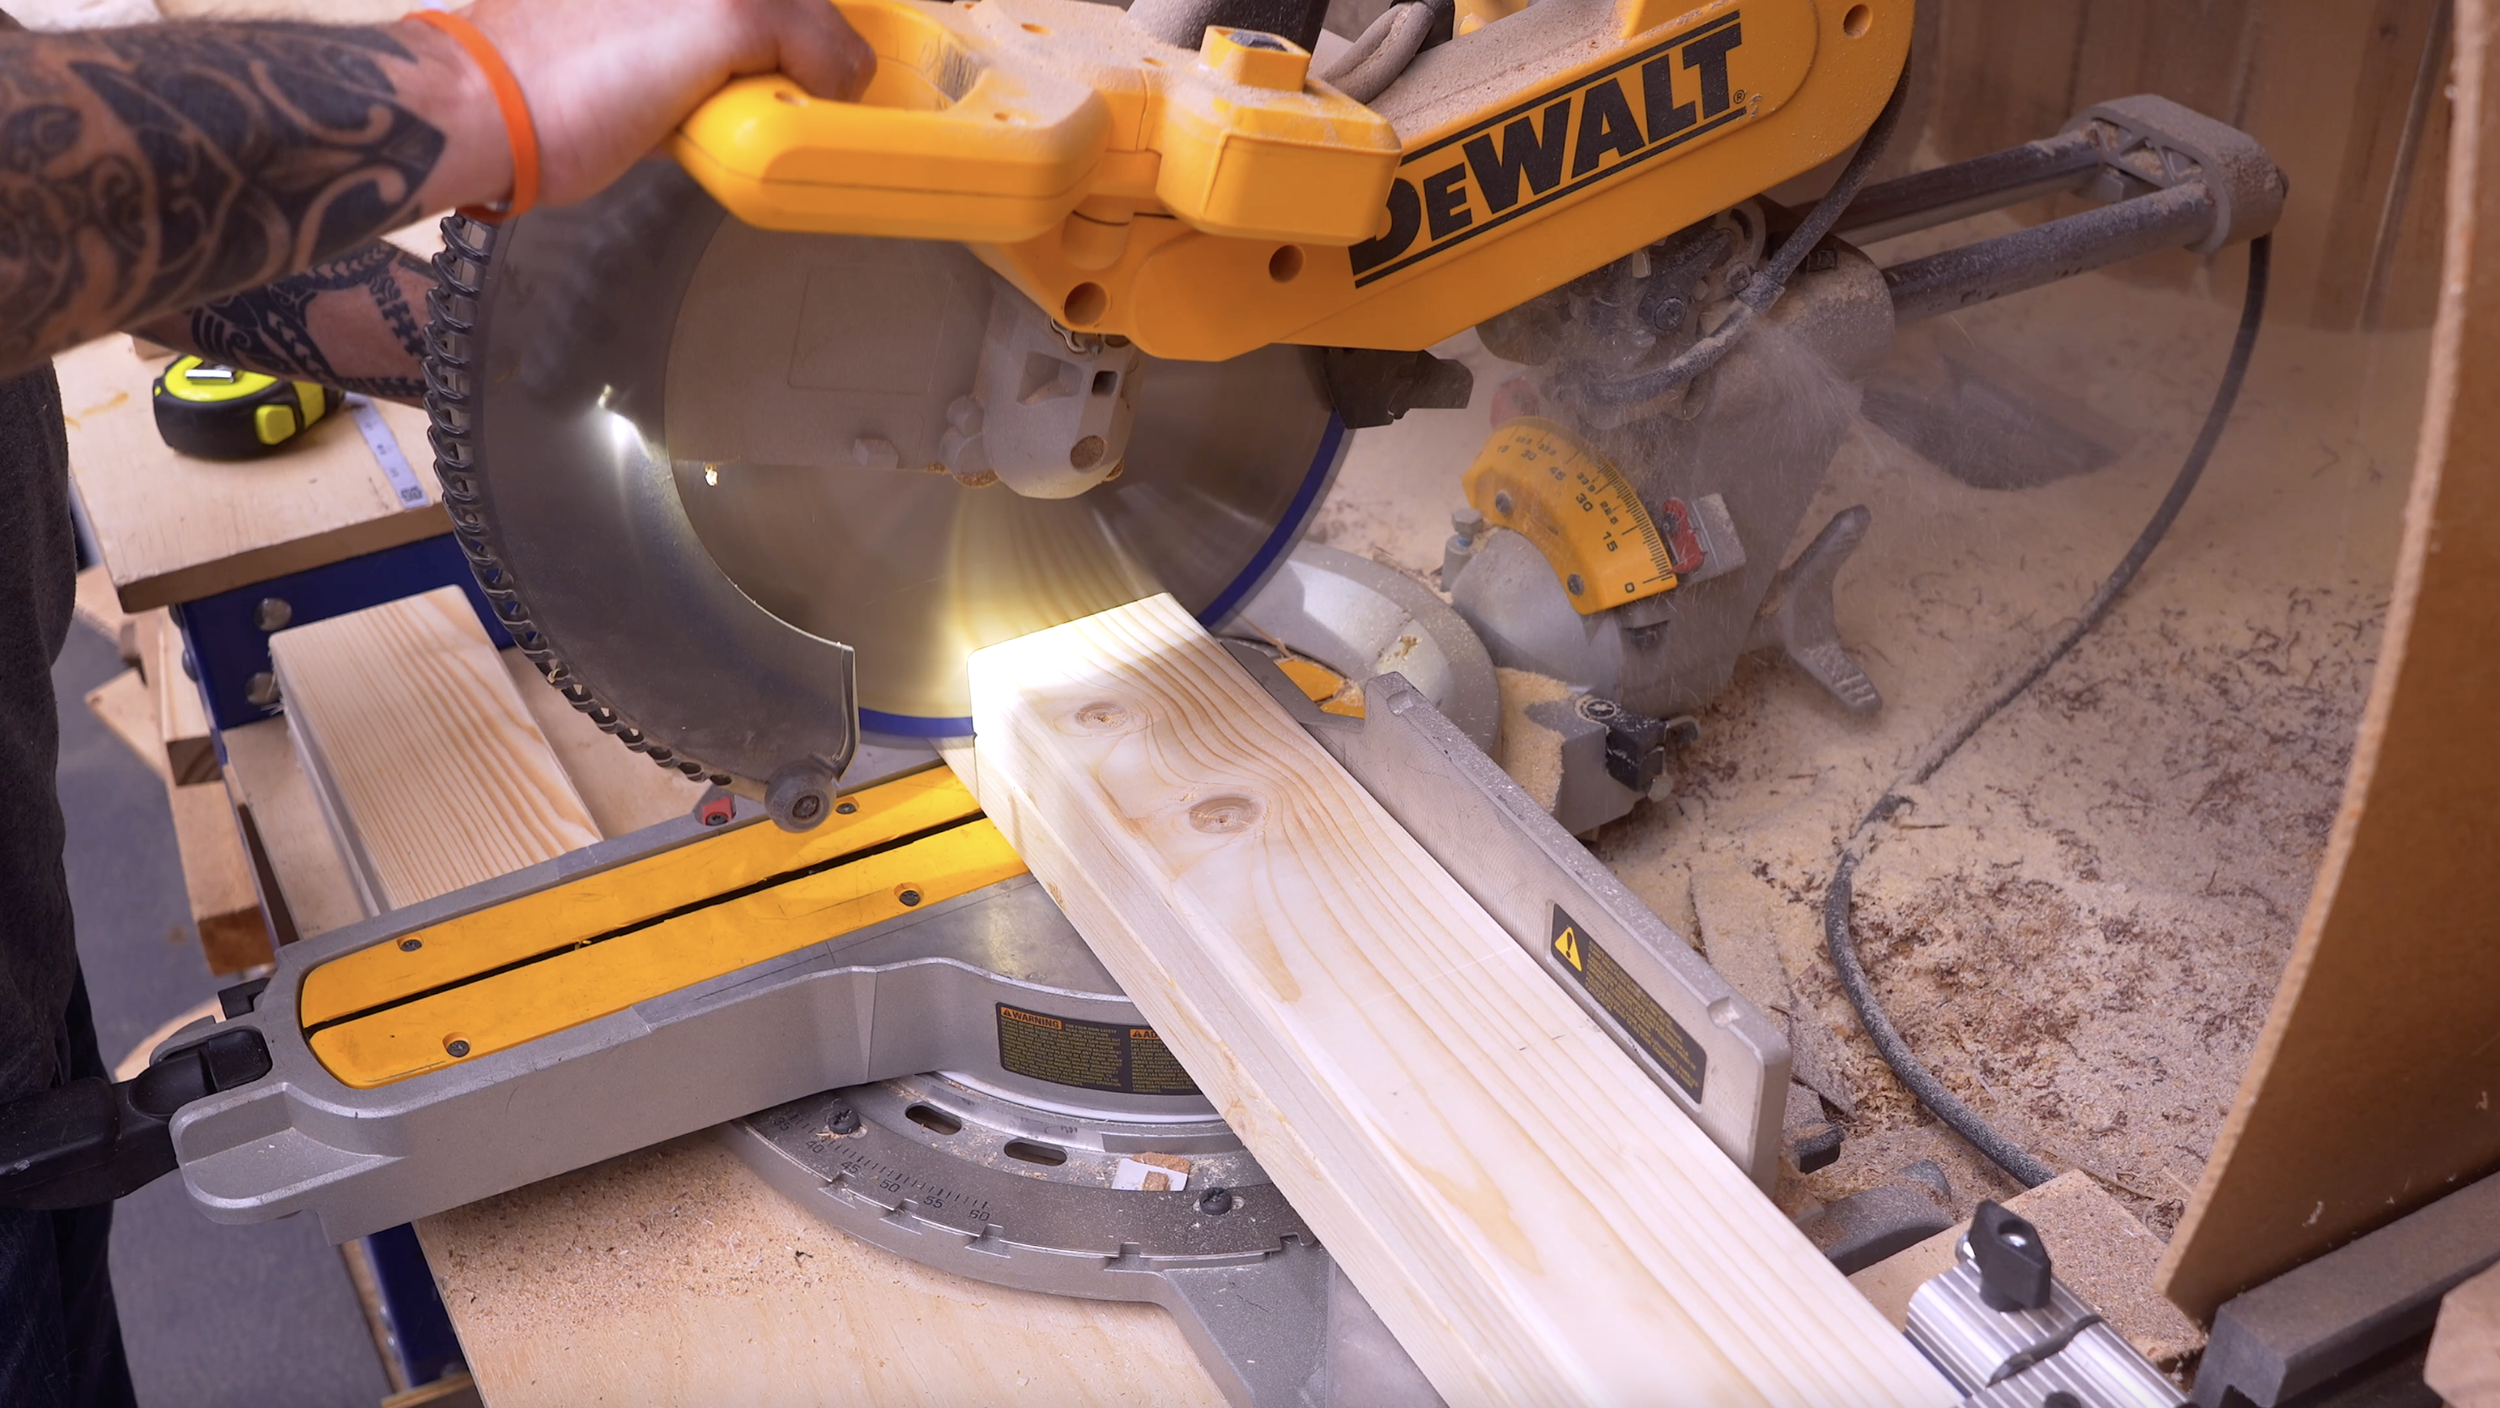
Step 1: Cut the Legs
Cut:
6 Legs
Length: 68 inches
💡 Tip: Choose the straightest lumber you can find because these legs determine how square and smooth the final unit feels.
Step 2: Cut the Base Parts
Front/Back Base Boards
(4) boards @ 34 inches
Side & Center Boards
(6) boards @ 18 ½ inches
These pieces create both the top and bottom frames.

Step 3: Rip the Rail Material
Using either:
a 2x6 ripped down
ORpre-made 2x4 material
Cut:
Rails
(36) rails
Size: 1 inch x 18 ½ inches
These rails create the tote supports.
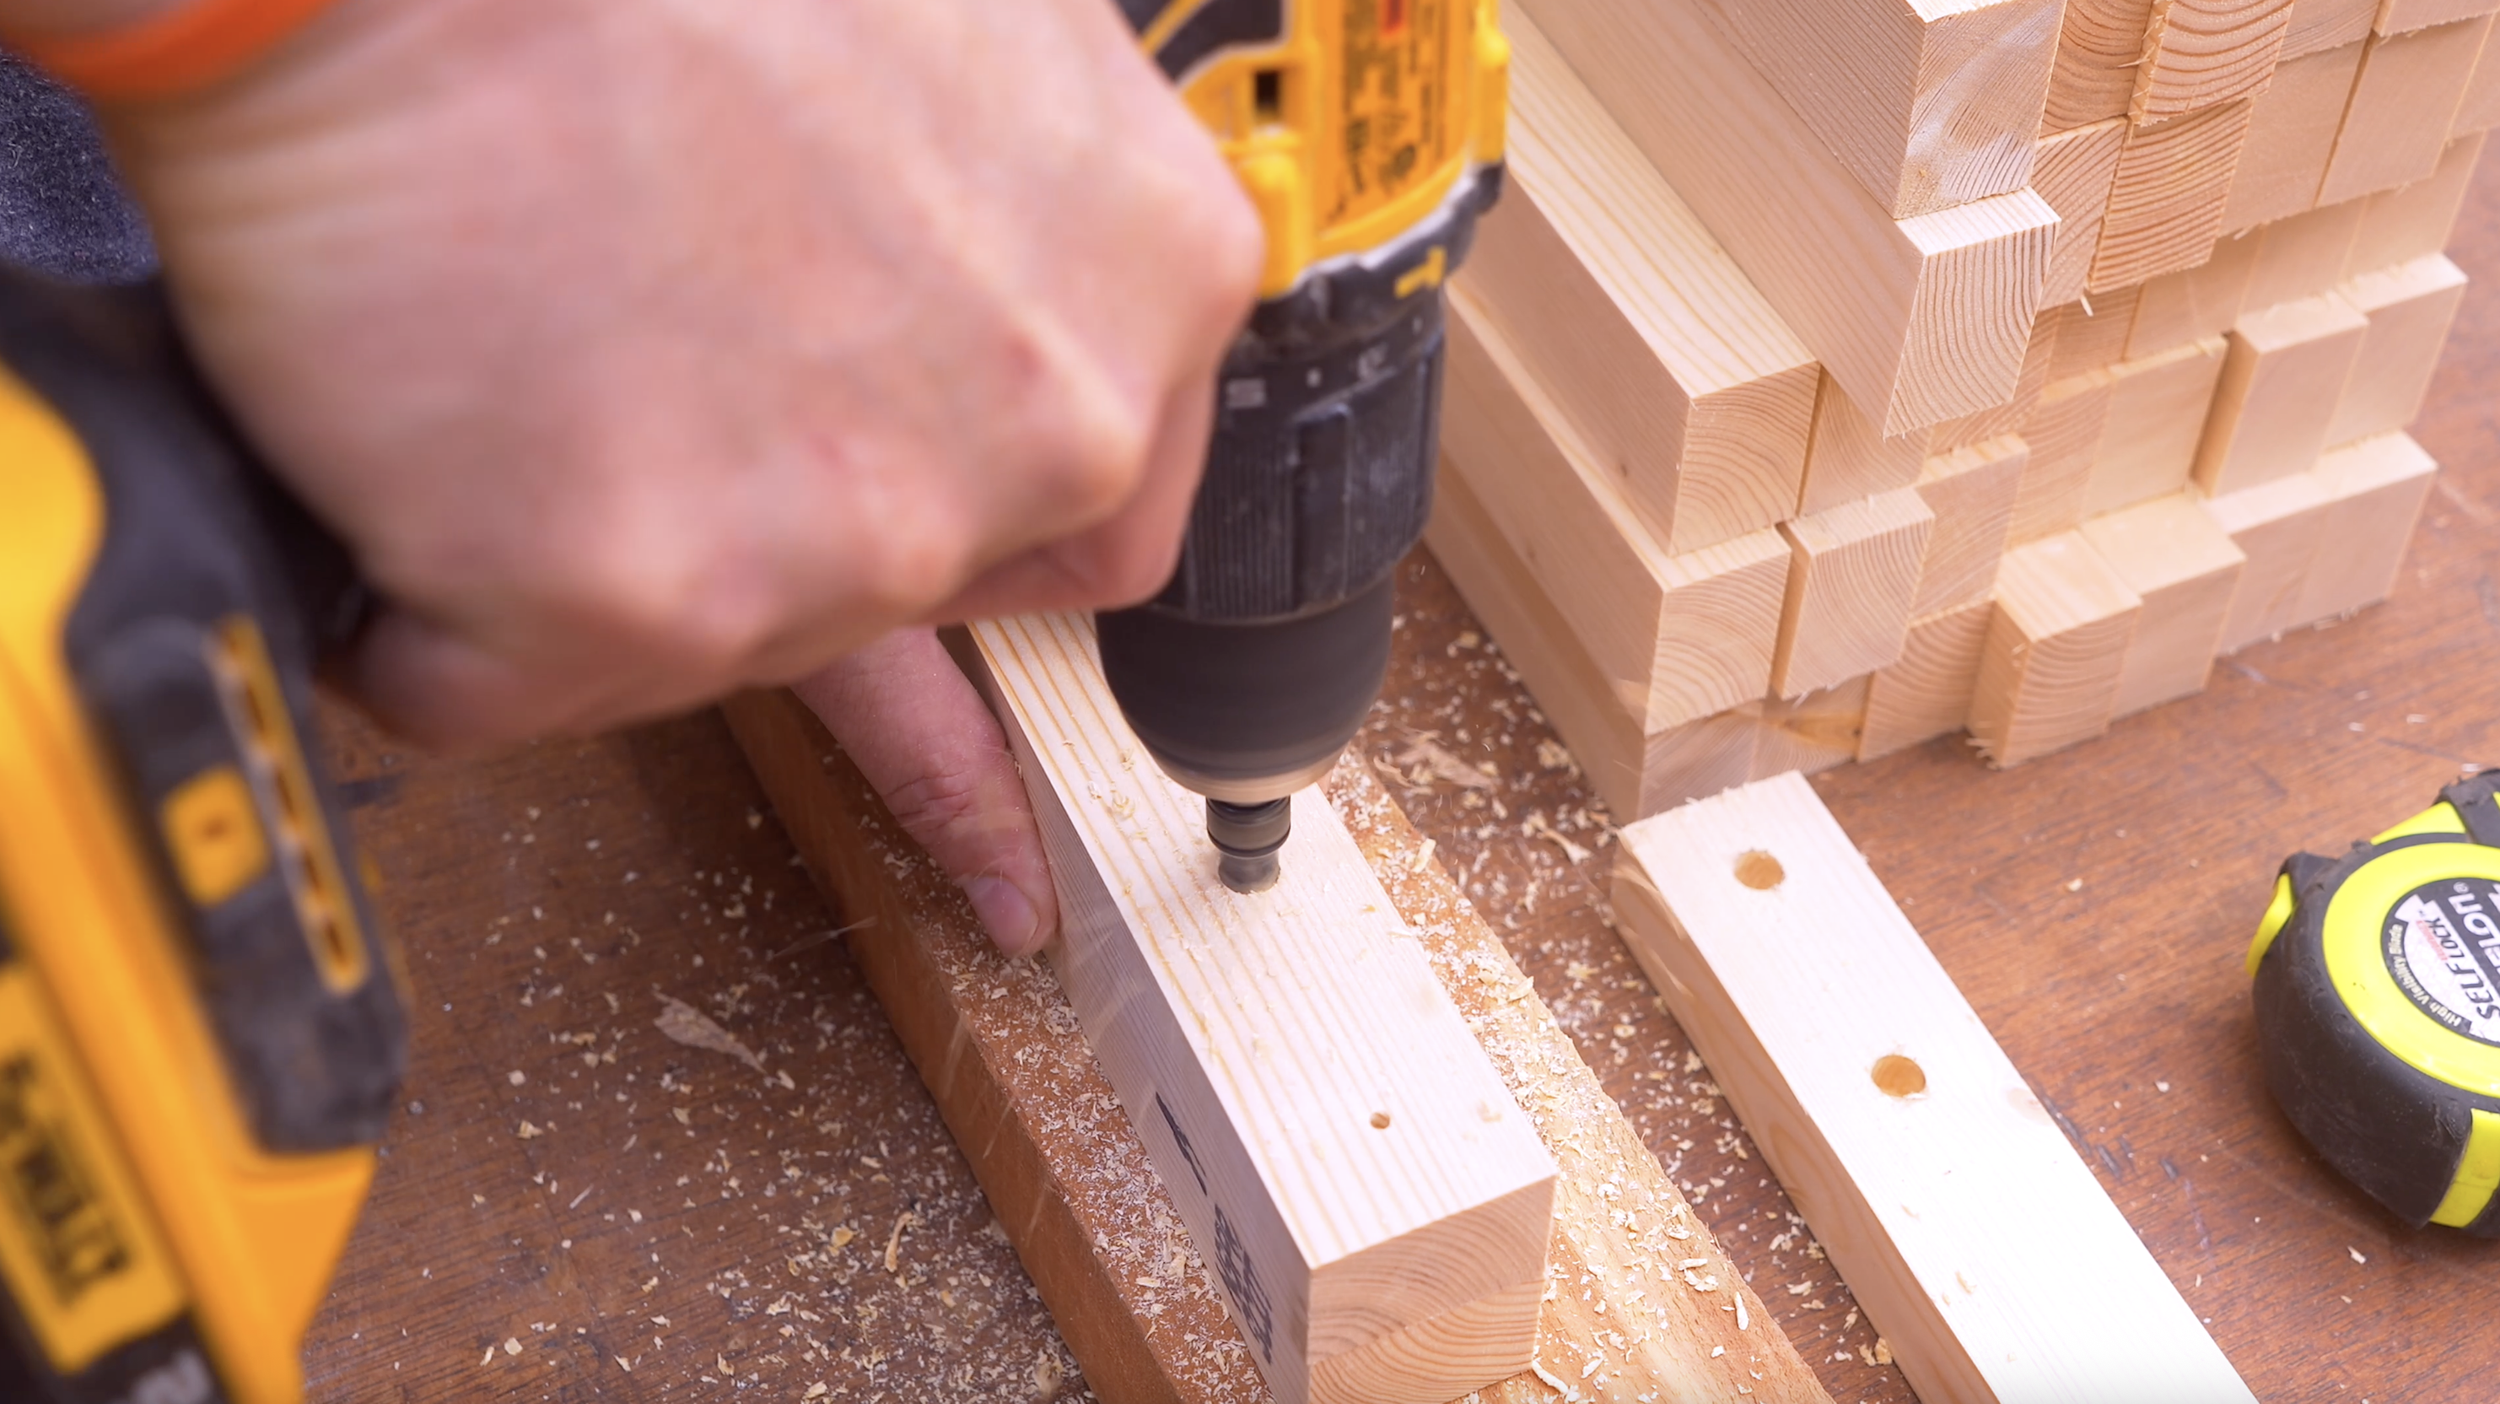
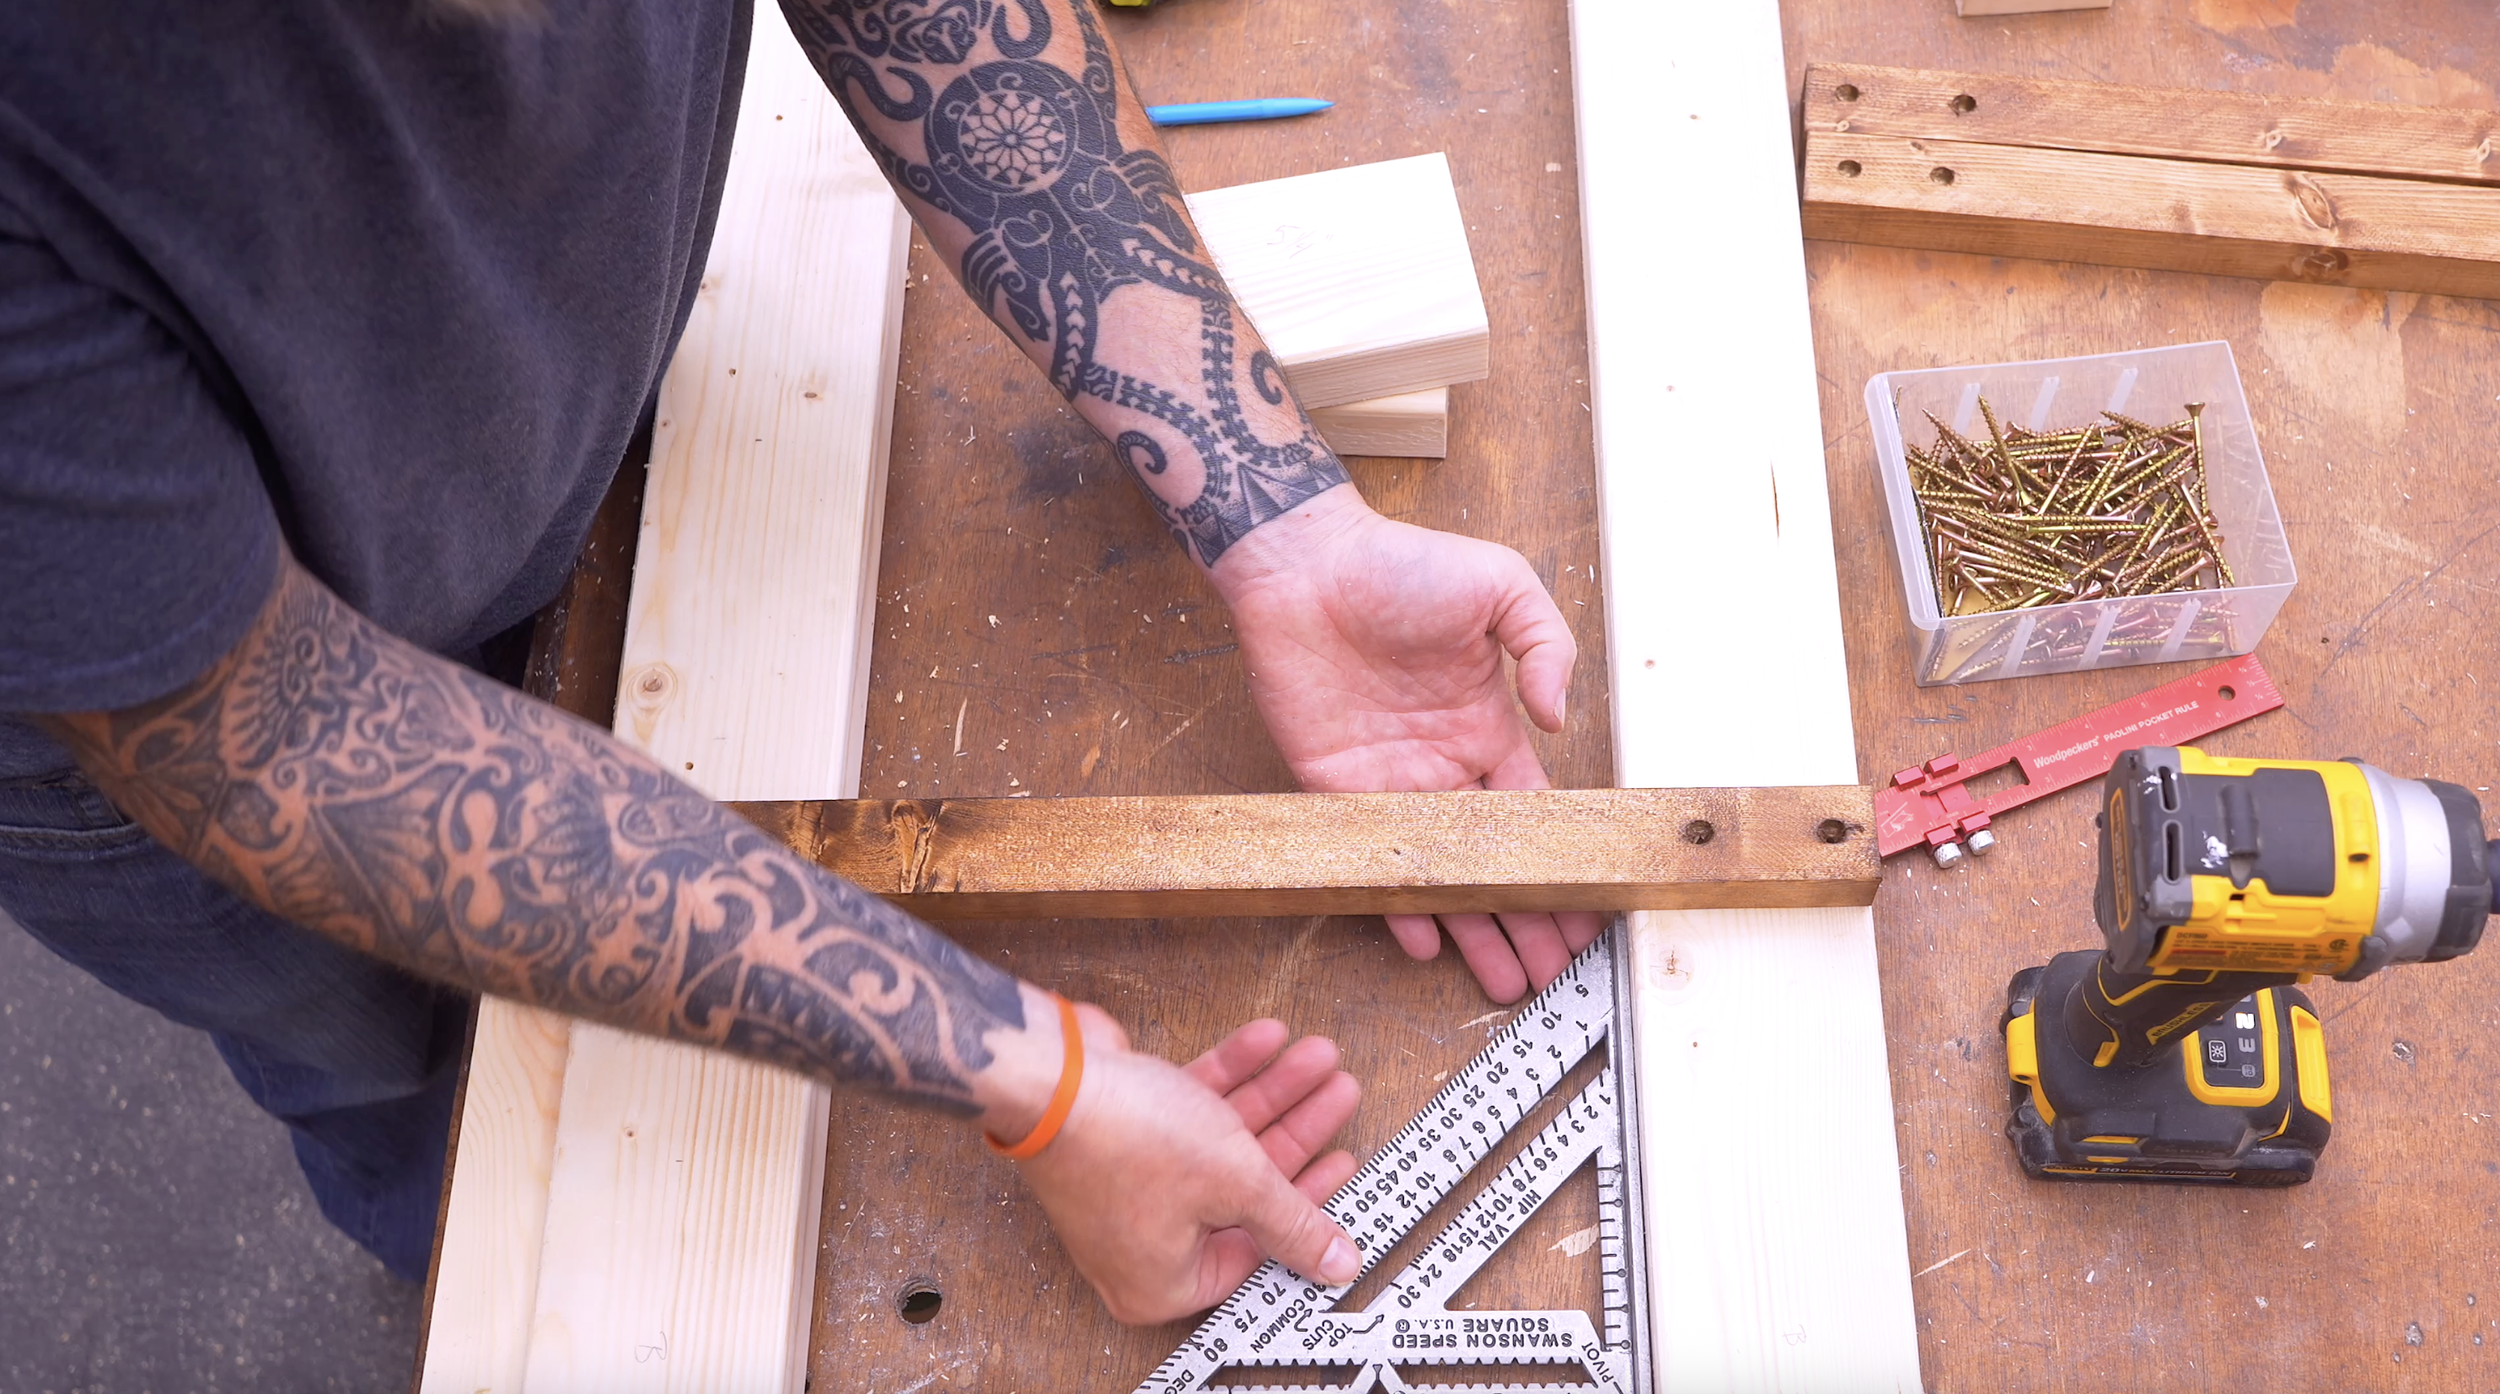
Step 4: Pre-Drill the Rails
Because the rails are thin and screws go near the ends, pre-drilling is extremely important.
Drill locations:
From each end:
¾"
2 ¾"
Then center the holes side-to-side.
This prevents splitting when tightening screws.
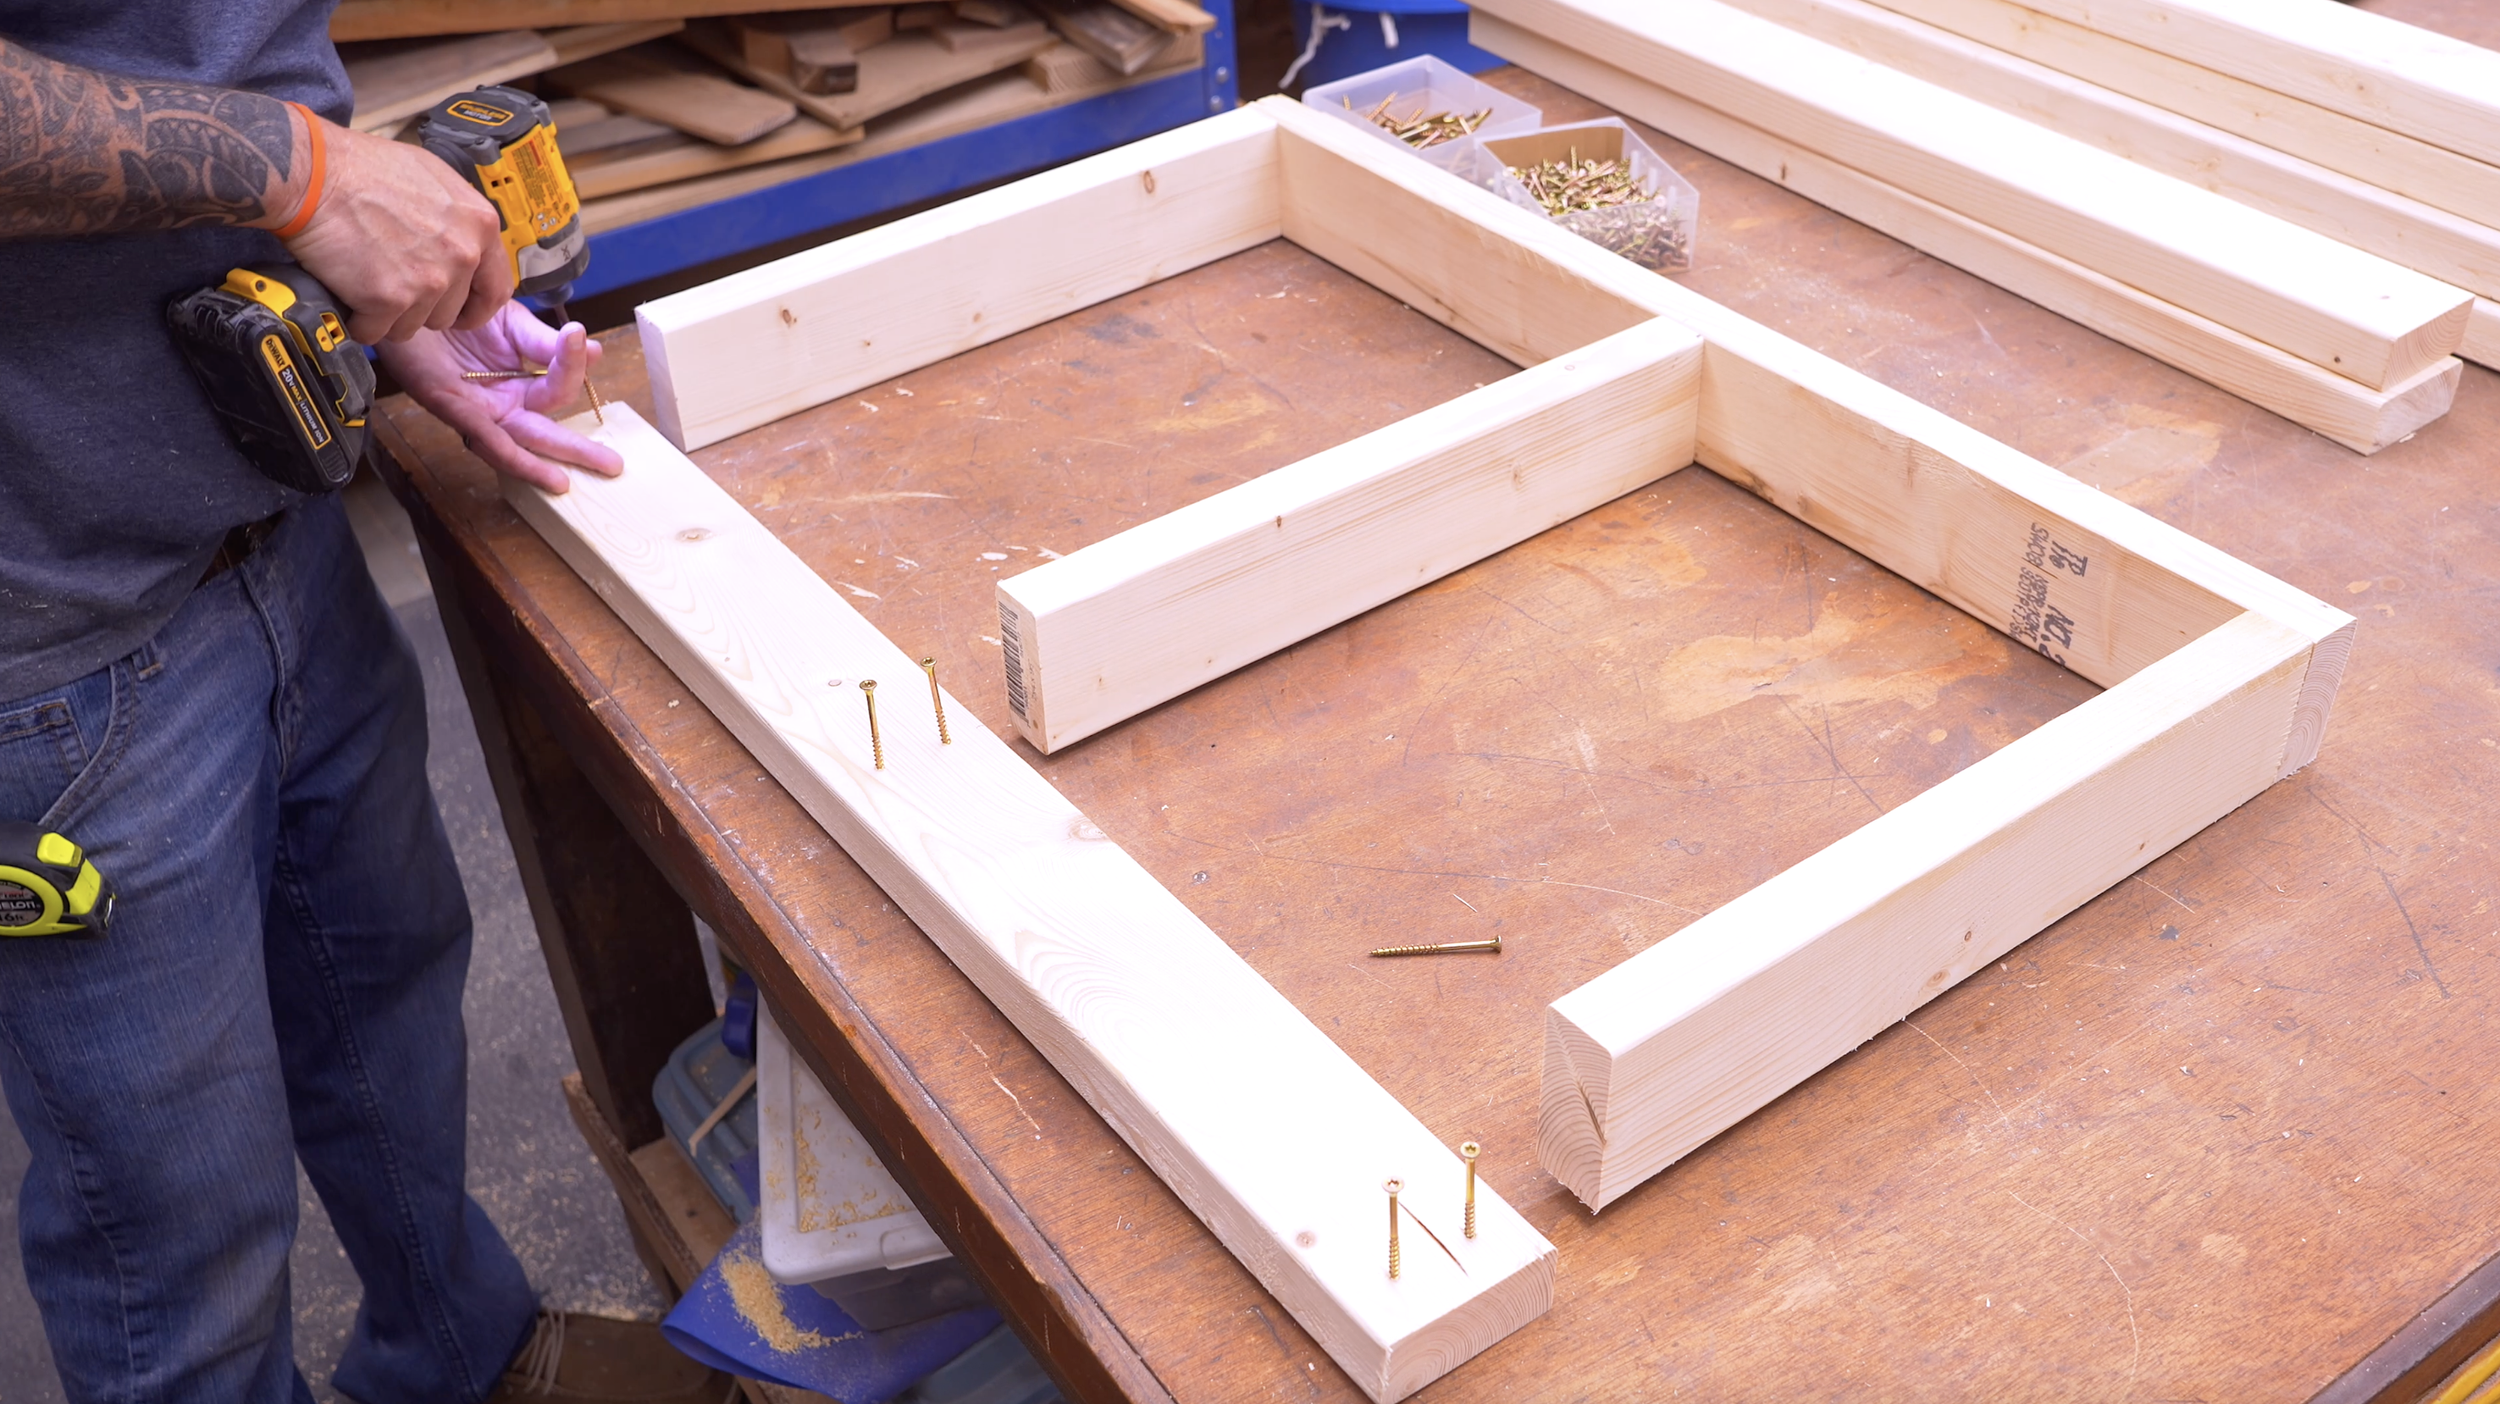
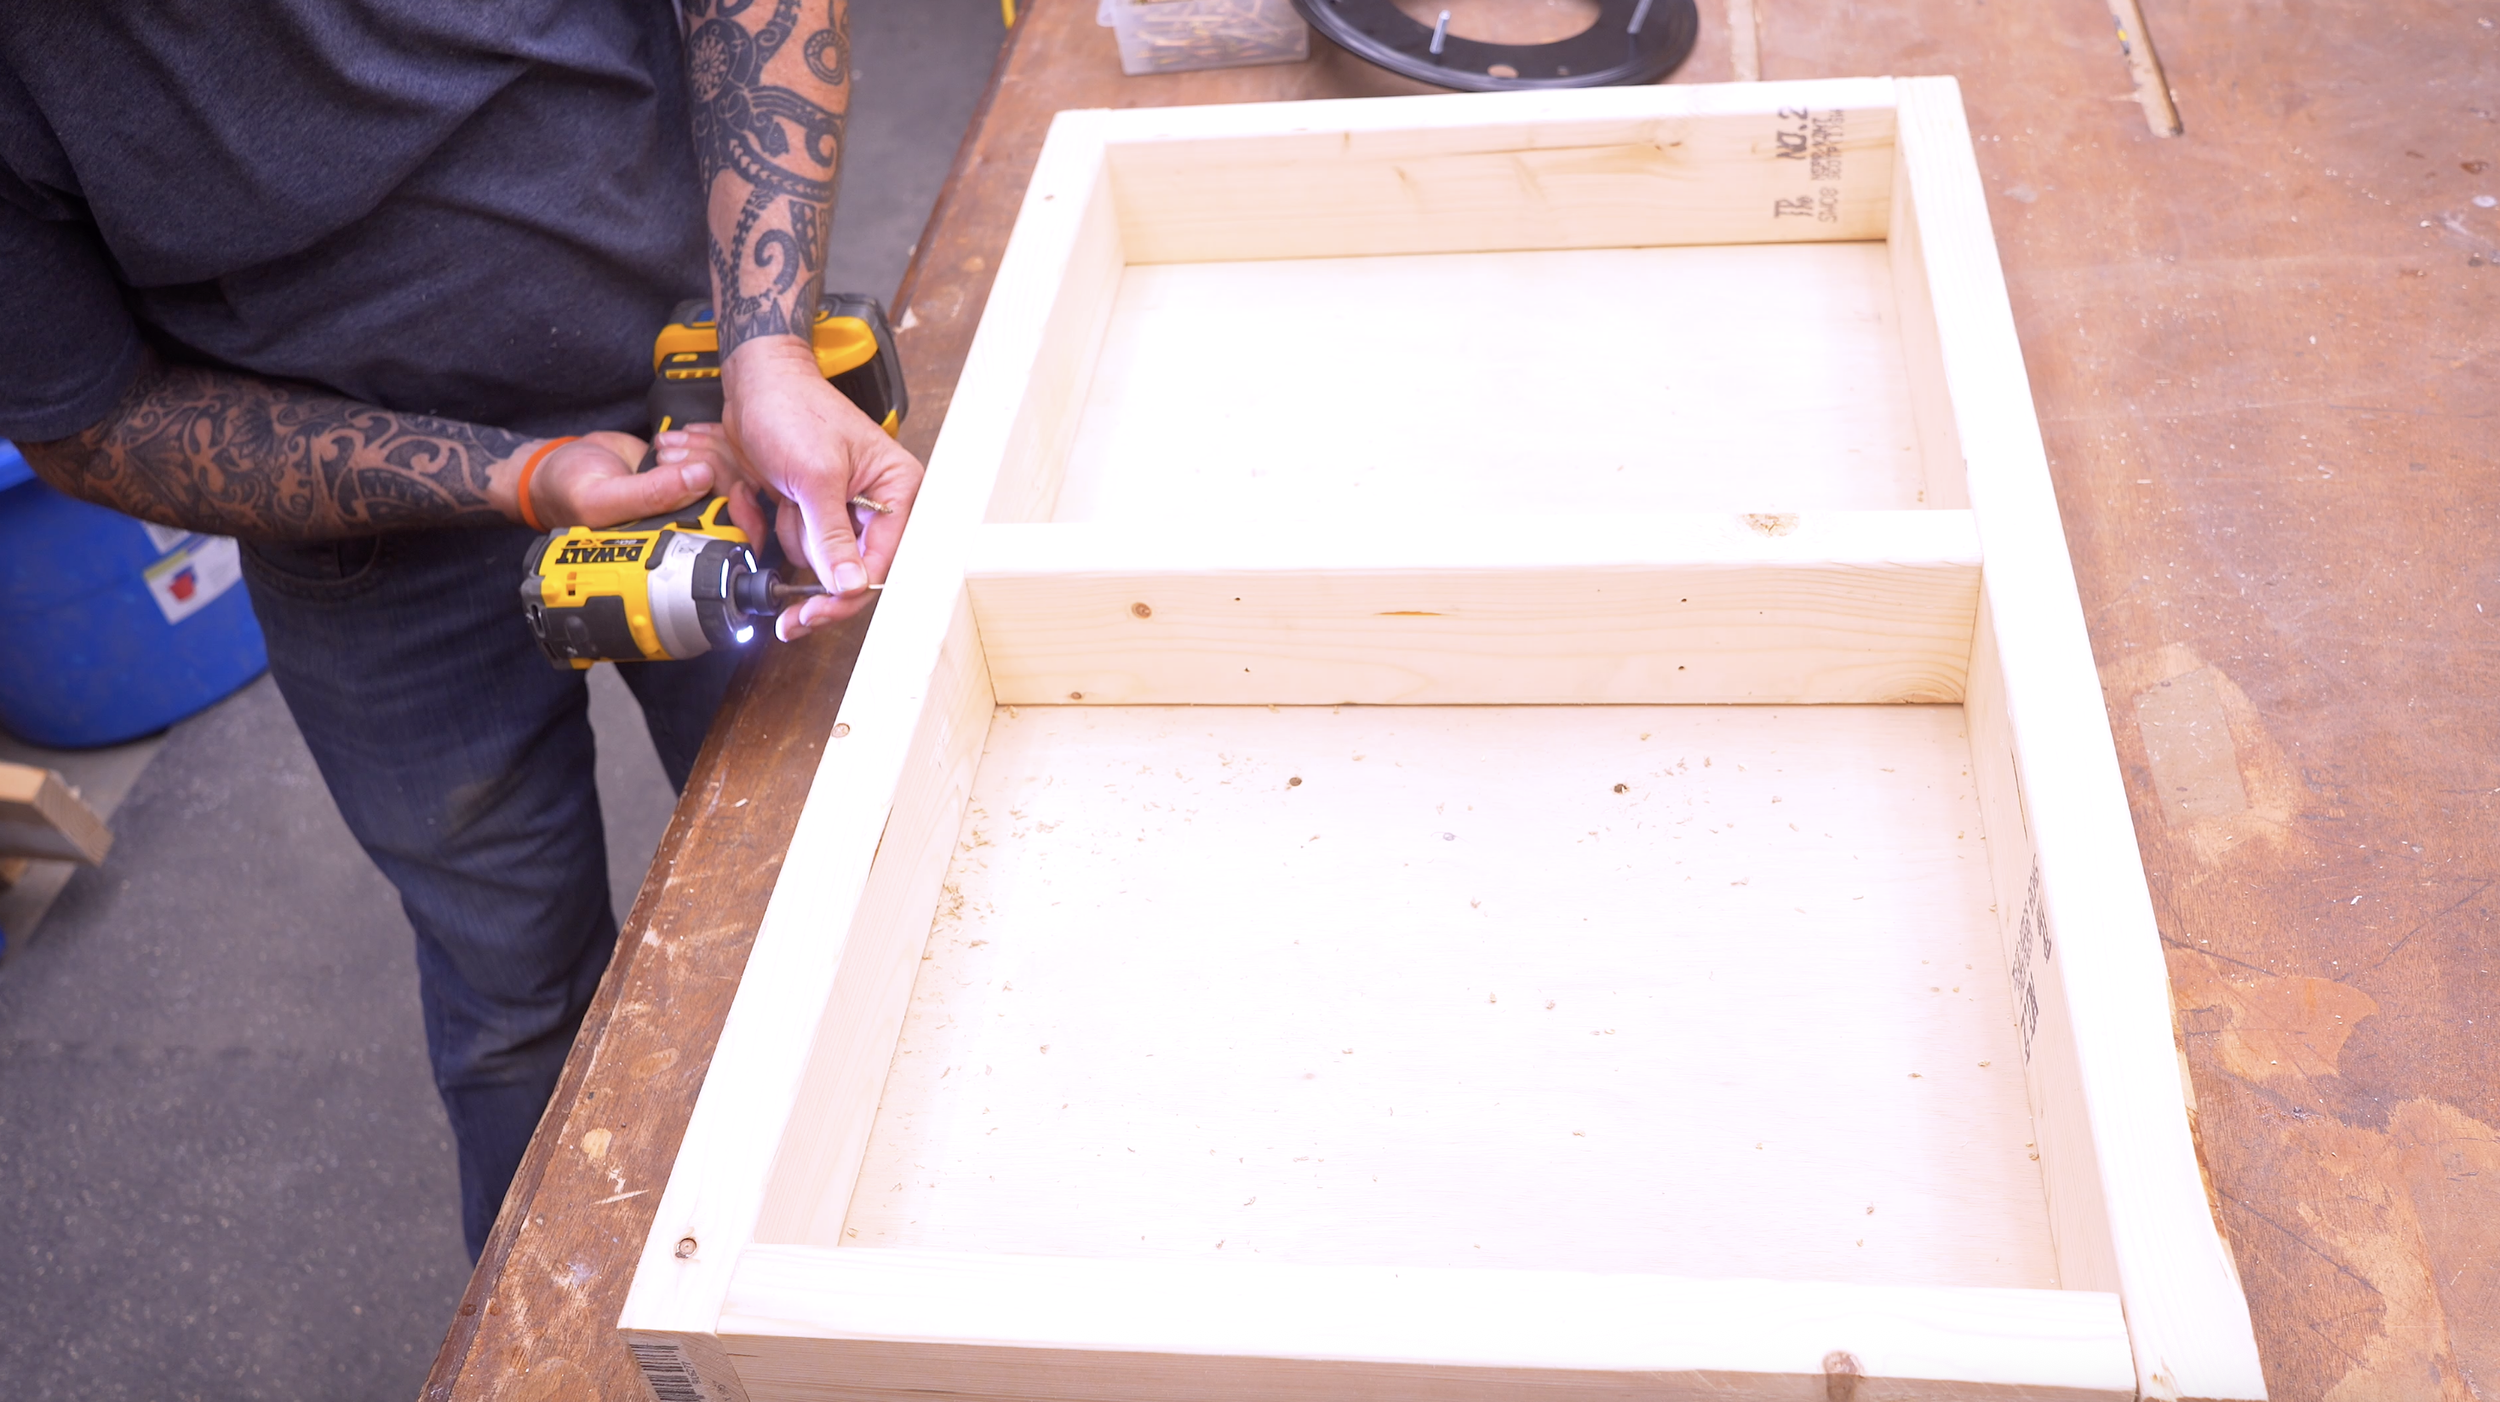
Step 5: Build the Top and Bottom Frames
Each frame uses:
(2) front/back boards
(3) side/center boards
Center board placement:
16 ¾" from outside edge to outside edge
Assembly:
Use 2 ¼" screws
Pre-start screws when possible
Once both frames are assembled:
Add plywood tops:
Size: 21 ½" x 34"
Attach with:
1 ¼" screws
This strengthens the entire structure and creates a mounting surface for the swivel system later.
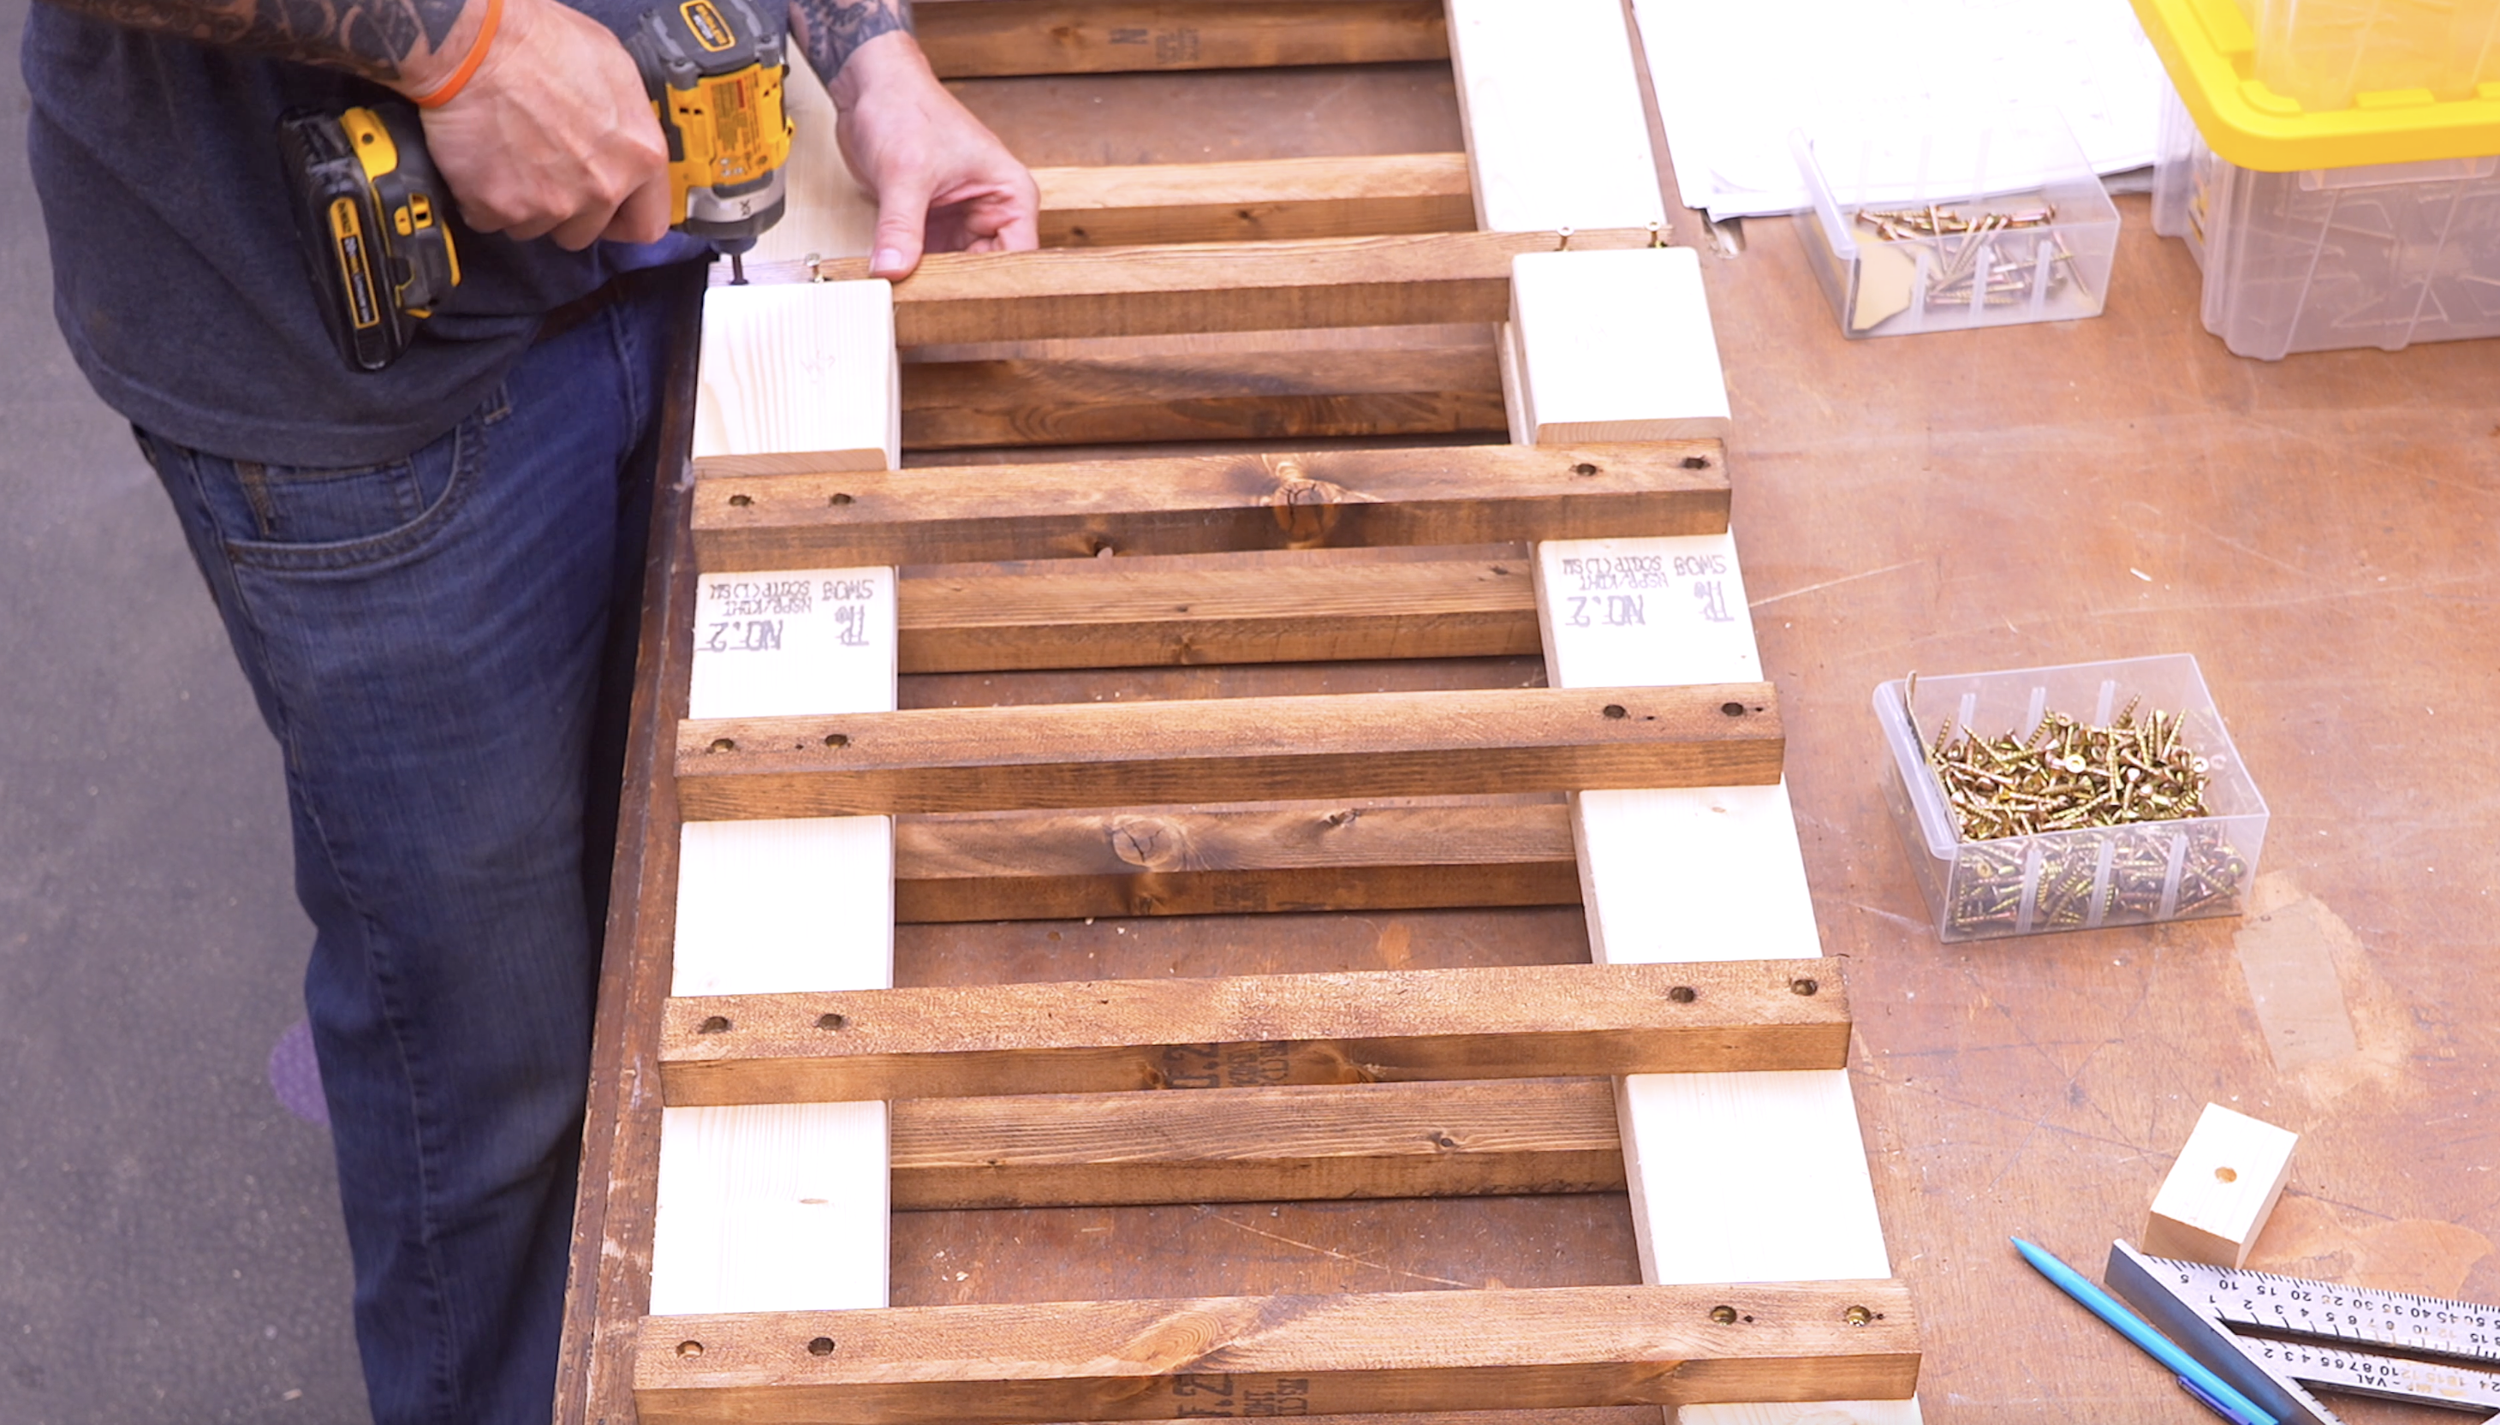
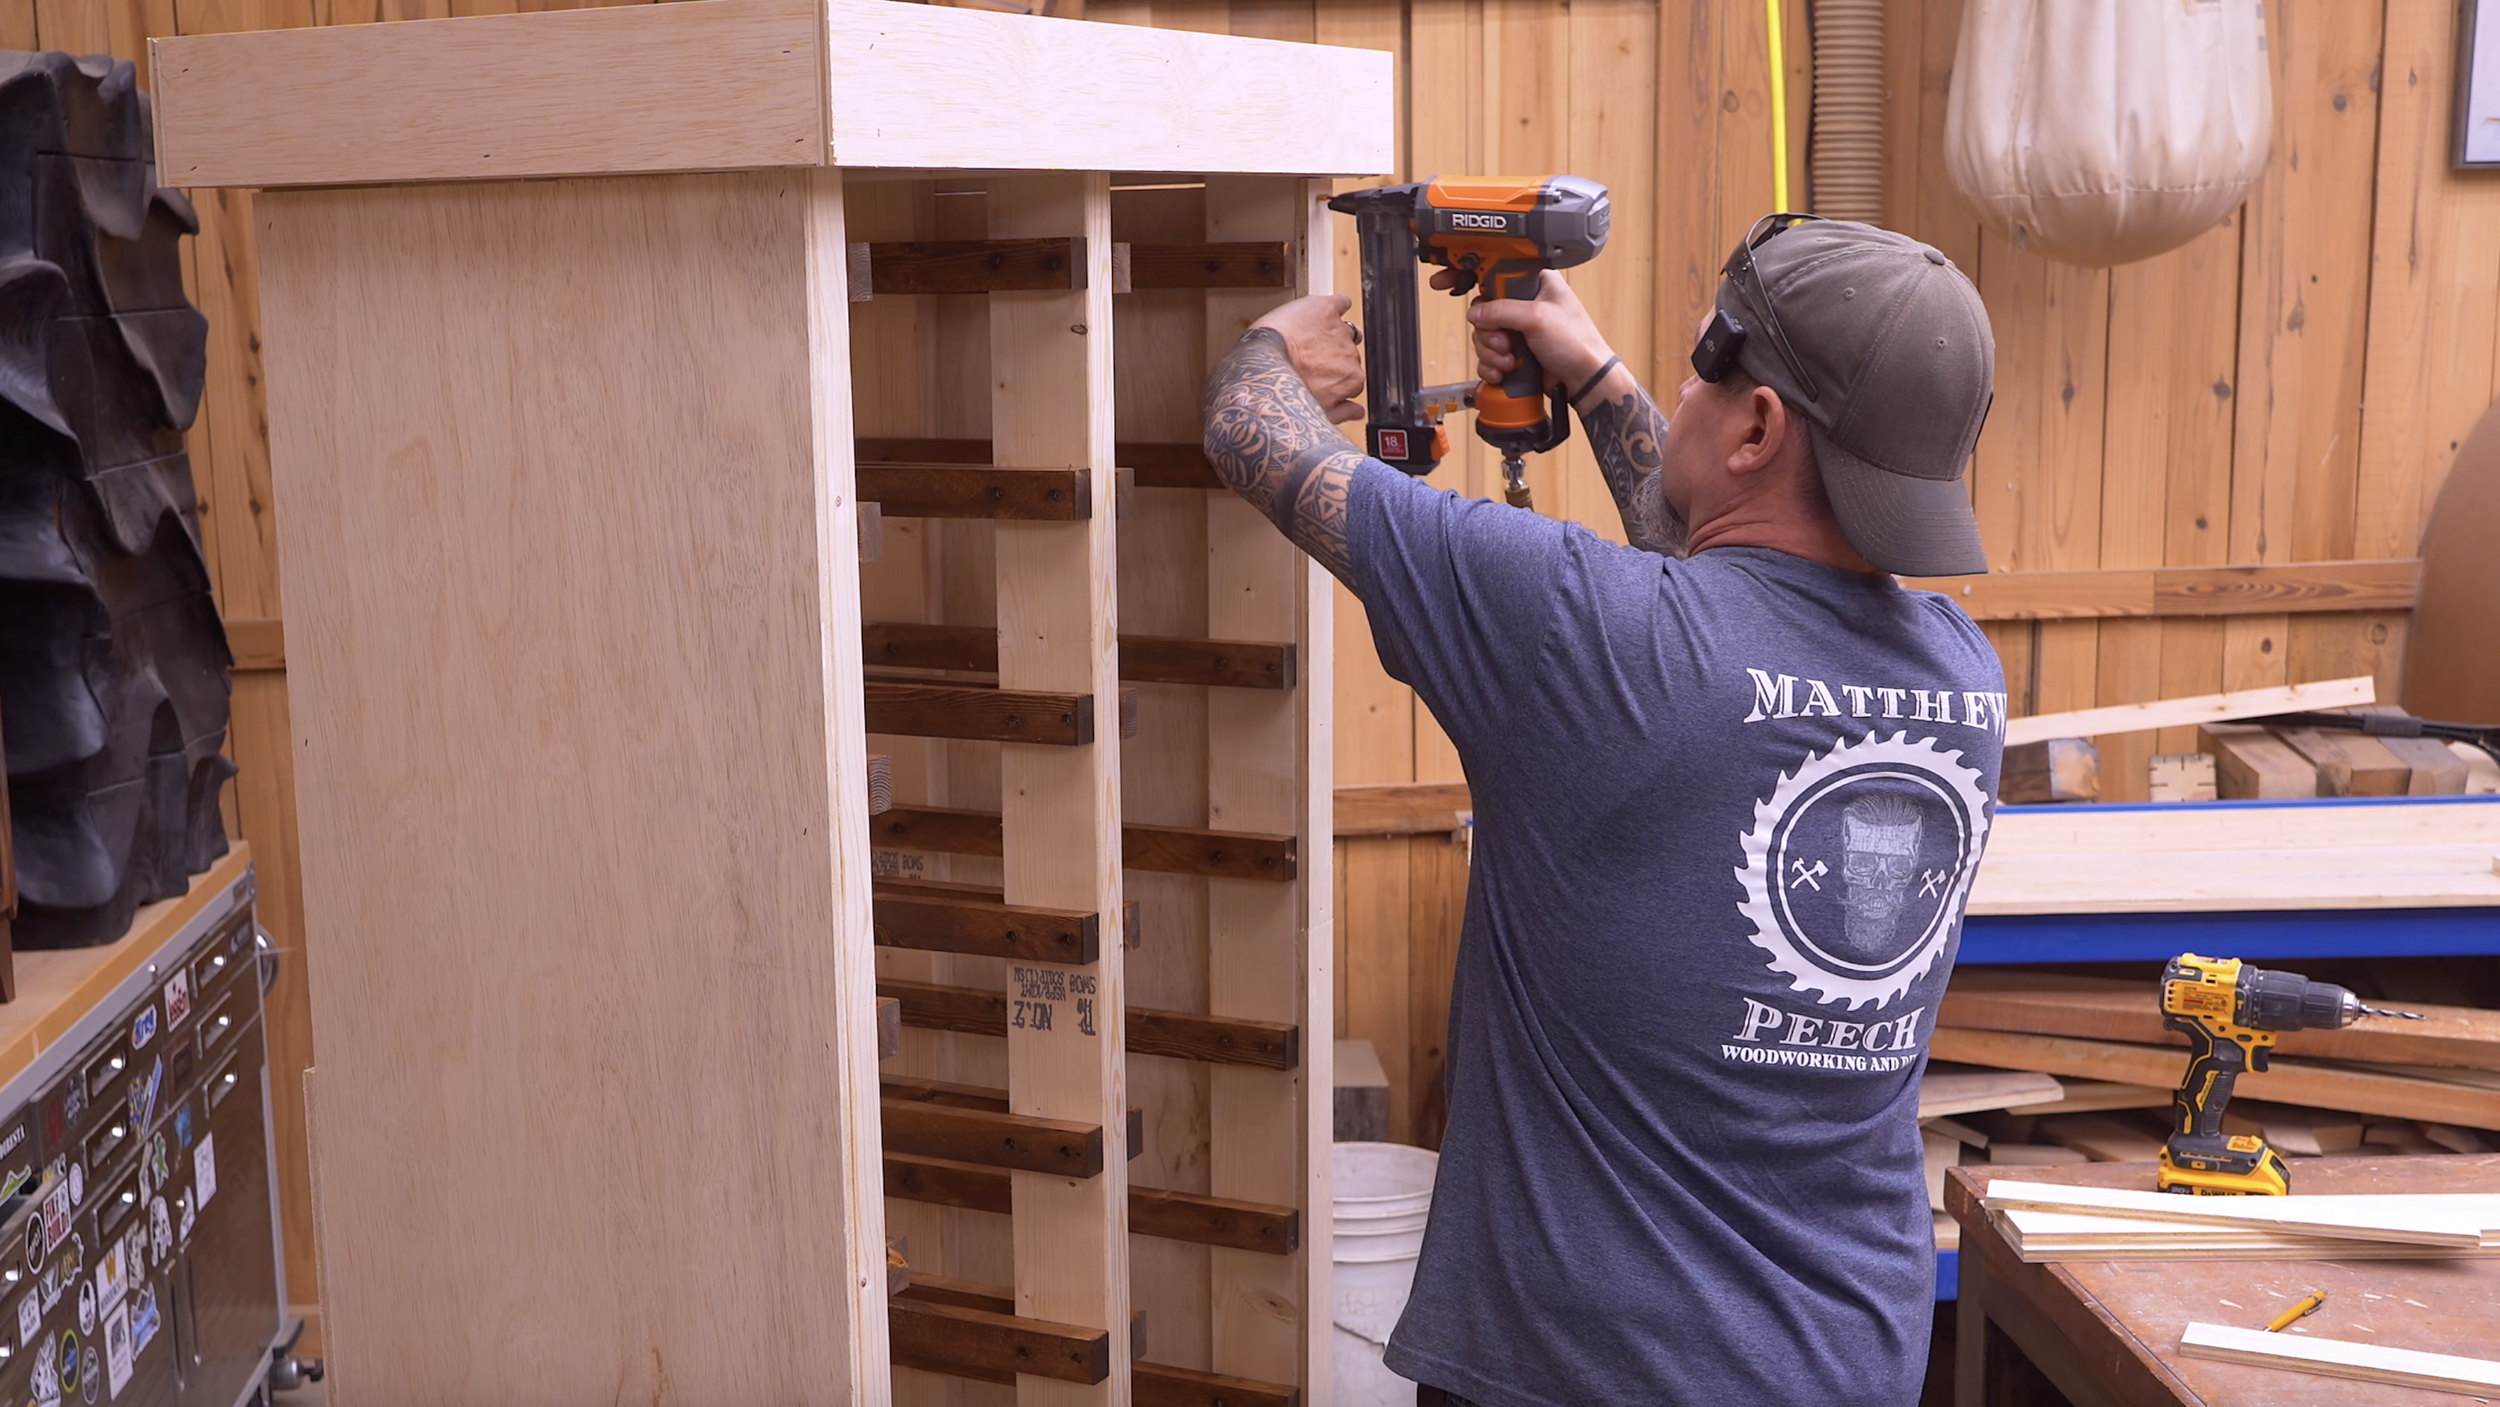
Step 6: Build the Outer Rail Assemblies
You’ll build:
2 outside assemblies
1 center assembly
Each assembly uses:
2 legs
Multiple tote rails
Step 7: Mark Rail Spacing
Cut:
(2) spacer blocks @ 5 ¼ inches
First rail placement:
8 ½" from bottom of leg
After installing the first rail:
Use spacers to install remaining rails
Each outer assembly gets:
9 rails
This creates evenly spaced tote slots.
Step 8: Build the Center Assembly
The center section is slightly different.
Important:
After building rails on one side:
👉 Flip the assembly and add rails to the back side too.
This doubles the storage capacity.
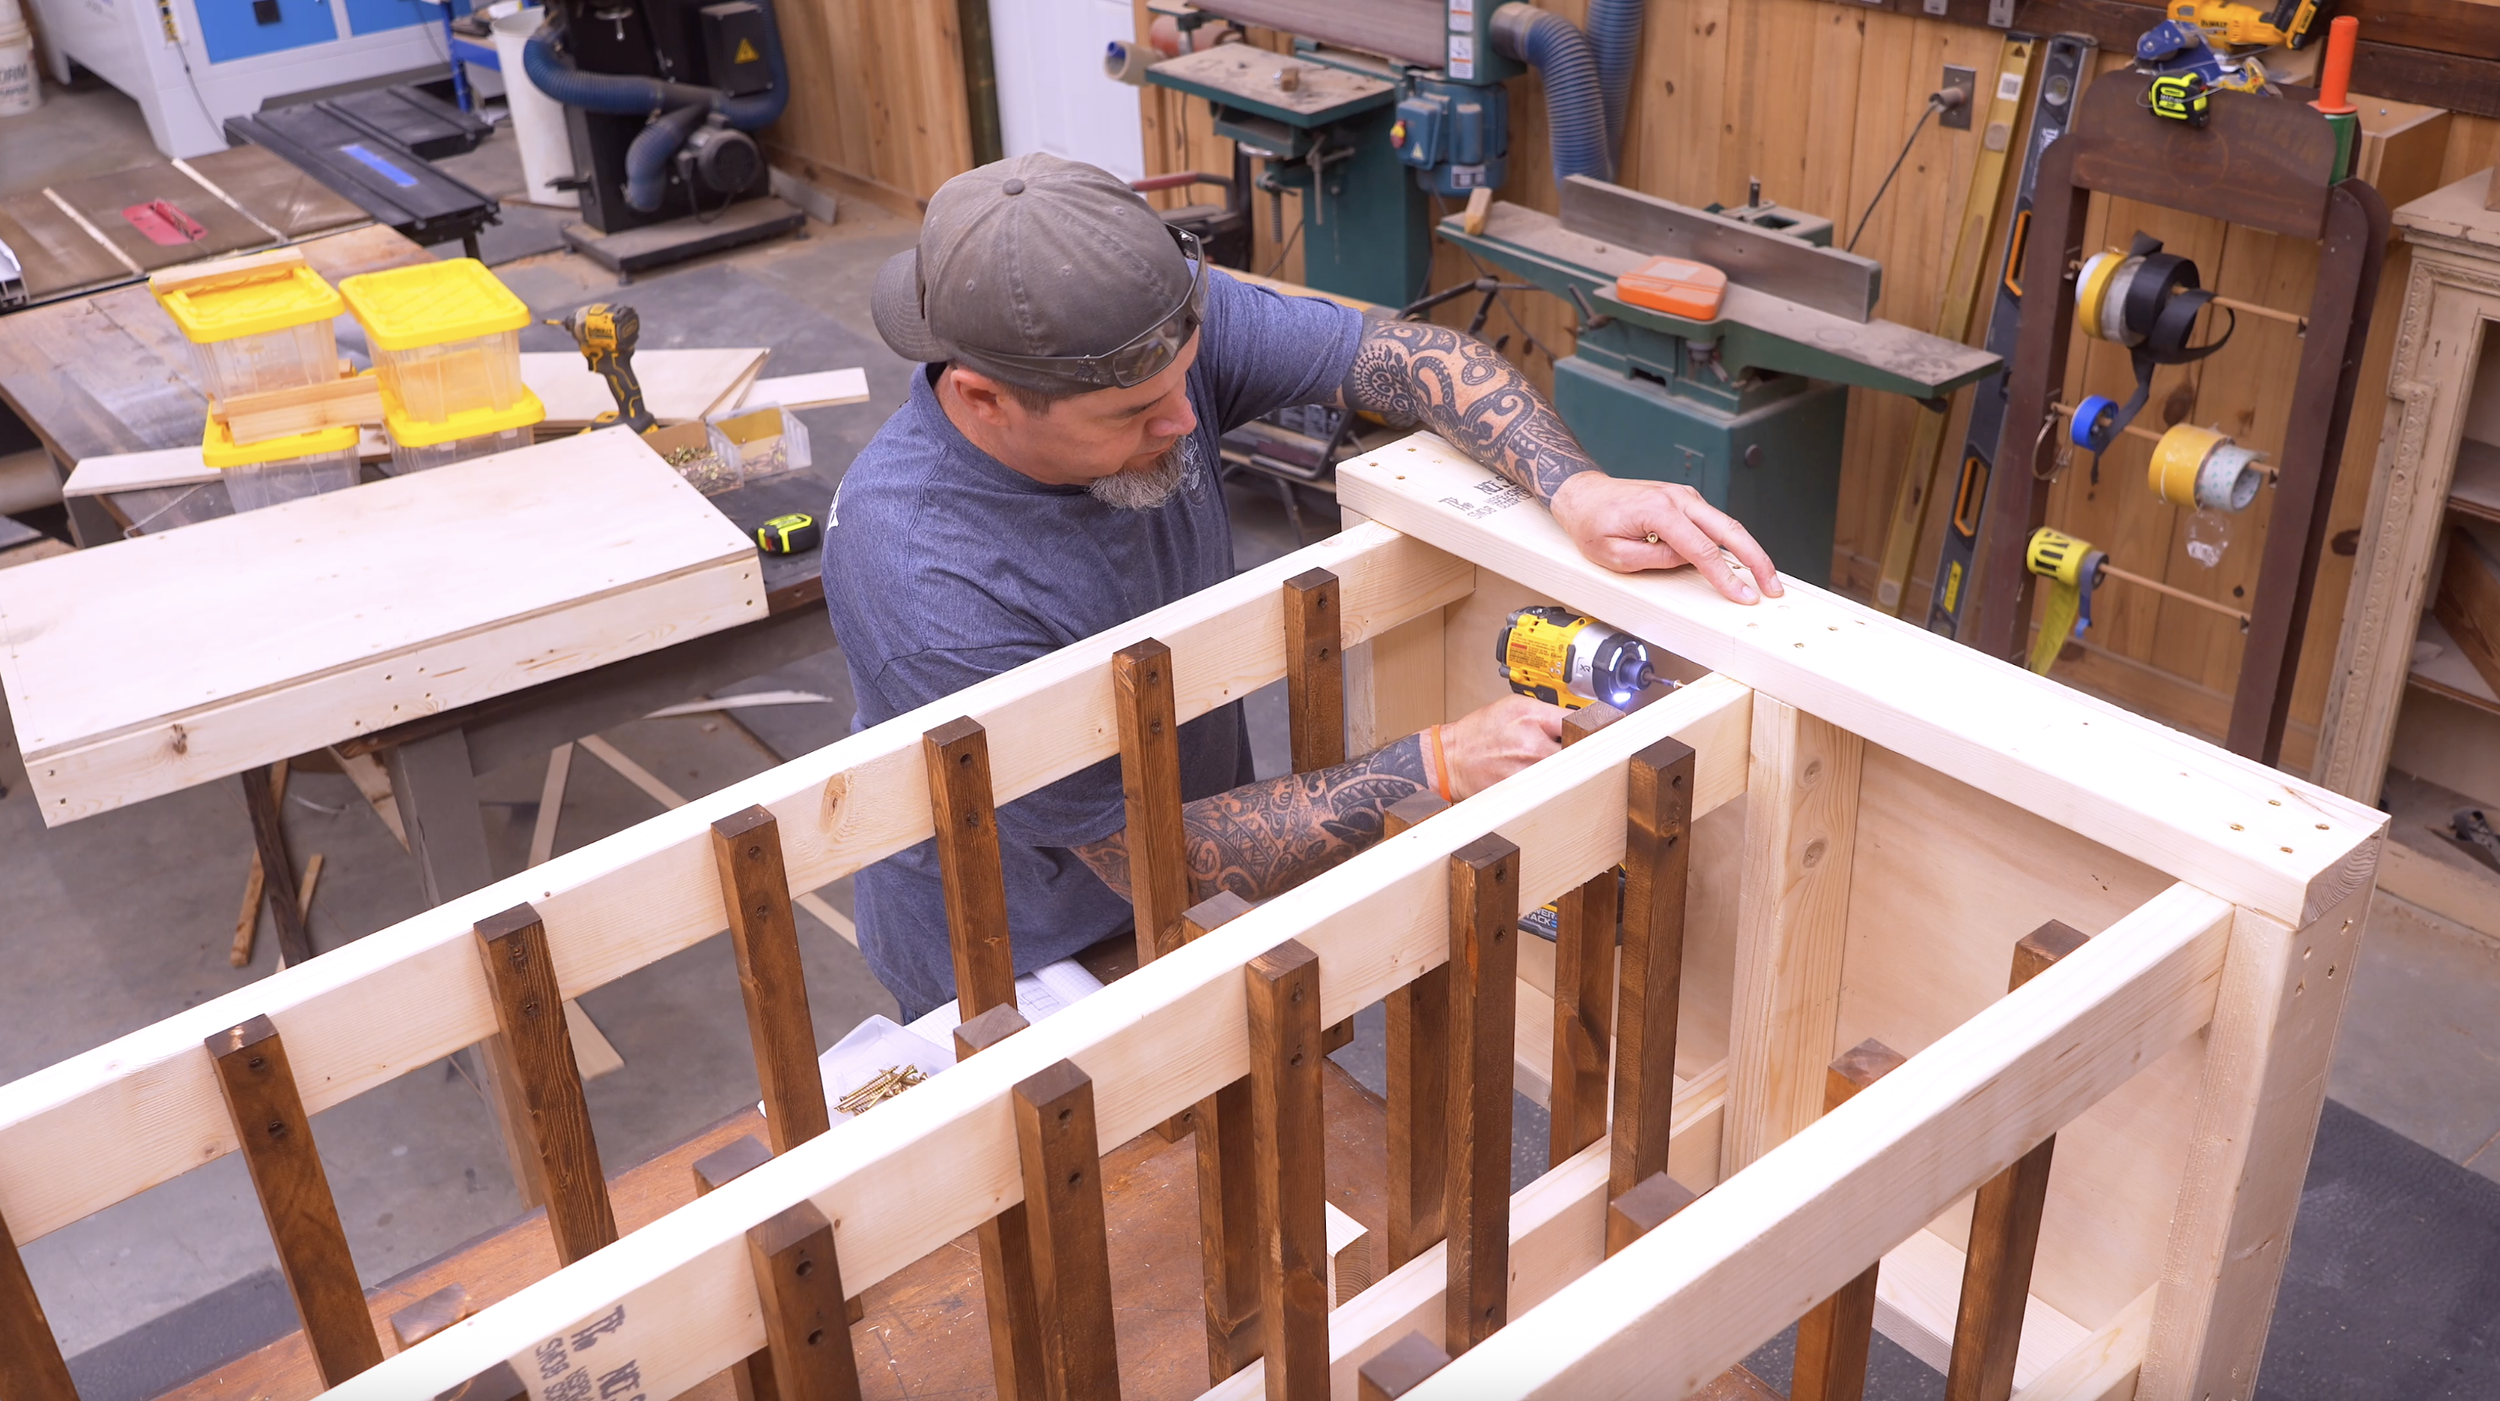
Step 9: Install Assemblies Into the Base
Outer Assemblies:
Slide legs into base
Use spacer blocks under top rails
Secure with 2 ¼" screws
Center Assembly:
Install on the side with the larger opening.
The frame spacing intentionally leaves room for the center rotating section.
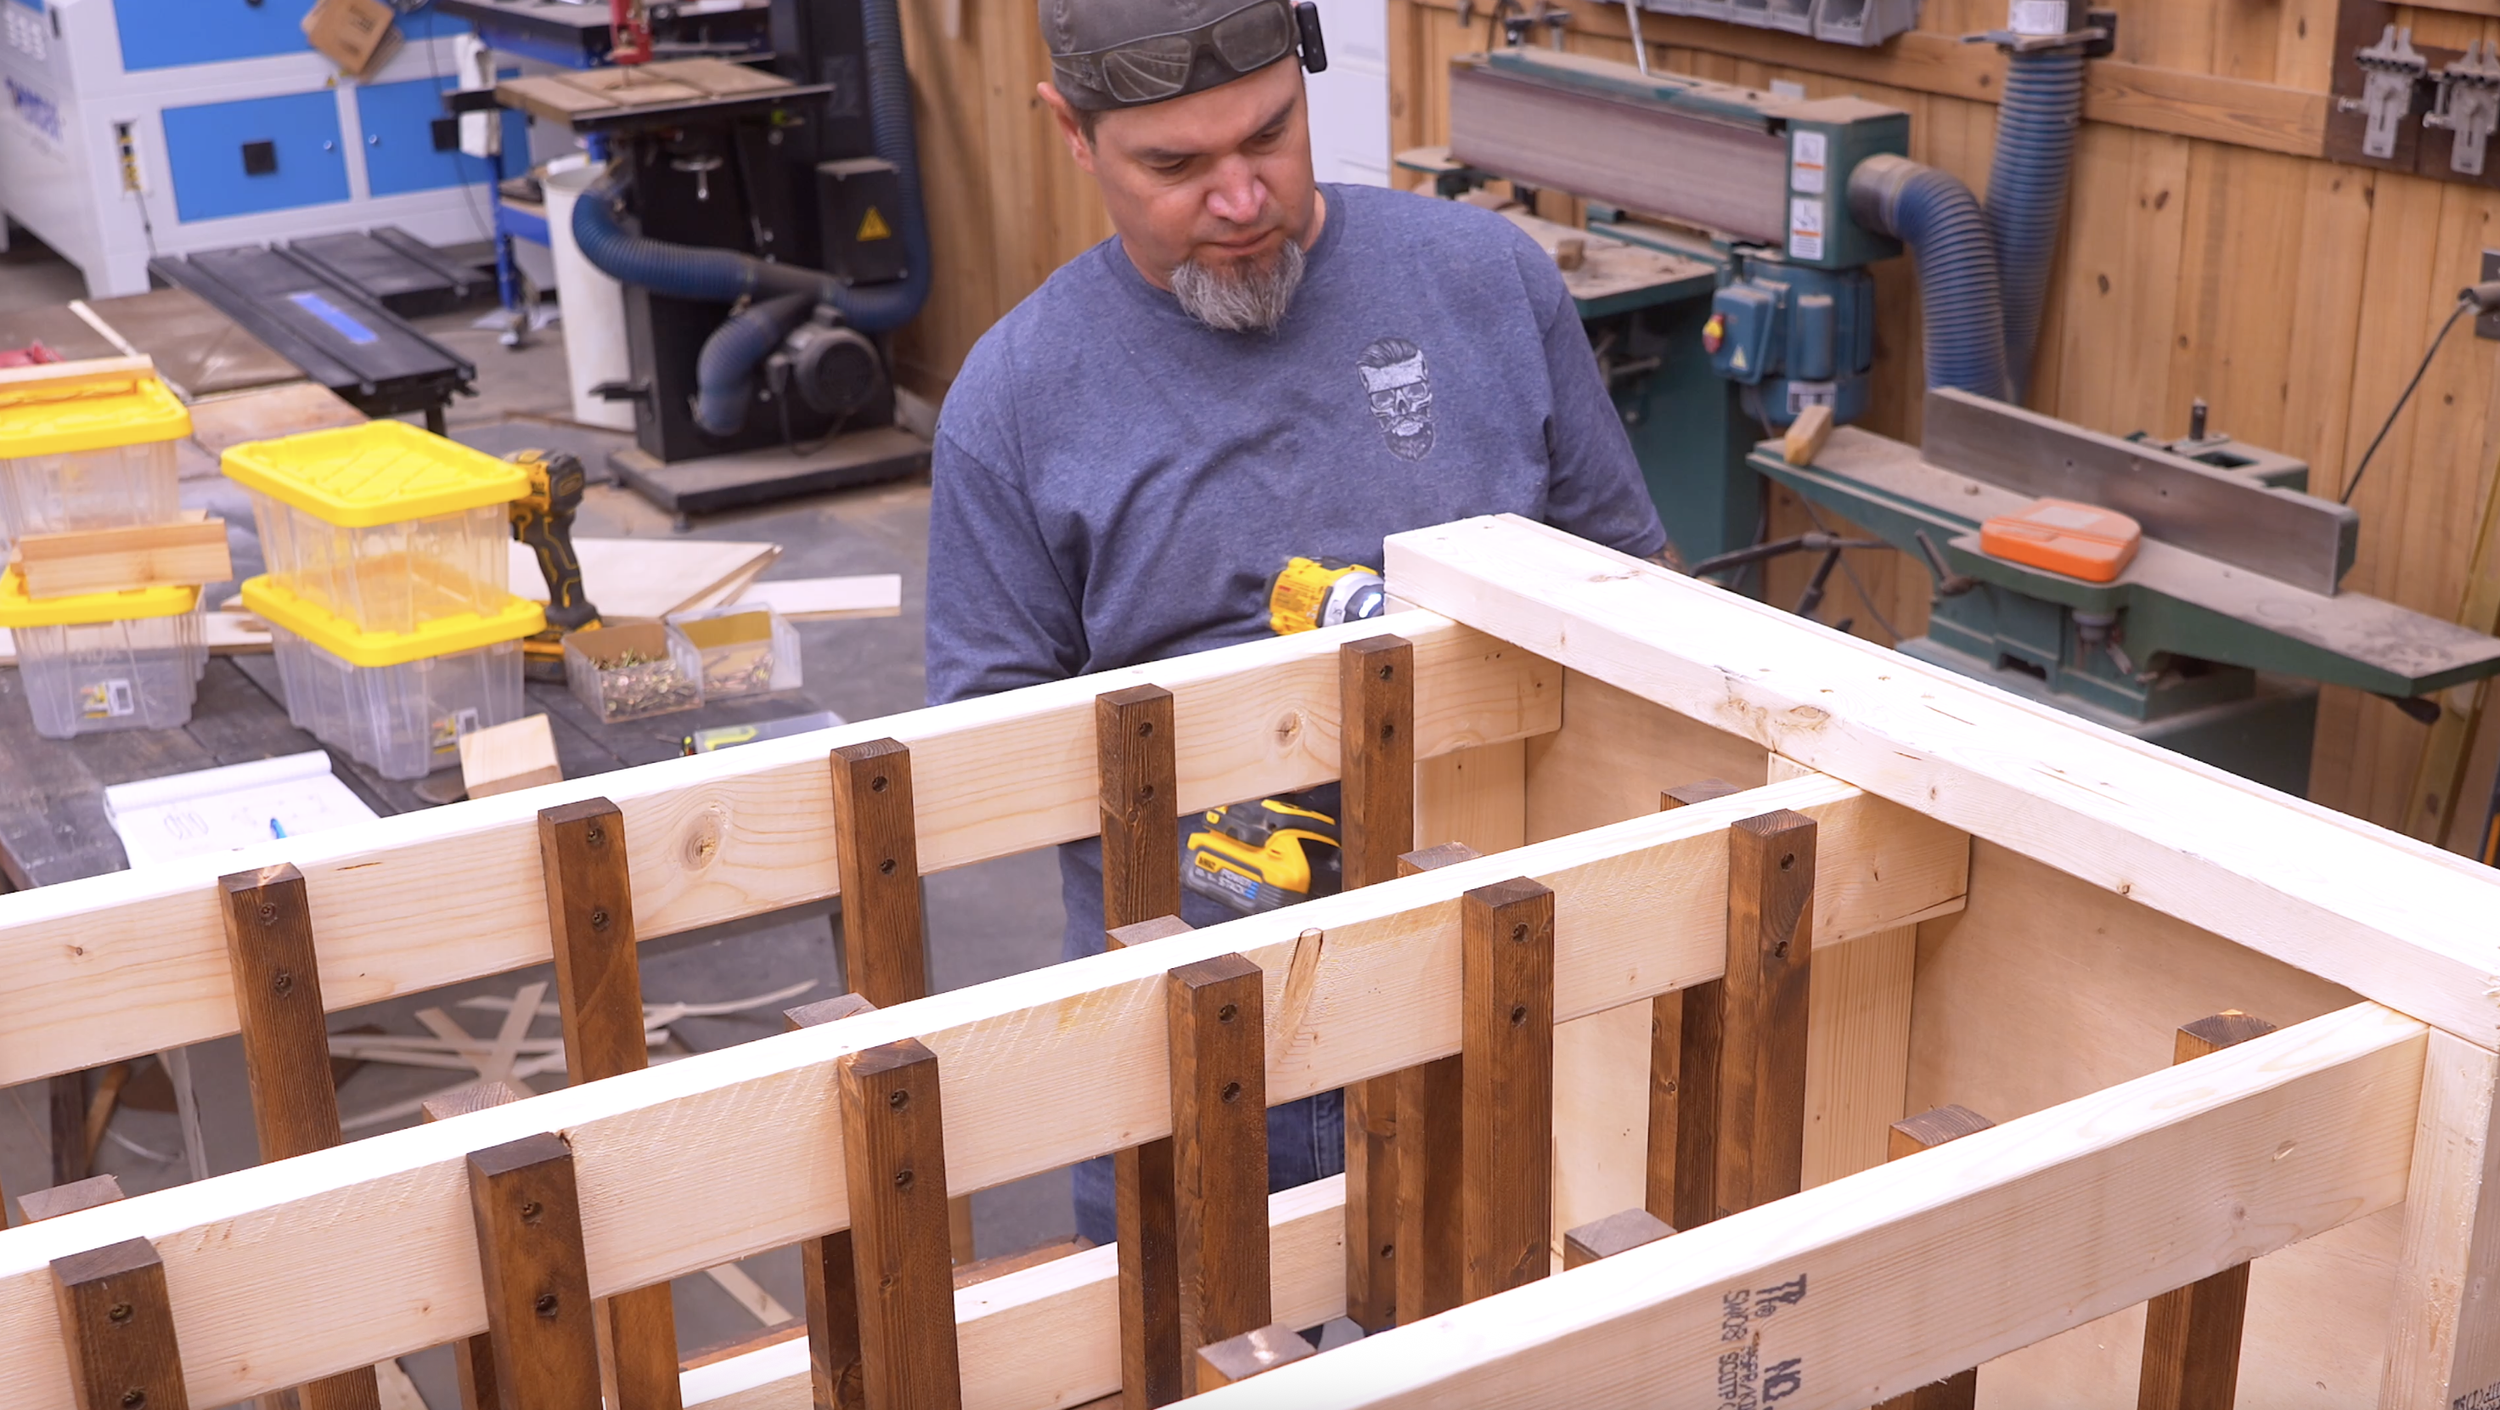
Step 10: Install the Top Frame
Once all assemblies are attached:
Install the top frame exactly like the bottom
At this stage:
👉 You technically already have a functional storage organizer.
But now comes the fun part…
Step 11: Building the Rotating Swivel Base
This uses the same frame dimensions as the top/bottom.
Cut:
(2) boards @ 34"
(3) boards @ 18 ½"
Add plywood:
Size: 35" x 22 ½"
This plywood slightly overhangs the frame to allow room for trim later.
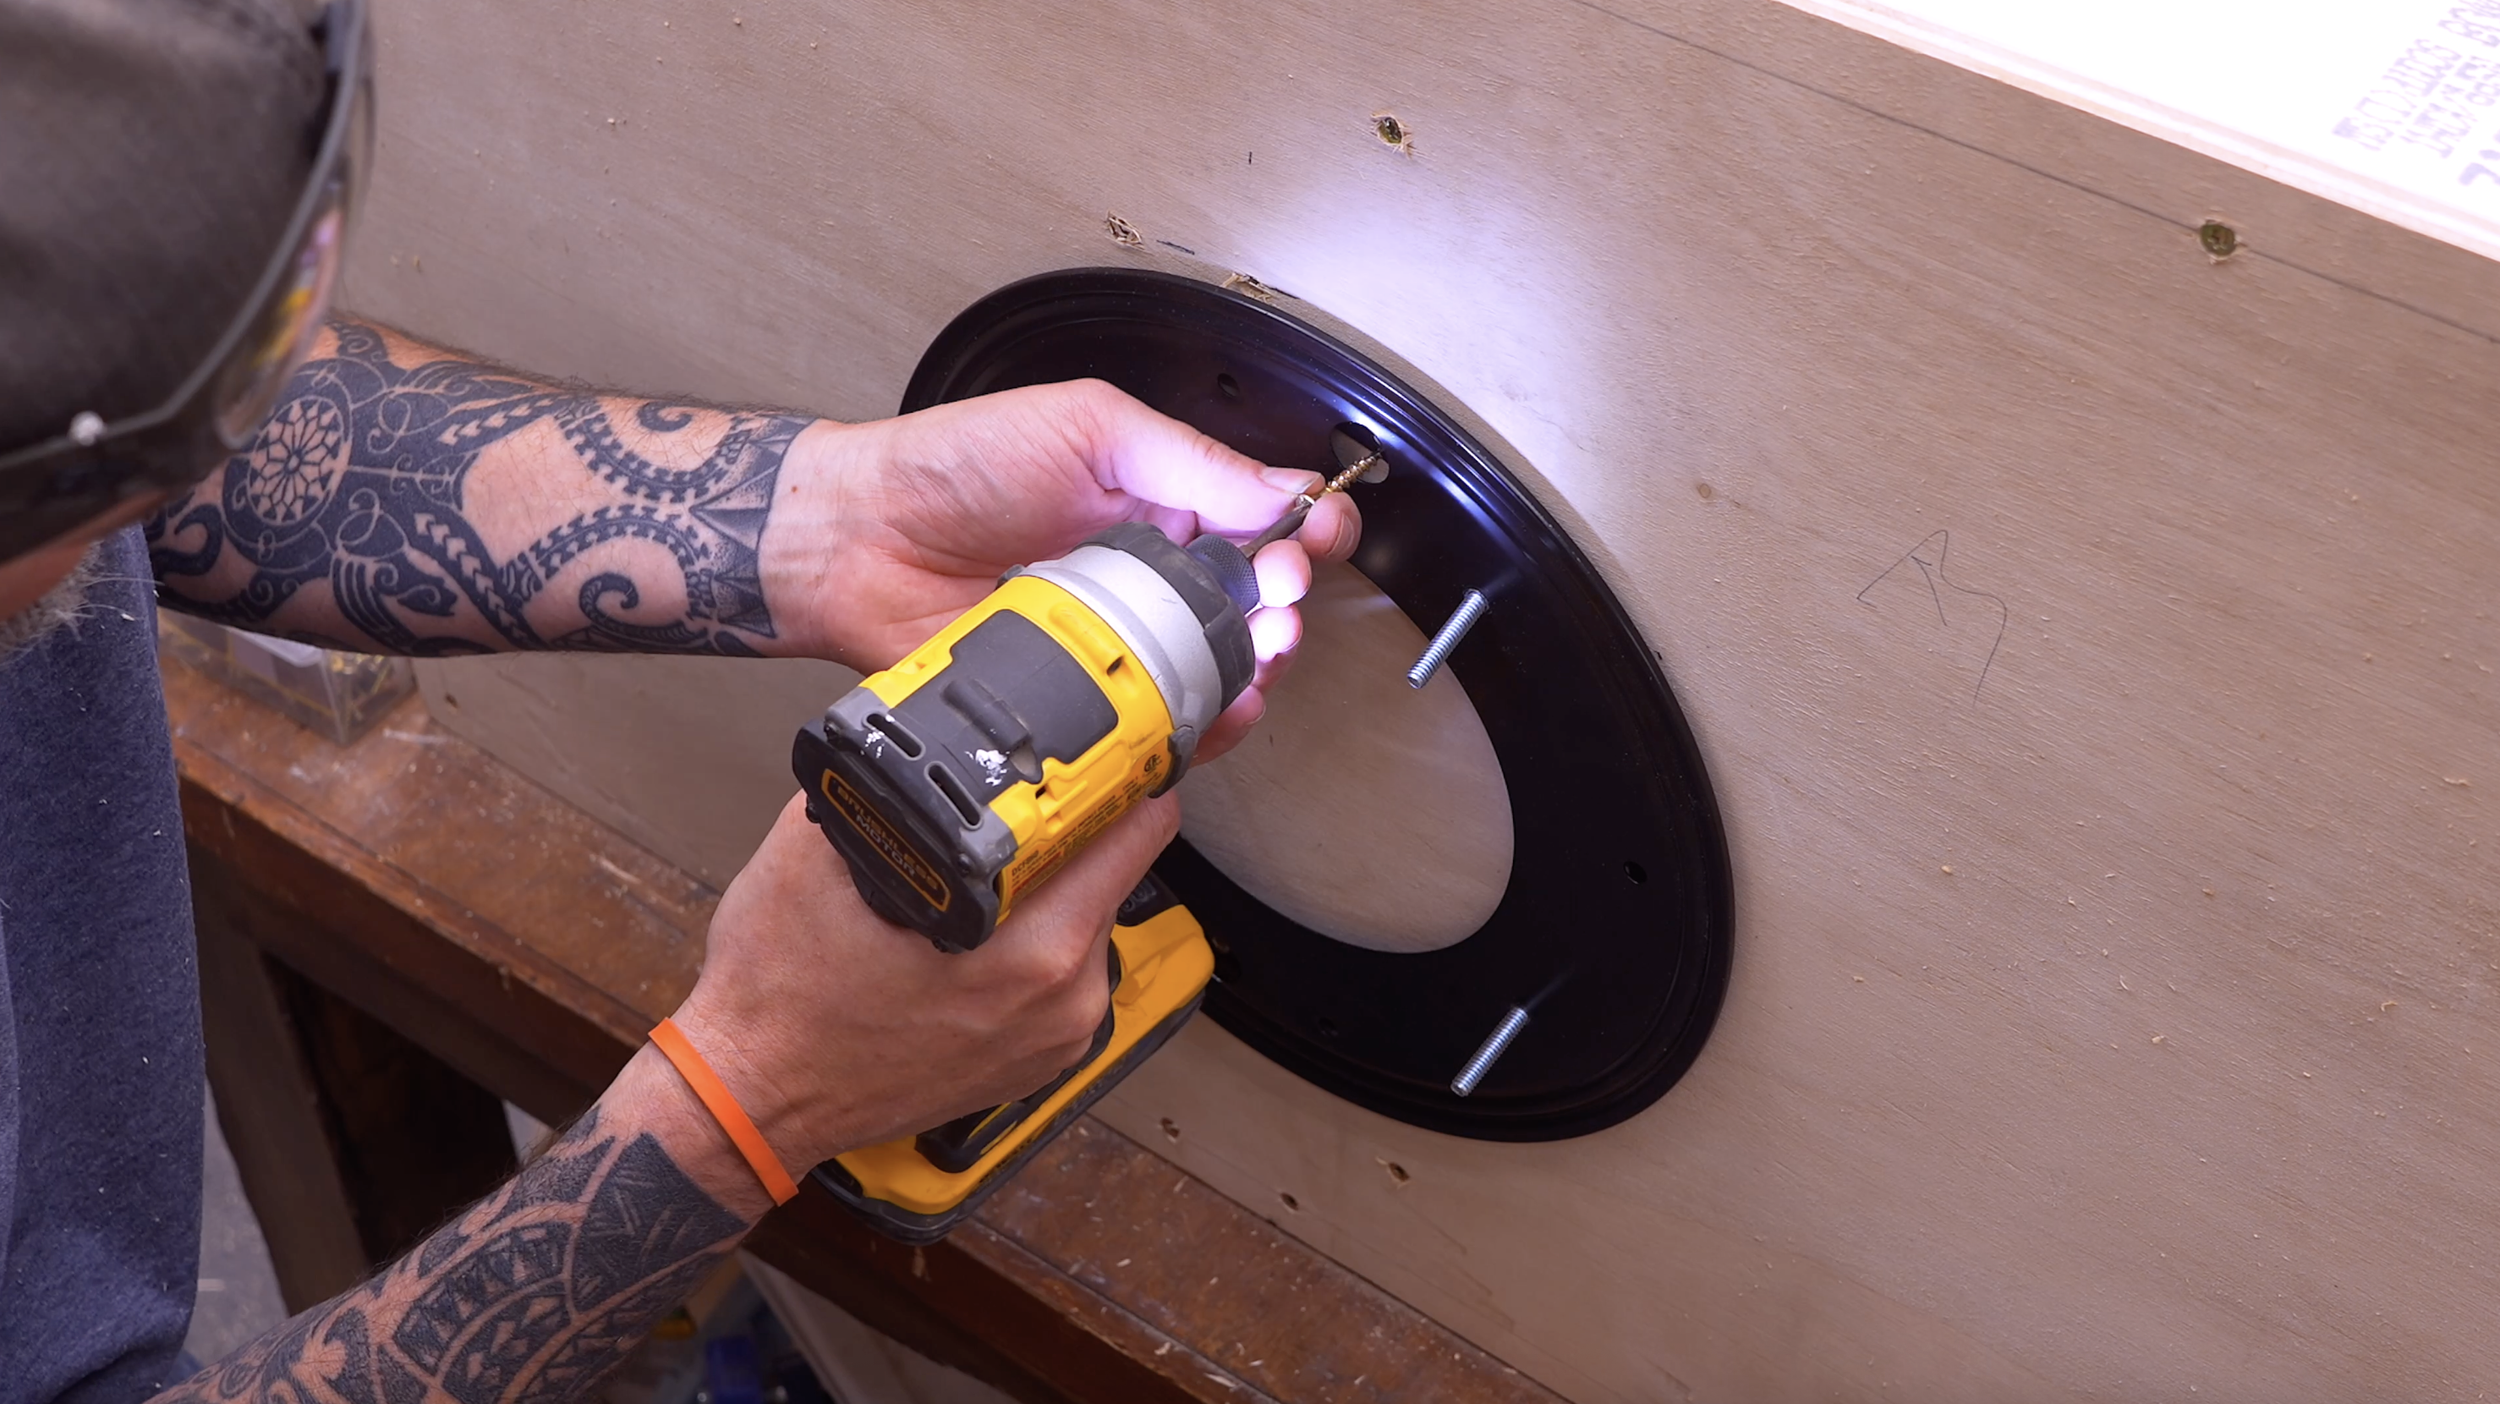
Step 12: Install the Lazy Susan Swivel
Use:
12" Lazy Susan Bearing
Installation:
Center bearing on frame
Rotate slightly so screw holes avoid center support
Drill bolt holes
Install bolts
Add blocking boards inside frame
Secure bearing with screws
Then:
Bolt organizer onto swivel base using washers and nuts
Now the entire storage tower rotates smoothly.
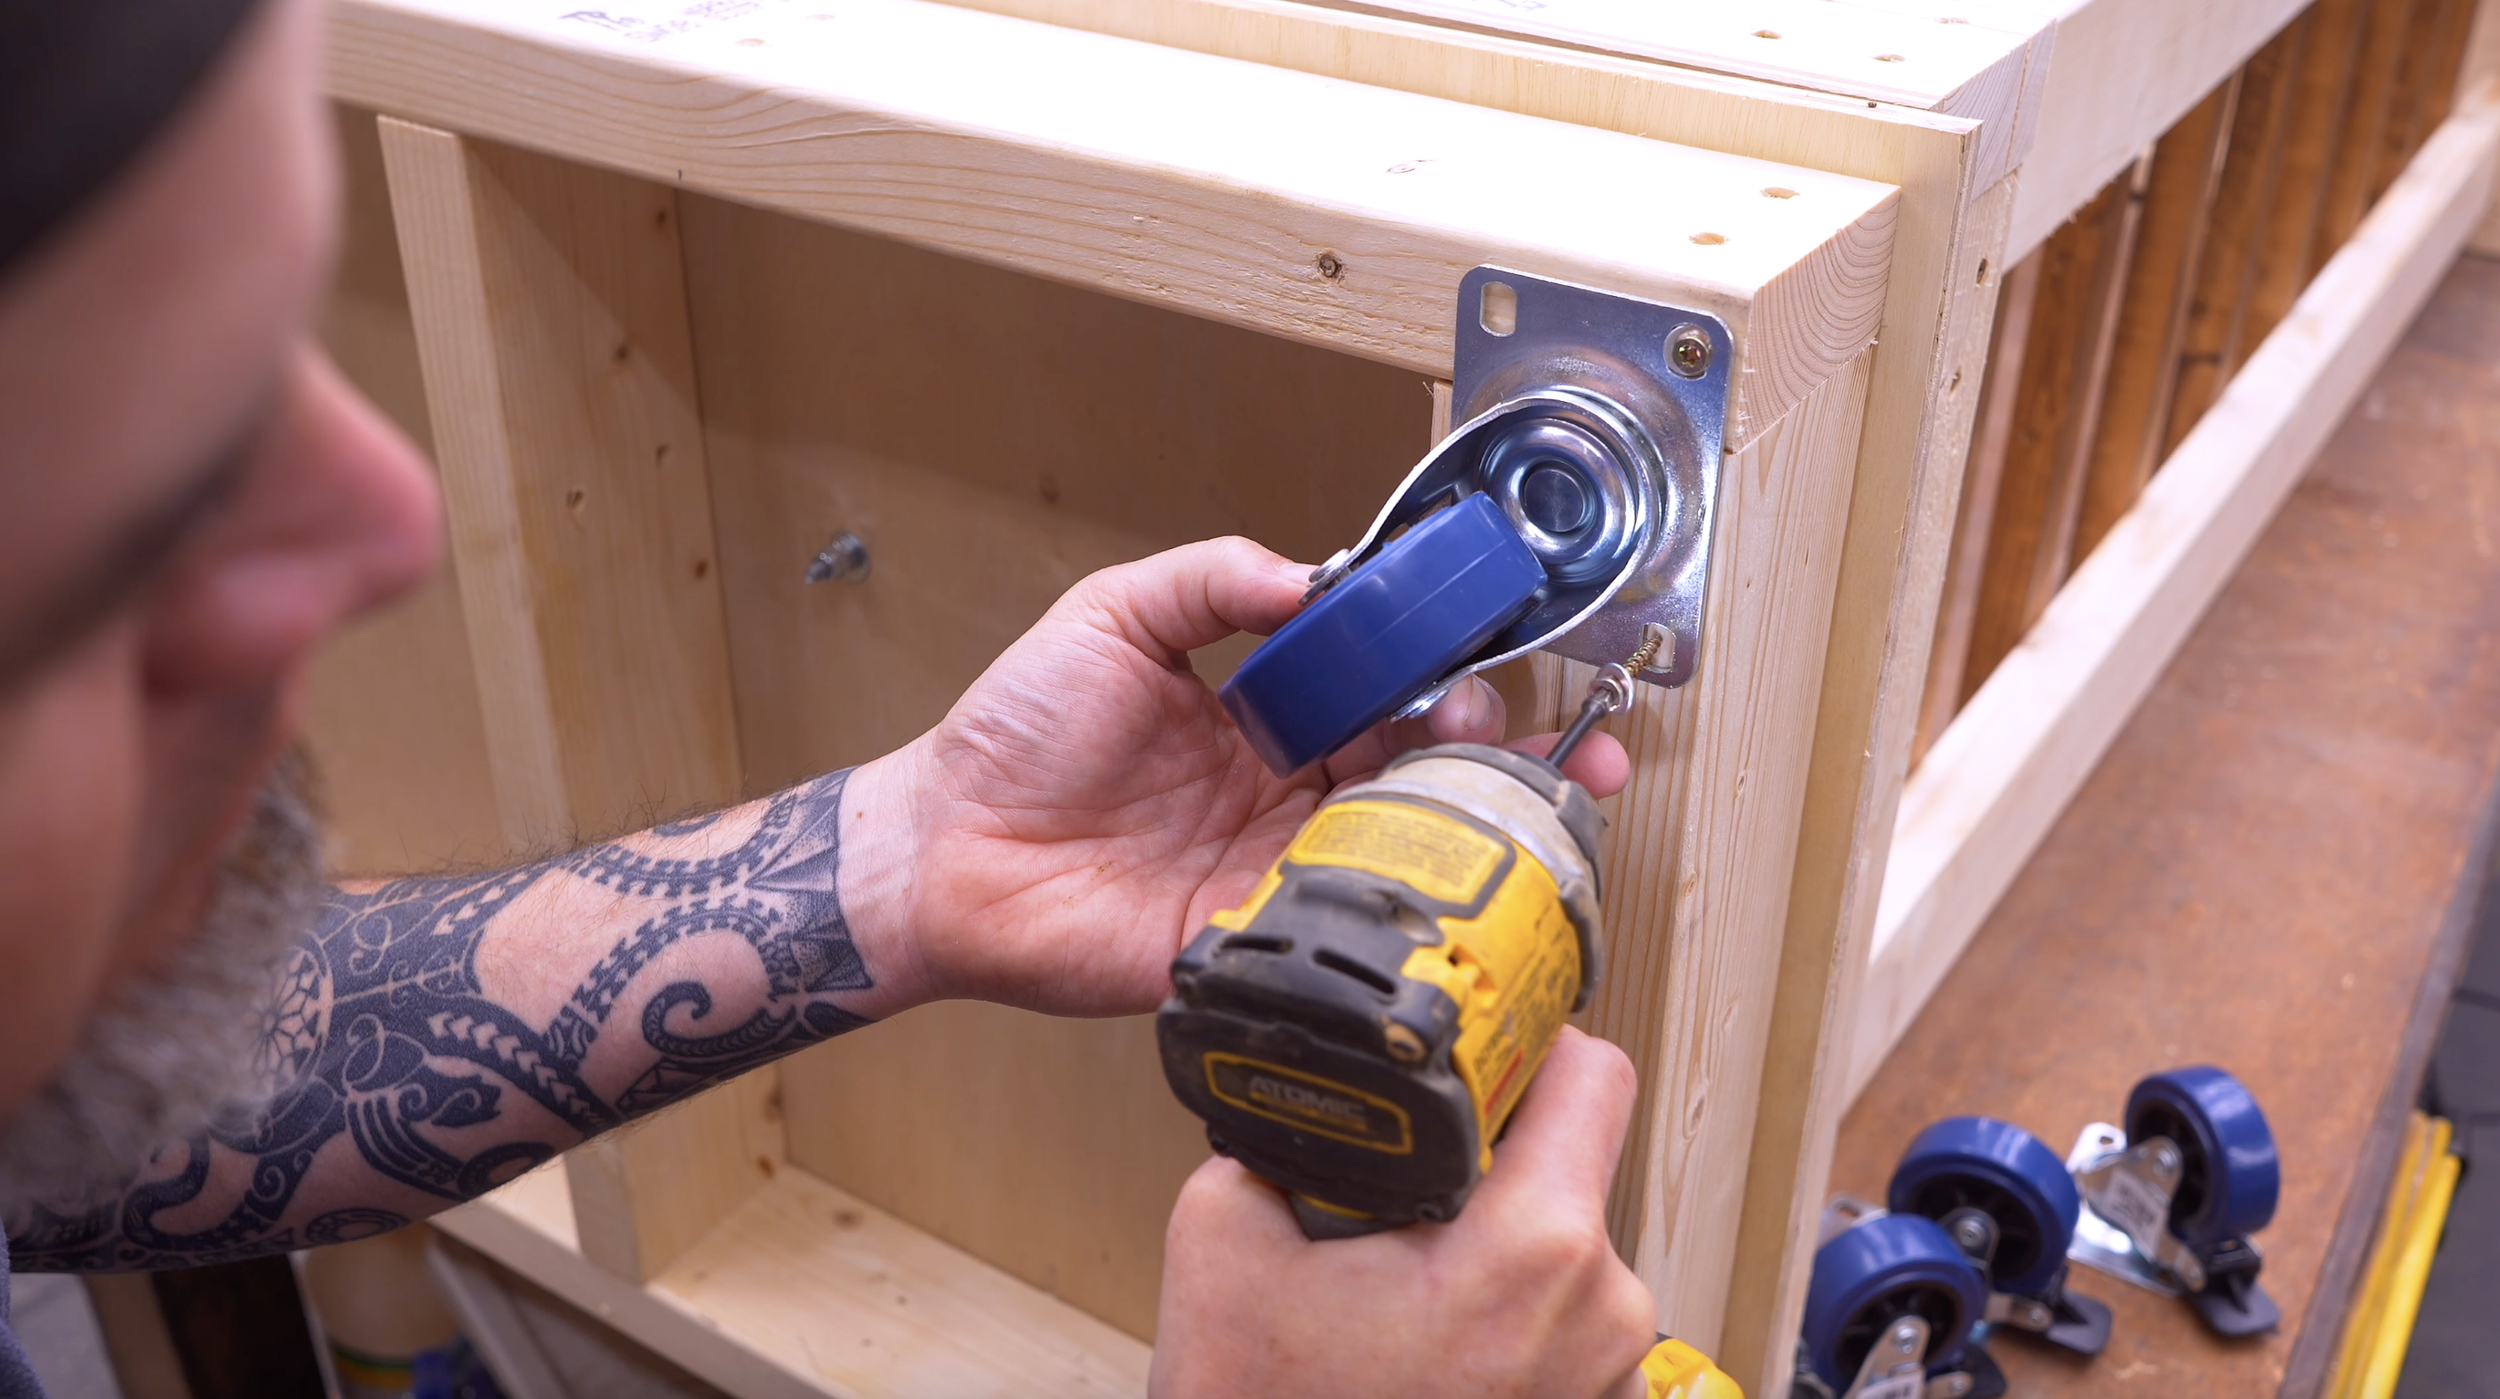
Step 13: Install Casters
Add:
4" blocking pieces in corners
This gives the casters full support.
Install:
3" locking casters
⚠️ Important:
Use casters rated for the expected weight. This build gets heavy when fully loaded.
Step 14: Add Swivel Lock (Optional but Smart)
Drill:
¼" hole through base
Insert:
¼" bolt
This locks the organizer from rotating when needed.
Step 15: Add Optional Side Panels & Trim
Side Panels
Cut:
(2) panels @ 18 ½" x 61"
Attach using:
Crown staples or brad nails
Top & Bottom Trim
Side trim:
(4) boards @ 4" x 21 ½"
Base trim:
(2) boards @ 3 ½" x 21 ½"
Front & Back Trim
Top & bottom:
(4) boards @ 4" x 35"
Base:
(2) boards @ 3 ½" x 35"
Edge Trim
2" strips for exposed edges
1 ½" strips for smaller edges
This gives the build a clean, furniture-style appearance.
Ready To Build?
This build started as simple notebook sketches and turned into one of the coolest storage systems you could add to a shop or garage.
It’s compact, mobile, customizable, and honestly just fun to use.
And once you load all 36 bins into it?
You’ll wonder how you organized anything before.
And if you’re ready…
You already know the next step.
👉 Get up, get out, and get your build on.
Whether you’re new to woodworking or a seasoned pro, this project offers the perfect mix of functionality and creativity. Below I have the YouTube video linked for a step-by-step video tutorial for you to follow along with. If you’re a more “plans in the hand” person, click “Get Plan” down below for downloadable instructions. And if you’re ready to dive deeper into woodworking, check out my new course, “Woodworking Kickstart” (which is also linked below). It’s packed with step-by-step lessons to help you build confidence and skills, whether you’re a total beginner or an experienced DIYer. You’ll be building with confidence in no time.
Remember, creativity doesn’t have to be expensive; all you need is a little inspiration and a willingness to try.
Get Easy Step-By-Step Directions to build this by clicking the button below
⭐ 10,044 5 Star Reviews
📚 113 Plans to Choose From
🧩 Lego-Like Assembly Steps
📏 Exact Measurements
📋 Detailed cut and part list
🔍 X-Ray Views
🚀 Instant Delivery
