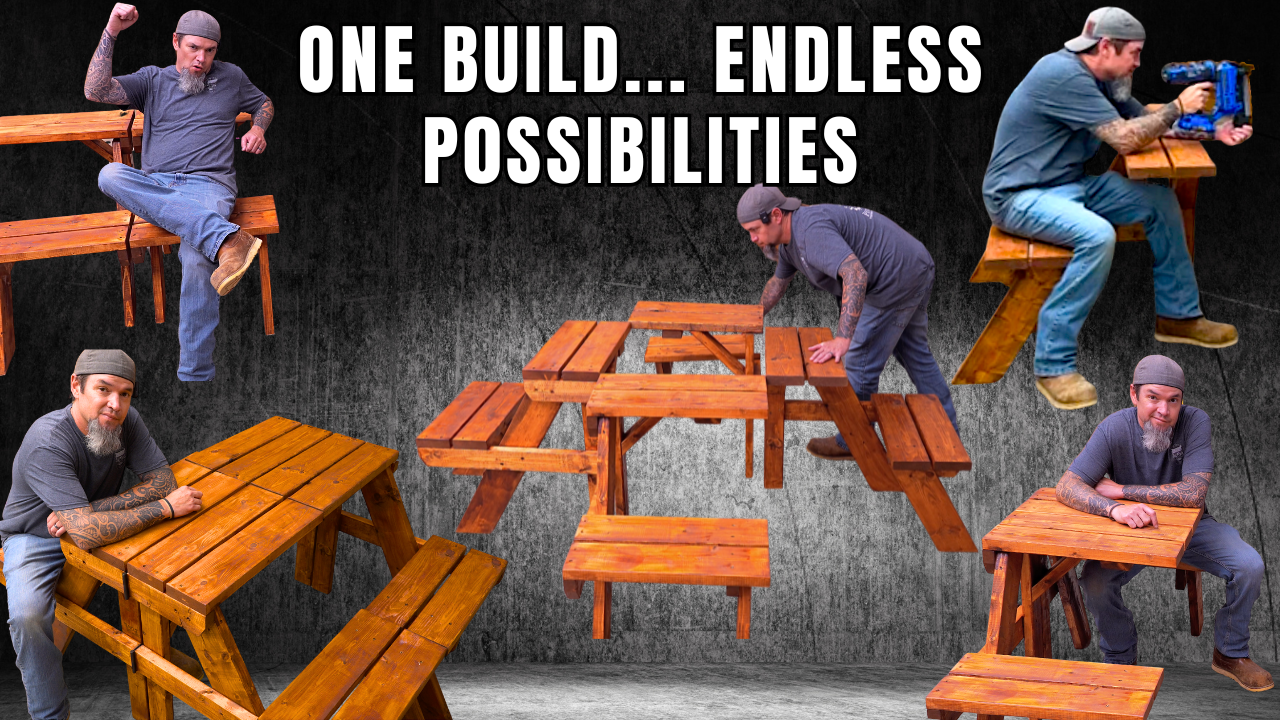
Build This Transforming Picnic Table!
Functional & Iconic
If you're looking for a quick and easy weekend woodworking project that’s both practical and fun to build, I’ve got a good one for you. This two-person picnic table is the perfect size for porches, patios, or tight spaces, and it doesn’t take much in the way of materials or tools.
Whether you're just getting into woodworking or looking for a solid build to flip and sell at craft fairs, this one's worth your time. Let’s walk through how to build it—step by step.
Materials & Tools
2x4 Boards (standard framing lumber)
1x3 Boards (for trim and support)
Wood Glue
2-½" Exterior Deck Screws
Wood stain (Optional)
1-¼" Pocket Hole Screws (Optional)
Tools: Miter saw, Drill/Driver, Sander, Clamps, Pocket Hole Jig (Optional)
Time To Bring Your Transforming Picnic Table To Life
Step 1: Cut the Lumber
Start by cutting all your parts to length. You’ll need:
(4) Legs – 29" with a 15° angle on both ends
(2) Top seat supports – 30"
(2) Tabletop supports – 42"
(4) Seat slats – 36"
(5) Table slats – 36"
Pro tip: Label each piece as you go to stay organized!
Step 2: Assemble the Leg Frames
This table has two A-frame style legs. You’ll attach two angled leg pieces together using one of your shorter seat supports in the middle.
Use wood glue and 2-½" screws to secure each frame. Make sure to space the legs evenly and keep everything square.
Step 3: Add Tabletop Supports
With your two leg assemblies standing up, connect them using the two 42" tabletop supports. These will run horizontally between the legs and support the actual tabletop boards.
Use clamps to hold everything in place, then drive your screws in from the outside. Don’t forget the wood glue!
Step 4: Install the Seat Slats
Now we’ll add the four seat slats. These should overhang slightly on both ends to give it that classic picnic table look.
Space them out evenly and secure them with glue and screws. Make sure they’re flush with the top edge of the seat supports.
Step 5: Attach the Tabletop Boards
Now for the tabletop! Line up your five 36" slats across the top supports, leaving about ¼" spacing between each.
Start by securing the center board, then work your way out. You can eyeball the spacing or use scrap wood as a spacer.
Step 6: Sand & Finish
Give the whole piece a good sanding, especially those edges and corners. You can leave it natural, paint it, or go with a weatherproof outdoor stain.
And that’s it—you’ve got yourself a handmade, compact 2-person picnic table!
Step 7: Add Trim and Support (Optional)
If you want to beef it up a little, you can add some 1x3 trim boards underneath the seats or even a cross brace for extra support. Totally up to you.
Ready To Build?
This build is a great mix of simple cuts, sturdy construction, and functional design. It’s ideal for small spaces, makes a fantastic gift, and it’s a hit at markets if you’re flipping furniture for profit.
Like I always say—if you can dream it, we can build it.
Whether you’re new to woodworking or a seasoned pro, this project offers the perfect mix of functionality and creativity. Below I have the YouTube video linked for a step-by-step video tutorial for you to follow along with. If you’re a more “plans in the hand” person, click “Get Plan” down below for downloadable instructions. And if you’re ready to dive deeper into woodworking, check out my new course, “Woodworking Kickstart” (which is also linked below). It’s packed with step-by-step lessons to help you build confidence and skills, whether you’re a total beginner or an experienced DIYer. You’ll be building with confidence in no time.
Remember, creativity doesn’t have to be expensive; all you need is a little inspiration and a willingness to try.
Get Easy Step-By-Step Directions to build this by clicking the button below
⭐ 10,044 5 Star Reviews
📚 113 Plans to Choose From
🧩 Lego-Like Assembly Steps
📏 Exact Measurements
📋 Detailed cut and part list
🔍 X-Ray Views
🚀 Instant Delivery


