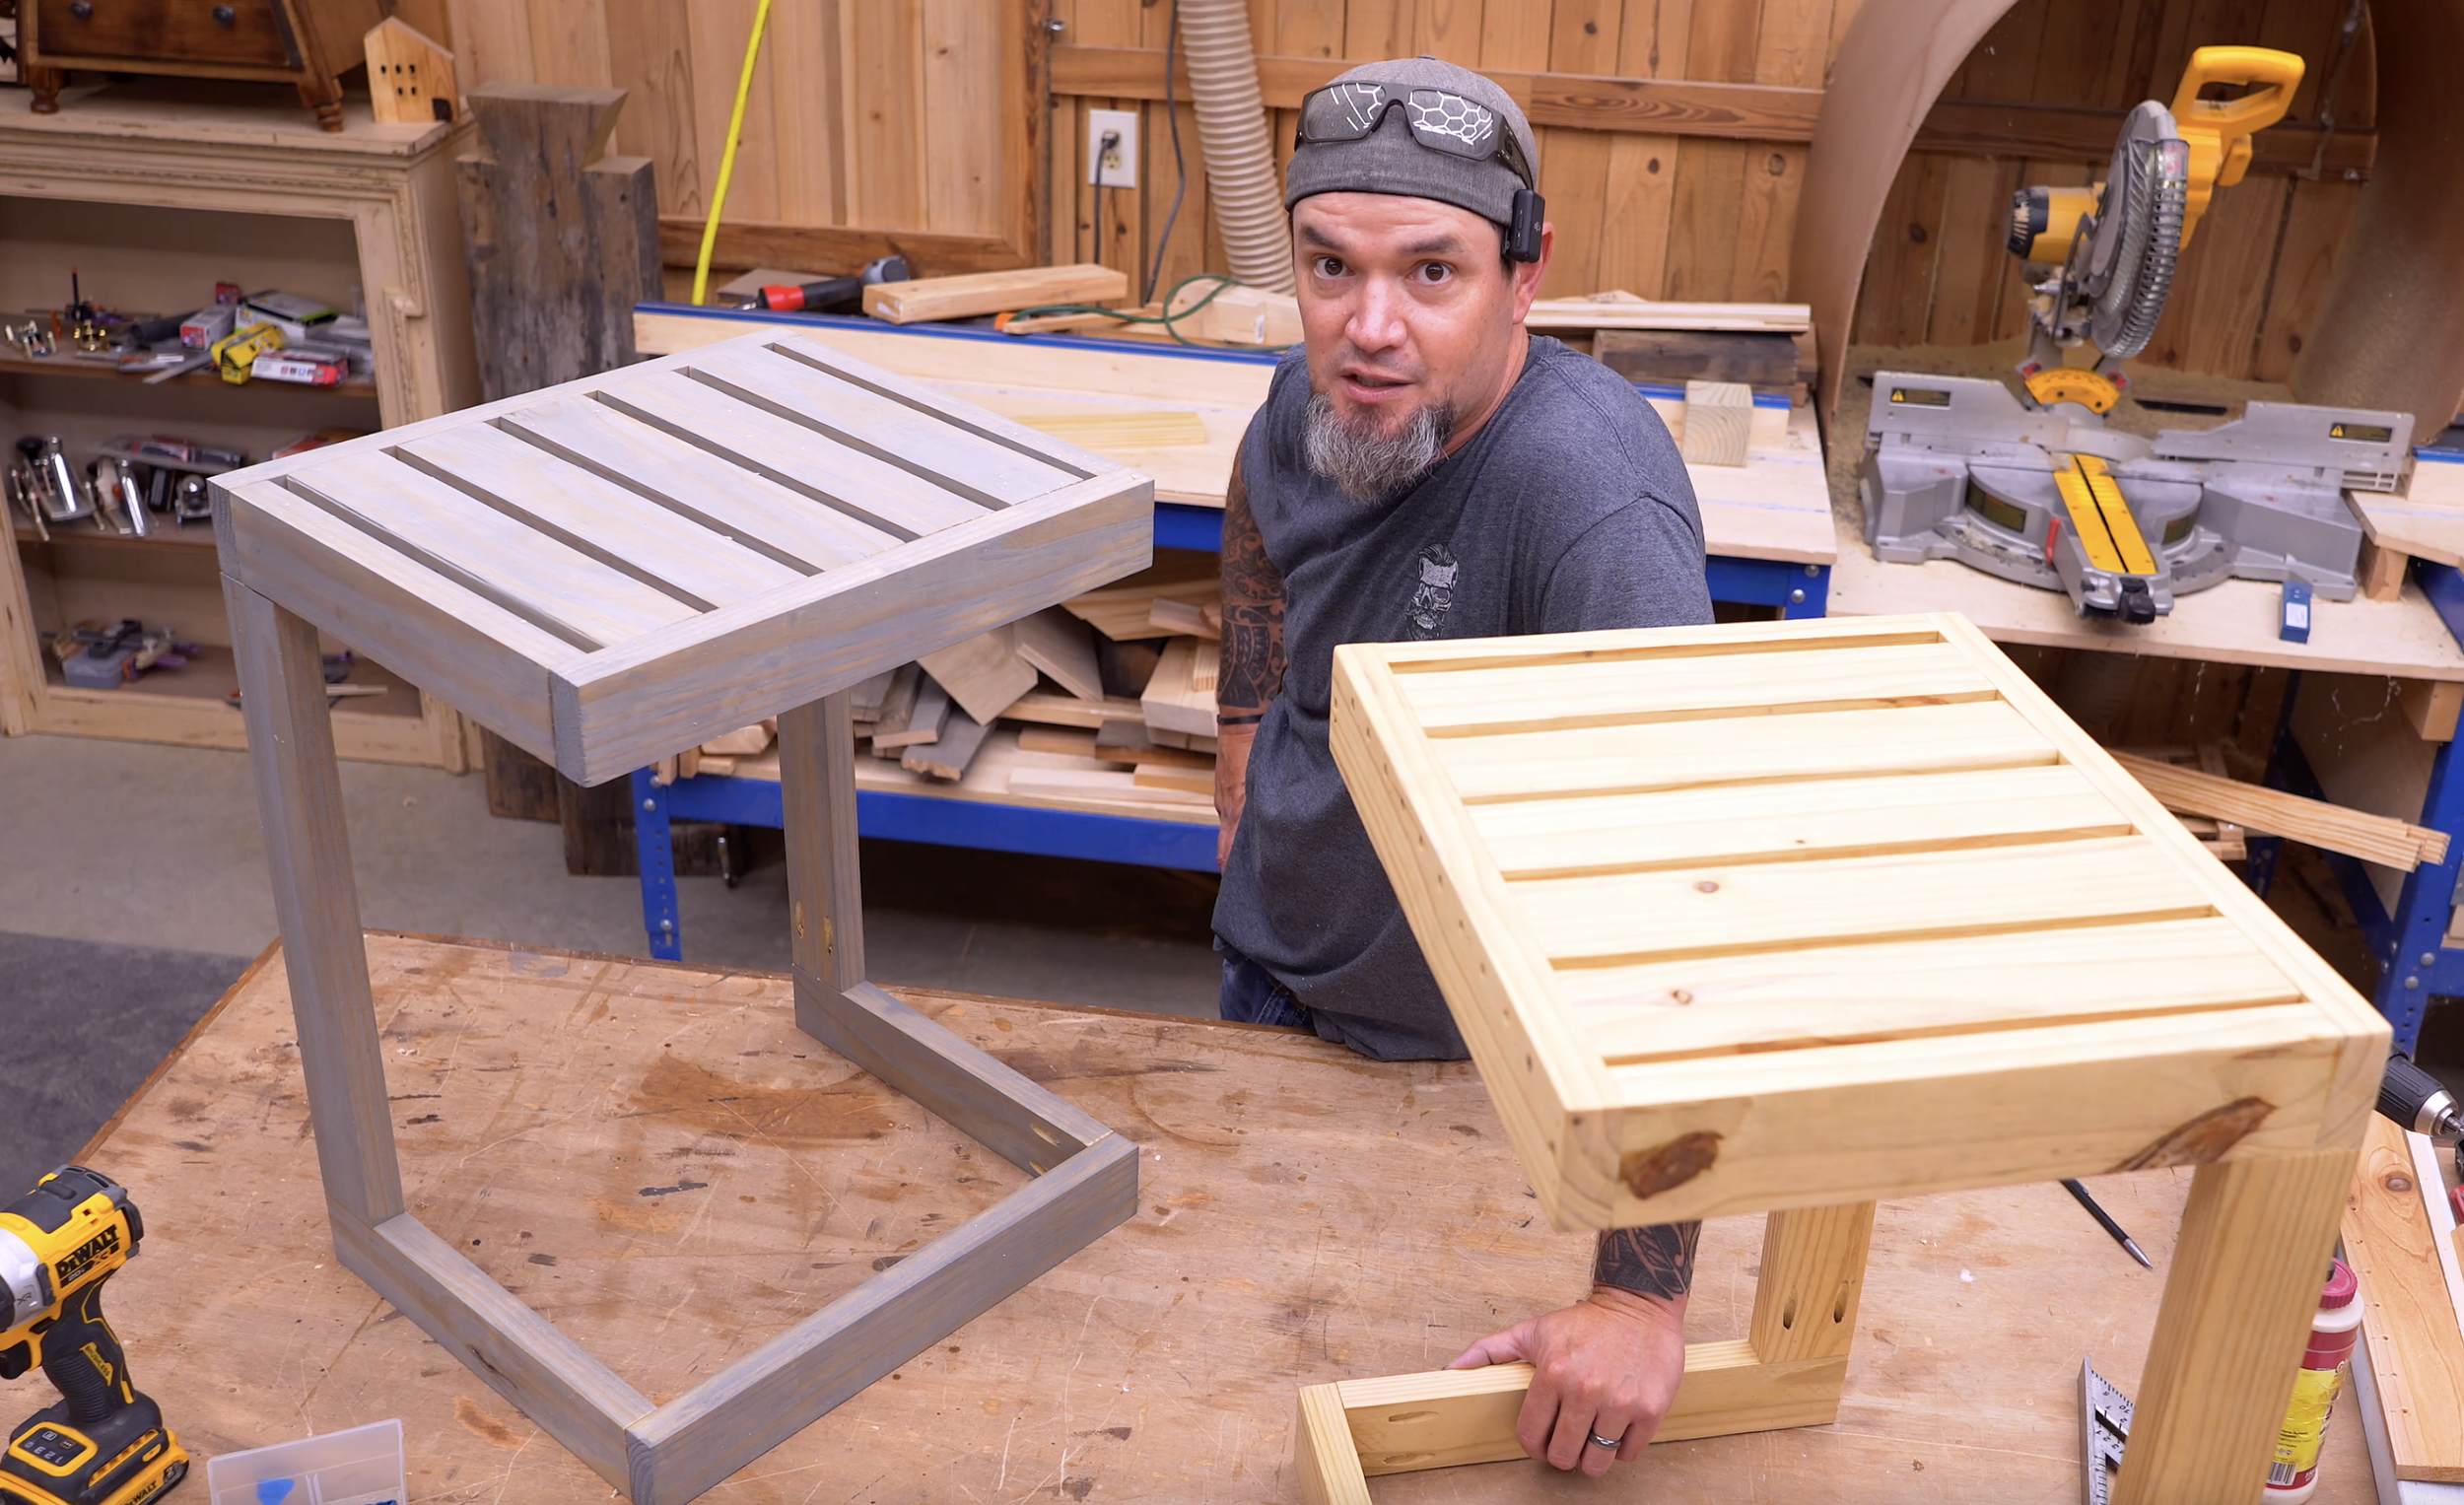
DIY Outdoor Sofa Table – Easy Build with Fence Pickets
Functional & Iconic
You know how it is when you’re hanging out on the back porch and you’ve got nowhere to set your drink, snacks, or phone? Yeah… not anymore. Today we’re building a sleek, budget-friendly outdoor sofa table that tucks perfectly behind your couch or along a railing.
We’re talking fence pickets, 2x4s, and a couple hours of your time—and you’ll have yourself a custom piece that’s both functional and good-looking.
Materials & Tools
2x4 Boards (8 ft long)
6-Foot Fence Pickets (Cedar or Treated)
Exterior Wood Glue
2-½" Exterior Deck Screws
Wood stain (Optional)
1-¼" Pocket Hole Screws
Tools: Table Saw or Circular Saw, Miter Saw, Drill/Driver, Sander, Pocket Hole Jig
Time To Bring Your Outdoor Sofa Table To Life
Step 1: Break Down Your Lumber
From your 2x4s:
(4) legs – 35" long
(2) top stretchers – 60" long
(2) lower stretchers – 56" long
From your pickets:
(6) tabletop boards – 60" long
(3) lower shelf boards – 56" long
Rip your pickets down to 5¼" wide for a clean look.
Step 2: Assemble the Side Frames
Lay out two legs parallel to each other.
Place a top stretcher flush with the top ends of the legs.
Attach using glue and 2½" screws.
Add a lower stretcher about 6" from the bottom for shelf support.
Repeat this process for the other side frame.
Step 3: Connect the Frames
Stand your two side frames up and connect them using the remaining stretchers—one at the top and one at the lower shelf position.
Check for square before driving in your screws. This frame is the backbone of your table.
Step 4: Add the Tabletop
Lay your 60" picket boards across the top frame, leaving about a ⅛" gap between each for expansion and drainage.
Secure with glue and brad nails or trim screws for a cleaner look.
Step 5: Add the Lower Shelf
For extra storage (and style), attach your 56" picket boards to the lower stretcher frame in the same way as the top—spaced evenly with small gaps.
Step 6: Sand & Finish
Give the whole thing a good sanding, paying extra attention to the edges. This is going to be an outdoor piece, so seal it up with a quality exterior stain or waterproofing finish.
Pro Tips
If you want to make it mobile, add locking casters to the bottom of the legs.
Make it fit your space by adjusting the width—just keep your proportions balanced.
Treated pickets will last longer outdoors, but cedar looks beautiful with a natural oil finish.
Ready To Build?
This outdoor sofa table is one of those builds you’ll use every single day. It’s perfect for entertaining, holding plants, or just giving you a spot to set things while you relax. And the best part? You built it yourself.
So grab your pickets, cut some boards, and make it happen!
Whether you’re new to woodworking or a seasoned pro, this project offers the perfect mix of functionality and creativity. Below I have the YouTube video linked for a step-by-step video tutorial for you to follow along with. If you’re a more “plans in the hand” person, click “Get Plan” down below for downloadable instructions. And if you’re ready to dive deeper into woodworking, check out my new course, “Woodworking Kickstart” (which is also linked below). It’s packed with step-by-step lessons to help you build confidence and skills, whether you’re a total beginner or an experienced DIYer. You’ll be building with confidence in no time.
Remember, creativity doesn’t have to be expensive; all you need is a little inspiration and a willingness to try.
Get Easy Step-By-Step Directions to build this by clicking the button below
⭐ 10,044 5 Star Reviews
📚 113 Plans to Choose From
🧩 Lego-Like Assembly Steps
📏 Exact Measurements
📋 Detailed cut and part list
🔍 X-Ray Views
🚀 Instant Delivery


