
DIY Concealment Nightstand With A Special Hidden Compartment
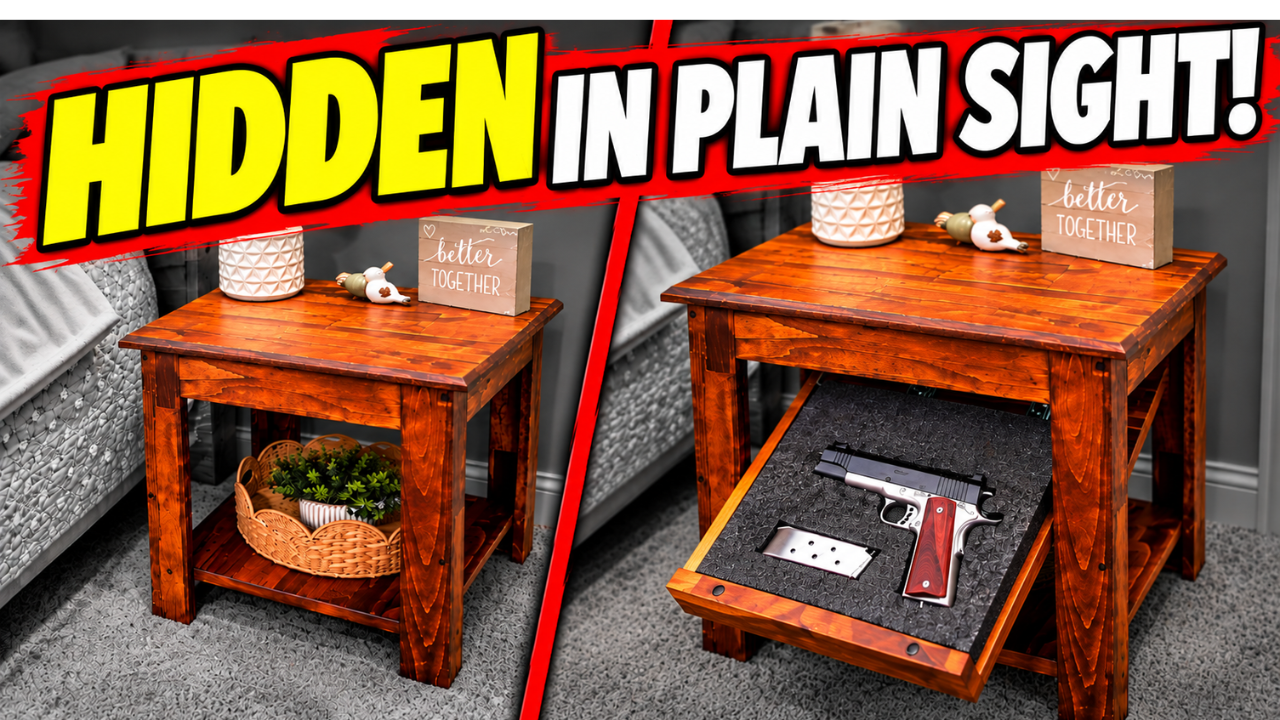
Over the years, I’ve built quite a few different styles of concealment furniture, but there’s one project I’ve had people request again and again: a concealment nightstand.
So, I finally built one.
And I’ll tell you right now, this turned out to be one of the easiest concealment furniture builds I’ve done. The best part is that you don’t need expensive hardwood or a shop full of specialized equipment. I built this nightstand using material that you can pick up at just about any big-box store, and if you have basic woodworking tools, this is a project you can tackle.
And remember, when I say concealment furniture, that doesn’t mean you have to store any particular type of item inside it. Concealment simply means creating a hidden place for anything you’d rather keep out of sight, such as valuables, documents, electronics, or other personal items.
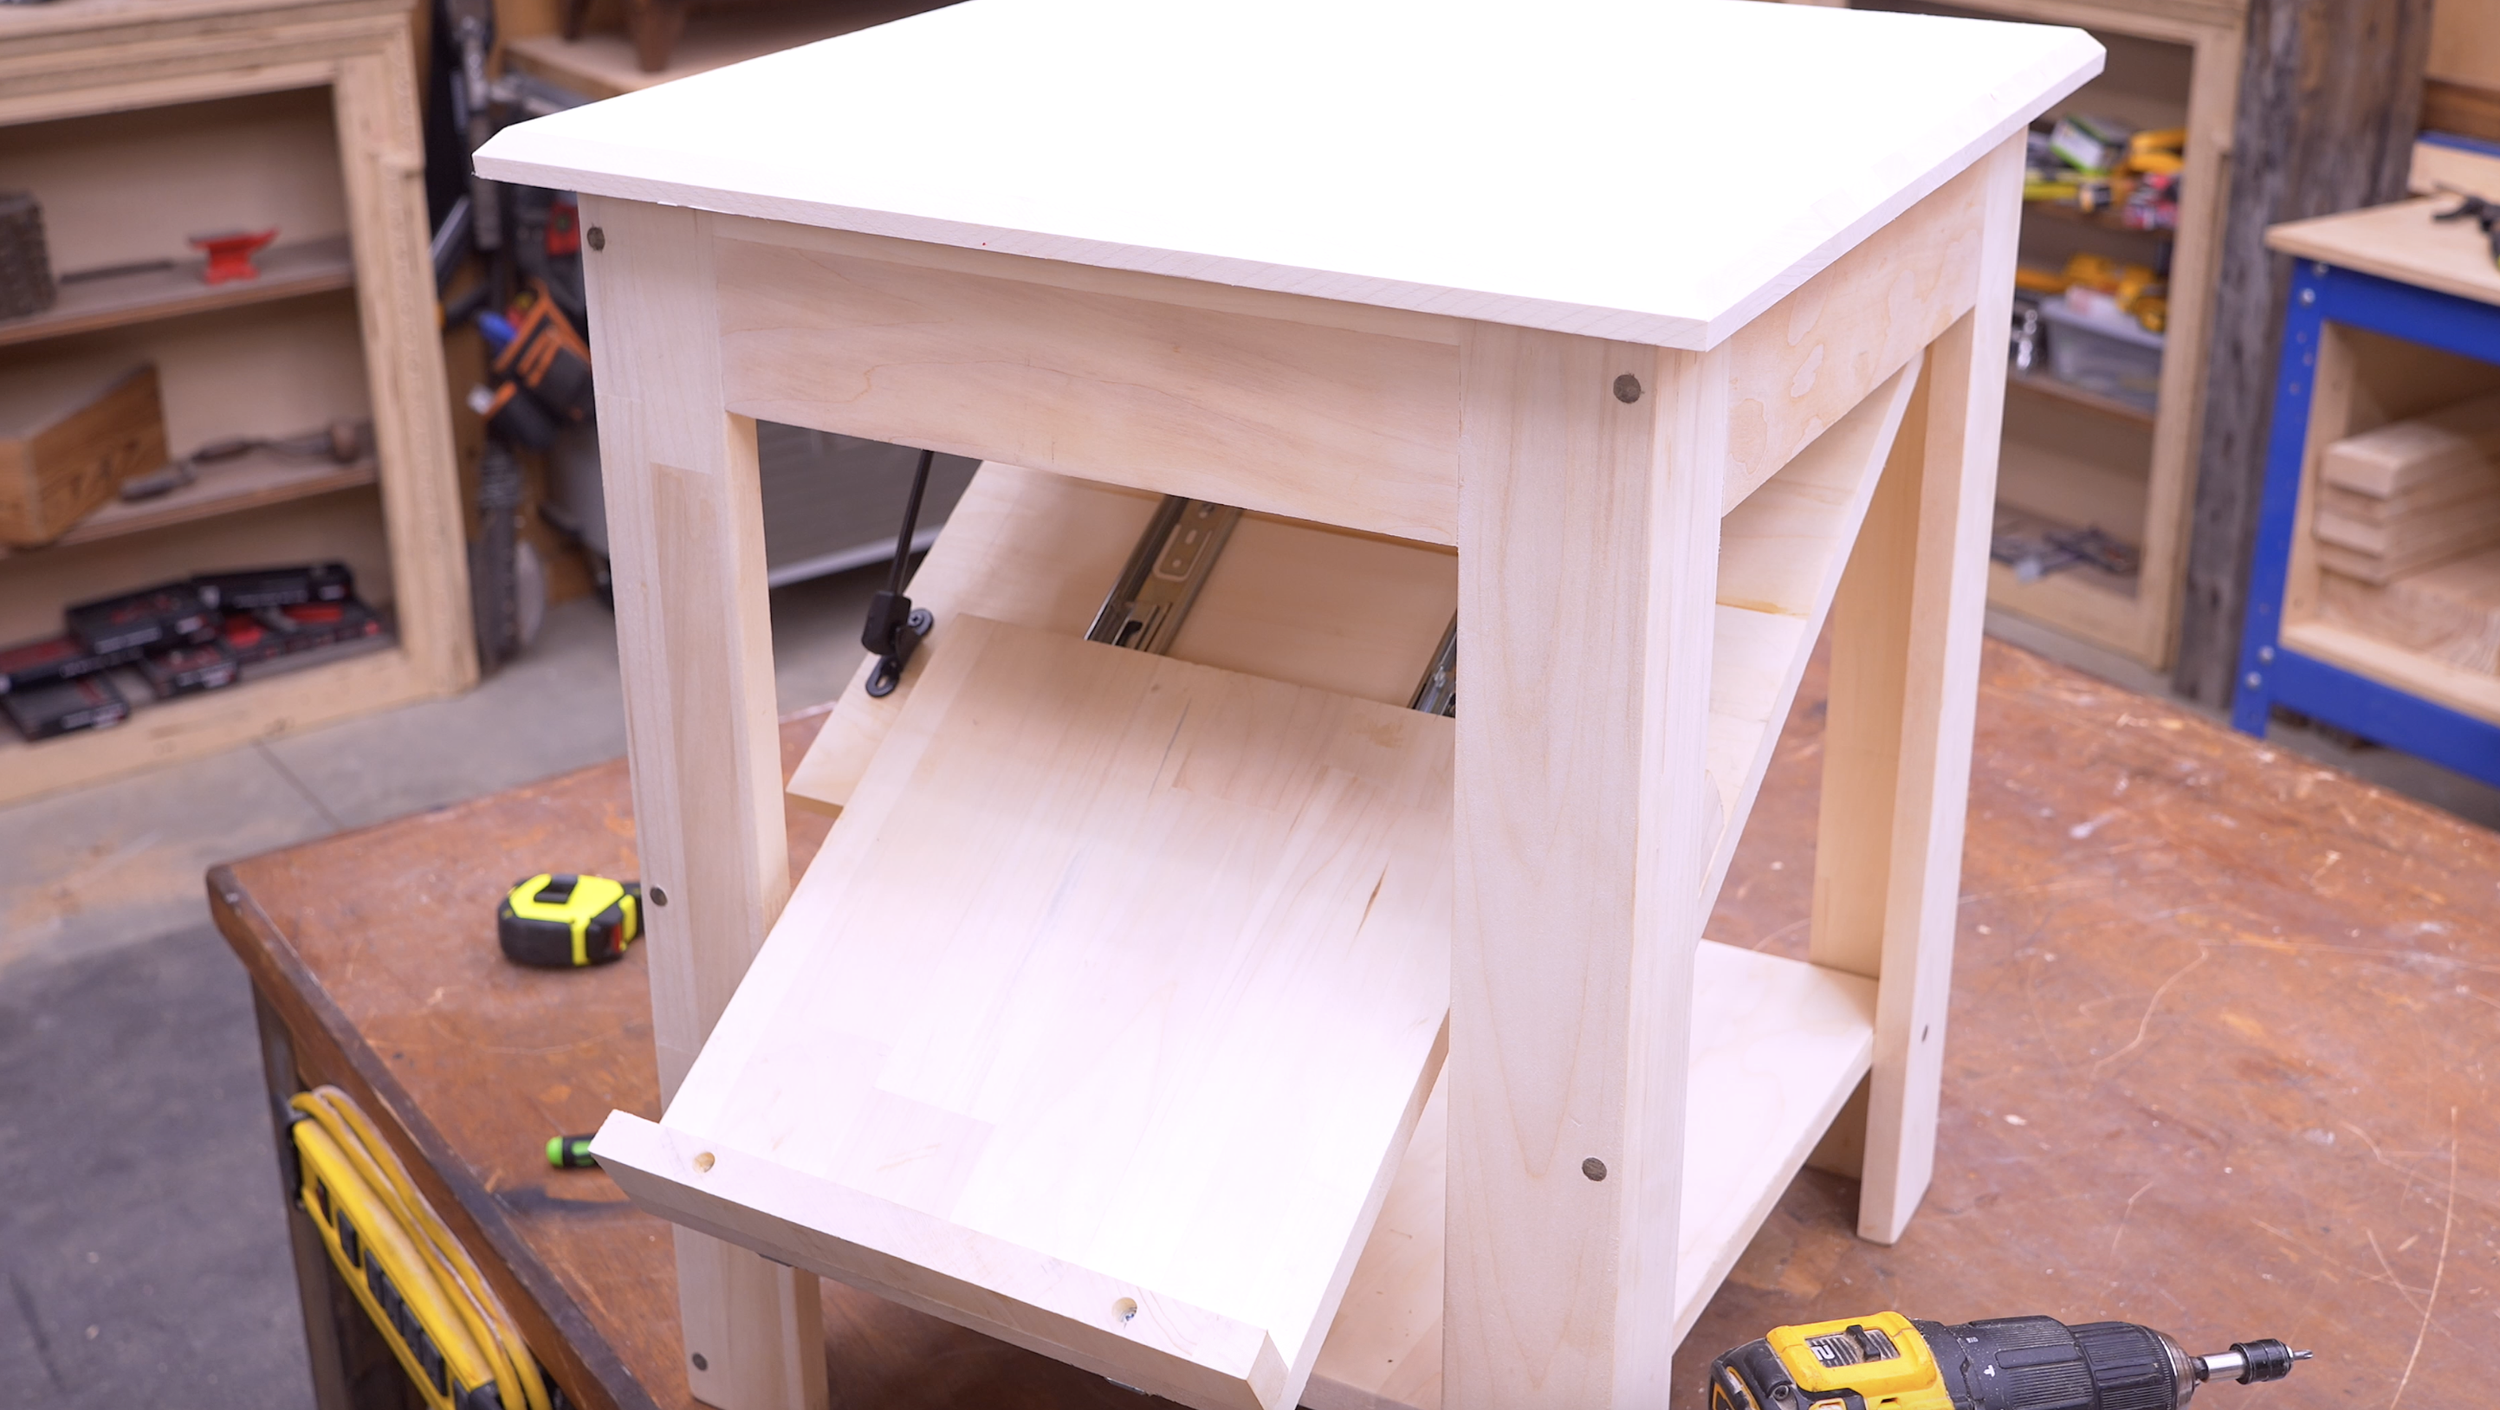
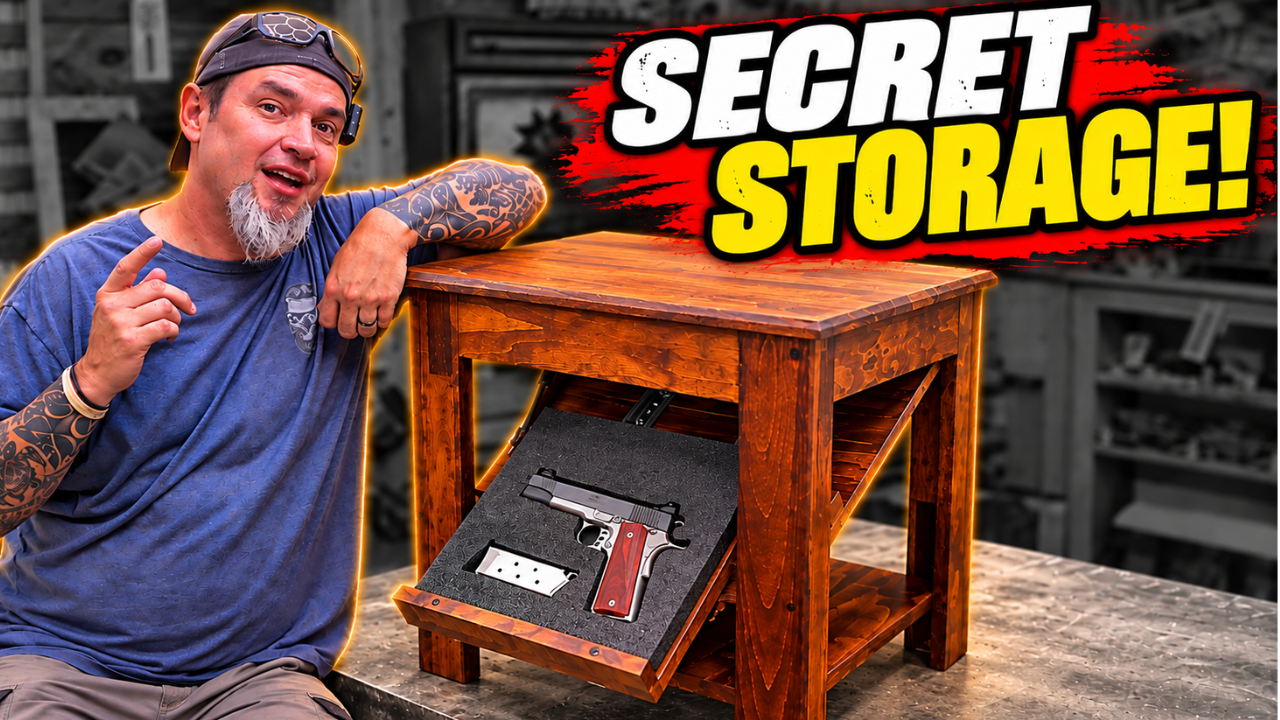
This design looks like a clean, modern side table or nightstand from the outside. Inside, however, there’s a hidden drop-down compartment with a sliding tray, an RFID locking mechanism, and a gas spring that controls how quickly the compartment opens.
Let me show you how to build one.
What You'll Need
For this project, I started with two 24 x 48-inch pre-glued wood panels. You can usually find these at a home improvement store. You can also glue up your own panels or use another type of 3/4-inch material if that’s what you have available.
Main Wood Parts
For the front and back assemblies:
Four pieces at 2 3/4 x 23 1/4 inches
Two rails at 3 1/2 x 12 1/2 inches
For the two side assemblies:
Four pieces at 2 x 23 1/4 inches
Two rails at 3 1/2 x 12 1/2 inches
Hardware
You'll need:
1 1/4-inch pocket-hole screws
1 1/4-inch wood screws
5/8-inch flathead screws
Wood Glue
Wooden Dowels
Two 9-inch drawer slides
Two approximately 2 x 1 3/8-inch Hinges
RFID Cabinet Lock
Gas Spring
Pocket-Hole Jig
Drill
Countersink or counterbore bit
Table saw or Router
Clamps
Sander
Customizable Foam
Step 1: Cut and Assemble the Four Leg Frames
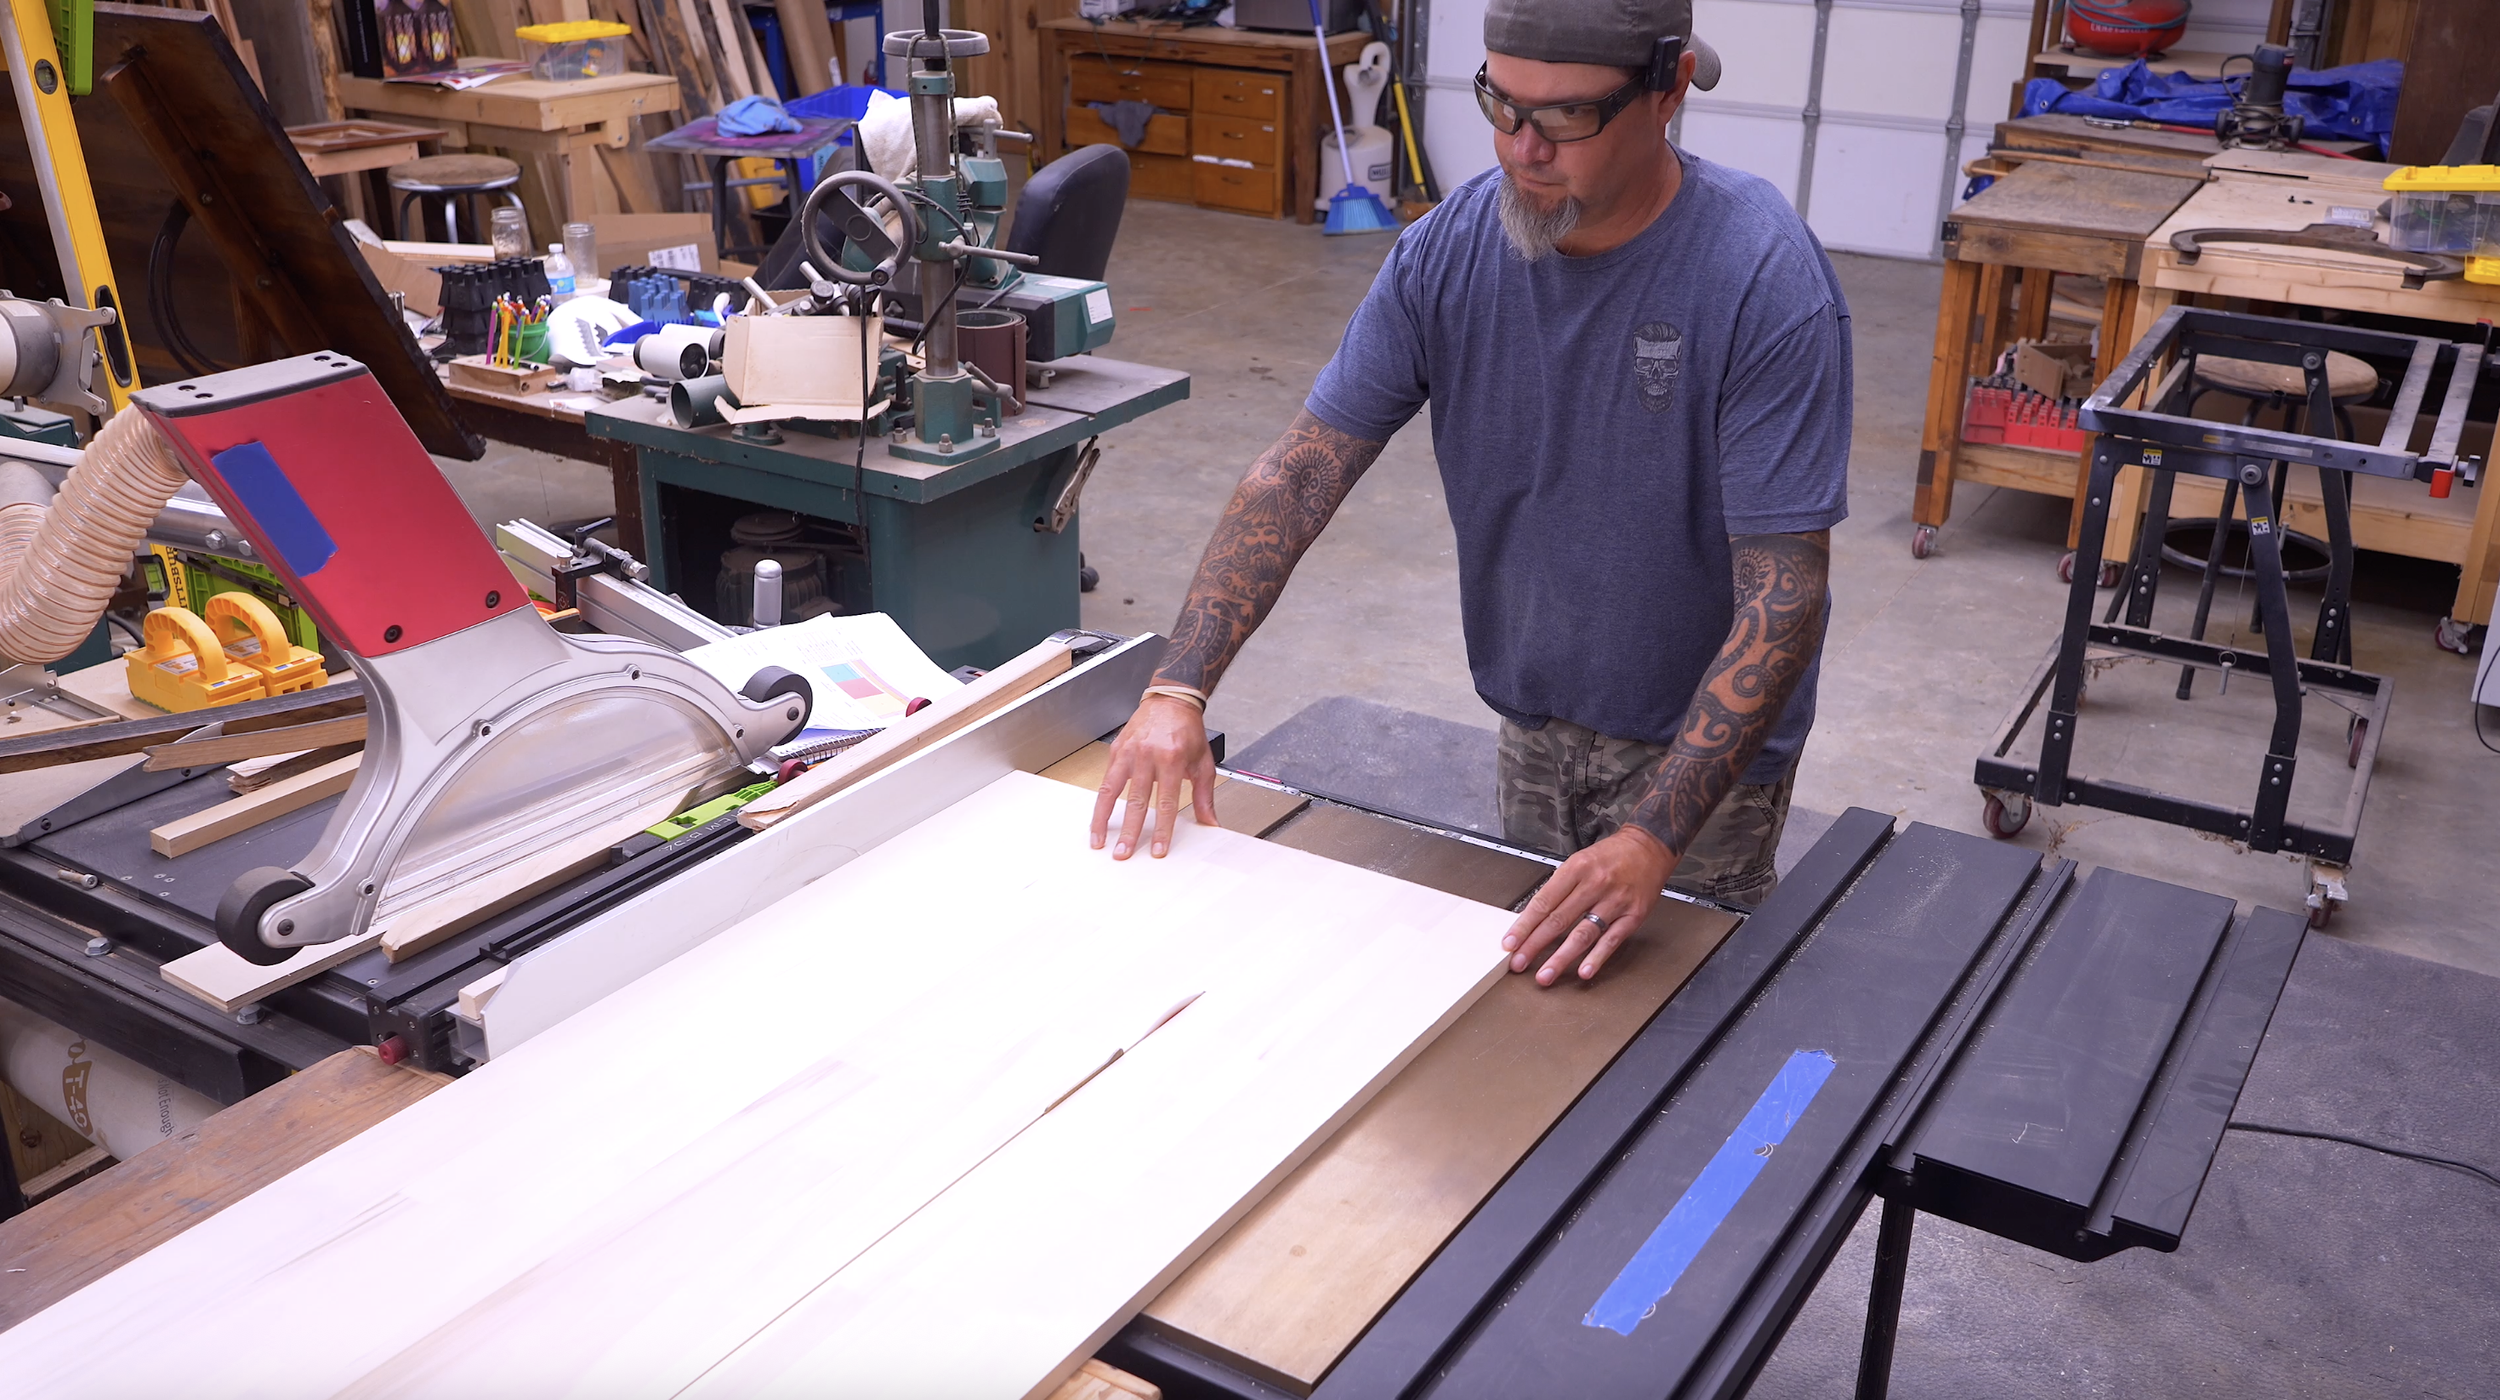
We're going to begin by building four separate leg assemblies: a front, a back, and two sides.
For the front and back assemblies, cut four legs measuring 2 3/4 inches wide by 23 1/4 inches long and two rails measuring 3 1/2 x 12 1/2 inches.
For the side assemblies, cut four legs measuring 2 inches wide by 23 1/4 inches long along with two more 3 1/2 x 12 1/2-inch rails.
I'm using pocket holes to assemble these frames, but you could also use dowels, biscuits, or another joinery method you're comfortable with. Drill two pocket holes into each end of all four rails. Apply wood glue, position your rails between the legs, and attach everything using 1 1/4-inch pocket-hole screws.
Do This Now to Save Yourself Trouble Later
Before joining all four frames together, go ahead and add the pocket holes that will eventually attach the tabletop. I originally waited until the base was already assembled before deciding to attach the top from underneath. It worked, but getting the pocket-hole jig inside the assembled frame made the job much harder than it needed to be.
So learn from me: drill your tabletop pocket holes now while the four frames are still separate.
Step 2: Join the Frames and Prepare for the Bottom Shelf
Next, we're going to connect those four assemblies and create the body of the nightstand.
For the main frame connections, I drilled through the front and back pieces, countersunk the holes, and later covered the screws with wooden dowels. Because we're fastening into the edge of 3/4-inch material, locate these screw holes approximately 3/8 inch from the side.
On each leg, position the three screw locations approximately:
1 inch from the top
12 1/2 inches
22 inches
Before assembling the frame, also drill the holes you'll need for the bottom shelf. I wanted my shelf roughly 4 inches above the bottom. On the front and back assemblies, mark approximately 4 3/8 inches up from the bottom and 1 1/2 inches inward from the outside edge. On the two side assemblies, mark 4 3/8 inches up and 1 inch inward.
Now nest the two side assemblies between your front and back assemblies. Apply wood glue and fasten everything together using 1 1/4-inch screws. Take your time and make sure the frame is square before tightening everything down.
Step 3: Install the Lower Shelf and Plug the Screw Holes
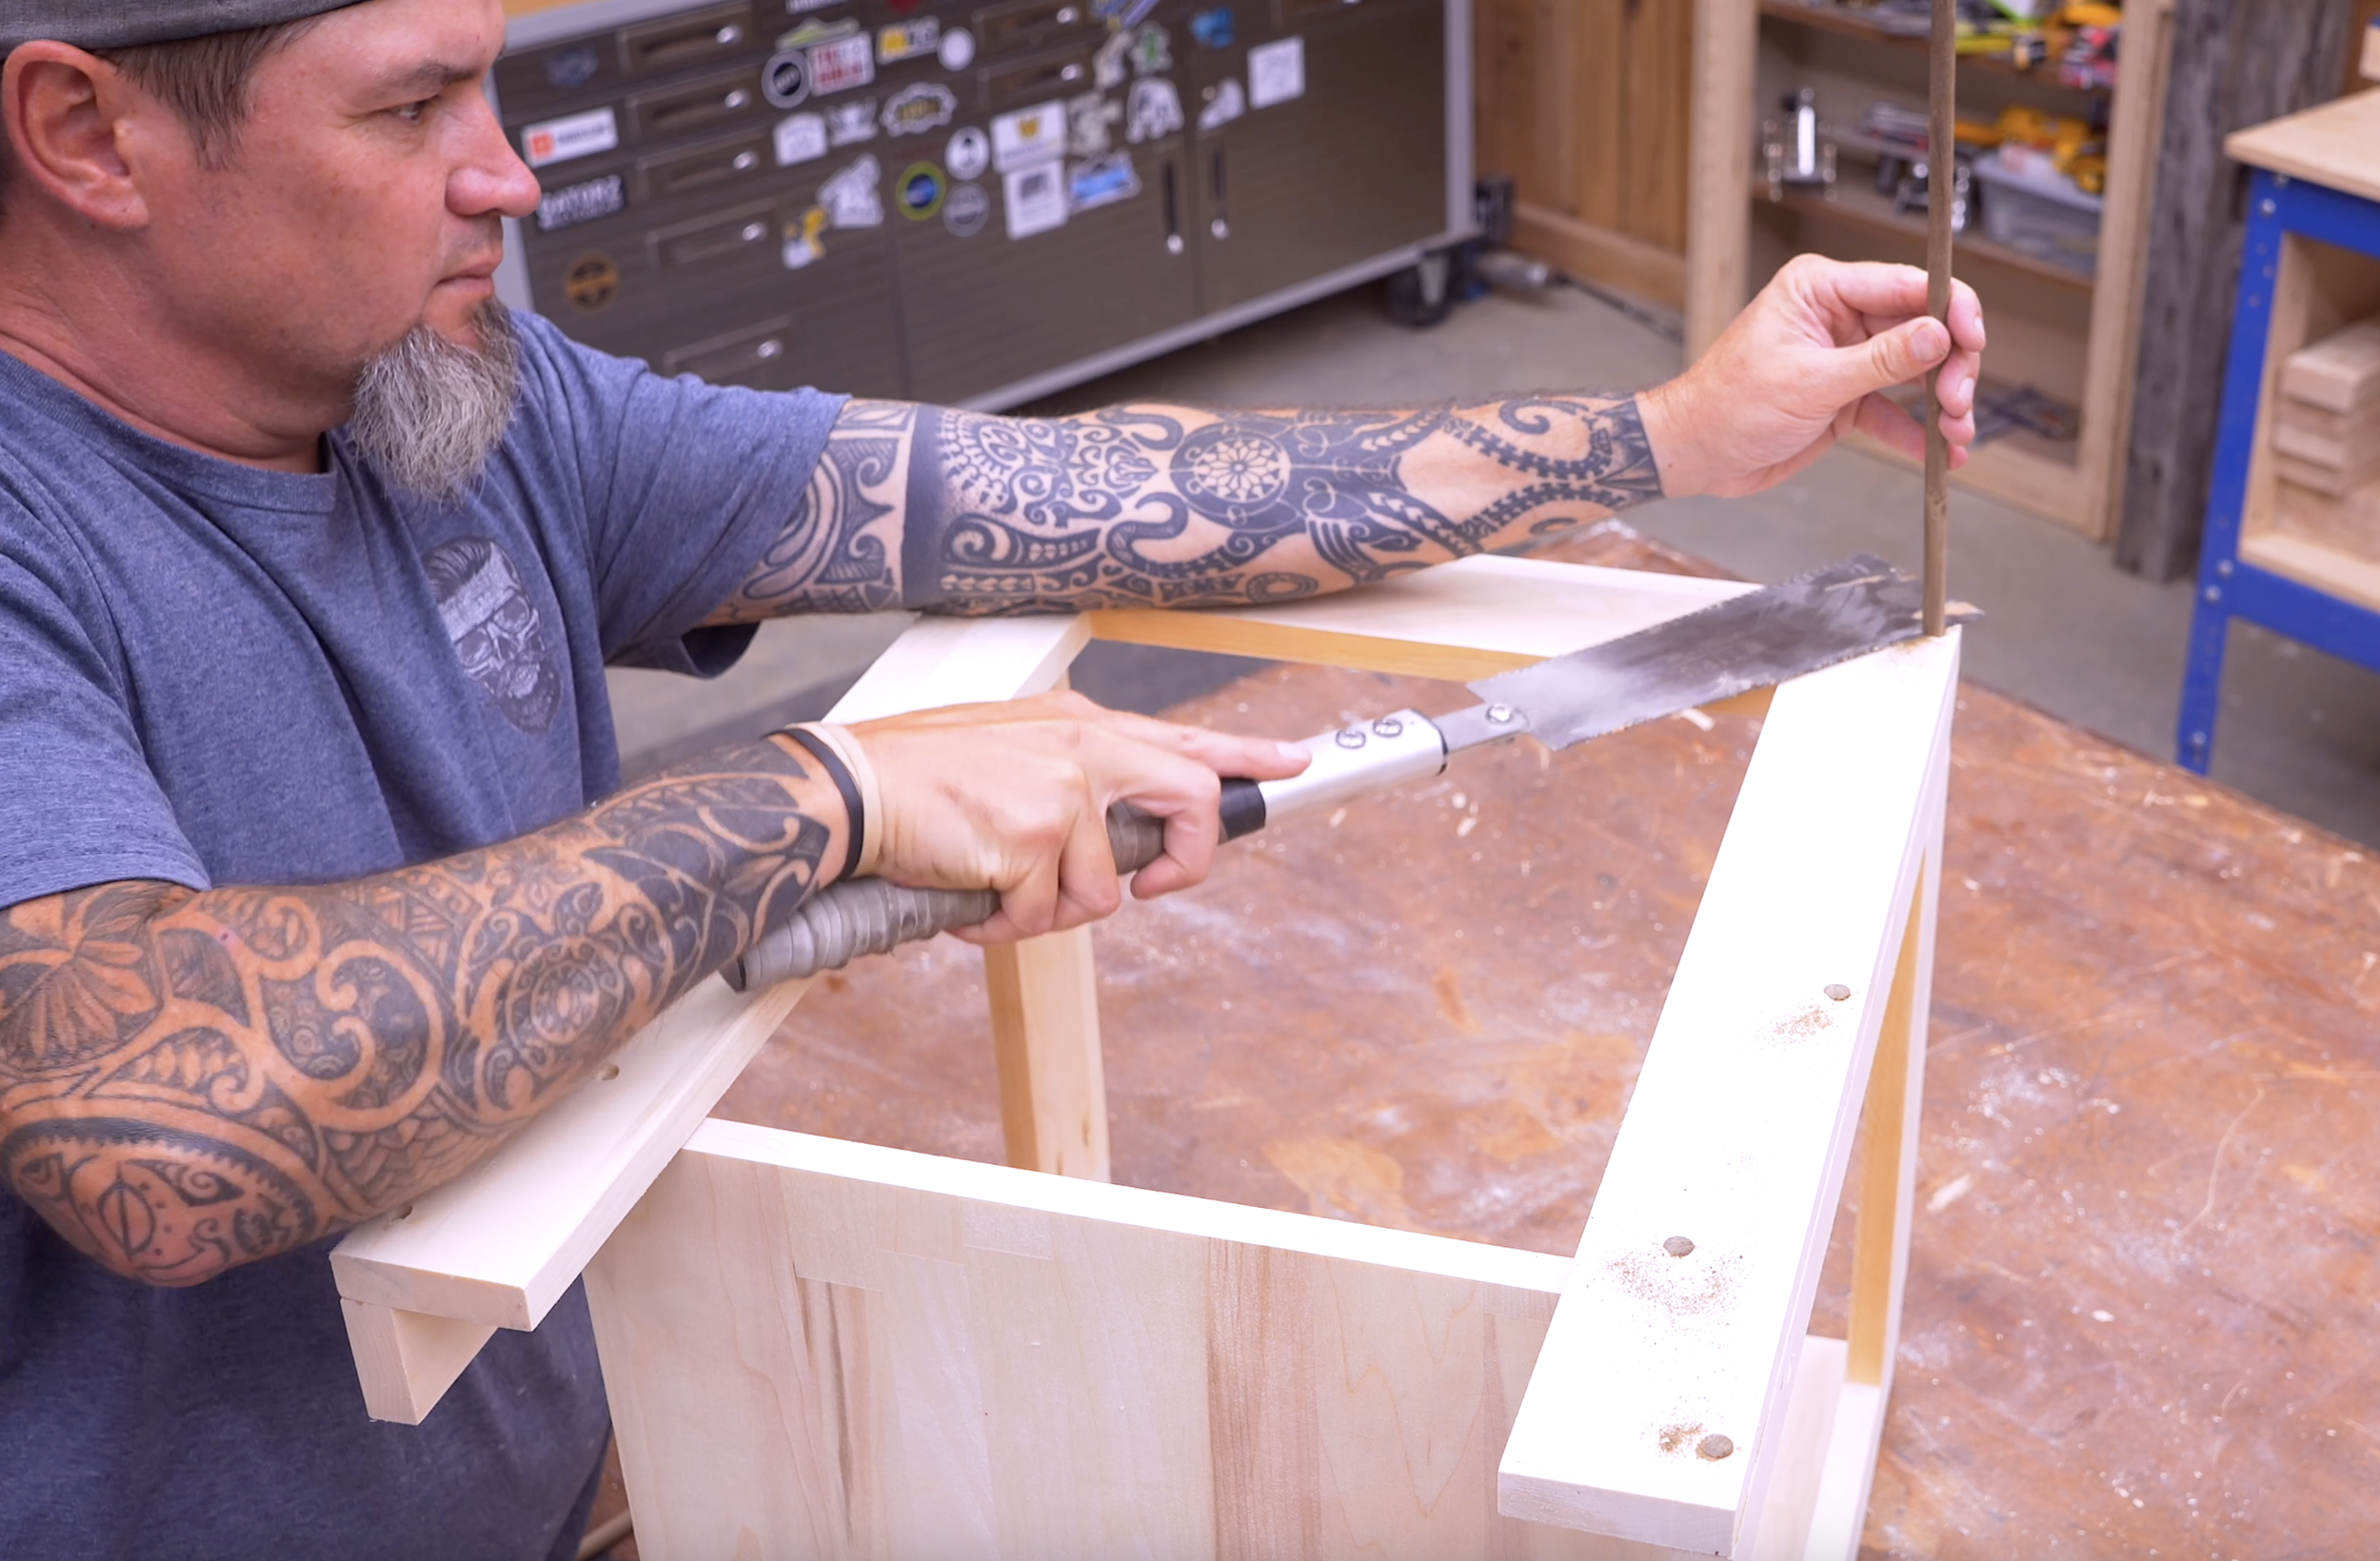
Cut your bottom shelf to 16 1/2 x 16 1/2 inches. This shelf sits between the legs and does more than give you storage space. It also helps stiffen and strengthen the entire nightstand. Use some 4-inch-tall scrap blocks underneath the shelf to hold it at the correct height while you install it. Once everything is positioned correctly, drive 1 1/4-inch screws through the holes you predrilled in the previous step.
Now we can clean up all of those visible screw holes. Cut pieces of wooden dowel and glue them into your counterbored holes. Once the glue dries, trim or sand the dowels flush. You can use dowels that match the surrounding wood if you want the plugs to disappear. Personally, I like using contrasting dowels because they turn the joinery into a design feature.
Dark furniture with light plugs—or light furniture with dark plugs—can give this project a really cool look.
Step 4: Make the 20-Inch Tabletop
Cut your tabletop to 20 x 20 inches. That size gives us approximately 1 inch of overhang around all four sides once the top is installed. You could leave the edges square, use a router to add a profile, or do what I did and create a small bevel with the table saw.
For my top, I set the table-saw blade to 45 degrees and adjusted the fence to approximately 19 5/8 inches. We're not trying to cut a full 45-degree edge through the tabletop. We only want to remove a small portion of the lower edge.
Run one side through, rotate the tabletop, and repeat until all four sides have the same bevel.It only takes a couple of minutes, but it makes a basic glued-up panel look much more finished.
Don't attach the top yet. We still need access to the inside of the nightstand to build the hidden compartment.
Step 5: Build the Drop-Down Compartment and Sliding Tray
Now we're getting into the part that makes this nightstand different from an ordinary side table.
Cut the hidden compartment's bottom panel to approximately 16 3/8 x 16 3/8 inches. This piece should not fit extremely tightly inside the nightstand because it needs enough clearance to move freely when the hidden compartment opens.
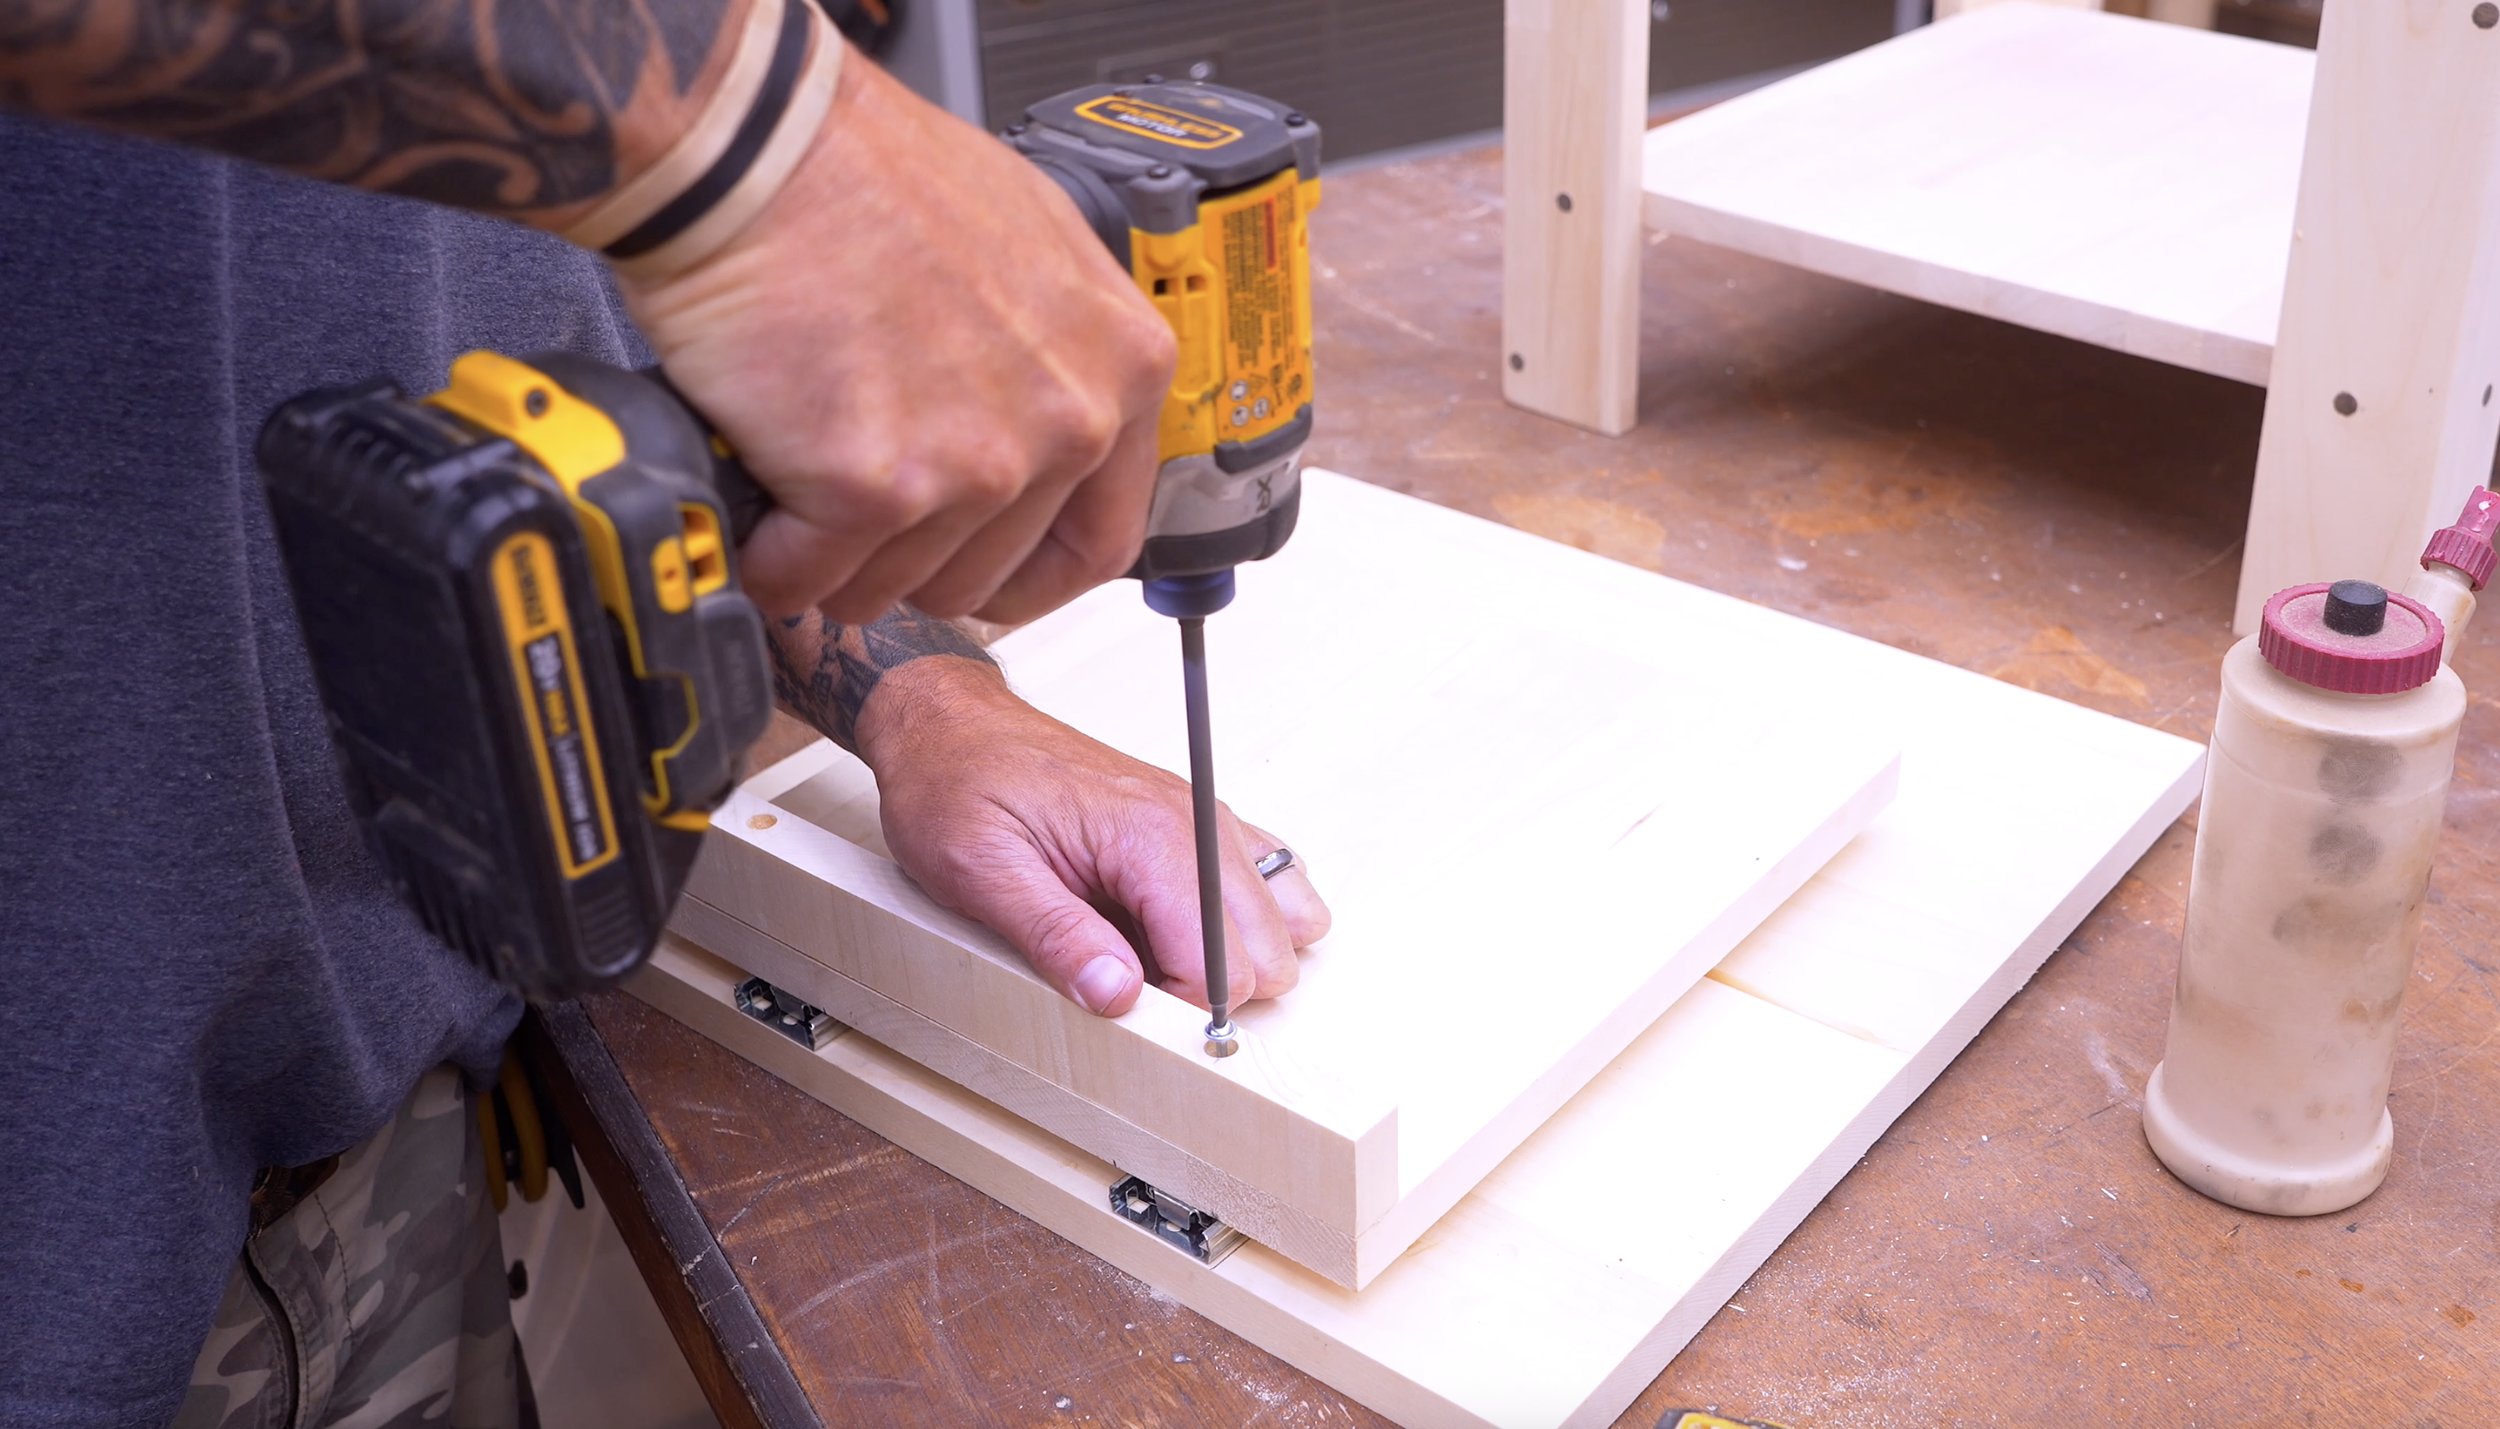
Next, cut the sliding tray to 11 1/2 x 11 1/2 inches. We're going to mount that smaller tray onto a pair of 9-inch drawer slides. Place your slides on the bottom panel with their front edges positioned toward the front of the compartment approximately 4 1/4 inches from the outside edge. Fasten the slides with 5/8-inch flathead screws.
If your drawer slides have small rubber stops at the rear that prevent them from opening freely, remove those. For this design, we want the tray to move when gravity takes over as the compartment opens.
Place the 11 1/2-inch square tray over your slides and center it carefully. Measure over 2 7/16 inches to the outside edge on each side to establish the placement. Mark your slide locations and fasten the tray to the slides.
Finally, cut a piece measuring 1 1/2 x 11 1/2 inches for the front of the sliding tray. Predrill and counterbore holes approximately 2 inches from each end, then attach this strip using glue and screws. This little front rail also helps protect the customizable foam we'll install later.
Step 6: Hinge the Hidden Door and Prepare the RFID Lock
Now we'll turn that bottom panel into a drop-down door. I'm using two hinges that measure approximately 2 inches x 1 3/8 inches.
Here's another place where I learned something during the build…I originally installed the hinges around an inch from each side, but once I tried fitting everything into the nightstand, the hinges interfered with the legs.
Attach one side of each hinge to the back edge of your hidden-compartment panel. Slide the assembly into the nightstand and attach the opposite sides of the hinges to the bottom of the rear rail. When the door is closed, its bottom should sit flush with the bottoms of the rails.
Make the Lock Mount
For the RFID lock, make a small mounting block approximately:
1 1/2 inches thick
3 1/2 inches wide
1 3/4 inches long
I made mine by gluing scrap material together, although a piece of 2x4 material could also work. Position the block flush with the front edge and outside edge of the compartment door and trace around it. Predrill and countersink two mounting holes from the underside before fastening the block.
Attach the receiving prong for your RFID lock to the mounting block and test-fit it with the lock before tightening everything permanently.
Step 7: Add the Gas Spring and Install the Tabletop
Without anything controlling it, that hidden door can drop much faster than we want. That's why I added a gas spring. A simple chain could also limit the movement, but the spring gives the opening action a much cleaner feel while also helping prevent the door from dropping too far.
I positioned the round fitting of the spring approximately 9 inches back from the front, centered on its mounting surface. The longer fitting attaches near the lower front corner approximately:
3 inches from the front
1/2 inch from the outside edge
Leave the spring disconnected until the top and lock are completely installed.
Attach the Top
I found the easiest way to attach the tabletop was to turn the whole assembly upside down.
Lay your tabletop face down on a protected surface. Set the nightstand base on top and measure until you have approximately 1 inch of overhang on all four sides. Square everything up. Raise the hidden door and clamp it temporarily so you can access the tabletop pocket holes you drilled earlier. Drive your pocket-hole screws and secure the tabletop.
Step 8: Install and Test the RFID Lock
Now we can mount the main RFID lock. I placed the lock in the front left-hand corner underneath the tabletop, with the receiving slot facing outward toward the catch we installed earlier. Start with only a couple of screws so you can make small adjustments if necessary. Install the lock's batteries and test the alignment. When everything operates correctly, add your final screw and fully secure the lock. Then connect and secure the gas spring.
Depending on the RFID lock you purchase, you may have different ways to activate it. The version used in this project includes a small keychain-style fob along with an RFID card.
With the lock positioned near the front left corner, the reader can remain completely hidden beneath the tabletop while still being accessible from the outside.
Close the compartment several times and test the entire mechanism. The door should stay securely closed when locked, release cleanly when activated, and lower in a controlled manner with the gas spring.
Step 9: Add the Customizable Foam and Finish the Nightstand
The final interior piece is the customizable foam insert. For this build, my foam piece is approximately 10 3/4 x 11 1/2 inches and around 1 1/2 inches thick.
Place the foam inside the sliding tray and customize the insert for whatever you plan to store in your nightstand. Once you're satisfied with the layout, glue the foam into place. From there, all that's left is the finish.
You can paint the nightstand, stain it, or simply apply a clear protective finish depending on the material and the style you're after. I originally thought about painting mine, but once everything came together, I really liked the natural look of the wood.
And that's really all there is to it.
We've taken a couple of readily available wood panels and turned them into a clean-looking DIY concealment nightstand with a hidden RFID compartment.
Ready To Build?
What I like about this project is that the concealment feature doesn't make the rest of the build unnecessarily complicated. At its core, this is still a fairly straightforward side table: four frame assemblies, a bottom shelf, and a tabletop.
The hidden compartment is created by adding a hinged bottom, compact drawer slides, a small sliding tray, an RFID cabinet lock, and a controlled opening mechanism.
From the outside, it simply looks like a piece of furniture. That's exactly what I wanted. And because we're using pre-glued panels and hardware that's readily available, you don't need years of furniture-building experience to tackle it.
Ready to make one?
You already know the next step.
👉 Get up, get out, and get your build on.
Whether you’re new to woodworking or a seasoned pro, this project offers the perfect mix of functionality and creativity. Below I have the YouTube video linked for a step-by-step video tutorial for you to follow along with. If you’re a more “plans in the hand” person, click “Get Plan” down below for downloadable instructions. And if you’re ready to dive deeper into woodworking, check out my new course, “Woodworking Kickstart” (which is also linked below). It’s packed with step-by-step lessons to help you build confidence and skills, whether you’re a total beginner or an experienced DIYer. You’ll be building with confidence in no time.
Remember, creativity doesn’t have to be expensive; all you need is a little inspiration and a willingness to try.
Get Easy Step-By-Step Directions to build this by clicking the button below
⭐ 10,044 5 Star Reviews
📚 113 Plans to Choose From
🧩 Lego-Like Assembly Steps
📏 Exact Measurements
📋 Detailed cut and part list
🔍 X-Ray Views
🚀 Instant Delivery
