
How to Build a DIY Amish-Style Bench Glider From 2x4s and 2x6s
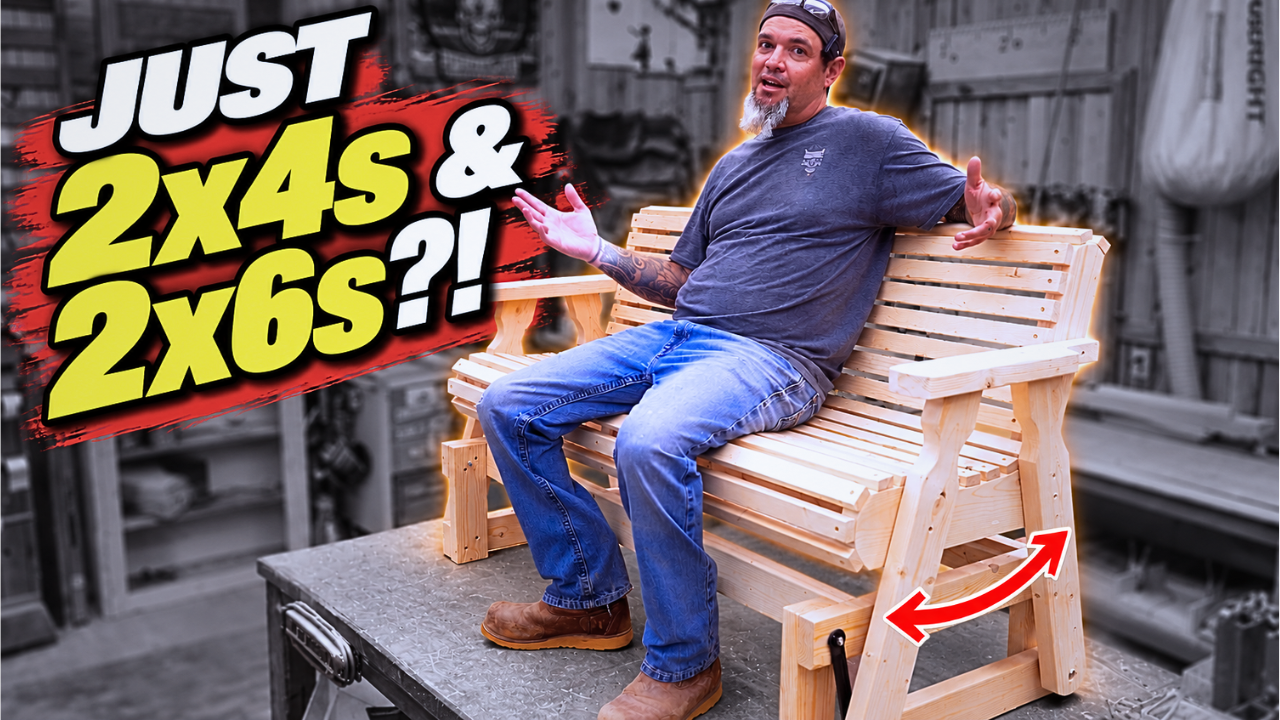
I’ve always wanted one of those classic Amish-style bench gliders. The problem is, every time I looked at buying one, the price made me think twice. And you know what we do when we want something and it costs too much?
We build it.
That’s exactly what I did with this project. I built a heavy-duty wooden glider bench using mostly common 2x4 and 2x6 construction lumber, along with a simple set of glider brackets. The great thing about this DIY bench glider is that you don’t need fancy woodworking equipment or expensive hardwood. There are a few curved cuts, but I’ll show you how to lay those out using ordinary cans and scrap wood as templates.
If you’re looking for a comfortable porch bench, patio glider, or outdoor woodworking project that looks much more expensive than the materials used to build it, this is a great one to tackle.
Step 1: Cut and Shape the Armrests and Legs
Start by cutting two 20-inch 2x4s for the armrests and four 26 1/2-inch 2x4s for the legs. You only need to completely lay out one armrest at first because once it is shaped correctly, you can use it as a template for the second one.
For the rear portion of the arm:
Measure 3 1/2 inches from one end.
At that location, measure 1 1/2 inches down.
Measure another 1 1/2 inches down at the end of the board.
On the lower portion of the board, make another mark 5 inches from the end.
Connect the first marks with a straightedge.
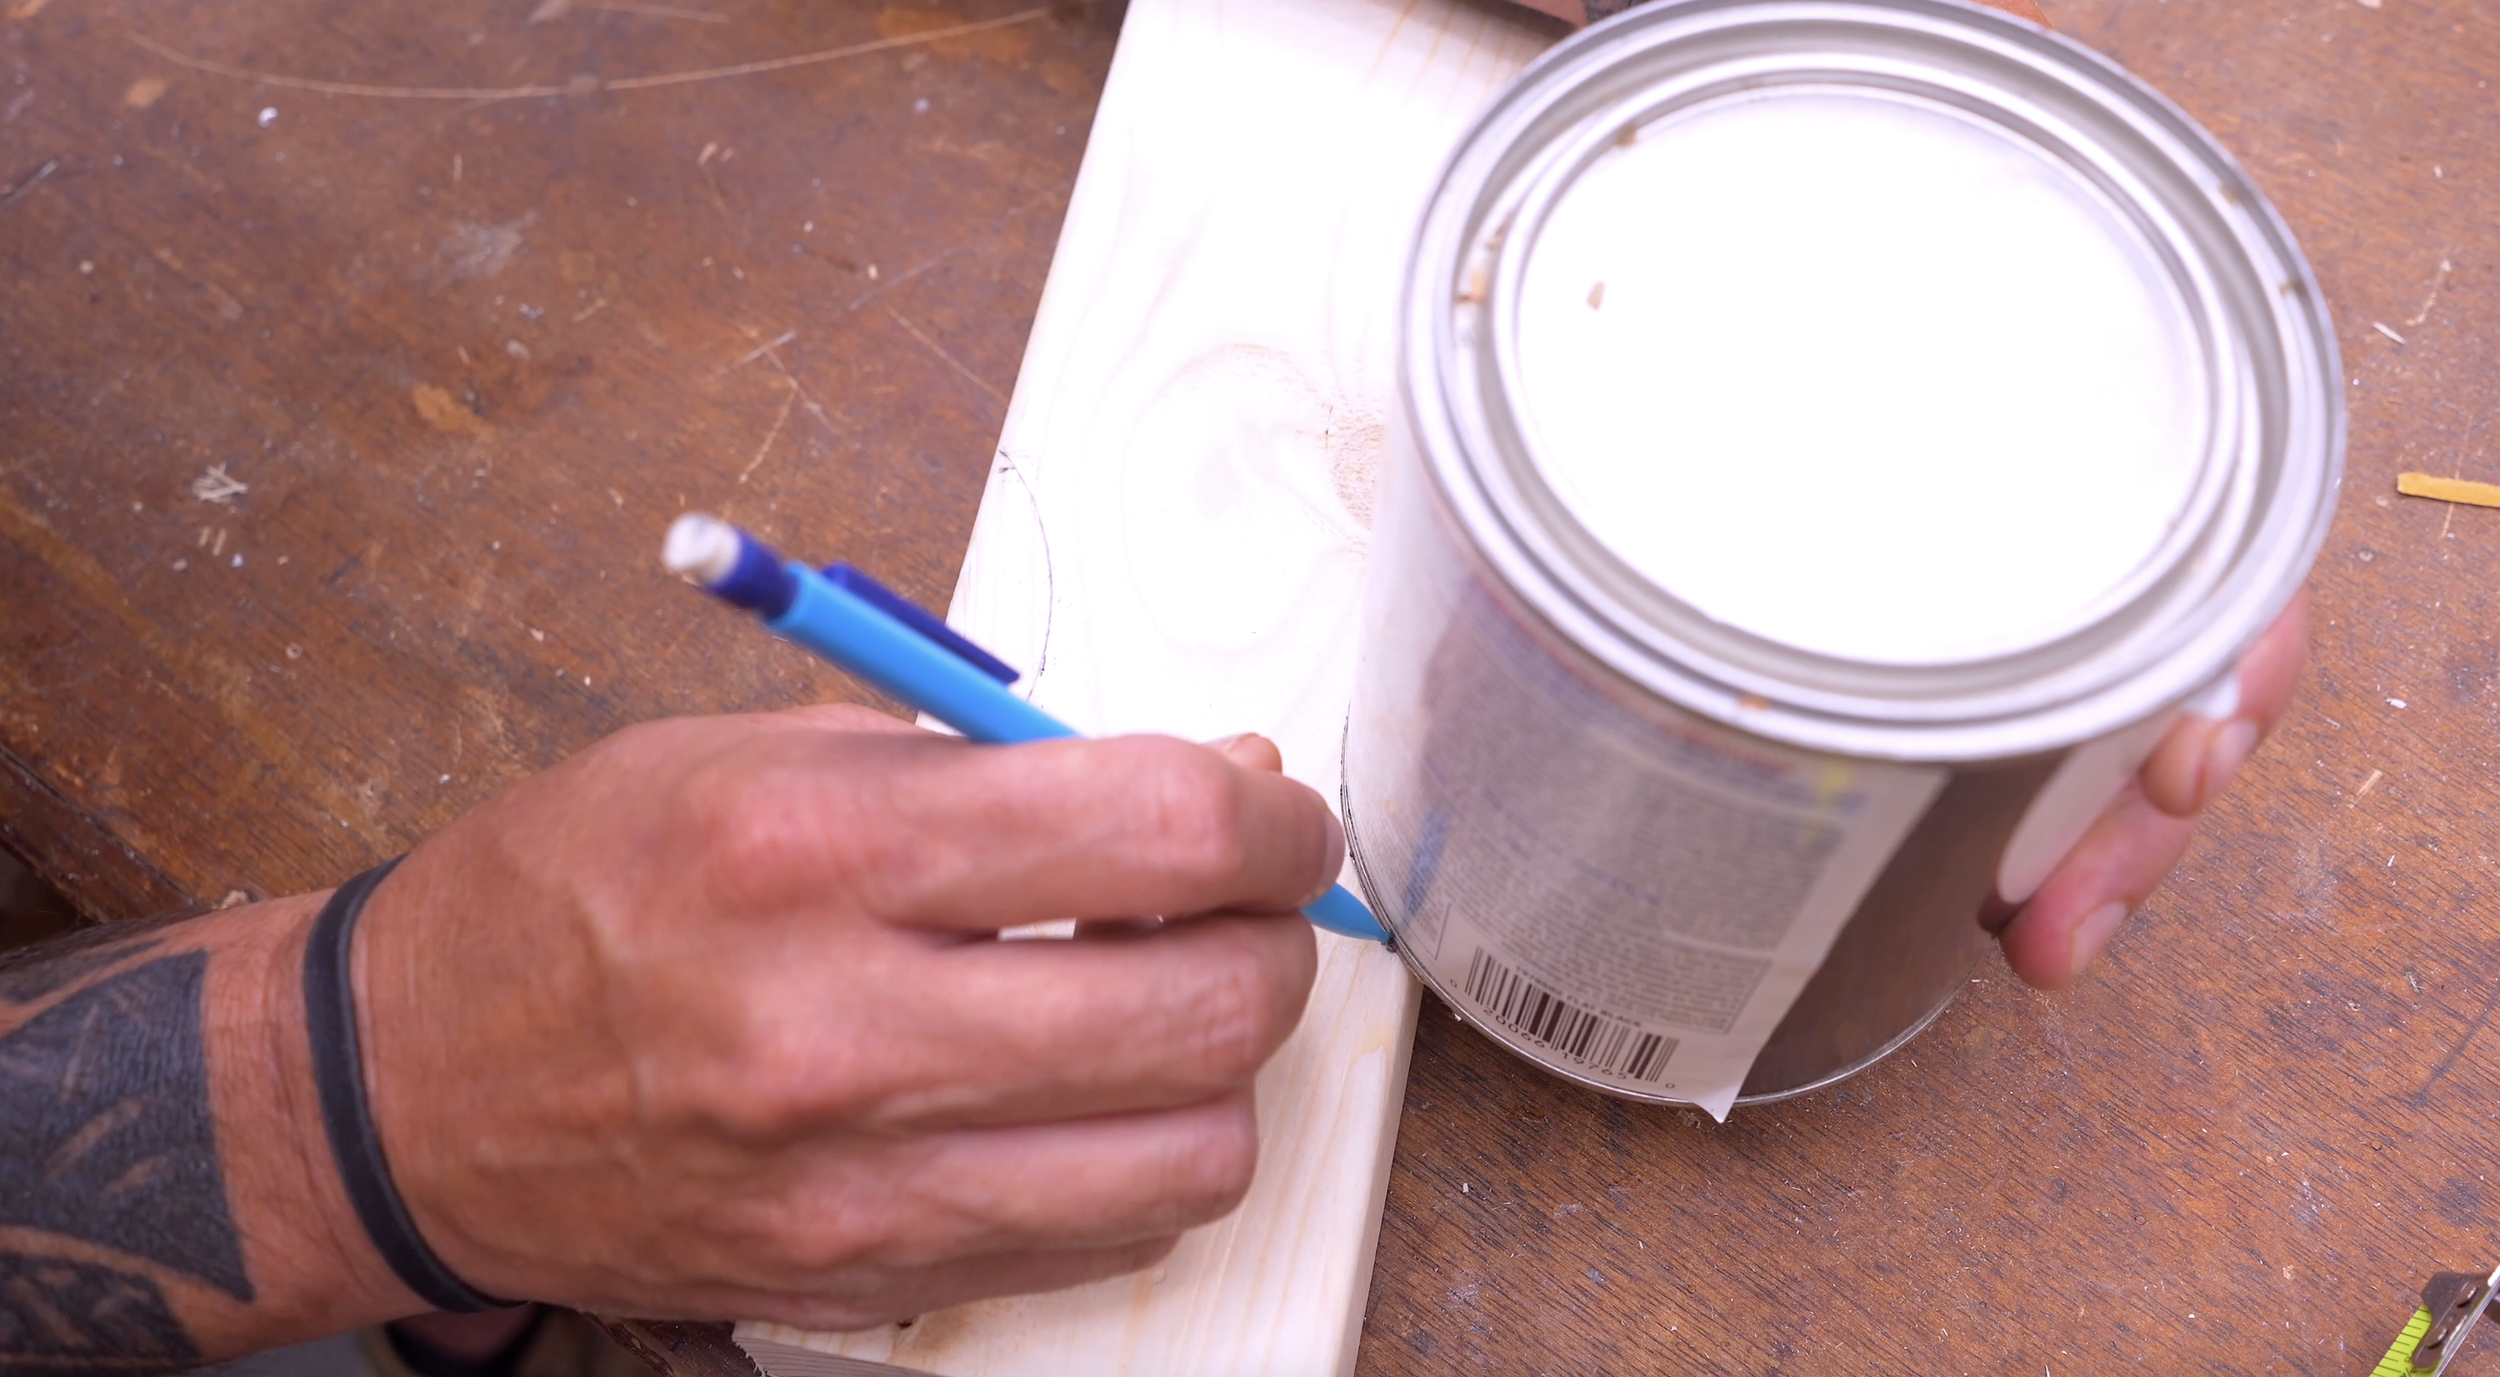
Use a quart-size can to create the curved transition between your remaining marks.
For the rounded front of the armrest, measure 1 inch down on each side of the board and use the can again to trace the curve.
For the legs, round one end in the same general manner. On the opposite portion, measure 3 inches, 4 1/2 inches, and 6 inches from the end on both sides. At the 4 1/2-inch marks, measure 3/4 inch inward from the outside edge. Position your can against those reference points and trace the decorative curve.
Cut your first arm and leg carefully with a jigsaw. Once you’re happy with them, trace those pieces onto the remaining boards so all of your parts match. Finally, cut a 15-degree angle on the attachment end of each leg. Remember that the angles need to oppose one another so you end up with proper left- and right-side assemblies.
Step 2: Assemble the Two Arm and Leg Sections
With your decorative cuts complete, it’s time to turn the arms and legs into two side assemblies. From the front of each armrest, make marks at:
3 inches
10 1/2 inches
Use pieces of 3/4-inch scrap wood to help establish your spacing. The legs are intentionally not centered directly beneath the armrests. Line the front edge of each leg up with your reference marks. Predrill and counterbore the holes before securing the legs to the arms with 3-inch screws. Repeat the process so you have two matching arm-and-leg assemblies.
Predrilling is worth the extra few minutes on this project. It reduces the chance of splitting your lumber and also gives the finished glider a much cleaner appearance.
Step 3: Build the Curved Seat and Back Supports
Next, we need to create the framework that determines the shape and comfort of the bench.
Cut:
Three 2x4 back supports at 21 inches
Three 2x6 seat supports at 21 inches
The seat supports get a gentle curve rather than remaining completely flat. On one end of the seat support, mark approximately 1 3/8 inches back and use a gallon-size can to create the rounded end.
Next, make reference marks along the board at:
4 inches
10 3/4 inches
17 1/2 inches
At the 10 3/4-inch location, measure 1 inch down from the outside edge. Place a temporary screw near the top of the board at the 17 1/2-inch location. Then take a thin, flexible piece of scrap wood and bend it through your reference points to create a smooth seat curve. Trace that line before cutting it with the jigsaw. That gentle curve makes a big difference in how comfortable this bench feels.
For the back supports, measure 1 inch in from both sides of one end and use your can to round the corners. Cut a 15-degree angle on the opposite end of each back support. Also put a corresponding 15-degree angle on the back of each seat support.
Once everything is cut, attach a back support to each seat support using 2 1/2-inch screws, aligning the two 15-degree cuts. You should now have three matching seat-and-back support assemblies.
Step 4: Join the Arm Assemblies to the Seat Supports
Now we can start seeing the actual bench take shape.
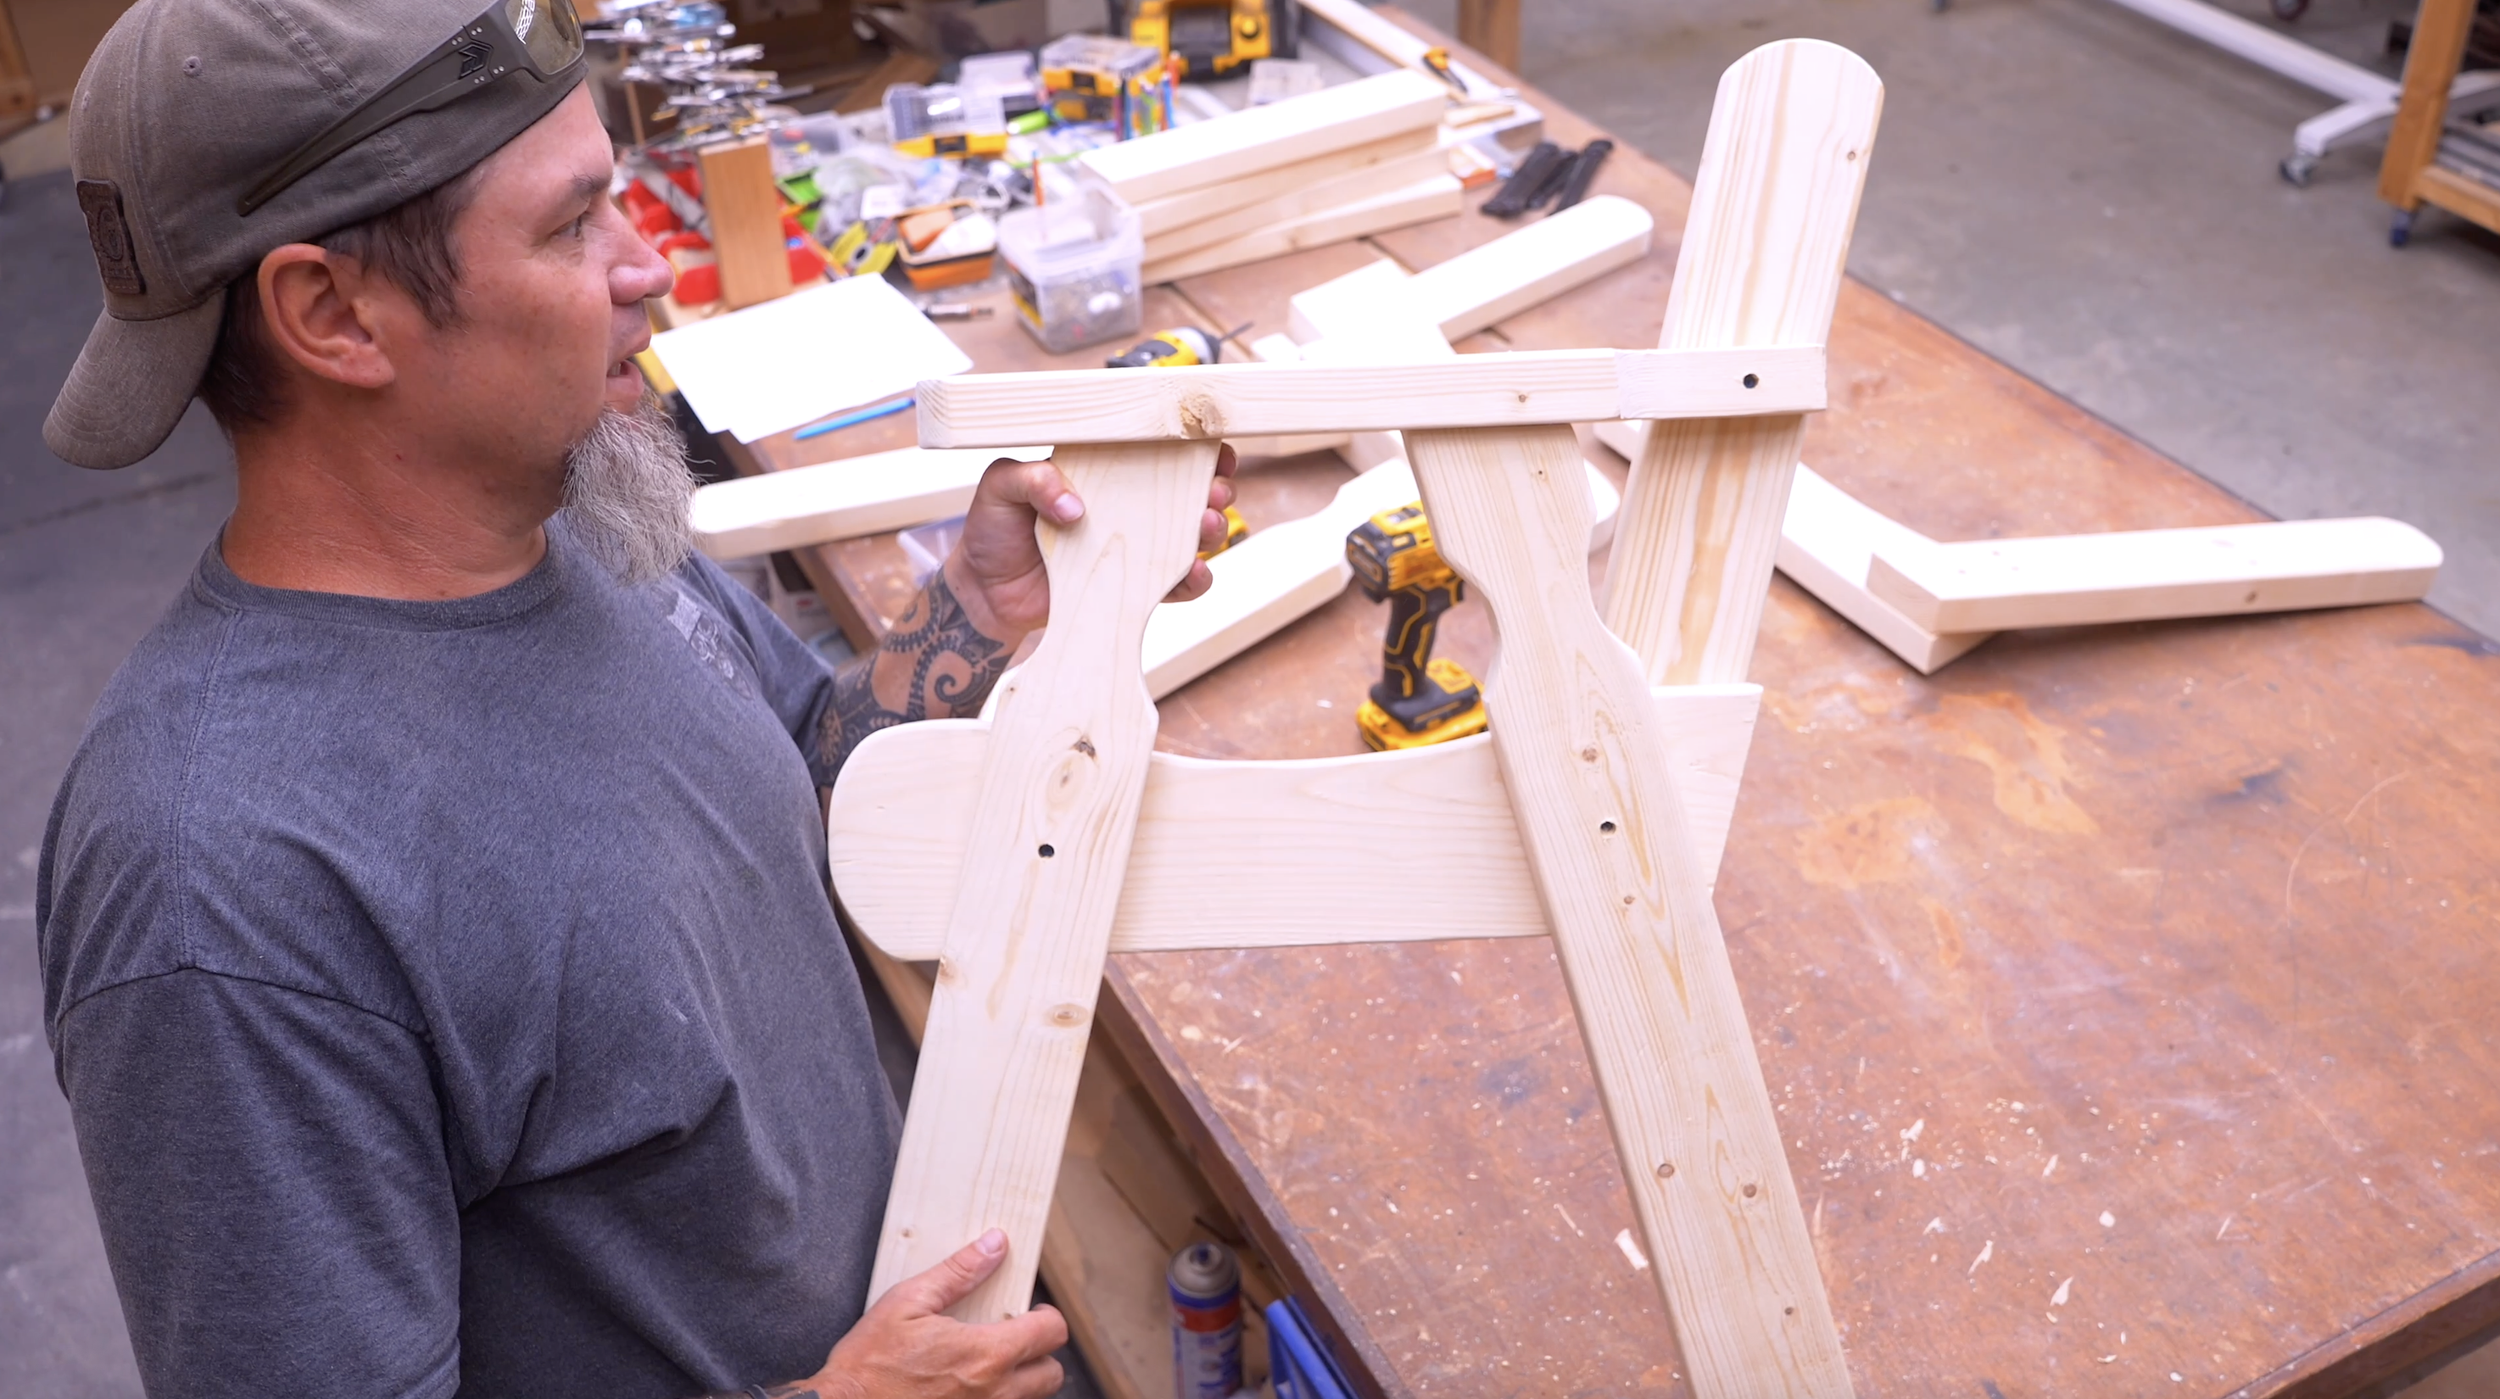
Lay one seat-and-back support assembly down with the seat portion positioned correctly, then place one of your arm-and-leg assemblies over it. Position the curved rear portion of the arm against the back support. The bottom of the armrest should be flush with the rear of the back support, and you want approximately 6 inches between the armrest and the seat at both the front and rear.
Once everything is square and positioned correctly, attach the legs to the seat support with 2 1/2-inch screws. Then secure the armrest to the back support. Repeat the process for the opposite side. Take your time here. These two assemblies establish the overall position of your seat, back, arms, and legs.
Step 5: Build the Glider Base
The base is one of the easiest portions of this entire build. Using 2x4 material, cut:
Four pieces at 12 inches
Four pieces at 26 1/2 inches
Two pieces at 53 1/4 inches
Start by making two identical end frames. Each frame uses two 26 1/2-inch boards with a 12-inch board at each end. Once those two frames are assembled, stand them upright and connect them with the two 53 1/4-inch stretchers. I use 2 1/2-inch exterior screws for the base.
Predrill and counterbore your screw holes, especially where your fasteners are located close to the end of a board. That helps prevent splitting. If you want an even cleaner finished appearance, the counterbored screw holes can later be plugged with wooden dowels.
Step 6: Make the Seat and Back Slats
This is one measurement you'll want to pay particularly close attention to.
During my original build, I initially made all of the slats the same length. Once I started assembling everything, I realized the back supports were offset from the seat supports. So here are the correct final dimensions:
Seat Slats
Make 11 slats at 58 1/4 inches long.
Back Slats
Make 9 slats at 55 1/4 inches long.
Rip your slats from 2-by lumber so they are approximately 3/4 inch thick. Sand every slat thoroughly and slightly round over the upper edges. This isn't just cosmetic. You definitely don't want sharp edges or splinters anywhere you're going to be sitting.
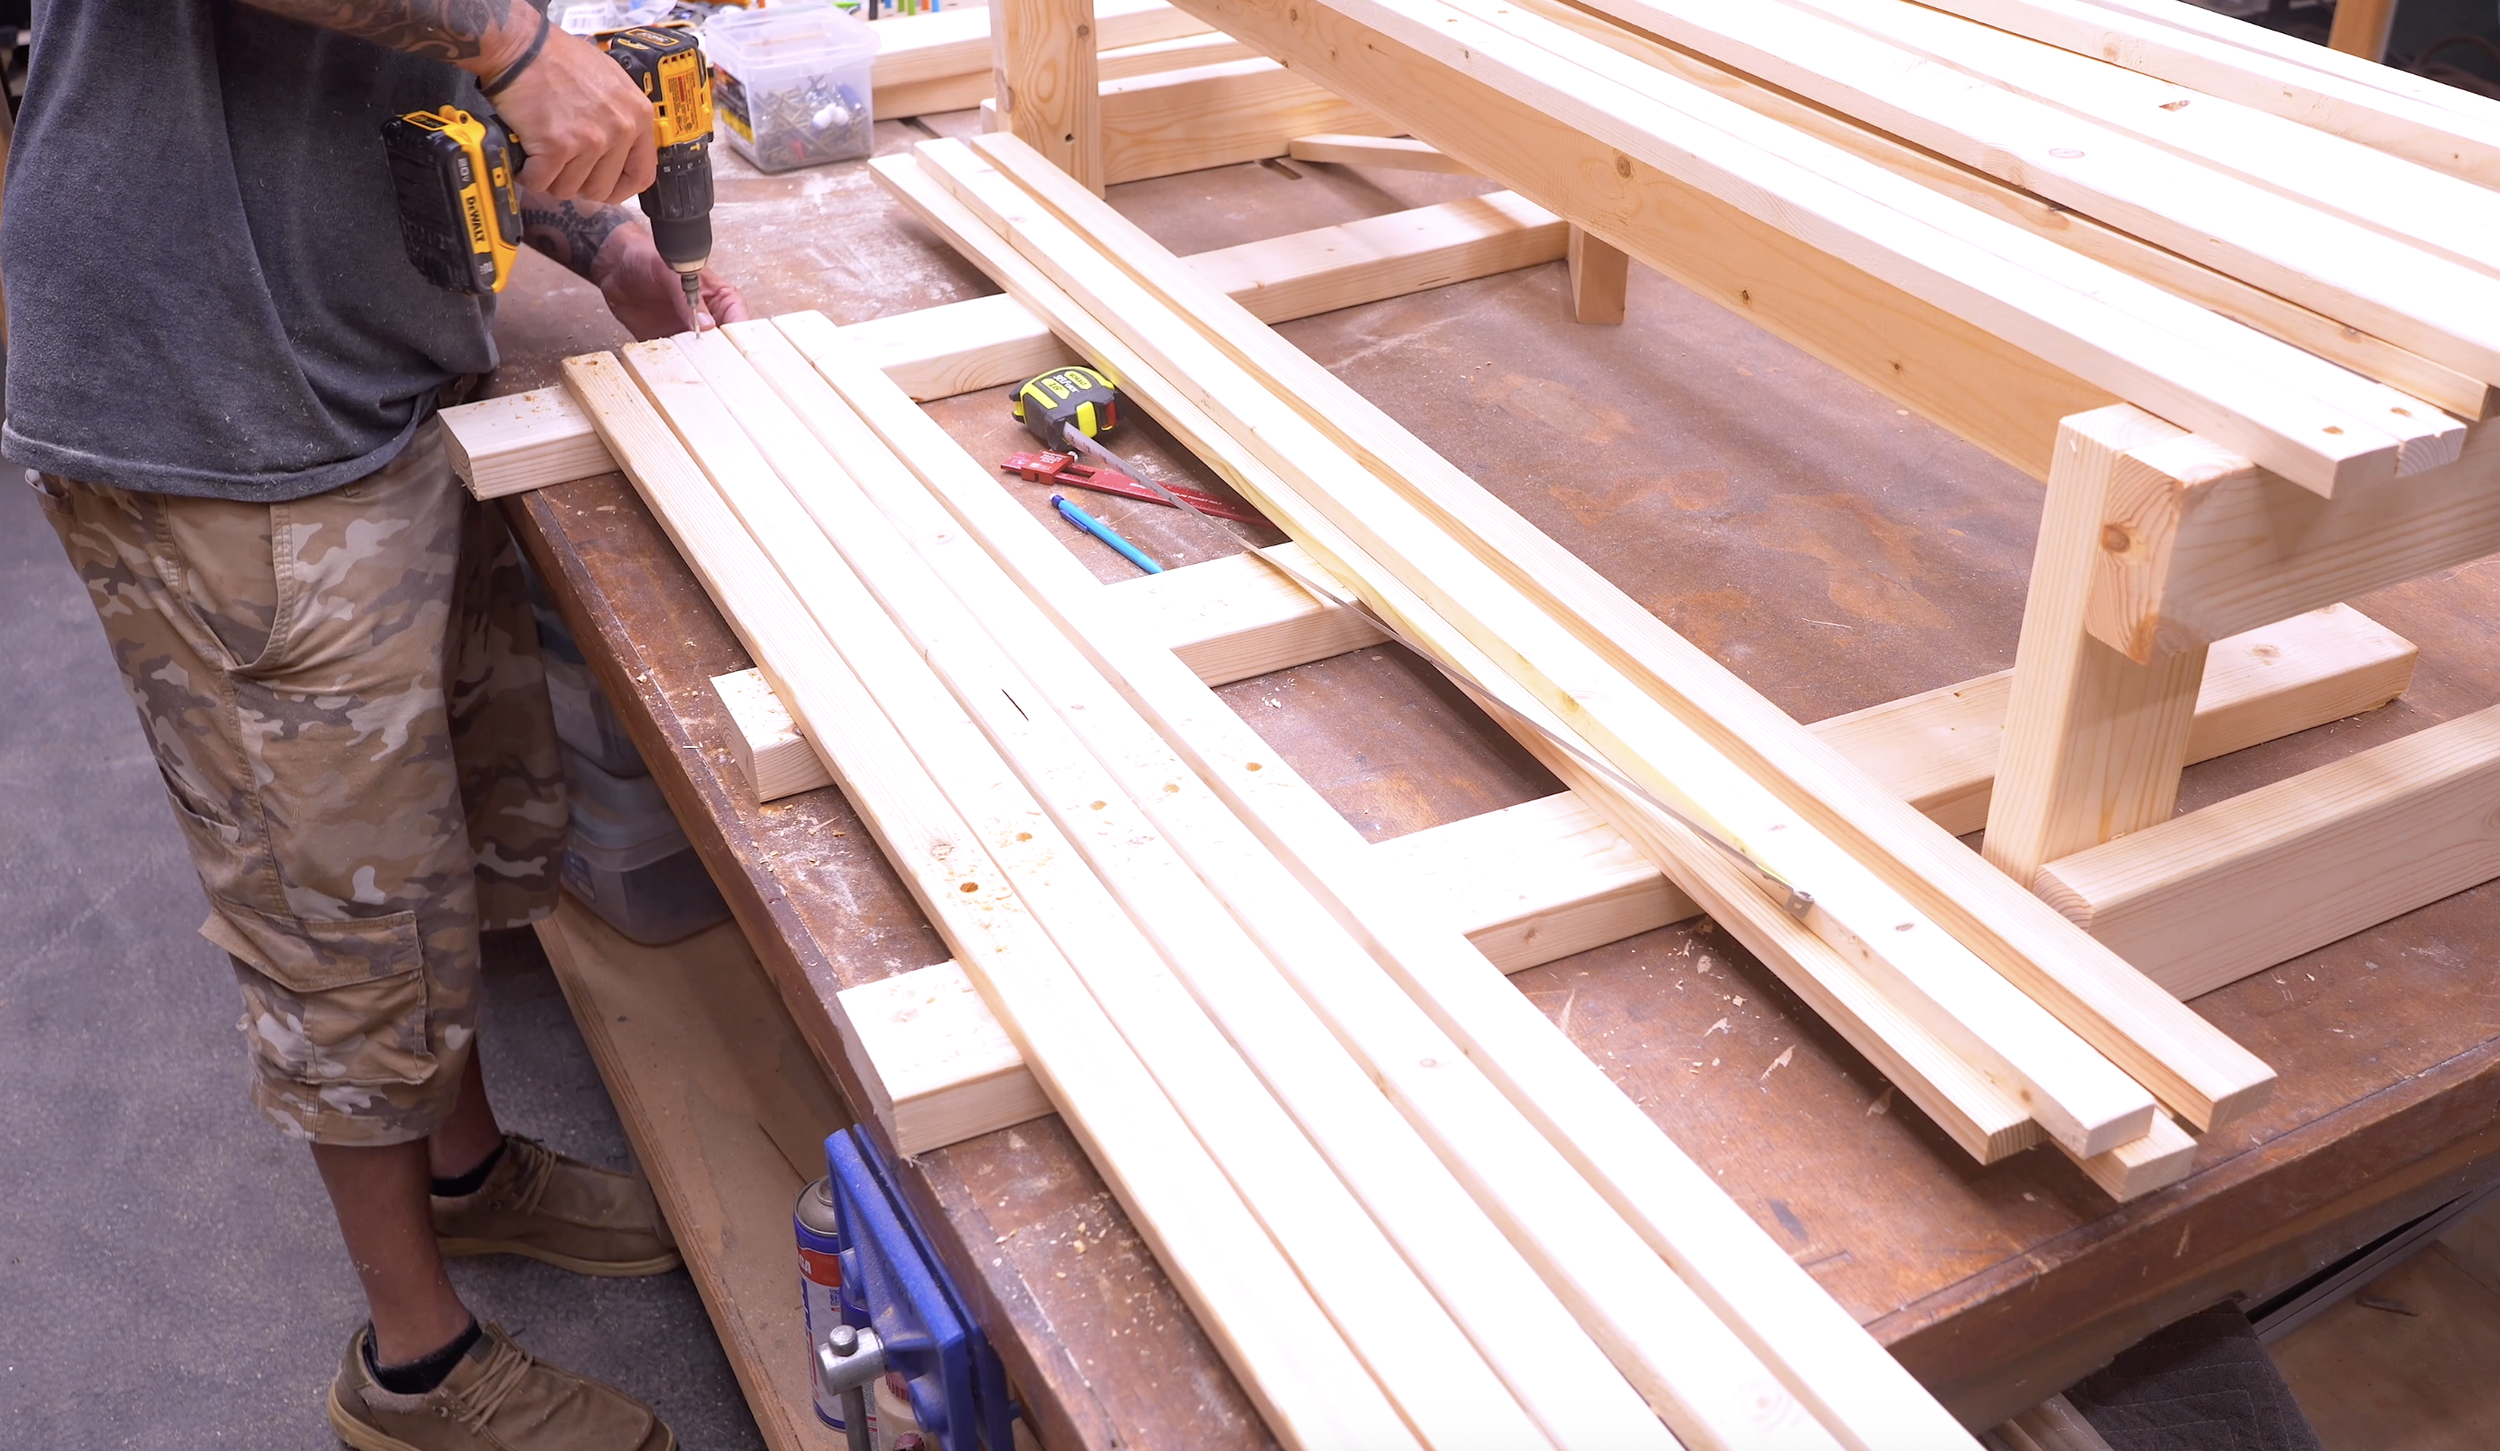
For the seat slats, predrill the attachment holes 3/4 inch from each end and the middle attachment hole goes at 29 1/8 inches.
For the shorter back slats, keep the end-hole spacing the same, but position the center attachment hole 29 inches from one side. That slightly offset hole accounts for the position of the back support.
Step 7: Install the Glider Hardware
The gliding motion comes from a set of 9-inch glider brackets.
Begin by drilling the bracket mounting holes through the base. At each upper corner, measure:
1 3/4 inches from the edge
1 3/4 inches down from the top
Use a 5/16-inch drill bit and drill completely through the 2x4 members. The brackets attach to the base using the 1/4-inch x 4-inch bolts. Next, drill the mounting holes in the bottoms of your bench legs.
Measure:
1 1/2 inches up from the bottom
1 3/4 inches from the side
Because I don't want the bolt heads sticking out from the outside of the bench, I first use a 3/4-inch spade bit to create a shallow recess. Then I finish drilling through the leg using the 5/16-inch bit. Attach the side assemblies to your glider hardware using the shorter bolts and locking hardware.
Don't worry if the bench feels unstable at this stage. The slats are what ultimately tie the two sides together.
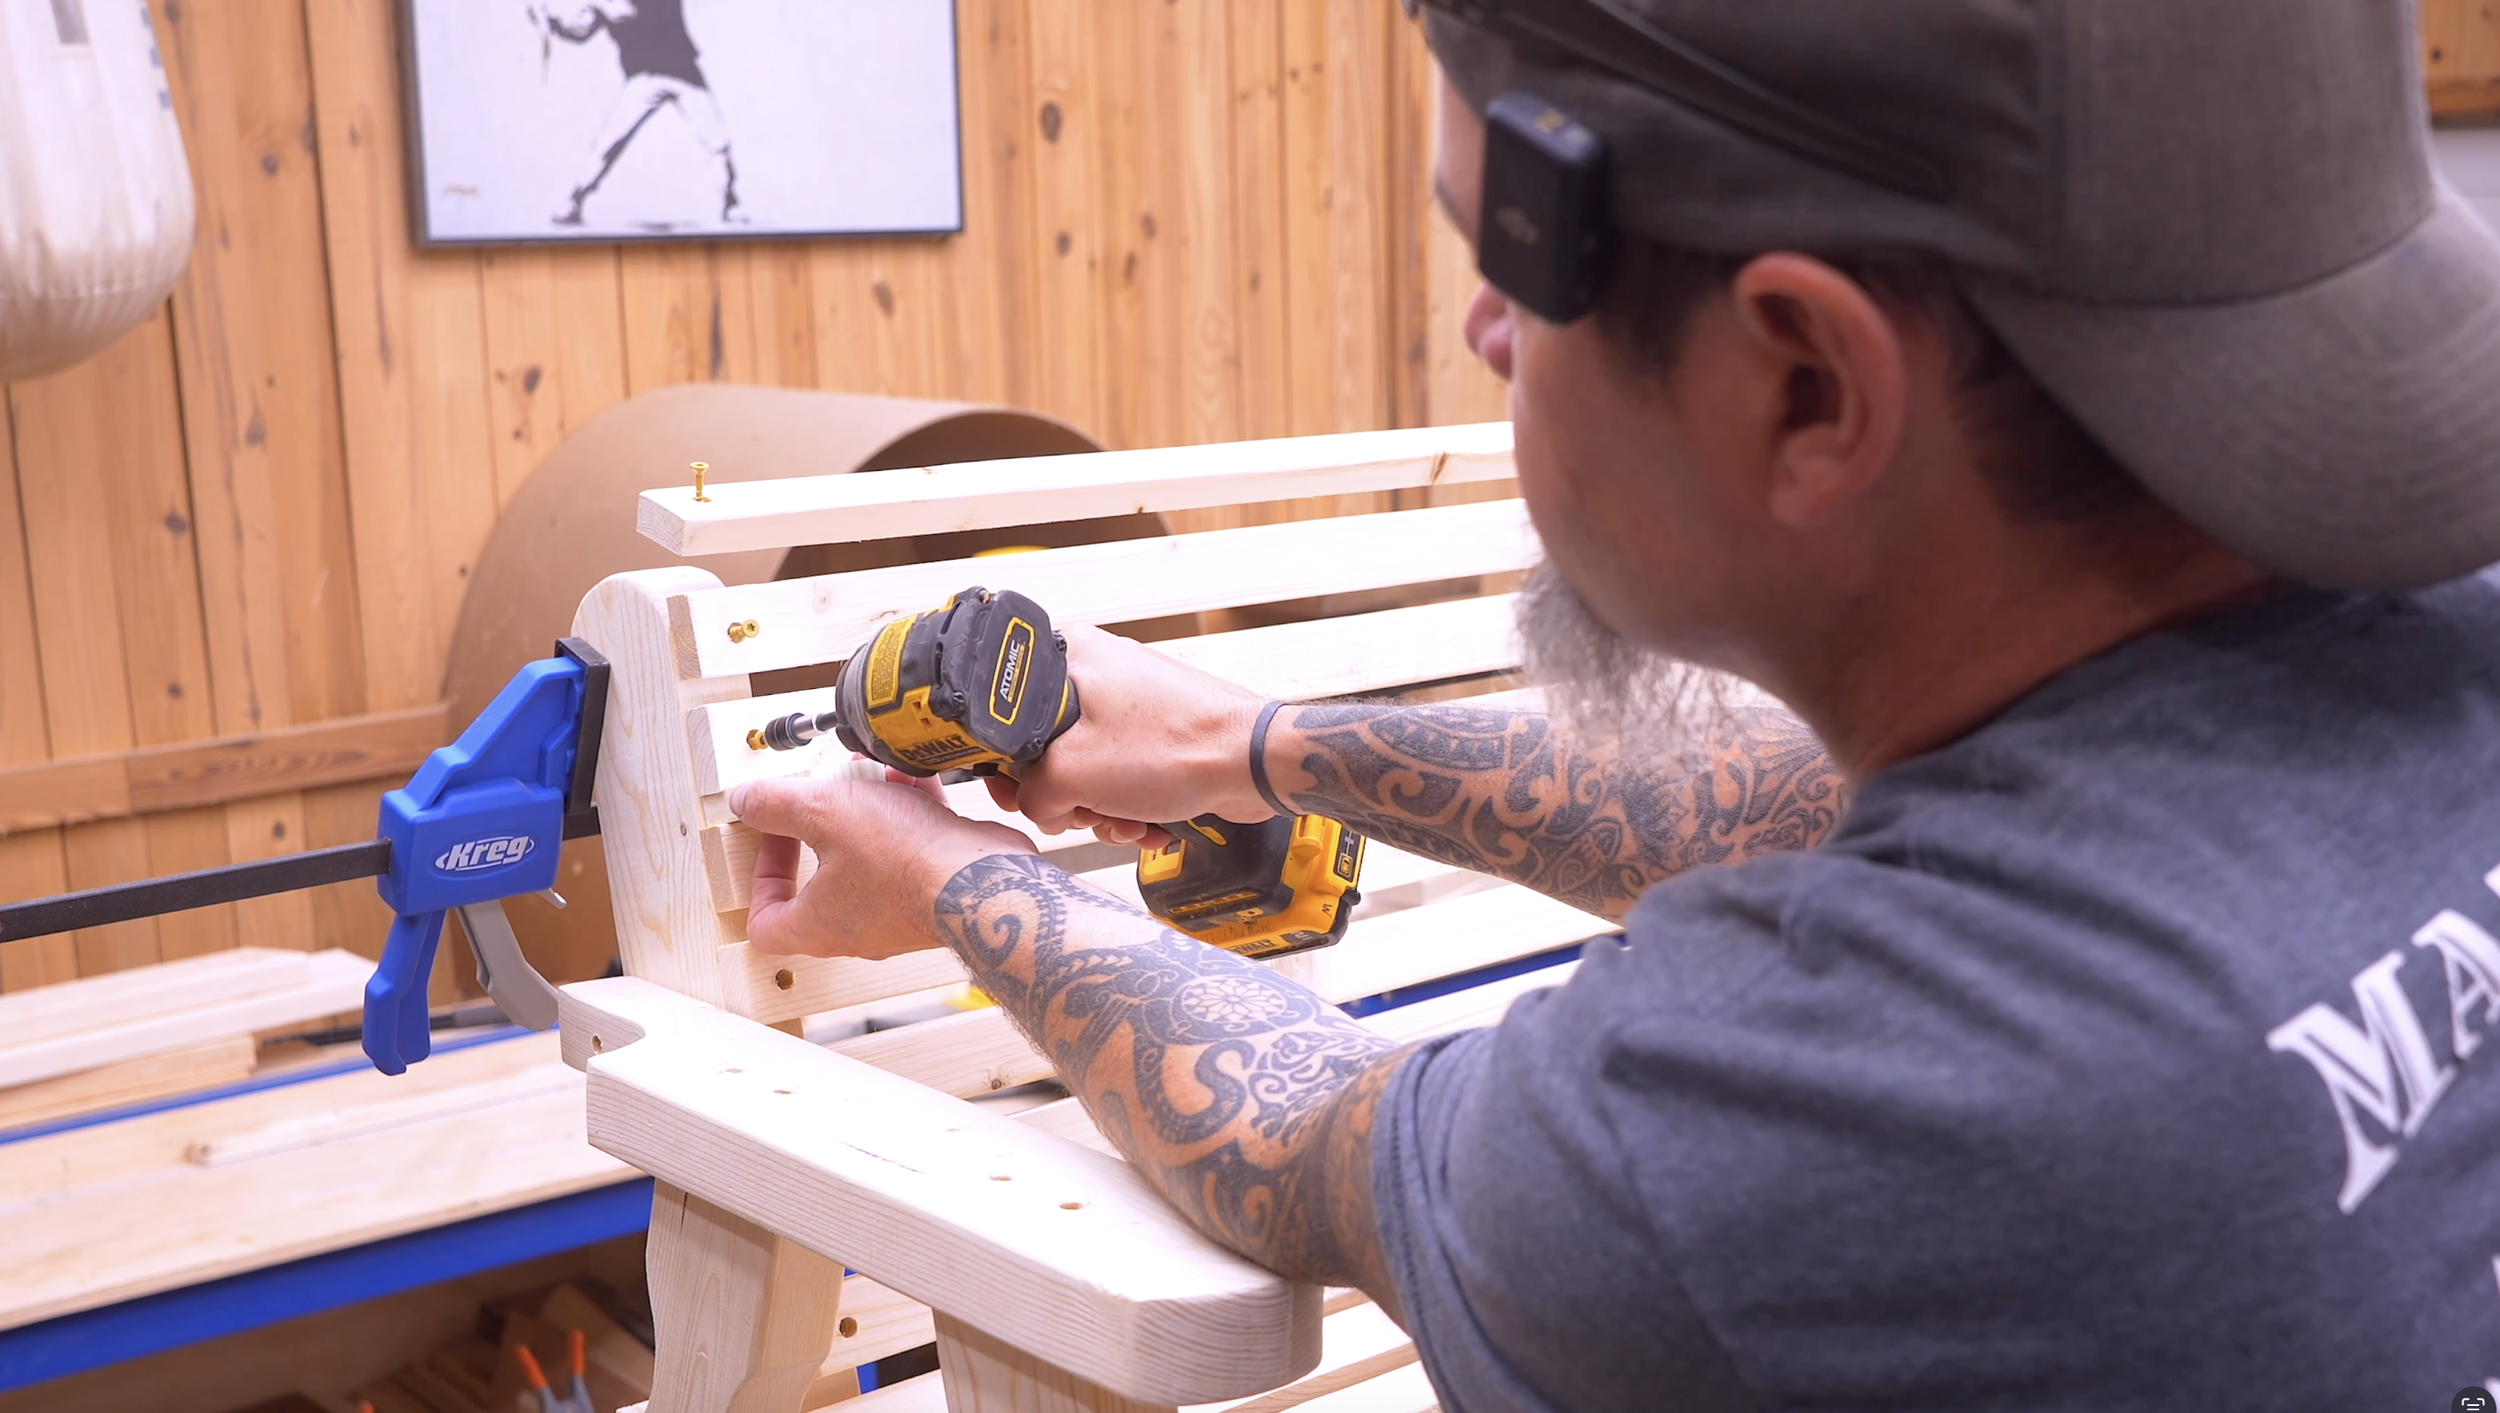
Step 8: Install the Seat and Back Slats
Before installing the slats, I like to temporarily stabilize each side assembly. Place a piece of 1-inch scrap wood between the frame and the leg, then clamp everything into position. This keeps the assemblies from moving around while the slats are installed.
Start installing the seat slats using 1 1/4-inch deck screws. Use consistent 1/2-inch scrap-wood spacers between every board so the gaps remain even across the entire bench. Attach the slats to the outer seat supports first, then position the third seat-and-back support assembly in the center and fasten the slats to it. If any of your lumber has developed a slight bow, use your spacers and clamps to pull everything into alignment before driving the center screws.
Once the seat is complete, install your nine shorter back slats. Begin at the bottom and work upward, maintaining the same consistent spacing between every board.
Step 9: Test the Glider and Apply Your Finish
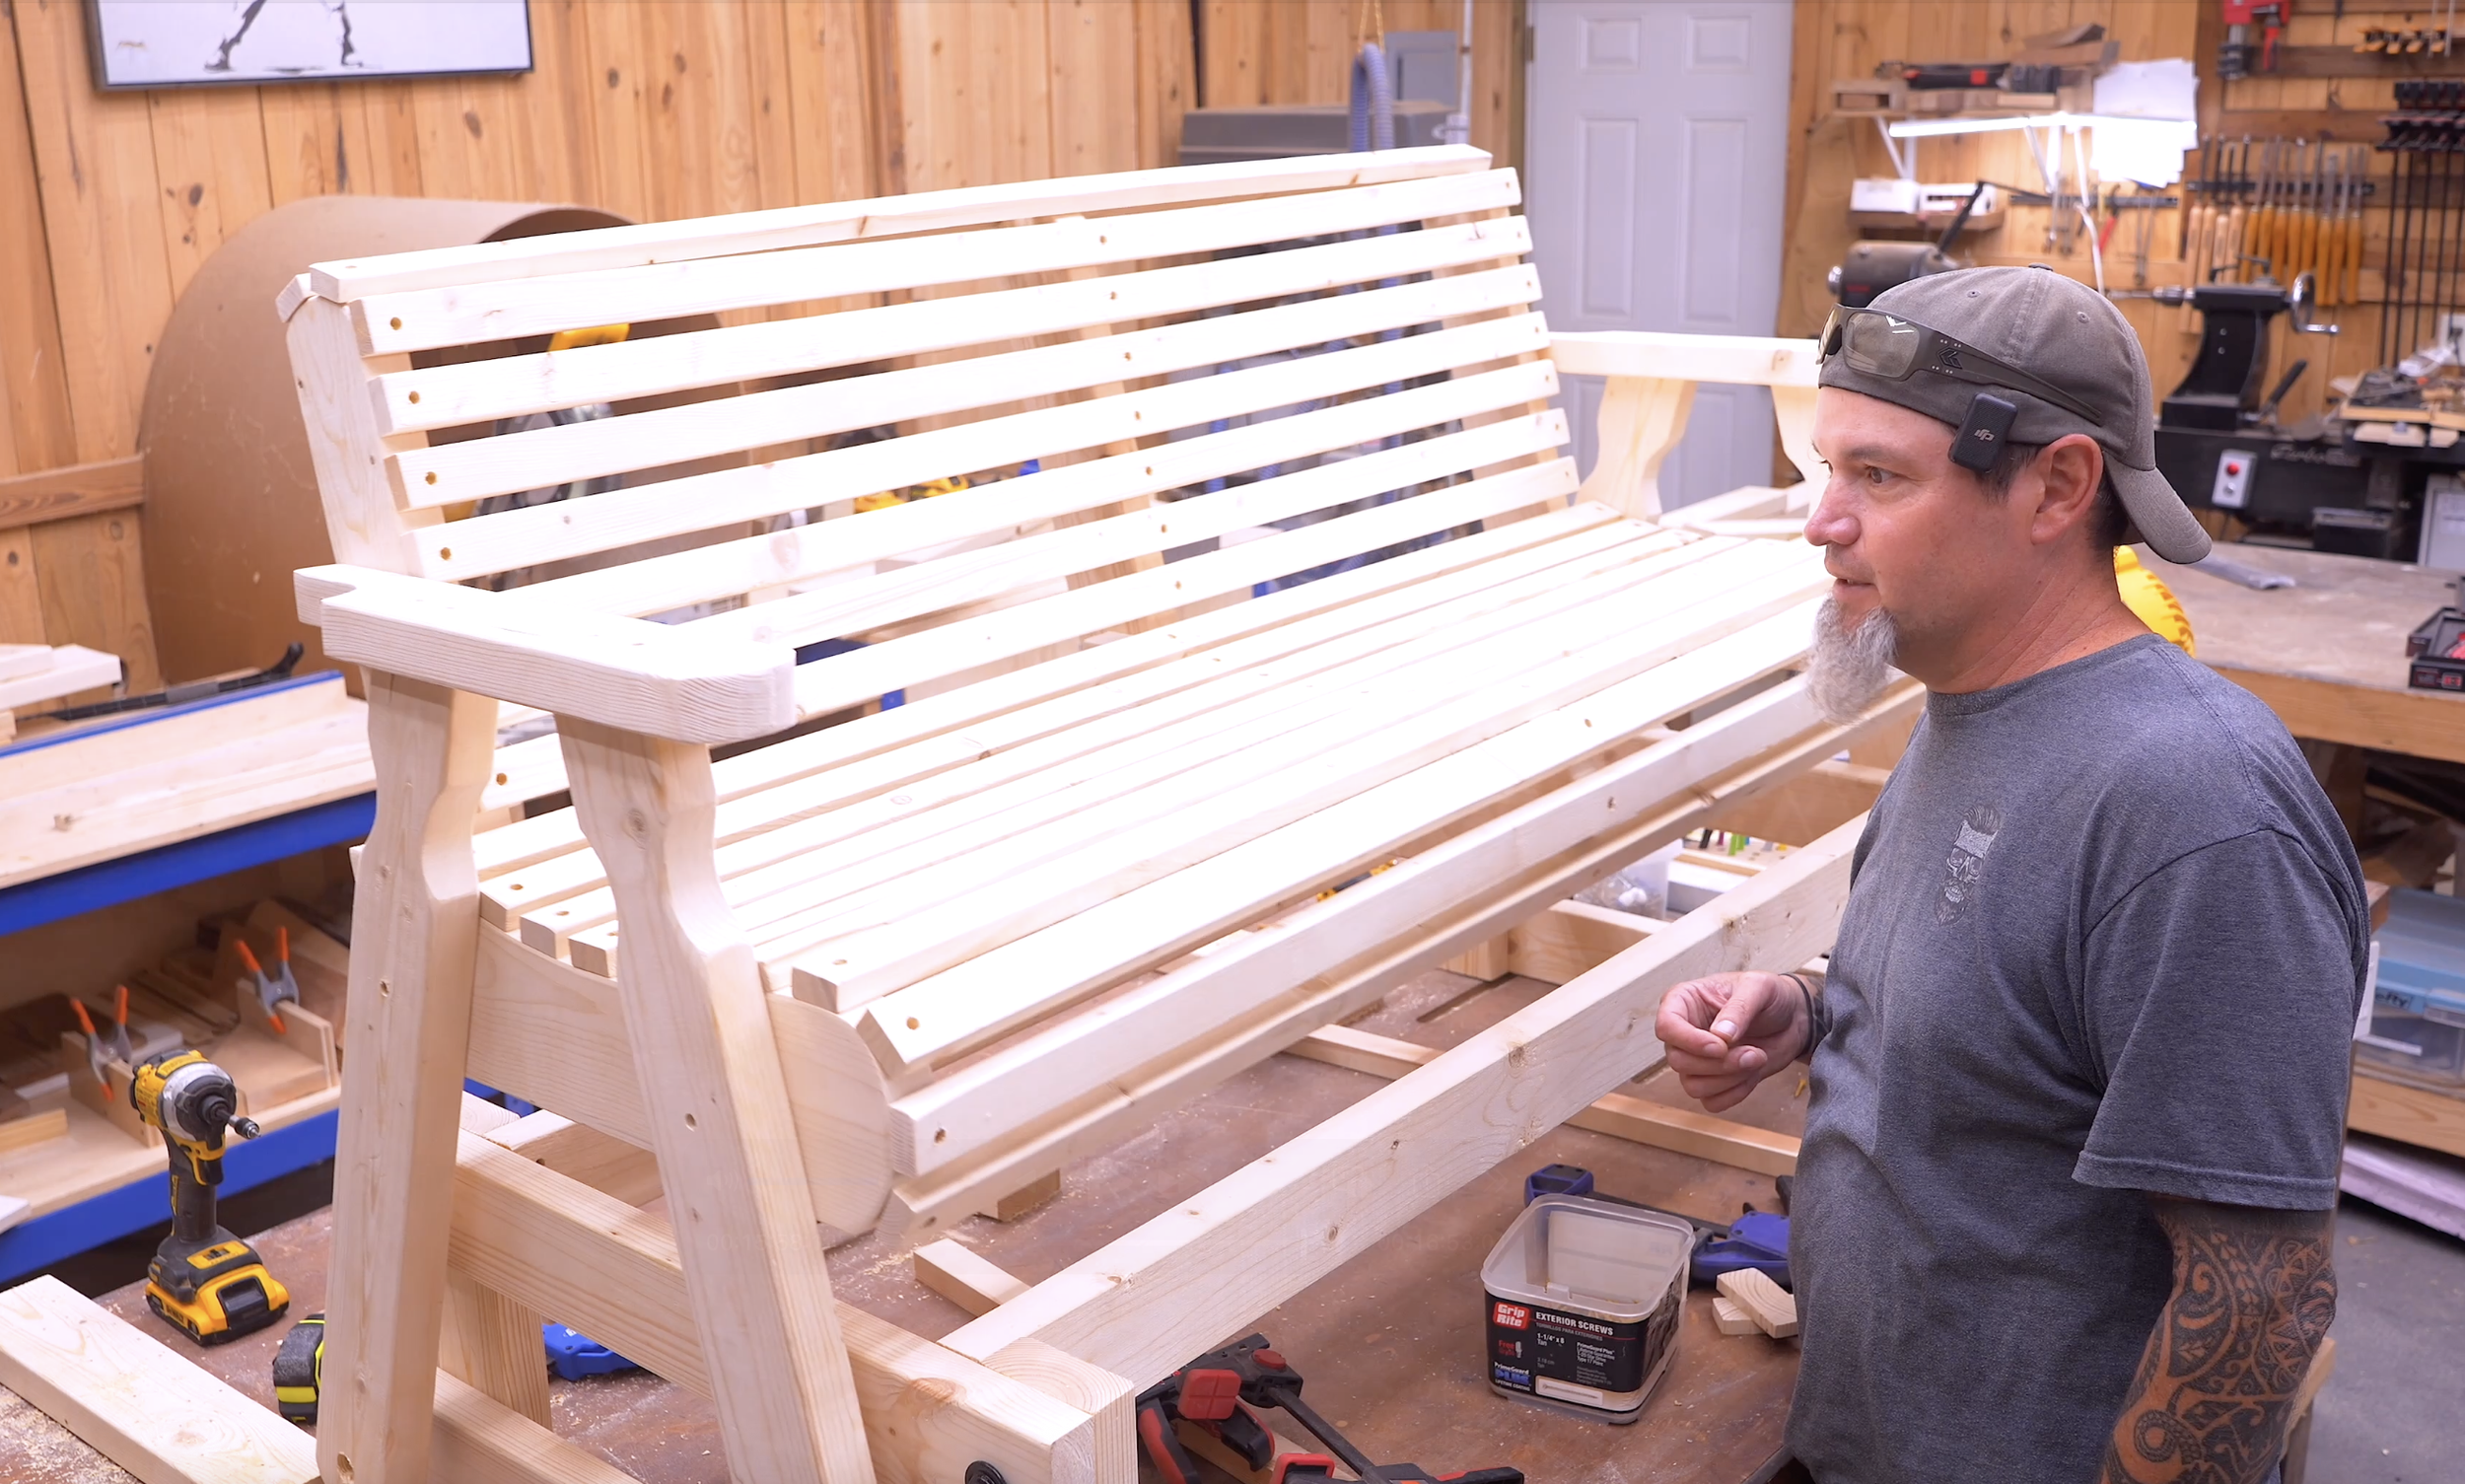
Once every slat is installed, remove your temporary clamps and spacers. Now comes the fun part…Give the bench a push and make sure the brackets move freely without binding.
This bench ends up being surprisingly heavy-duty considering that the main structure is built from ordinary 2x4s and 2x6s.
At this point, you can leave the wood natural or apply the finish that works best for where you're planning to use it. For an outdoor porch or patio glider, I would consider adding a stain followed by a good water-resistant sealer. That's really all this project needs before it's ready for use.
Ready To Build?
What I like most about this DIY bench glider is that it takes something that can be surprisingly expensive to buy and breaks it down into a project that can be built with common construction lumber. You get the classic Amish-style glider look, comfortable curved seating, decorative arms and legs, and that smooth back-and-forth gliding motion without needing an elaborate workshop full of specialized equipment.
Most importantly, don't let a mistake stop the build. I had to remake the back slats after discovering my original measurements didn't account for the offset in the back supports. That's woodworking. Fix it, learn from it, and keep moving.
If you've been wanting a porch glider but haven't wanted to pay the price for one, grab some 2x4s and 2x6s and build your own.
And if you’re ready…
You already know the next step.
👉 Get up, get out, and get your build on.
Whether you’re new to woodworking or a seasoned pro, this project offers the perfect mix of functionality and creativity. Below I have the YouTube video linked for a step-by-step video tutorial for you to follow along with. If you’re a more “plans in the hand” person, click “Get Plan” down below for downloadable instructions. And if you’re ready to dive deeper into woodworking, check out my new course, “Woodworking Kickstart” (which is also linked below). It’s packed with step-by-step lessons to help you build confidence and skills, whether you’re a total beginner or an experienced DIYer. You’ll be building with confidence in no time.
Remember, creativity doesn’t have to be expensive; all you need is a little inspiration and a willingness to try.
Get Easy Step-By-Step Directions to build this by clicking the button below
⭐ 10,044 5 Star Reviews
📚 113 Plans to Choose From
🧩 Lego-Like Assembly Steps
📏 Exact Measurements
📋 Detailed cut and part list
🔍 X-Ray Views
🚀 Instant Delivery
