
4 Easy DIY Builds with Big Profit Potential
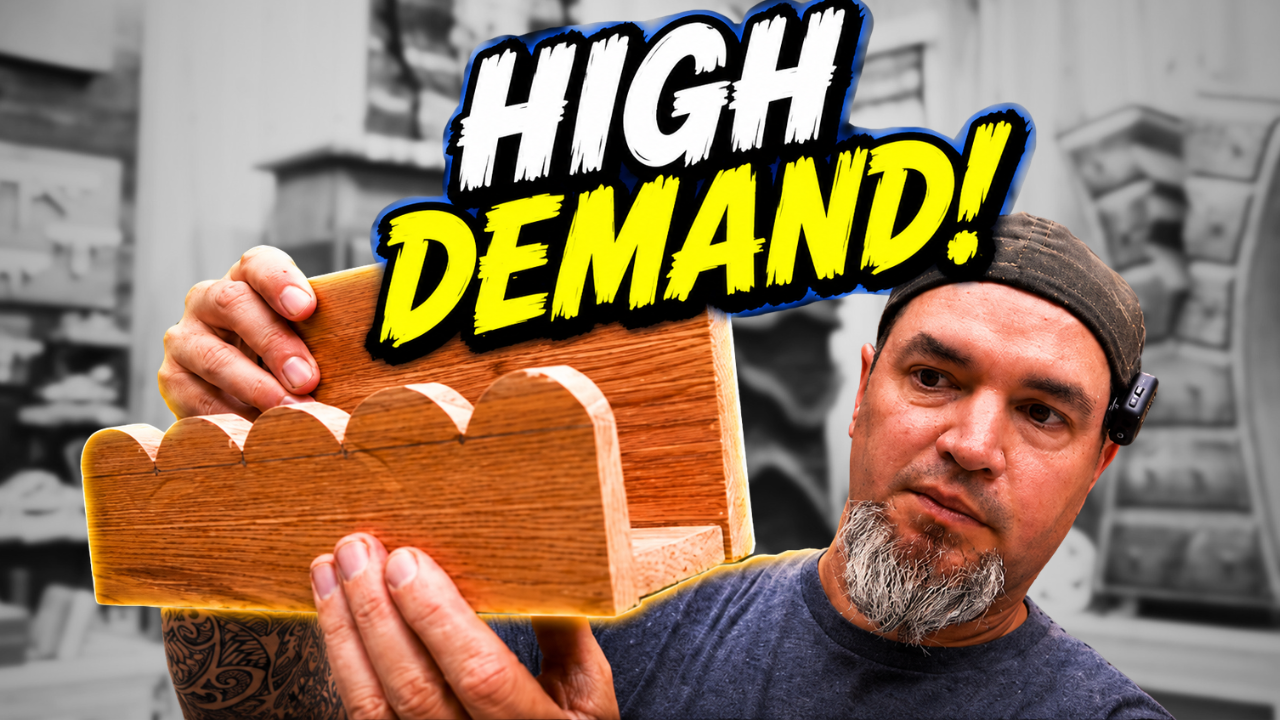
If you're looking for woodworking projects that are inexpensive to build, easy to customize, and have excellent profit potential, you're in the right place.
Today's trending home décor market is filled with simple woodworking projects selling for $70 to over $150, yet many require only a few dollars in lumber and basic shop tools. The secret isn't complicated joinery or expensive machinery—it's understanding current design trends and creating products people already want to buy.
In this guide, we'll break down four woodworking projects that are currently trending, explain why they're selling so well, and walk through exactly how to build each one. Whether you're building for your own home, selling at craft fairs, or growing an Etsy business, these projects can become profitable additions to your woodworking lineup.
Let’s Get Going!
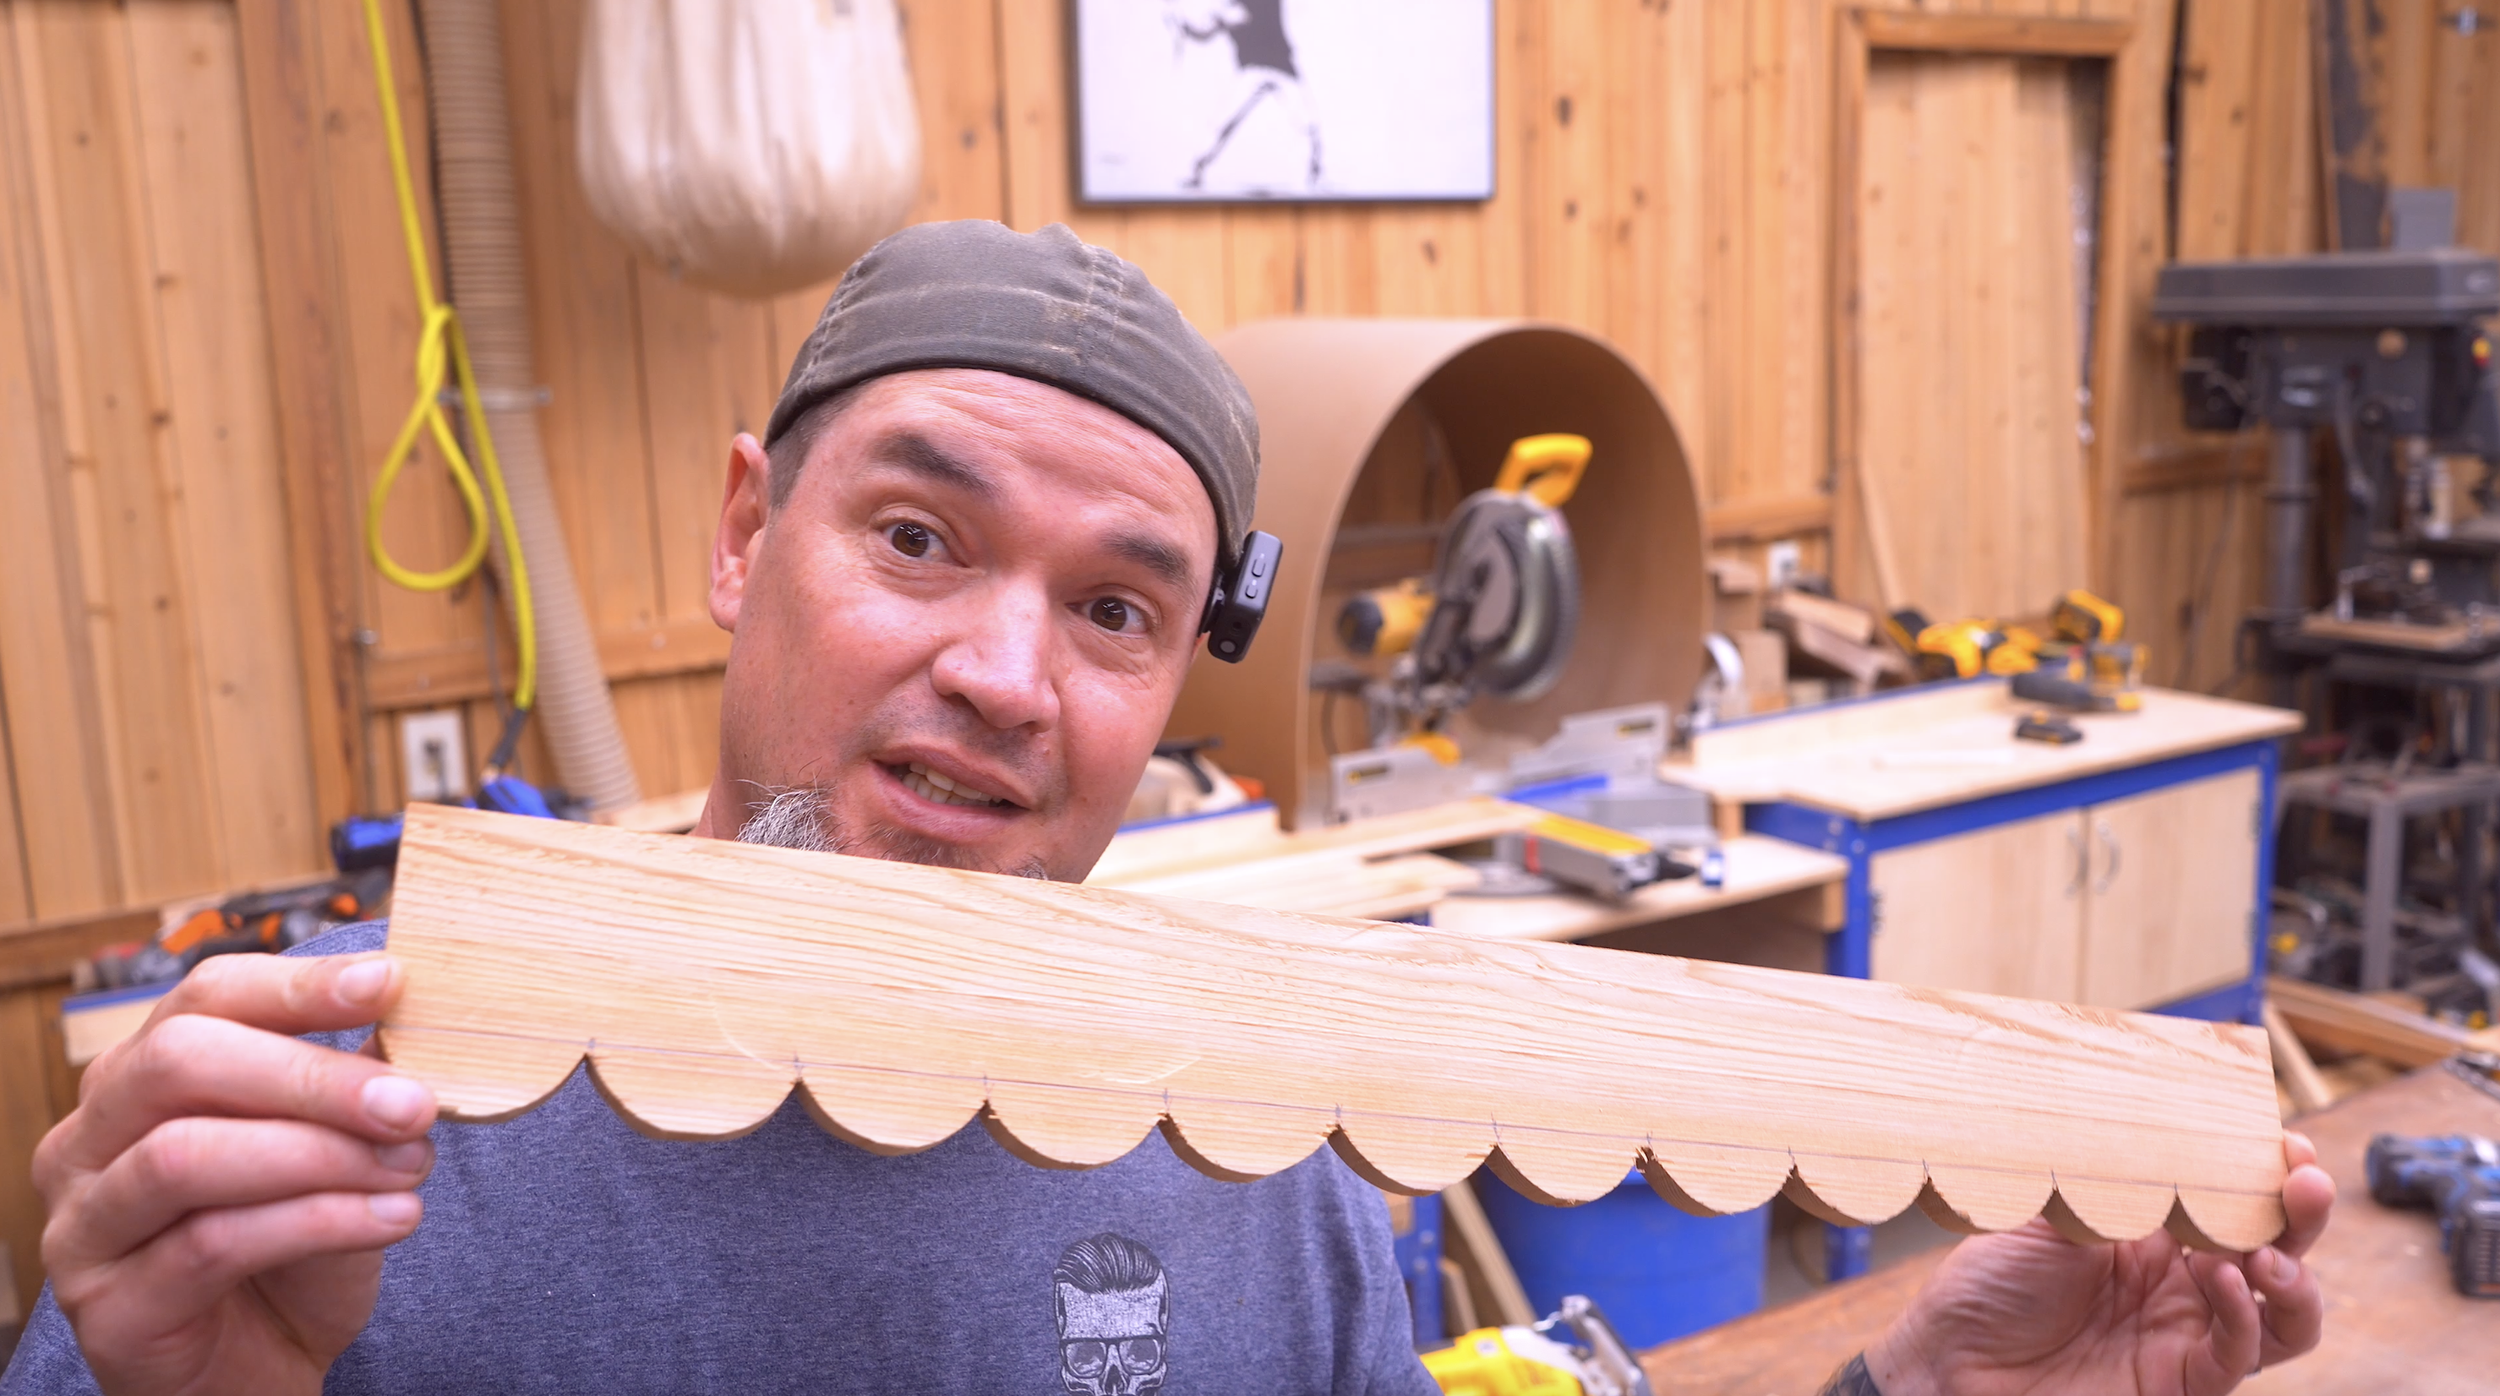
Project 1: Scalloped Book Ledge Shelf
Why It's Trending
Scalloped furniture and home décor have exploded in popularity across boutique retailers and luxury home brands. The soft curved edges instantly give an otherwise simple shelf a custom designer appearance.
The best part?
The build itself is surprisingly simple.
Materials
1×6 Board
Wood Glue
1¼" Wood Screws
Sandpaper
Paint or Stain
Wall Mounting Screws
Step 1: Cut the Front Board
Rip your lumber to:
3 inches wide
24 inches long
This becomes the decorative scalloped face.
Step 2: Lay Out the Scallops
Measure:
¾" down from the top edge
Draw a straight reference line.
Beginning at one end, mark every:
2 inches
These marks determine the spacing of each scallop.
Step 3: Draw the Curves
Instead of using specialty woodworking templates, simply find a round object close to two inches in diameter.
Examples:
PVC Fitting
Pipe Coupling
Spray Paint Cap
Trace each half-circle between your layout marks.
If you plan on building several shelves, transfer the pattern onto cardboard and create a reusable template.
Step 4: Cut the Scallops
Using a jigsaw with a scroll blade:
Carefully cut each curve
Stay just outside the line
Sand smooth afterward
Once painted, these curves become the standout feature of the shelf.
Step 5: Build the Shelf
Cut:
Bottom shelf:
24" × 5"
Back support:
Approximately 24" × 3½"
Glue the back support to the shelf.
Pre-drill and countersink screws before fastening.
Because books and décor place forward pressure on the shelf, screws provide much stronger support than glue alone.
Step 6: Finish
Sand every surface smooth.
Choose either:
Painted Finish
Natural Hardwood
Light Stain
Distressed Farmhouse Finish
Finally, mount directly into wall studs for maximum strength.
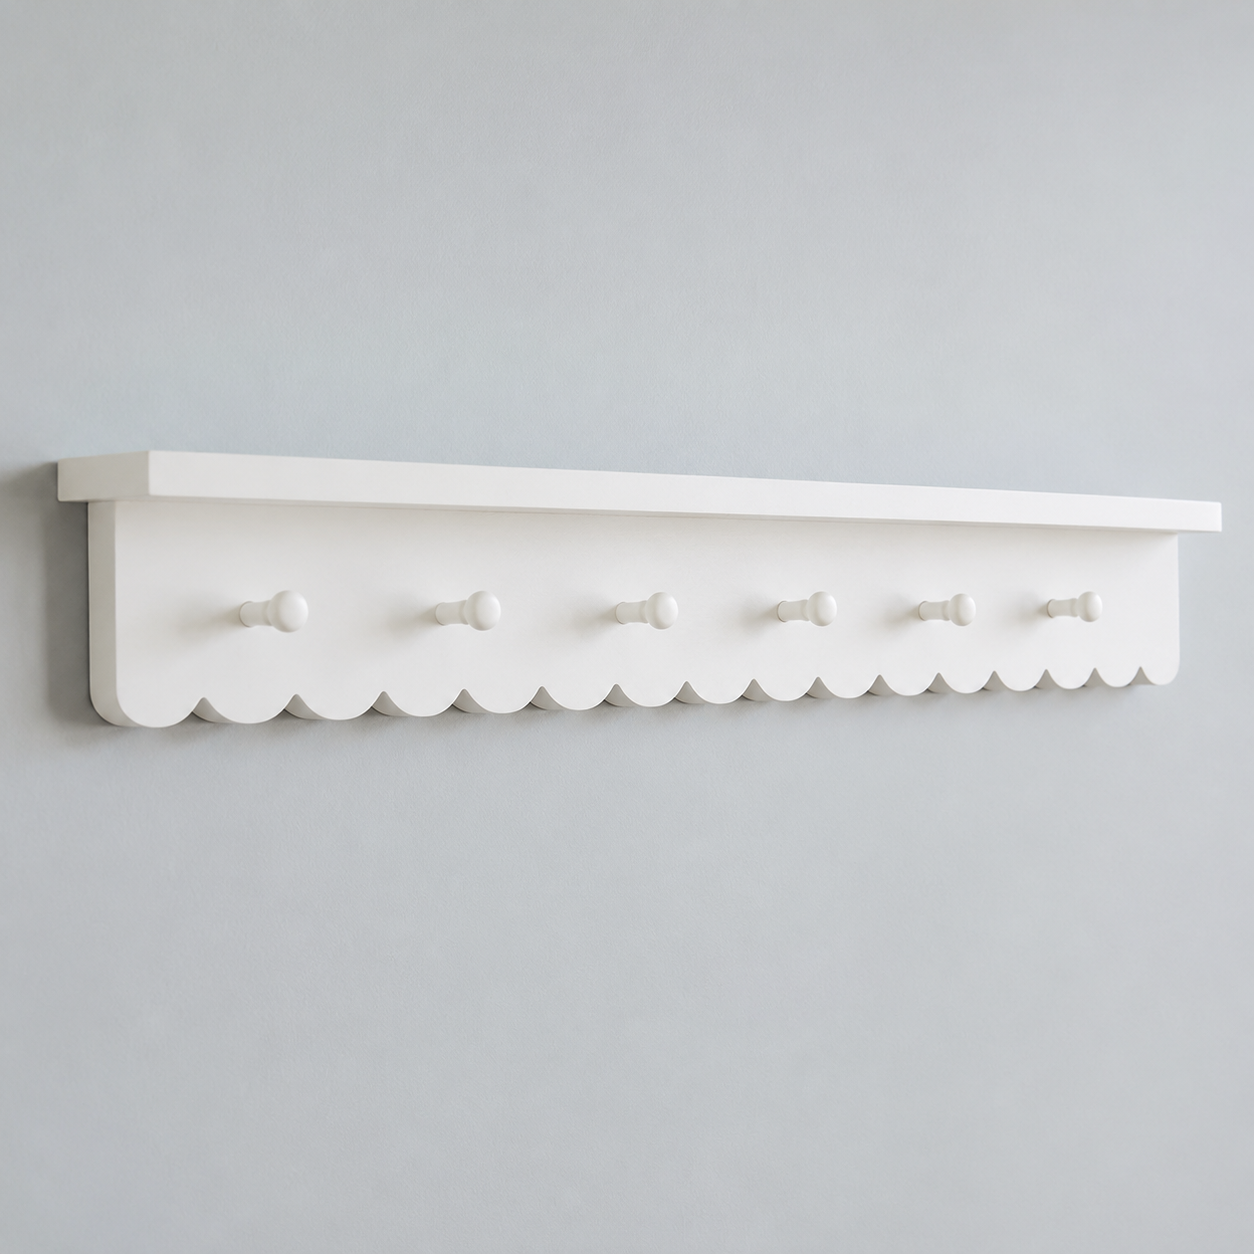
Project 2: Matching Scalloped Peg Rack
One product sells.
Matching products multiply sales.
Customers love coordinated collections, making this peg rack the perfect companion to the scalloped shelf.
Materials
Same Lumber used for Shelf
Wooden Pegs
Wood Glue
Screws
Keyhole Hangers (Optional)
Step 2: Build the Top
Attach:
1½-inch top board
Then add:
¾-inch strip along the upper edge
This creates the layered profile seen on premium retail versions.
Step 3: Install Pegs
Purchase pre-made wooden pegs with threaded screws.
Lay out equal spacing before drilling.
Install each peg securely using wood glue and the threaded fastener.
Step 4: Hanging Options
Two popular methods include:
Visible screws directly through the back.
Or
Keyhole hangers recessed into the back for a cleaner appearance.
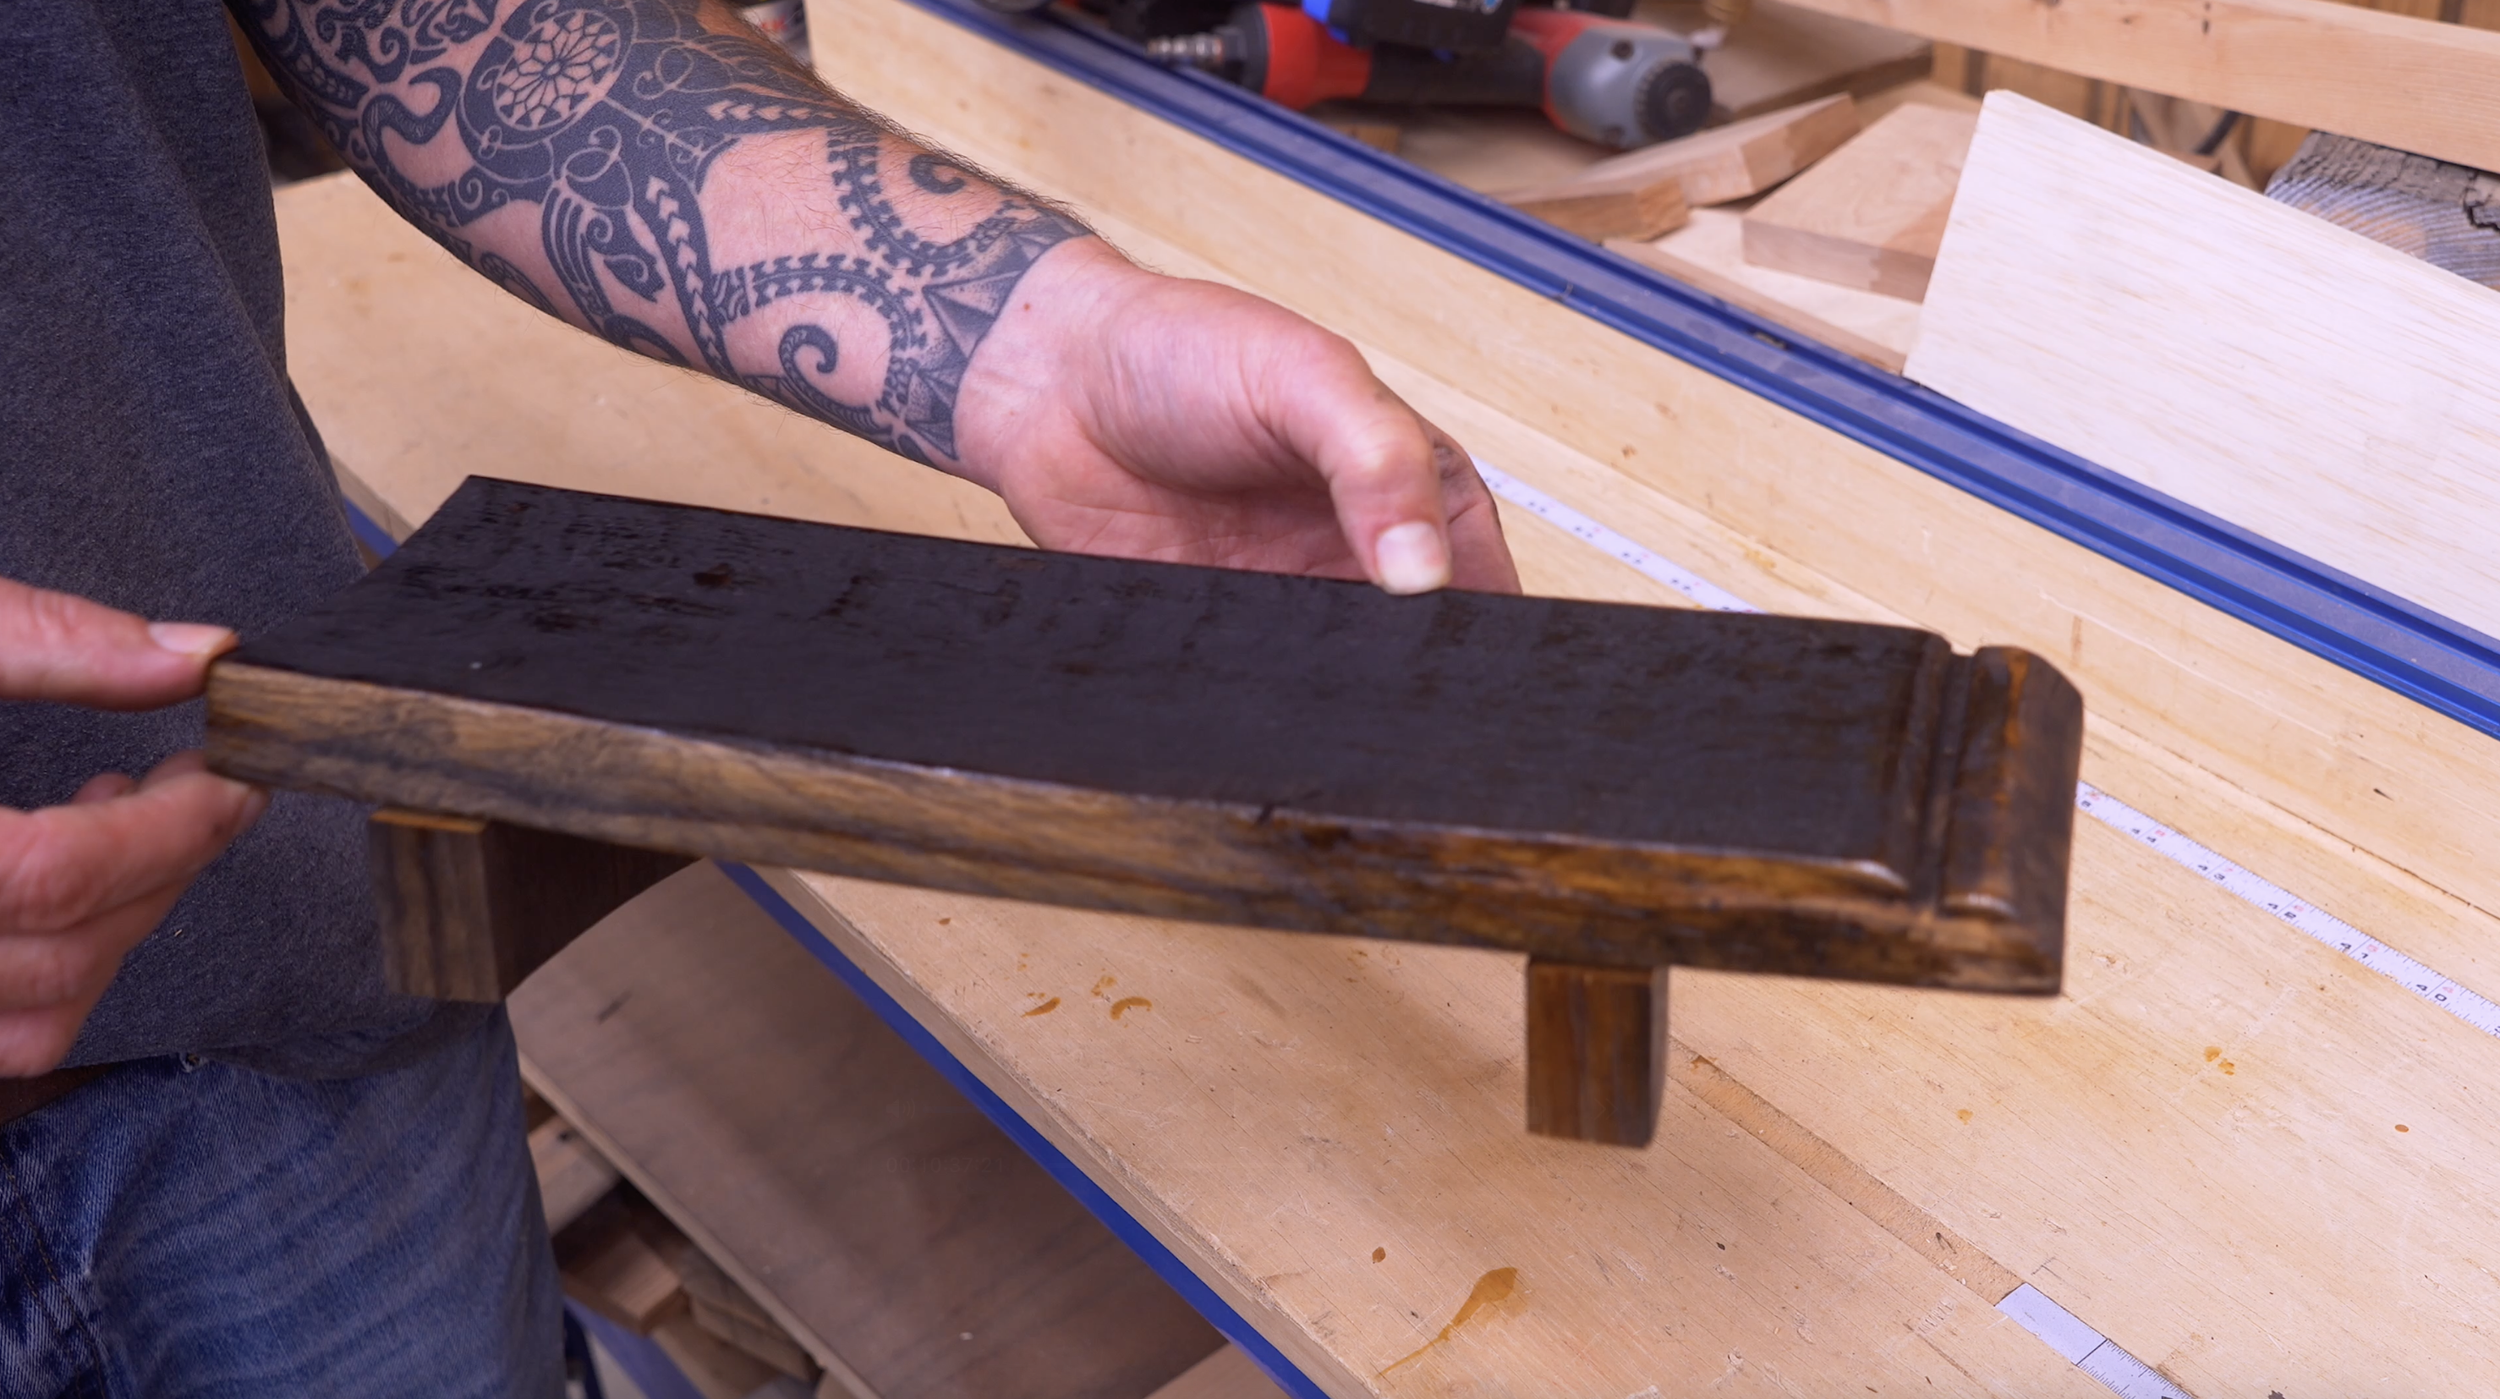
Project 3: Rustic Barrel Stave Serving Tray
Sometimes the best woodworking projects start with scrap wood.
This tray demonstrates how leftover material can become a premium product.
Materials
Barrel Stave
Wood Glue
Urethane Finish
Step 1: Cut the Tray
Cut one section: 14 inches long
Step 2: Cut the Feet
Using leftover material:
Cut: Two feet
Approximately: 1 inch long
Step 3: Assemble
Glue the two feet underneath the tray.
Allow glue to cure completely.
Step 4: Finish
Apply several coats of clear urethane.
The natural barrel curvature creates a unique serving tray with almost no complicated woodworking required.
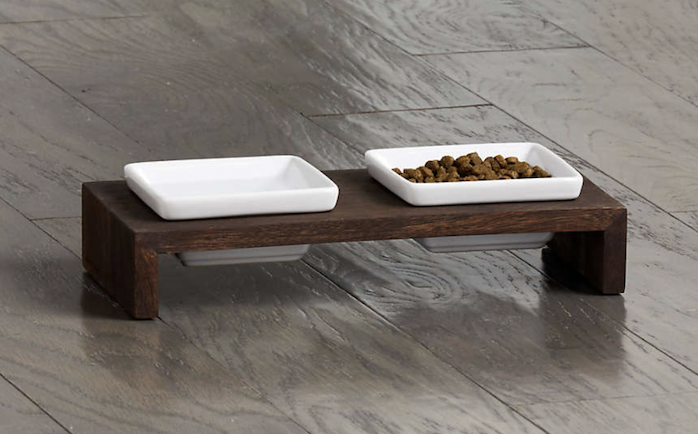
Project 4: Elevated Hardwood Pet Bowl Stand
Pet products consistently perform well because owners willingly spend extra money on products that improve their pets' comfort while matching their home's décor.
This elevated feeder combines both.
Materials
Hardwood (oak, maple, walnut, etc.)
Ceramic Square Bowls
Wood Glue
Screws
Finish
Step 1: Purchase Bowls First
Always buy the bowls before cutting wood.
Measure:
Approximately one inch below the rim.
This determines the opening size you'll cut into the top.
Step 2: Cut the Frame
Using a 1×6 board:
Cut:
Two angled side panels using 45° bevels.
Then cut:
Top panel.
For larger stands, add lower support rails on both sides.
Step 3: Cut Bowl Openings
Transfer your bowl measurements.
Using a jigsaw:
Cut square openings.
Test-fit before final sanding.
The bowls should rest securely while remaining removable for cleaning.
Step 4: Assemble
Glue and screw the frame together.
Sand every edge smooth.
Step 5: Apply Finish
A dark walnut stain creates a premium appearance.
Finish with several coats of polyurethane for moisture protection.
Ready To Build?
Successful woodworking isn't always about creating the most complicated build—it's about recognizing what customers already want and building it well.
The scalloped book ledge, matching peg rack, rustic barrel tray, and elevated pet bowl stand are all examples of projects that combine straightforward construction with strong market demand. They require only basic woodworking skills, minimal materials, and offer plenty of opportunities for customization.
If you're serious about building projects that sell, pay attention to design trends, think in matching product lines, and don't overlook scrap materials that can become premium products. Sometimes the simplest ideas are the most profitable, and these builds prove that great woodworking is as much about smart design as it is about craftsmanship.
And if you’re ready…
You already know the next step.
👉 Get up, get out, and get your build on.
Whether you’re new to woodworking or a seasoned pro, this project offers the perfect mix of functionality and creativity. Below I have the YouTube video linked for a step-by-step video tutorial for you to follow along with. If you’re a more “plans in the hand” person, click “Get Plan” down below for downloadable instructions. And if you’re ready to dive deeper into woodworking, check out my new course, “Woodworking Kickstart” (which is also linked below). It’s packed with step-by-step lessons to help you build confidence and skills, whether you’re a total beginner or an experienced DIYer. You’ll be building with confidence in no time.
Remember, creativity doesn’t have to be expensive; all you need is a little inspiration and a willingness to try.
Get Easy Step-By-Step Directions to build this by clicking the button below
⭐ 10,044 5 Star Reviews
📚 113 Plans to Choose From
🧩 Lego-Like Assembly Steps
📏 Exact Measurements
📋 Detailed cut and part list
🔍 X-Ray Views
🚀 Instant Delivery
