
Build a Modern Adirondack Chair In Only A Few Hours!
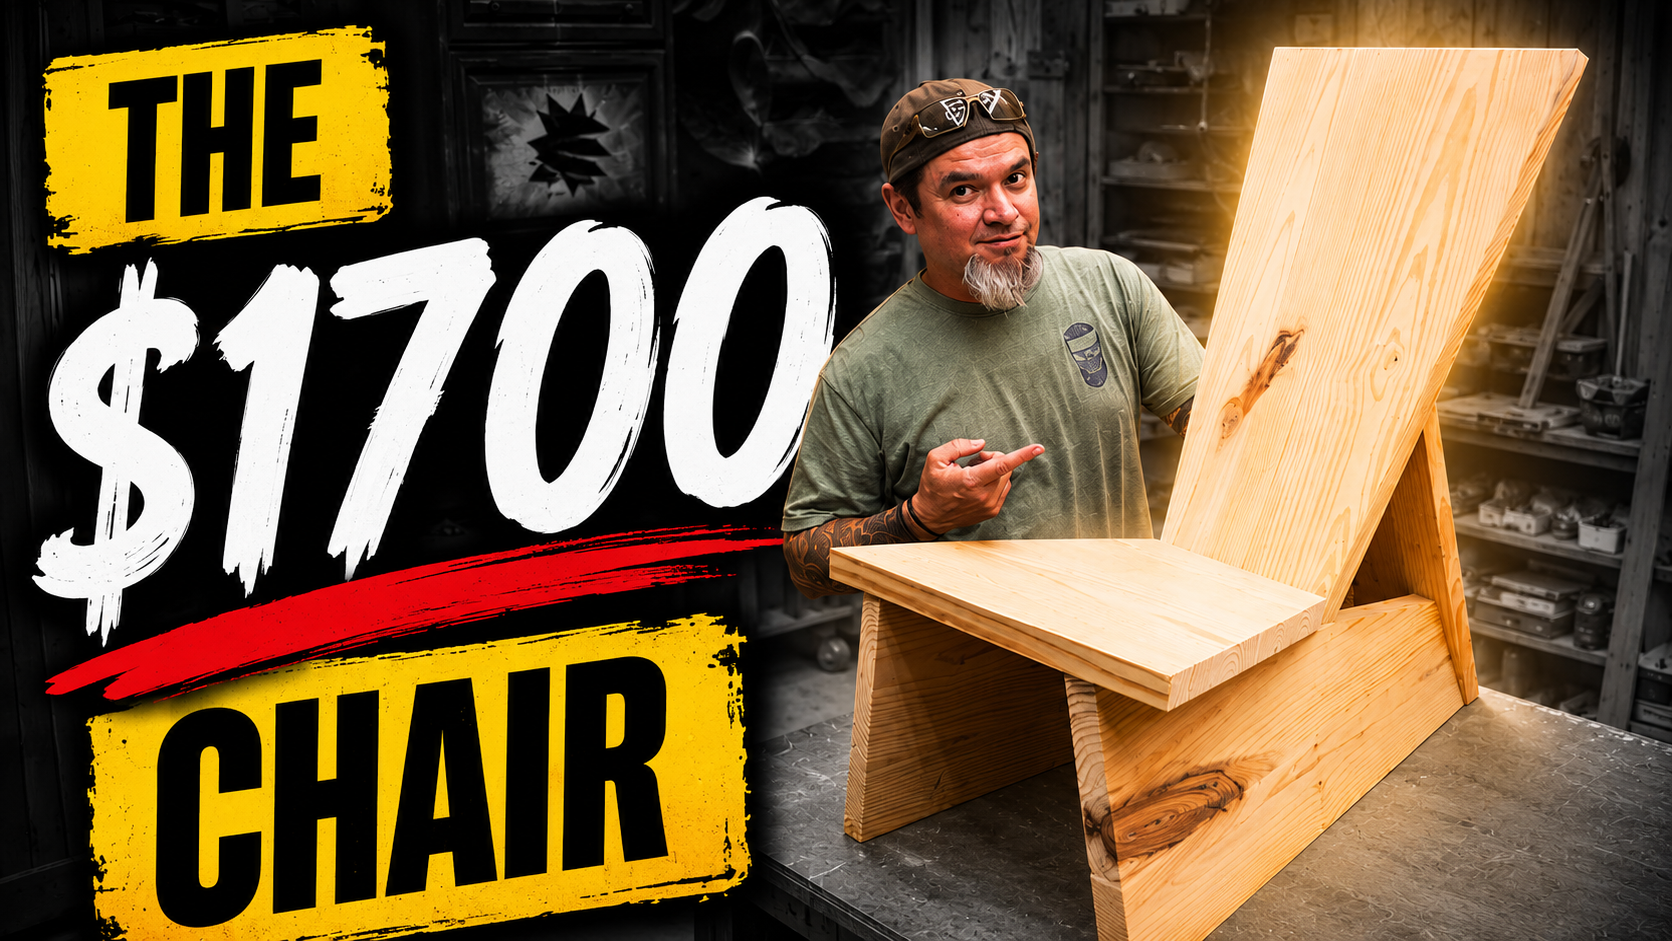
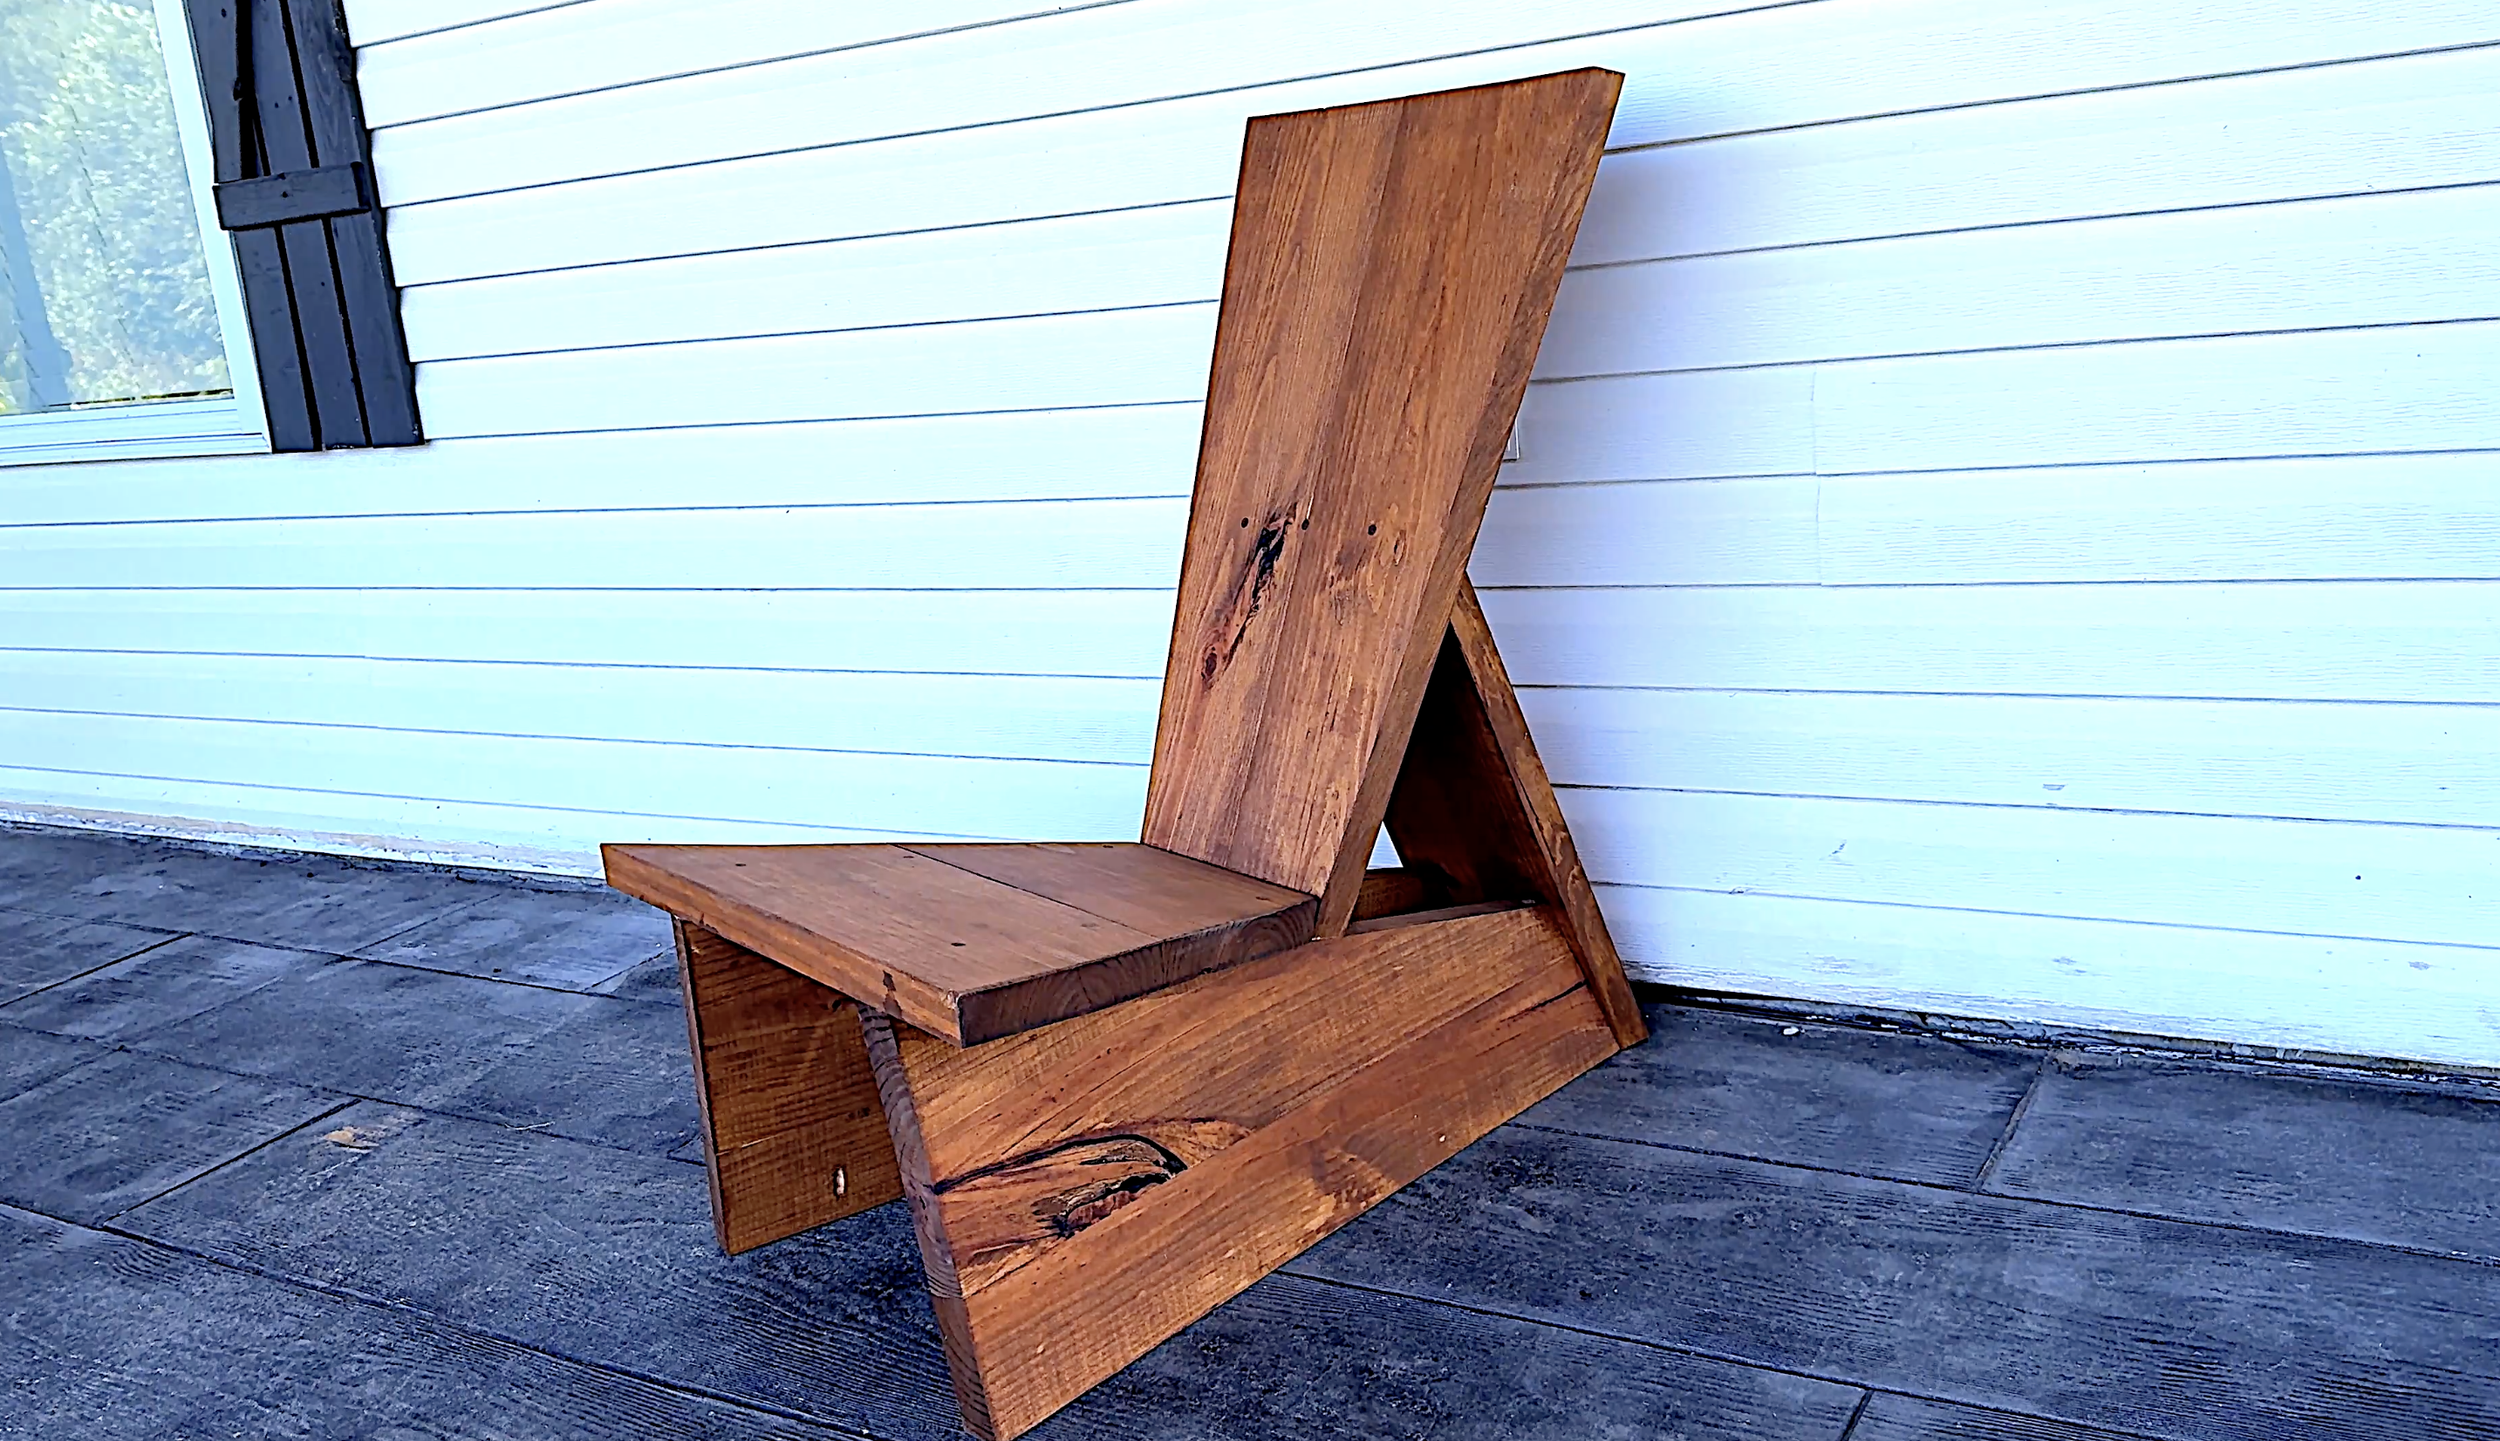
Traditional Adirondack chairs have been backyard favorites for generations, but recently a new style has taken the woodworking world by storm—the modern Adirondack chair. With its bold angles, oversized profile, and clean contemporary design, it's easy to see why. The only problem? Some retailers are asking over $1,700 for a single chair.
The good news is that you don't need exotic hardwoods or expensive equipment to build one yourself.
In this guide, I'll show you how to build a heavy-duty modern Adirondack chair using common construction lumber and basic woodworking tools. The design is sleek, durable, and surprisingly straightforward once you understand the angles.
Materials You’ll Need
Lumber
Four 2×10 boards
(You can substitute 2×12 lumber if you'd like slightly wider components.)
Hardware
2½" Wood Screws
Pocket Hole Screws
Wood Glue
Wood Dowels (Optional)
Tools
Table Saw
Miter Saw
Circular Saw (or Track Saw)
Pocket Hole Jig
Drill/Driver
Countersink Bit
Straightedge or Cutting Guide
Let’s Get Going!
Step 1: Cut the Leg Material
The legs are the foundation of the chair and create its unique modern silhouette.
Cut three boards, each measuring 31½ inches long.
Next, rip ⅛ inch off each factory edge to remove the rounded corners, leaving clean square edges approximately 9 inches wide.
Take one of those boards and rip it directly down the middle to create two 4½-inch-wide boards. These narrower pieces will later be laminated to the wider boards to create the oversized leg blanks.
Step 2: Laminate the Leg Panels
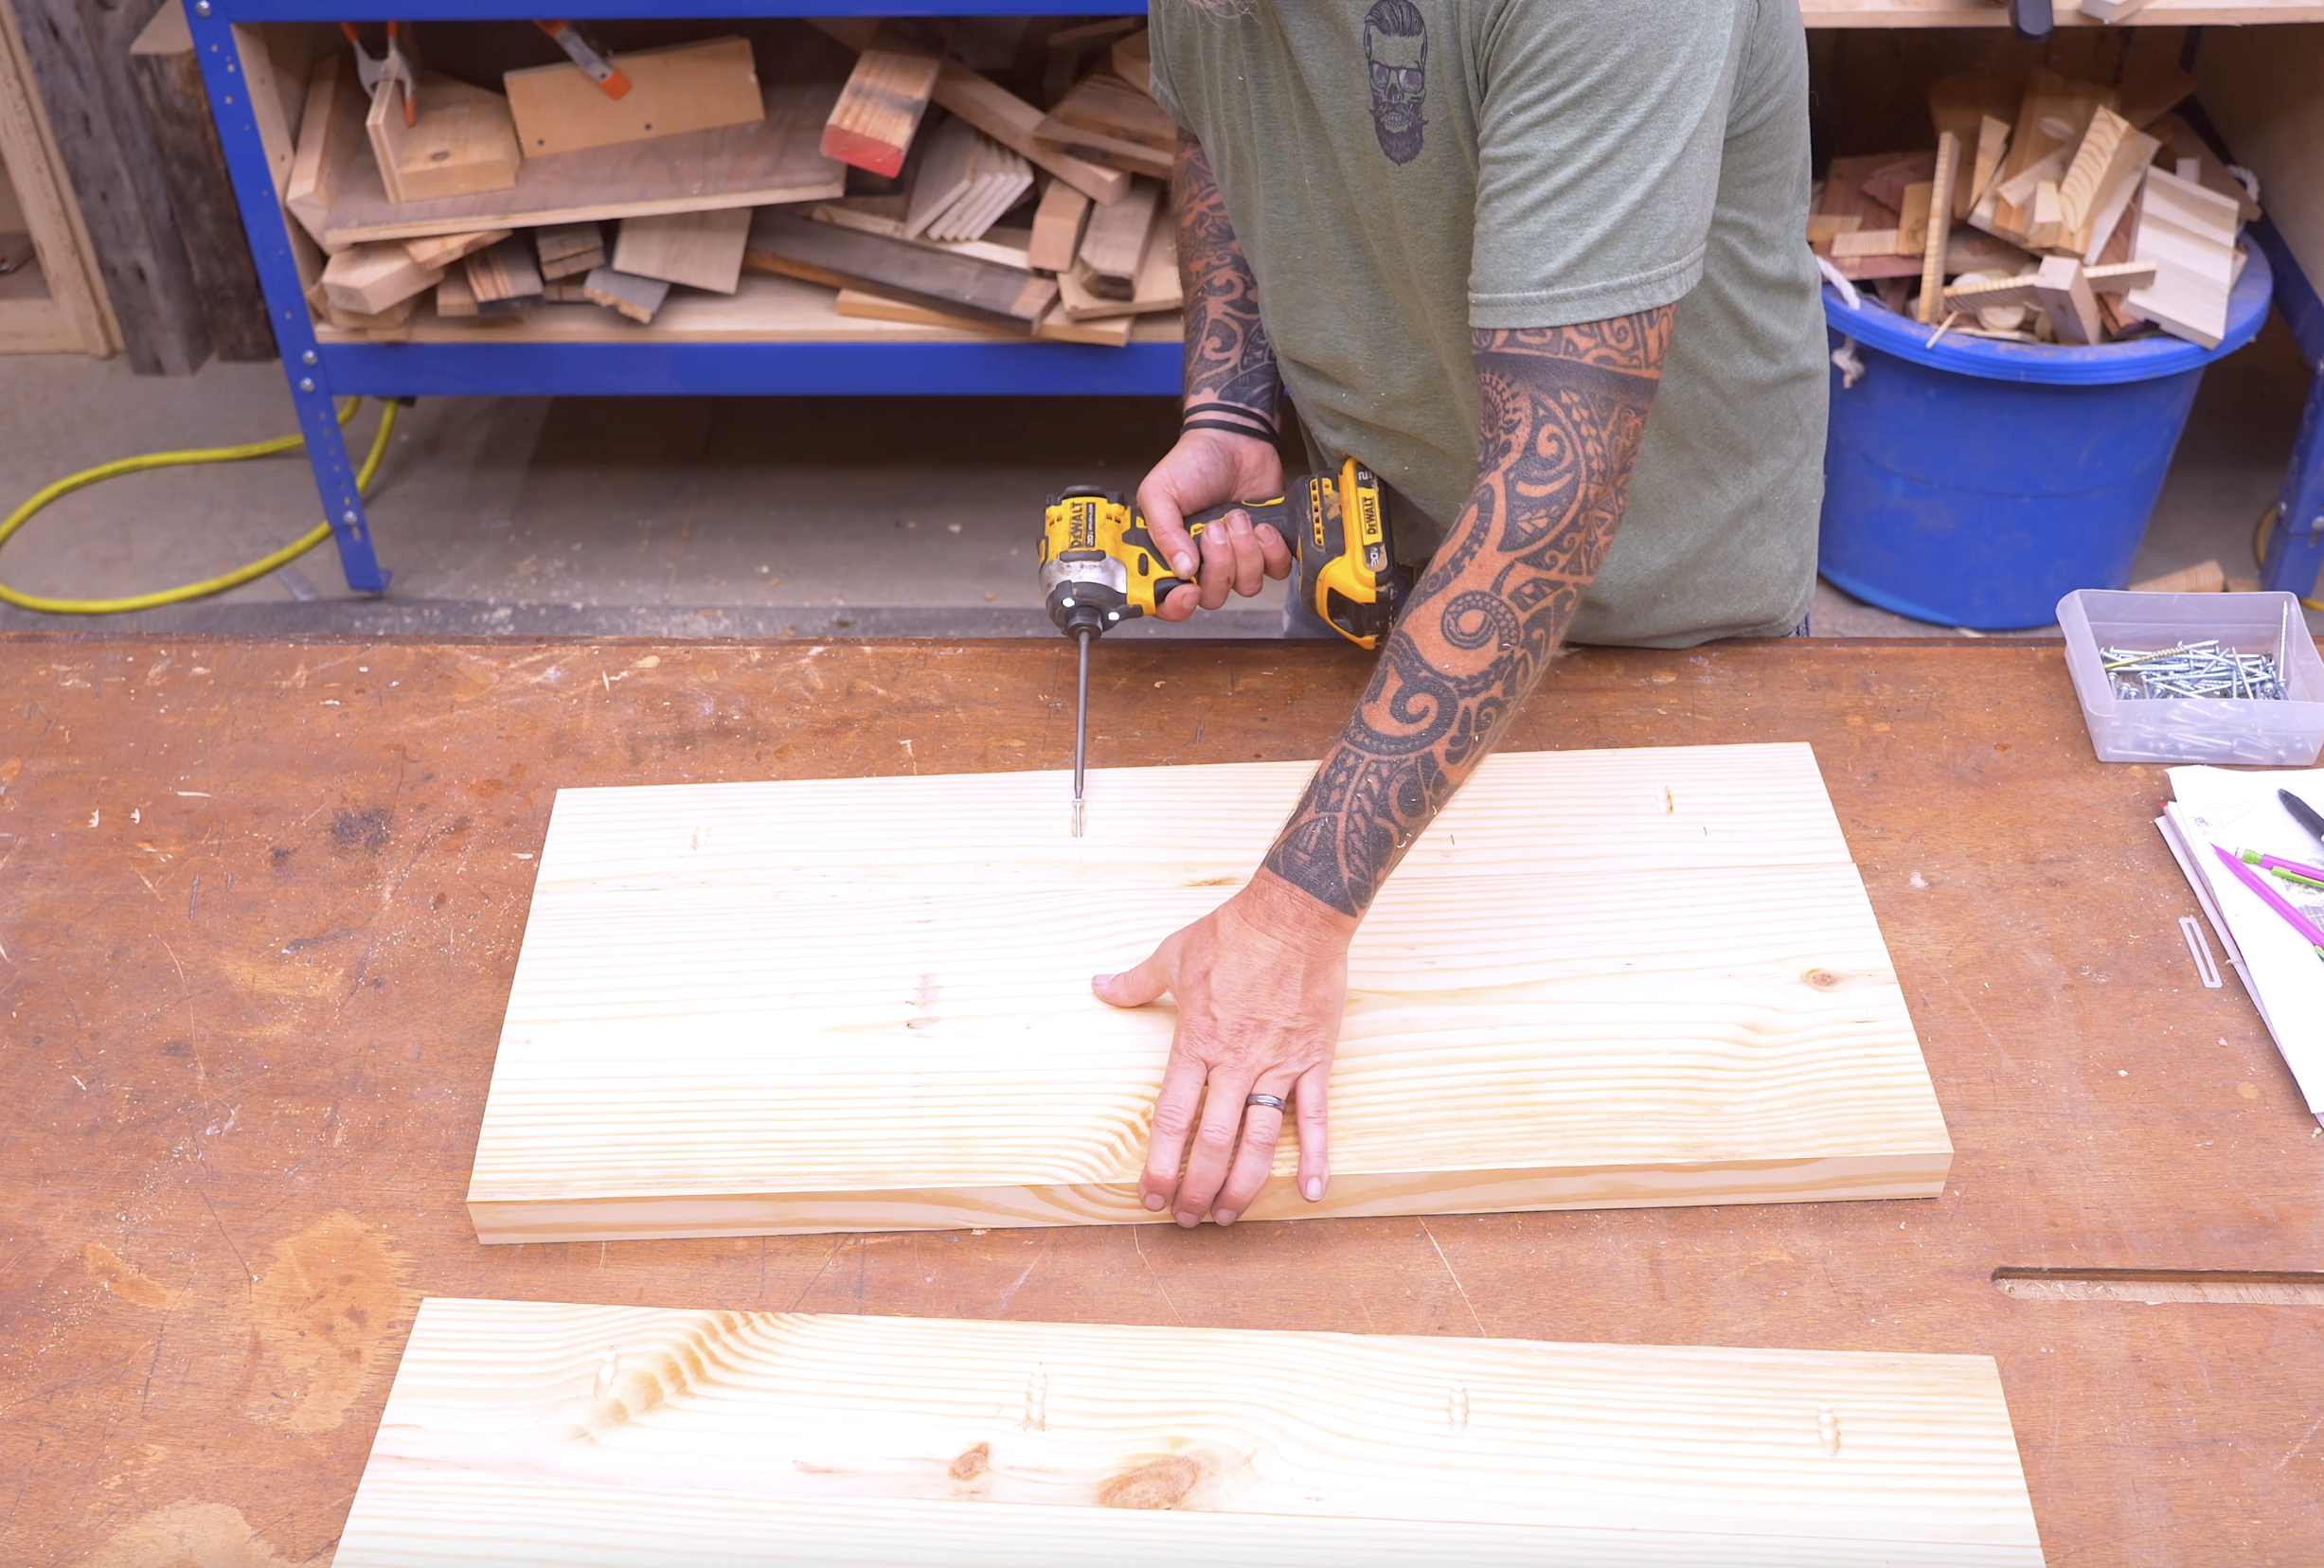
Each leg is made by joining:
One full-width board
One 4½-inch board
Drill four pocket holes along the edge of each 4½-inch board.
Apply wood glue, align the pieces, and fasten them together with pocket hole screws.
As you assemble them, label each blank:
Inside
Outside
Front
Back
Top
Bottom
Keeping everything labeled now makes the angle cuts much easier later.
Step 3: Cut the First Leg Bevel
Tilt your table saw blade to 11½ degrees.
Run each leg blank through the saw with:
Pocket holes facing down
The 4½-inch laminated section closest to the blade
This bevel creates one of the defining angles of the chair's leg profile.
Step 4: Cut the Lower Leg Angle
Each leg mirrors the other.
For the right leg:
Measure 6 inches up from the bottom on the right side.
For the left leg:
Measure 6 inches up from the bottom on the left side.
Connect each mark to the opposite lower corner.
Set your circular saw to 11½ degrees and use a straightedge guide to cut along the layout line.
Repeat for the second leg.
Step 5: Cut the Upper Leg Angles
These cuts allow the rear support board to sit perfectly flush against both legs.
Left Leg
Miter: 20° left
Bevel: 11½° right
Right Leg
Miter: 20°
Bevel: 11½° left
One important tip from the build: keep your pocket holes at least 4 inches away from the end of the board so they don't interfere with these cuts.
Step 6: Build the Rear Support
Cut one board 24 inches long.
Make:
One 20-degree angled end
One 45-degree angled end
Remove ⅛ inch from both long edges so it matches the clean square appearance of the other parts.
Position the rear support between the two legs and fasten it with countersunk screws. If you plan to plug the screw holes with wood dowels later, now is the time to pre-drill and counterbore each screw location.
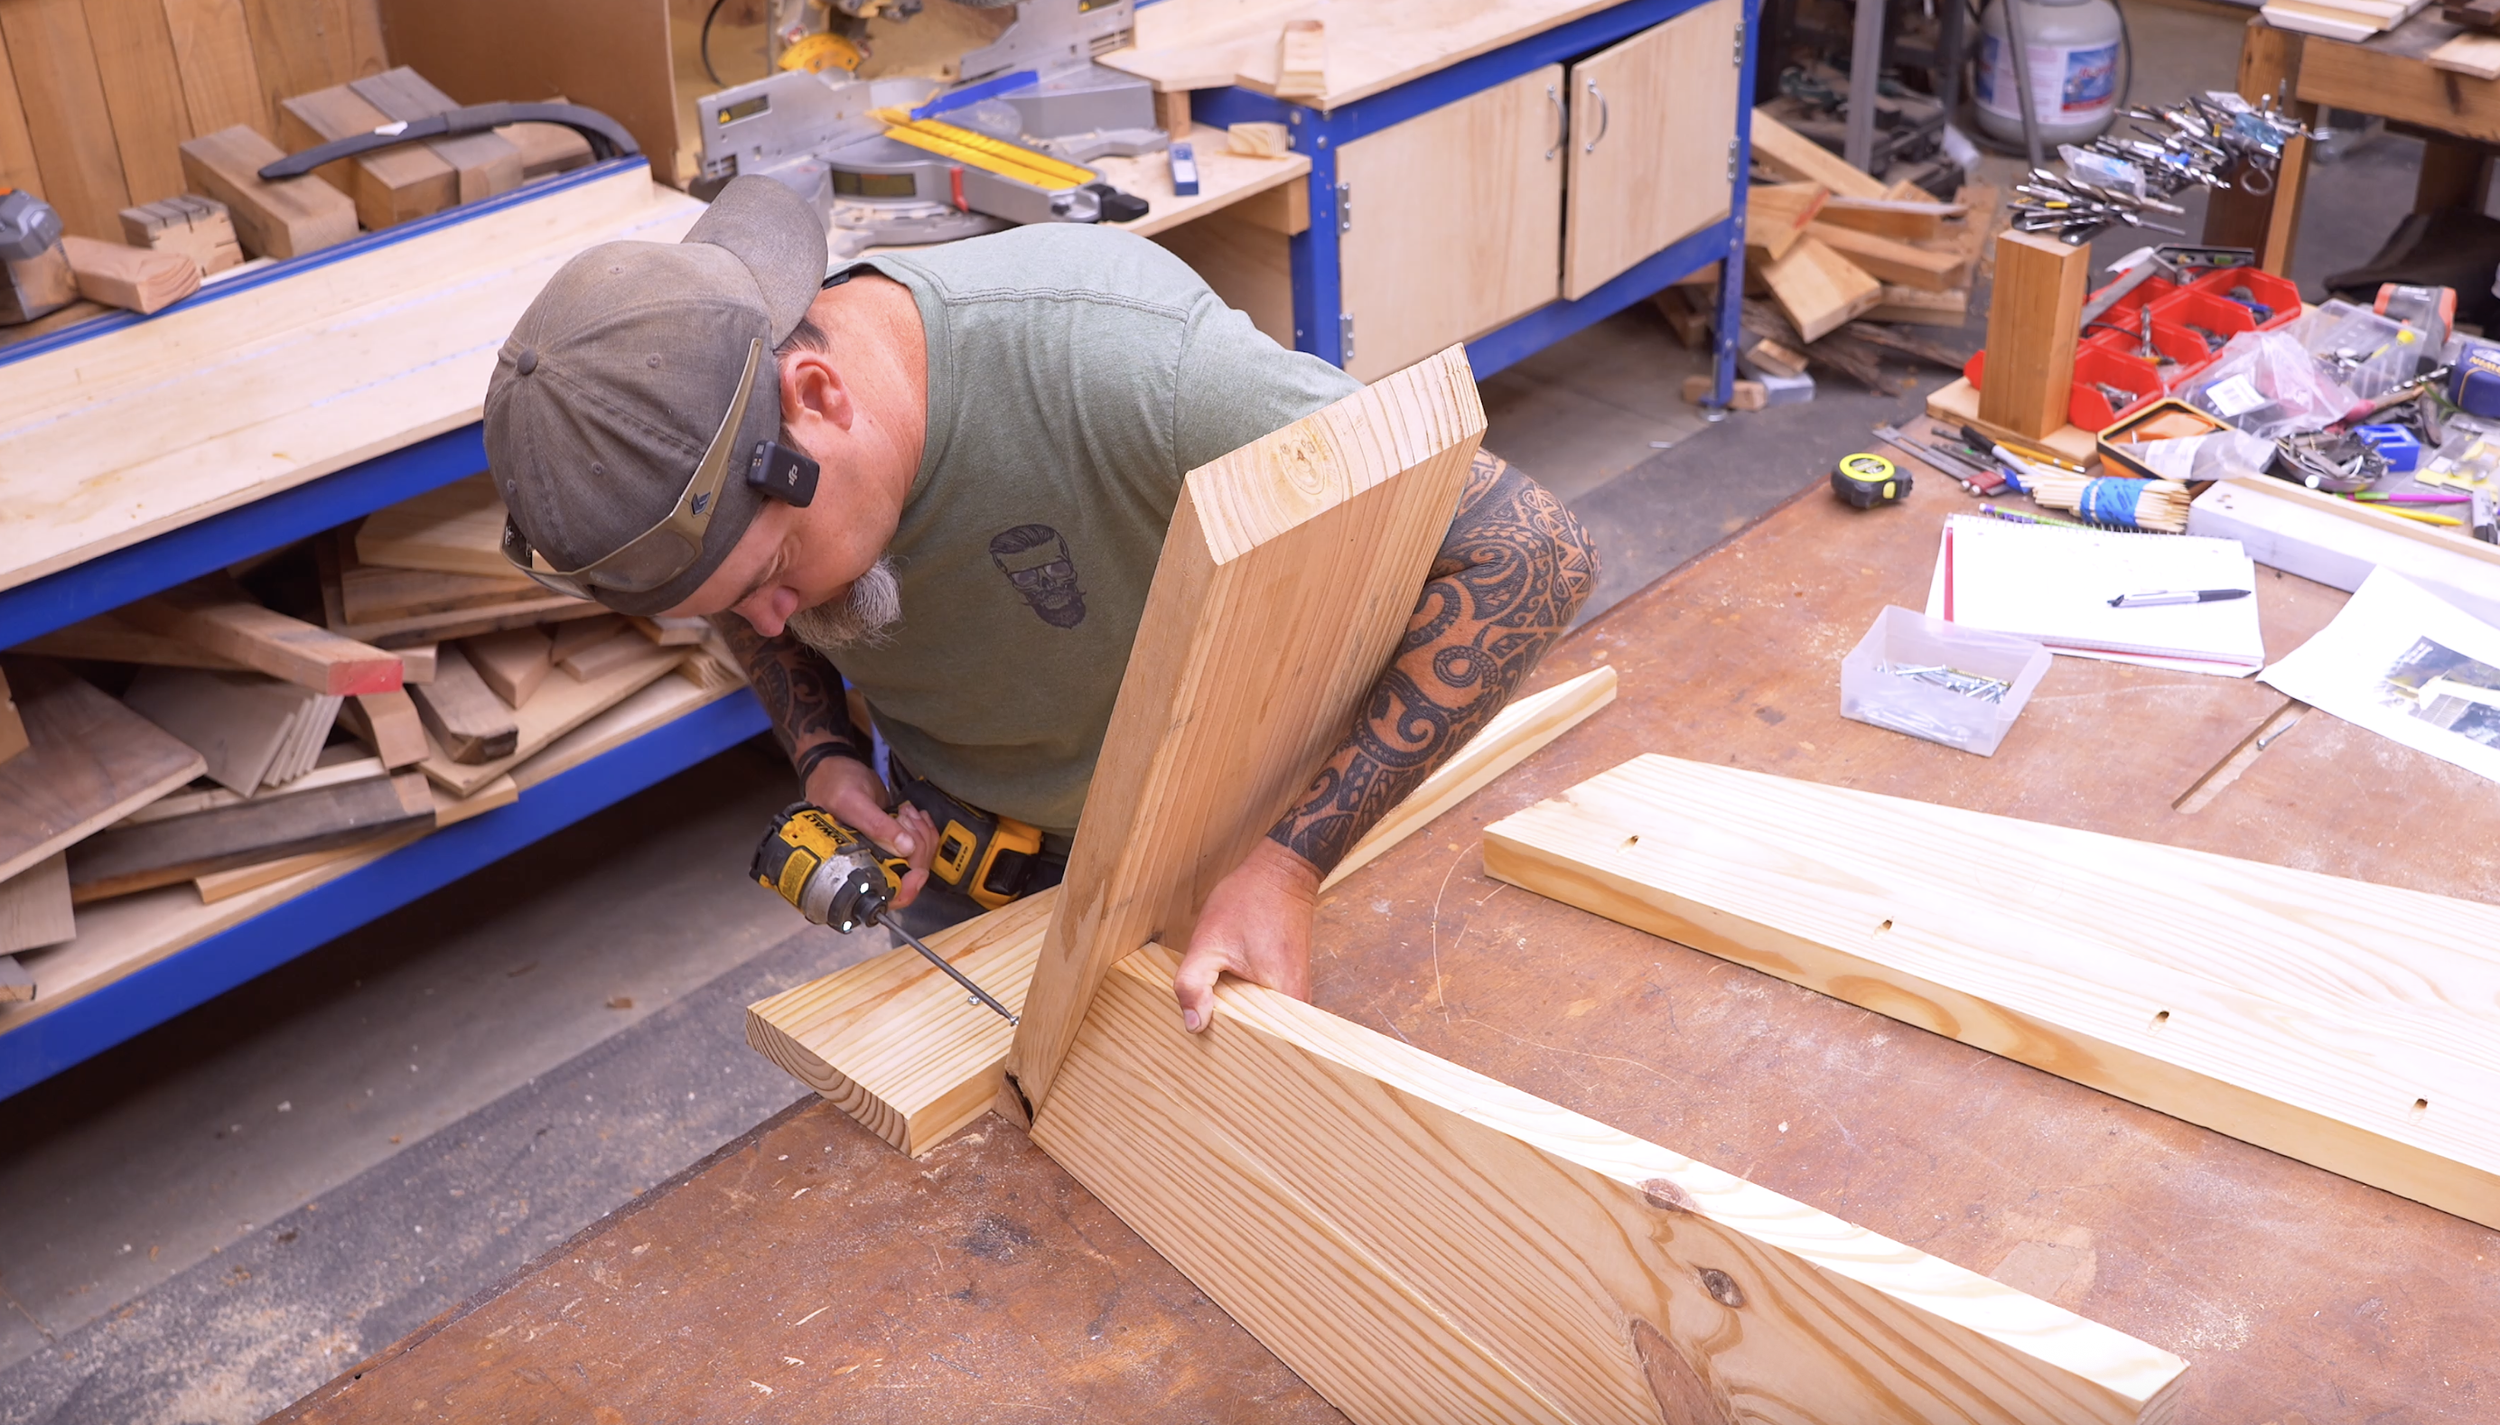
Step 7: Build the Backrest
Cut two boards, each 30 inches long.
Add 11½-degree angles to both ends of each board, with both angles facing the same direction.
Rip ⅛ inch off both factory edges.
Join the boards together using pocket hole screws to create one oversized backrest panel.
Step 8: Build the Seat
Cut two boards, each 24 inches long.
After removing the rounded factory edges, join the boards together using pocket hole screws.
Once assembled, bevel both long edges to 11½ degrees using the table saw.
These angled edges continue the modern design language throughout the chair.
Step 9: Add the Signature Modern Angles
Now it's time to give the chair its finished appearance.
Backrest
Measure 4 inches in from each lower corner.
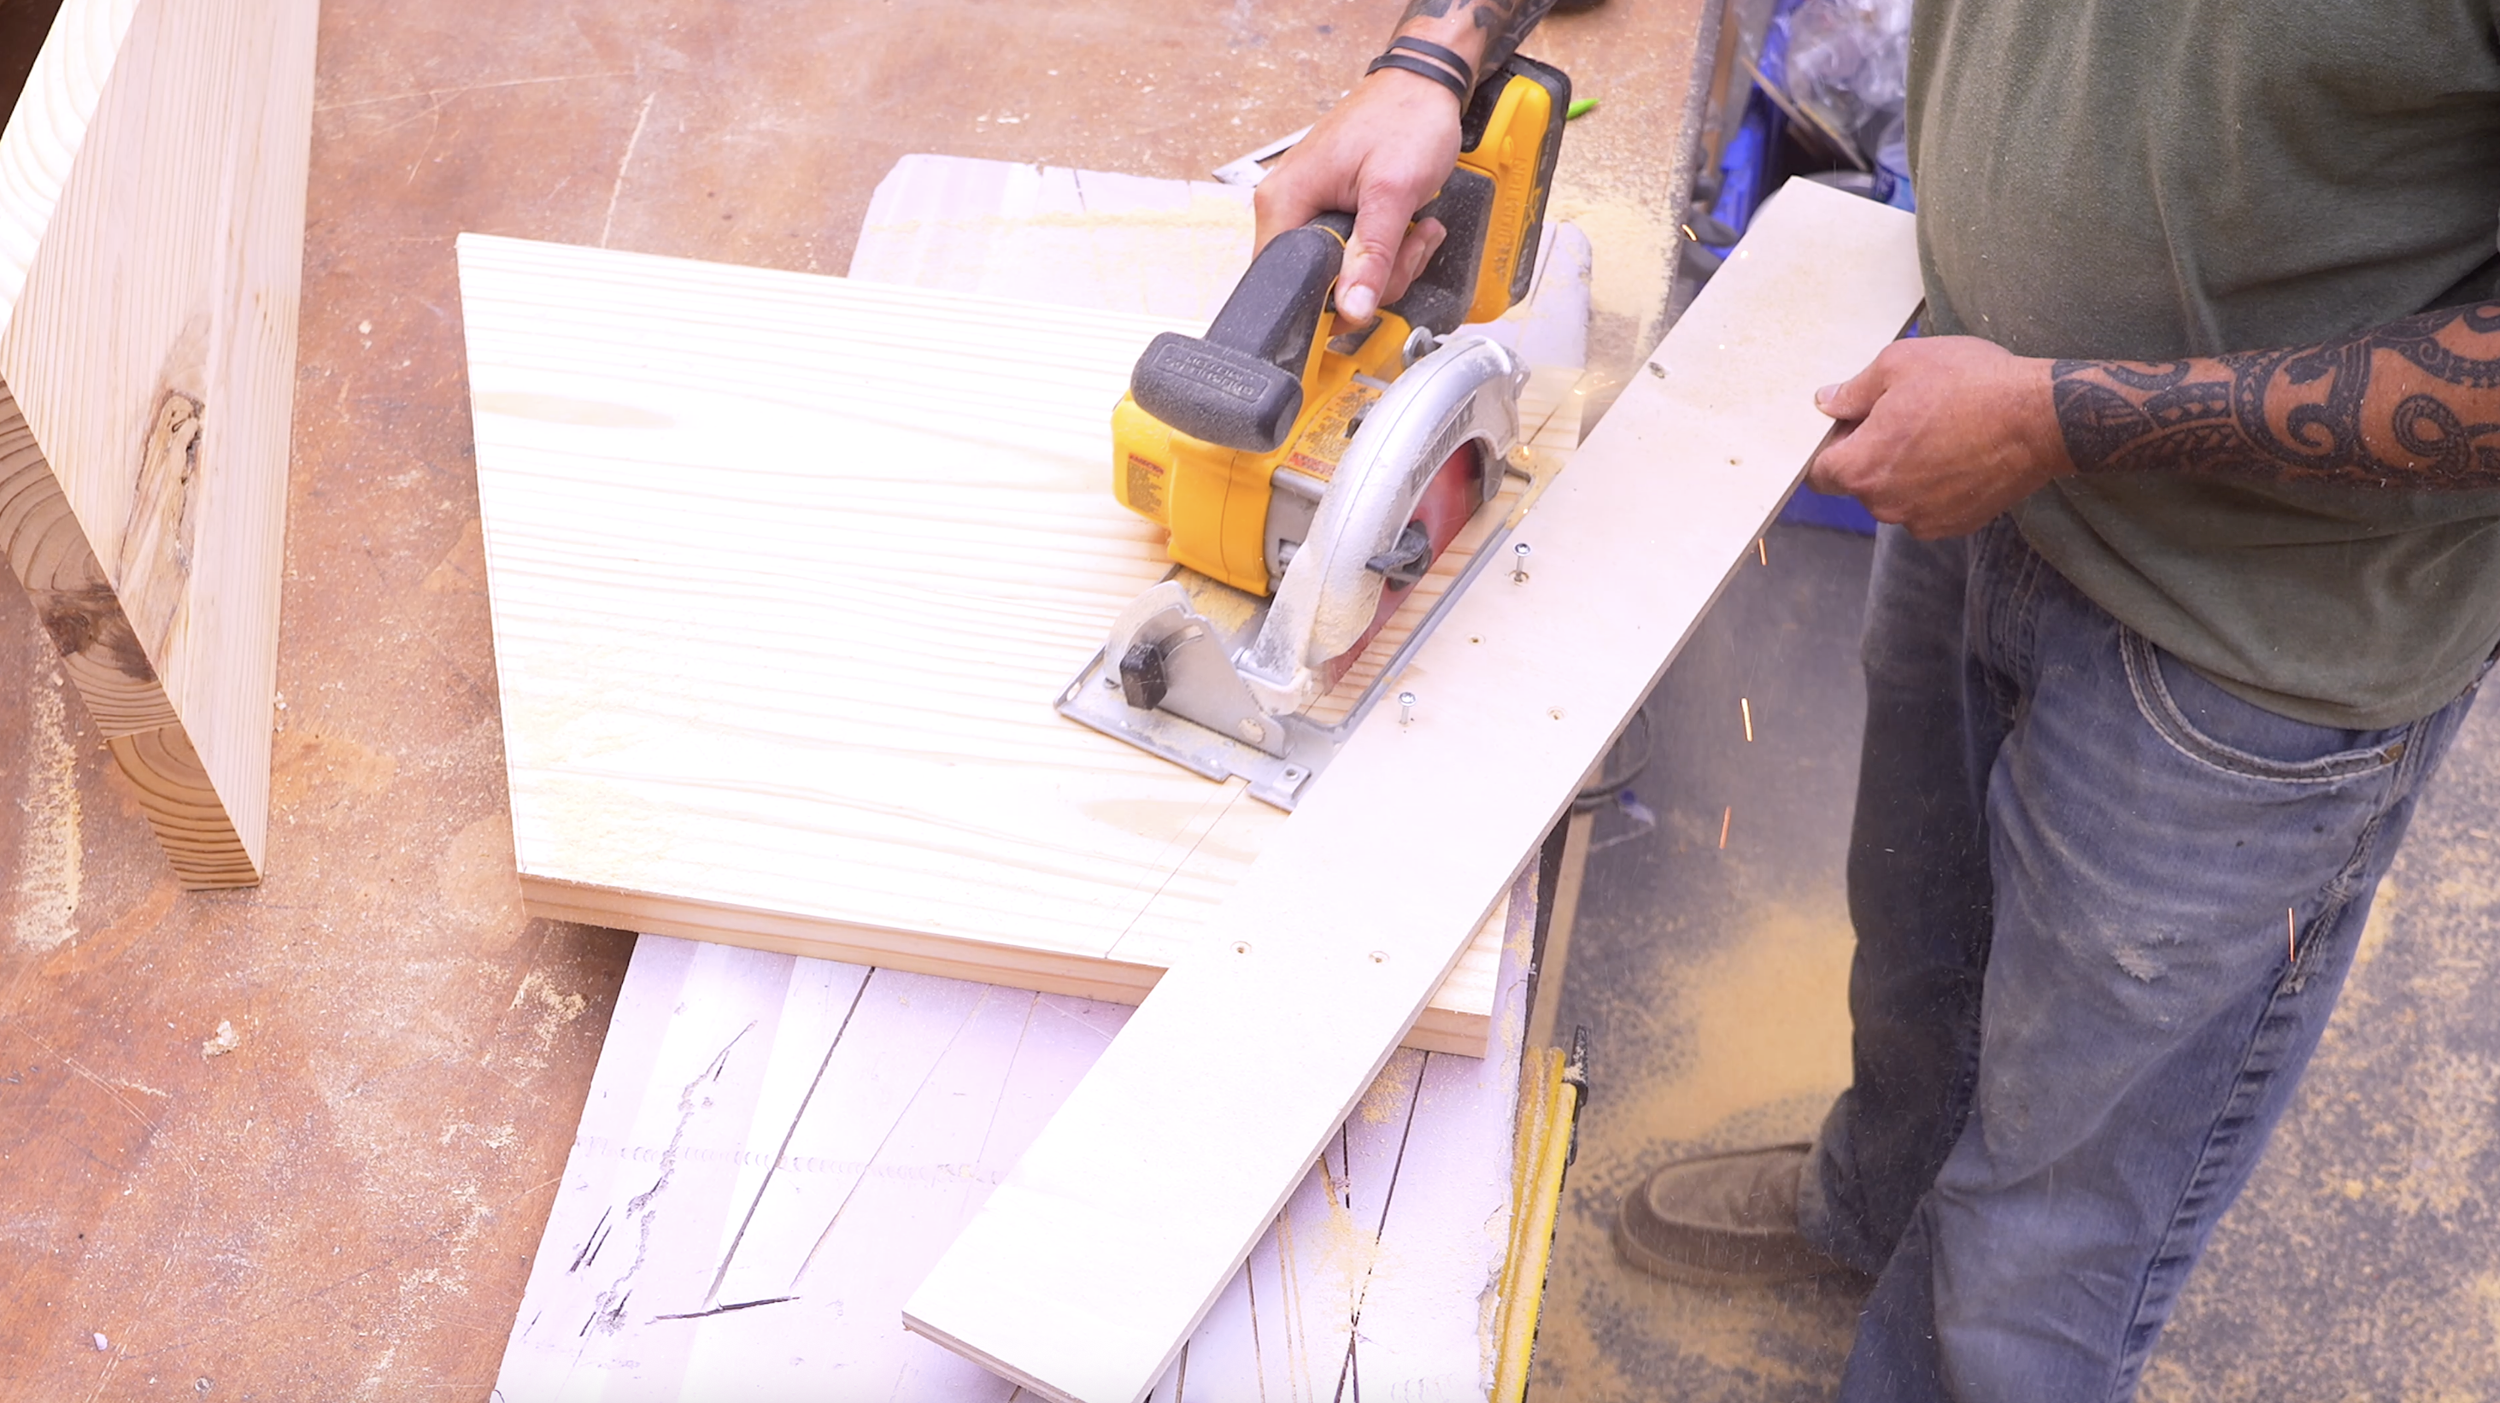
Draw a straight line from those marks to the upper corners and cut both sides with a circular saw.
Seat
Measure 6¾ inches in from each rear corner.
Connect those marks to the front outer corners and cut along the lines.
These two cuts dramatically change the appearance of the chair, giving it the sleek, modern profile that sets it apart from traditional Adirondack chairs.
Step 10: Install the Backrest
Position the backrest against the rear support.
Mark screw locations:
14 inches up from the bottom
3½ inches in from each side
One centered screw
Pre-drill, countersink, and secure using 2½-inch screws.
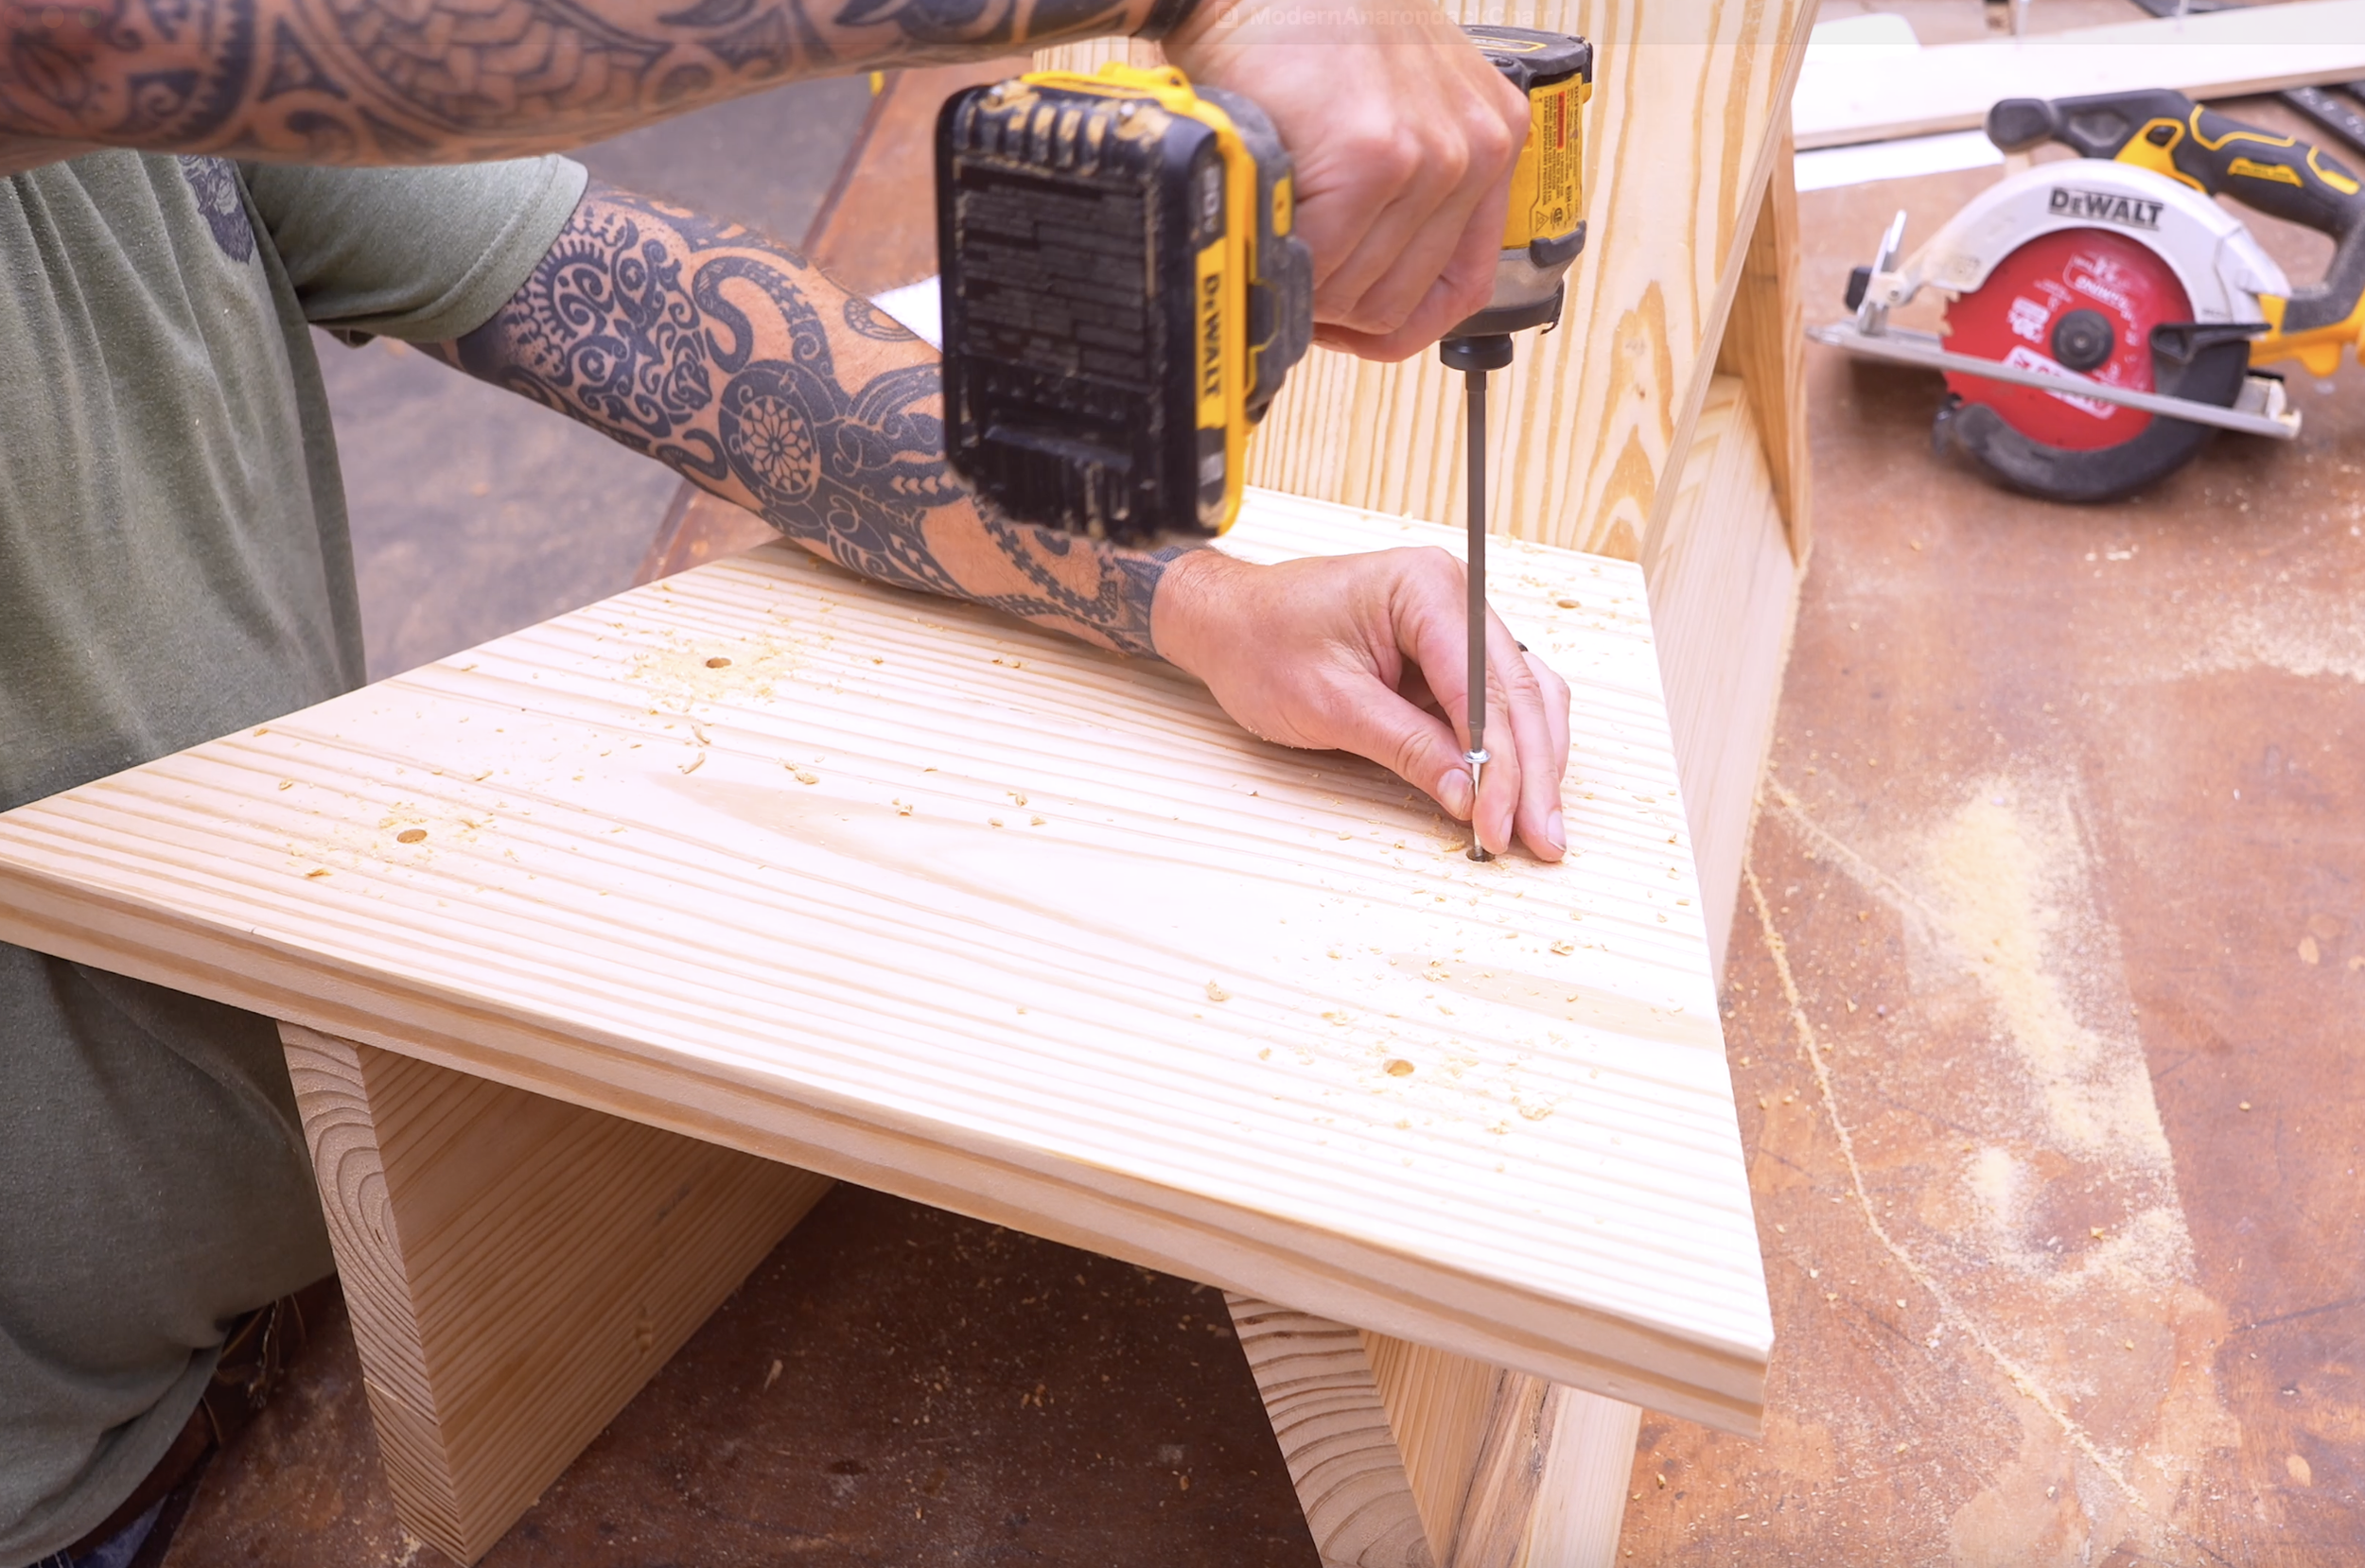
Step 11: Install the Seat
Square the seat with the backrest.
On each leg, mark the following screw locations from the top:
2½"
4¼"
8½"
3"
16"
1"
Pre-drill and countersink each hole before installing the screws.
The seat now ties the entire structure together, creating a surprisingly rigid frame.
Step 12: Finish the Chair
To complete the project:
Plug the countersunk holes with wood dowels if desired.
Sand every surface smooth.
Apply your preferred outdoor stain, paint, or clear exterior finish.
Because the chair is built from common construction lumber, using a quality exterior finish will greatly improve its durability outdoors.
Customization Ideas
This design looks fantastic with a variety of finishes:
Natural Cedar Look
Medium brown stain with a satin outdoor topcoat.
Modern Black
Flat black exterior paint for a contemporary patio.
Two-Tone Finish
Black frame with natural wood seat and back.
Clear Finish
Highlight the wood grain with a UV-resistant clear sealer.
Ready To Build?
What makes this design special isn't expensive lumber—it's thoughtful design.
By laminating wider panels and incorporating consistent angles throughout the build, the chair takes on the appearance of high-end designer furniture while still being made from readily available materials.
It's comfortable, sturdy, and has the kind of modern aesthetic that continues to be extremely popular.
Whether you're building one for your backyard or making several to sell, this project proves you don't need to spend $1,700 to enjoy a beautiful modern Adirondack chair—you just need a few boards, some basic tools, and a weekend in the shop.
And if you’re ready…
You already know the next step.
👉 Get up, get out, and get your build on.
Whether you’re new to woodworking or a seasoned pro, this project offers the perfect mix of functionality and creativity. Below I have the YouTube video linked for a step-by-step video tutorial for you to follow along with. If you’re a more “plans in the hand” person, click “Get Plan” down below for downloadable instructions. And if you’re ready to dive deeper into woodworking, check out my new course, “Woodworking Kickstart” (which is also linked below). It’s packed with step-by-step lessons to help you build confidence and skills, whether you’re a total beginner or an experienced DIYer. You’ll be building with confidence in no time.
Remember, creativity doesn’t have to be expensive; all you need is a little inspiration and a willingness to try.
Get Easy Step-By-Step Directions to build this by clicking the button below
⭐ 10,044 5 Star Reviews
📚 113 Plans to Choose From
🧩 Lego-Like Assembly Steps
📏 Exact Measurements
📋 Detailed cut and part list
🔍 X-Ray Views
🚀 Instant Delivery
