
DIY Woodworking Projects to Make and Sell: Step-by-Step Plans for 3 Bestsellers

Functional & Iconic
In this roundup, we’re breaking down three practical woodworking items inspired by current retail trends: a retro-style wooden recipe box, a mason jar planter/holder, and a decorative shelf ladder. These are the kinds of projects that can be built from basic lumber or even scrap wood, then customized to fit your own style and market. The best part is that each one is simple enough for newer woodworkers, but still leaves room to add premium details that help your work stand out.
Whether you sell at craft fairs, on Facebook Marketplace, in booths, or by word of mouth, these are exactly the kinds of low-cost, high-profit woodworking projects that can move.
1. Wooden Recipe Box
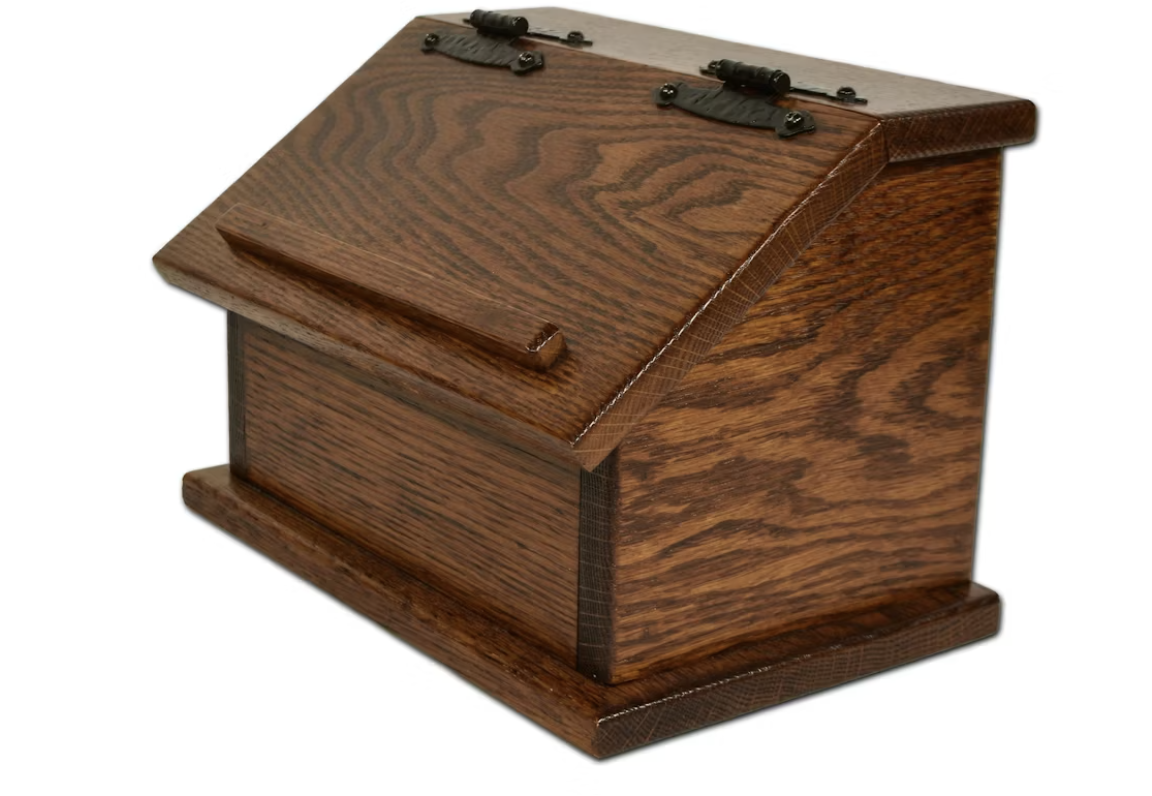
A wooden recipe box is a classic project, this version leans heavily into the 1980s oak look that has come back around. This is a solid oak recipe box selling for $225, which makes this a great candidate for a high-margin small build. While oak fits the nostalgic trend, woods like cherry or walnut could create an even better-looking version while keeping the same overall design.
Finished Dimensions
The base footprint is approximately:
6 inches wide
8 inches long
The upper structure is inset slightly, and the side profile includes an angled front.
Cut List
Cut the following pieces:
Bottom panel: 6" x 8"
Two side pieces: 5 1/2" x 5 1/2"
Front panel: 6 1/2" x 2 1/2"
Back panel: 6 1/2" x 5 1/2"
Stationary top back piece: 2 1/2" x 8"
Lid: about 5" x 8"
Front recipe card stop: about 6" long x 1/2" wide x 1/4" thick
Step 1: Cut the Side Panels
Start with two side panels cut to 5 1/2" x 5 1/2".
To create the angled front:
Measure over 2 1/2 inches on the front edge
Mark a line from that point upward
Cut a 45-degree angle across the top-front portion
This leaves you with a 2 1/2-inch-high front edge on each side piece. Both sides should mirror each other.
Step 2: Cut the Front & Back Panels
The front panel fits between the two side panels and sits on top of the bottom board.
Cut:
Front panel: 6 1/2" long x 2 1/2" high
Back panel: 6 1/2" long x 5 1/2" high
These will be sandwiched between the sides during assembly.
Step 3: Assemble the Box Base
Using wood glue and brad nails:
Position the front panel between the two side panels
Position the back panel between the two side panels
Glue and pin everything together from the outside
Flip the assembly over
Attach the 6" x 8" bottom panel from underneath using glue and brad nails
At this point, the main box structure is complete.
Step 4: Cut & Install the Stationary Top Back Piece
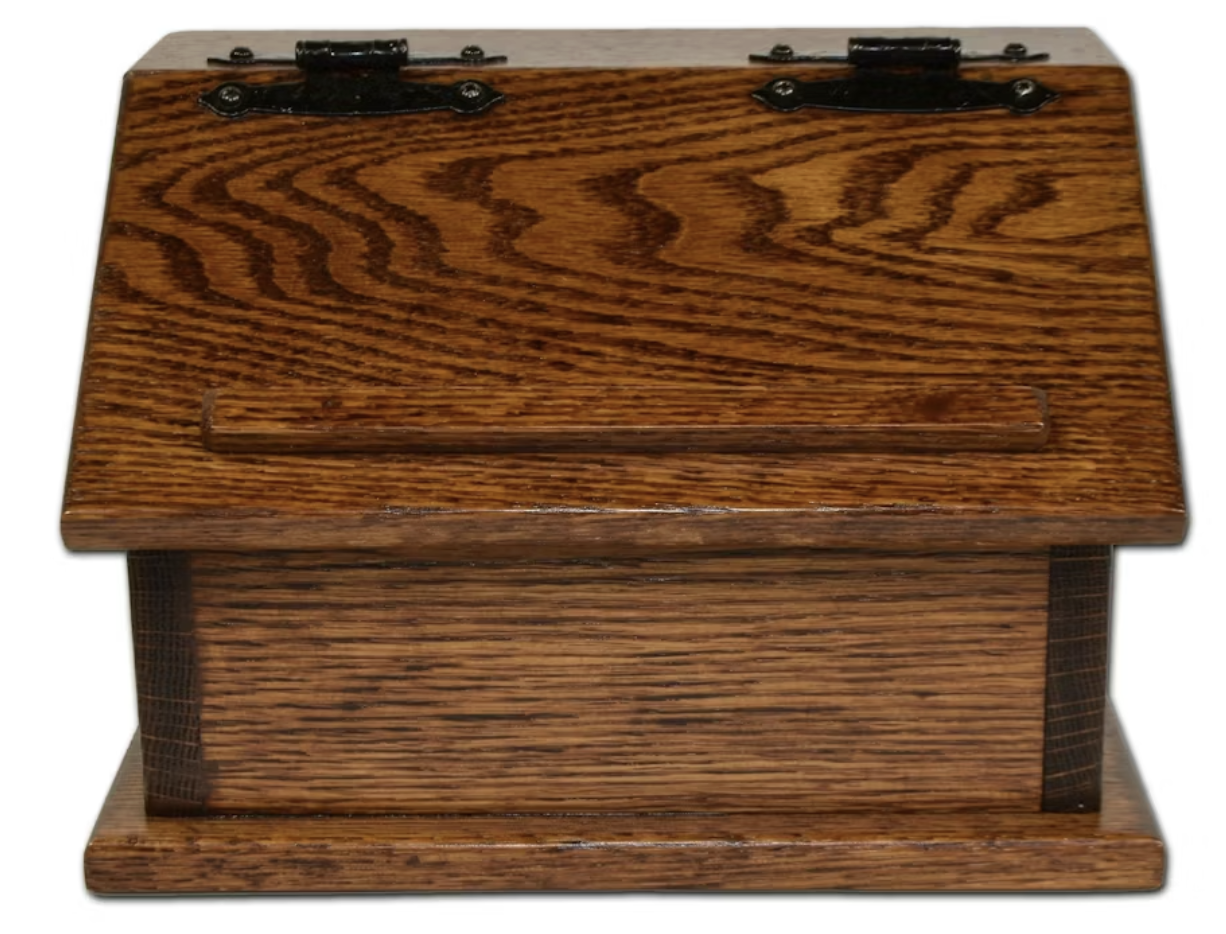
The recipe box has a fixed top section at the back and a hinged lid at the front. These two pieces meet at an angle.
Because the lid sits against the 45-degree side angle, and the two top pieces meet together, the edge on each top piece needs to be cut at 22.5 degrees. That splits the angle cleanly between them.
For the stationary top back piece:
Cut it 2 1/2" wide x 8" long
Rip one long edge at 22.5 degrees
Attach it along the back top of the box
Step 5: Cut the Lid
For the lid:
Rip one long edge at 22.5 degrees
Measure along the angled side profile until you reach the 6-inch bottom depth reference
The angled length comes out to about 5 inches
Final lid size is approximately 5" x 8"
This gives the lid the correct angled profile so it meets neatly against the stationary top piece.
Step 6: Add the Front Card Holder Strip
Cut a small strip roughly:
6 inches long
1/2 inch wide
1/4 inch thick
Attach it to the front of the lid or front edge area so it can hold a recipe card while cooking.
Step 7: Install Hinges
The original design uses exposed retro-style hinges, the kind commonly seen on older kitchen cabinets. You can absolutely use those for a true vintage look, or swap them for a more toned-down hinge if you want a more modern version.
Optional Upgrades
To make your recipe boxes stand out:
Use walnut or cherry instead of oak
Round over exposed edges lightly
Add a personalized engraved name
Offer custom stain options
Line the inside bottom with cork or felt
Bundle with recipe cards as a gift set
Why This Project is a Strong Seller
This one checks a lot of boxes: giftable, nostalgic, functional, compact, and easy to display. It also looks much more expensive than it is to build. That combination is gold for small-shop woodworking.
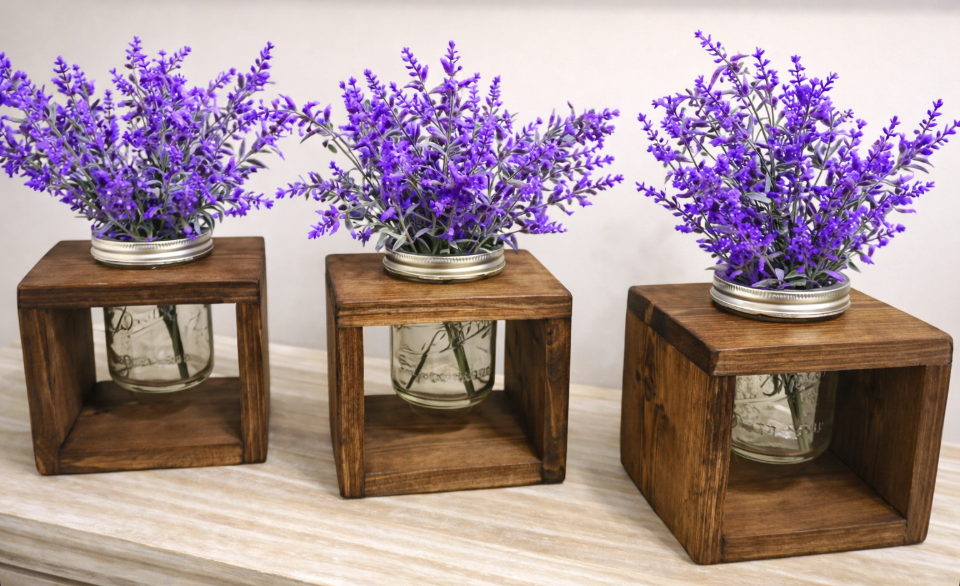
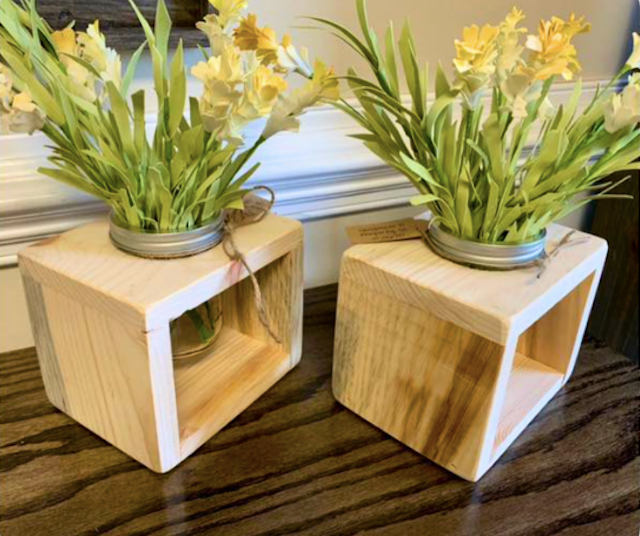
2. Mason Jar Planter/Holder
The second project is a simple planter sized for a pint mason jar. This is already a proven seller from another maker in the community, and it can literally be built from scrap wood. That makes it a great beginner-friendly woodworking project to batch out in volume.
These can be sold as:
Flower holders
Bathroom organizers
Kitchen herb displays
Rustic decor accents
Seasonal gift items
Cut List
Top piece: 4" wide x 5" long
Two side pieces: 4" x 4"
Bottom piece: 4 3/4" x 4 3/4"
I suggest using 4" material to keep things simple.
Step 1: Cut the Top Piece
Cut one top board to:
4" wide
5" long
This board will hold the mason jar ring and needs a centered hole cut into it.
Step 2: Measure the Mason Jar Opening Correctly
Before cutting, grab the actual mason jar and its metal ring.
Use a hole saw to cut an opening sized for the jar body, but do not make it so large that the ring falls through. The goal is for the metal ring to sit securely on top of the wood. That fit matters, so do not guess if you can avoid it. Test the opening size first on a scrap piece if needed.
Step 3: Cut the Sides & Bottom
Cut:
Two side pieces at 4" x 4"
One bottom piece at 4 3/4" x 4 3/4"
These are joined with simple butt joints.
Step 4: Assemble the Holder
Attach the two side pieces to the bottom piece using:
Wood glue
Brad nails or small screws
Then attach the top piece across the top of the sides, forming a simple open-front holder shape.
Once assembled, the mason jar should drop into the top opening with the ring holding it in place.
Step 5: Sand & Finish
Break sharp edges with sandpaper, then finish however you like.
Popular finish options:
Dark walnut stain for a rustic look
White paint with distressed edges
Natural clear coat
Charred and brushed finish
Two-tone wood with contrasting splines or accents
Optional Upgrades
A few ways to elevate this simple build:
Use mitered corners instead of butt joints
Add splines across the miters
Use a contrasting spline wood like walnut for visual pop
These small details can make a simple project look much more custom and high-end without adding much cost.
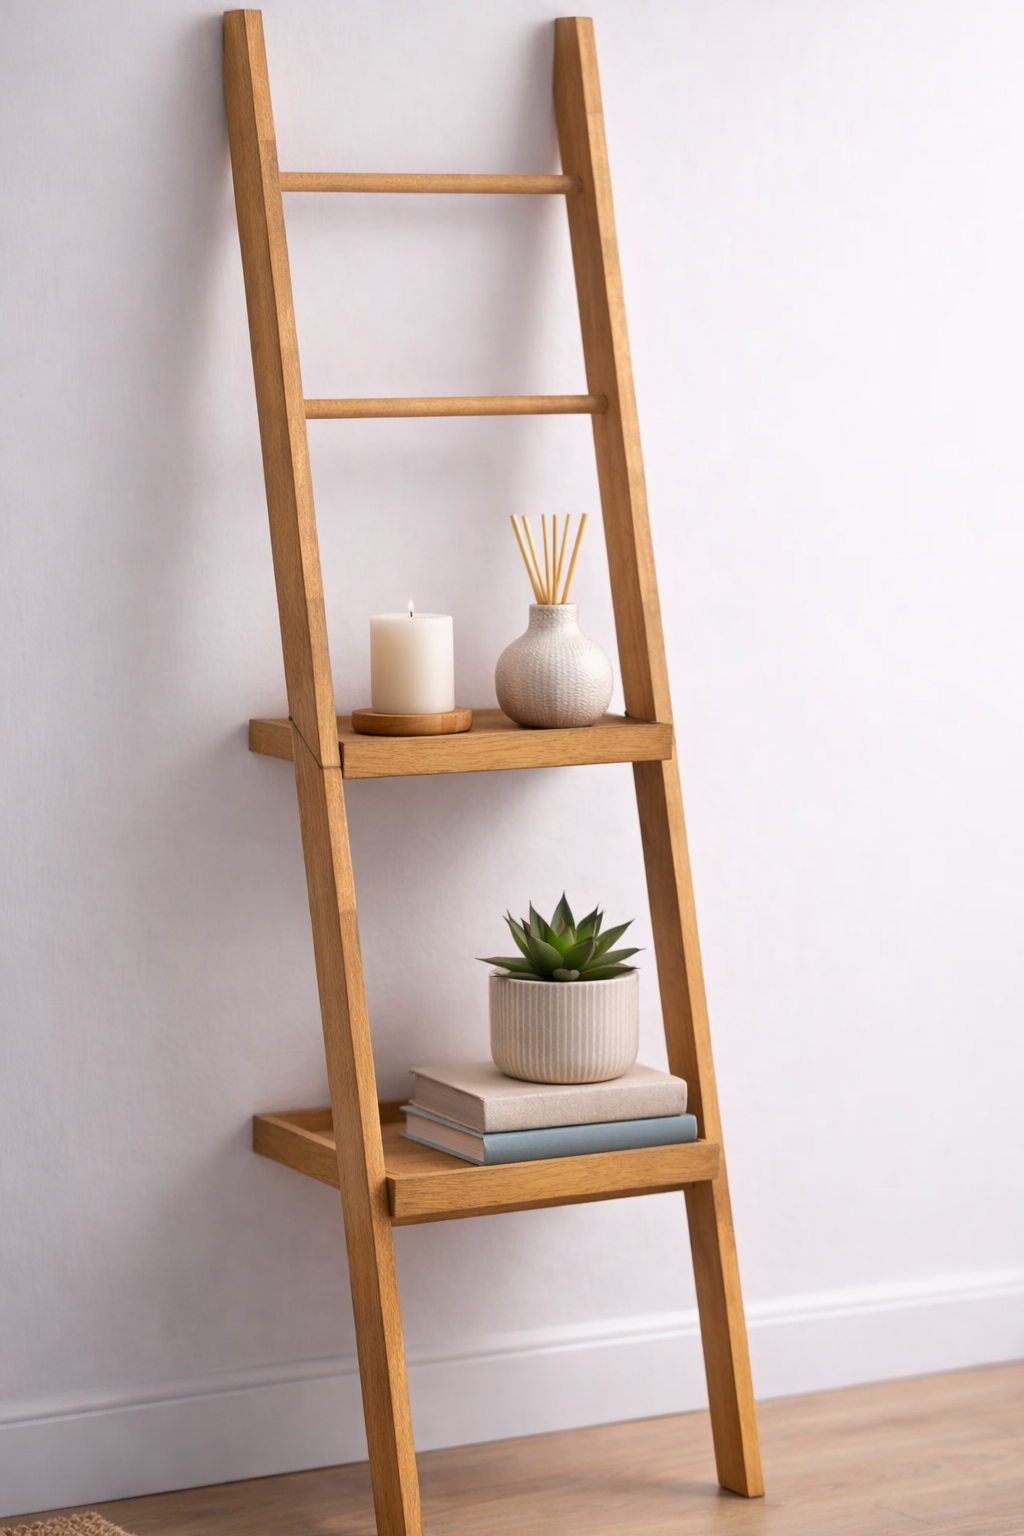
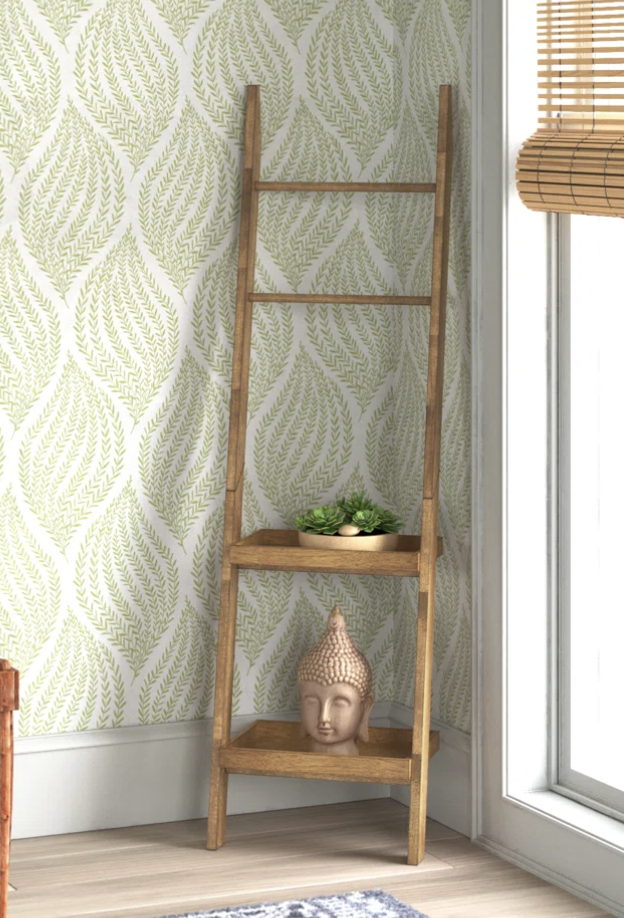
3. Decorative Shelf Ladder
Ladder decor has been popular for a long time, but this version solves one of the biggest limitations of standard ladders: lack of flat display space. By adding two shelves or box sections near the bottom, this design becomes more versatile and more attractive to buyers who want function along with the look. This ladder is selling for around $100.
This project is ideal for:
Bathroom towel storage
Quilt display
Entryway decor
Porch decorating
Seasonal displays
Small booth or market inventory
Finished Size
6 feet tall
18 inches wide
Bottom box 10 inches deep
Upper box 8 inches deep
Step 1: Build the Two Shelf Boxes
Bottom box:
18" wide
10" deep
Top box:
18" wide
8" deep
These can be built as straightforward open-top boxes sized to your preferred shelf height.
A practical approach is:
Cut front and back pieces to 18"
Cut side pieces to match the selected depth
Use butt joints, glue, and brad nails or screws
Add bottom panels for full shelf support
If you want a more polished product, use mitered corners or add trim to the front edges.
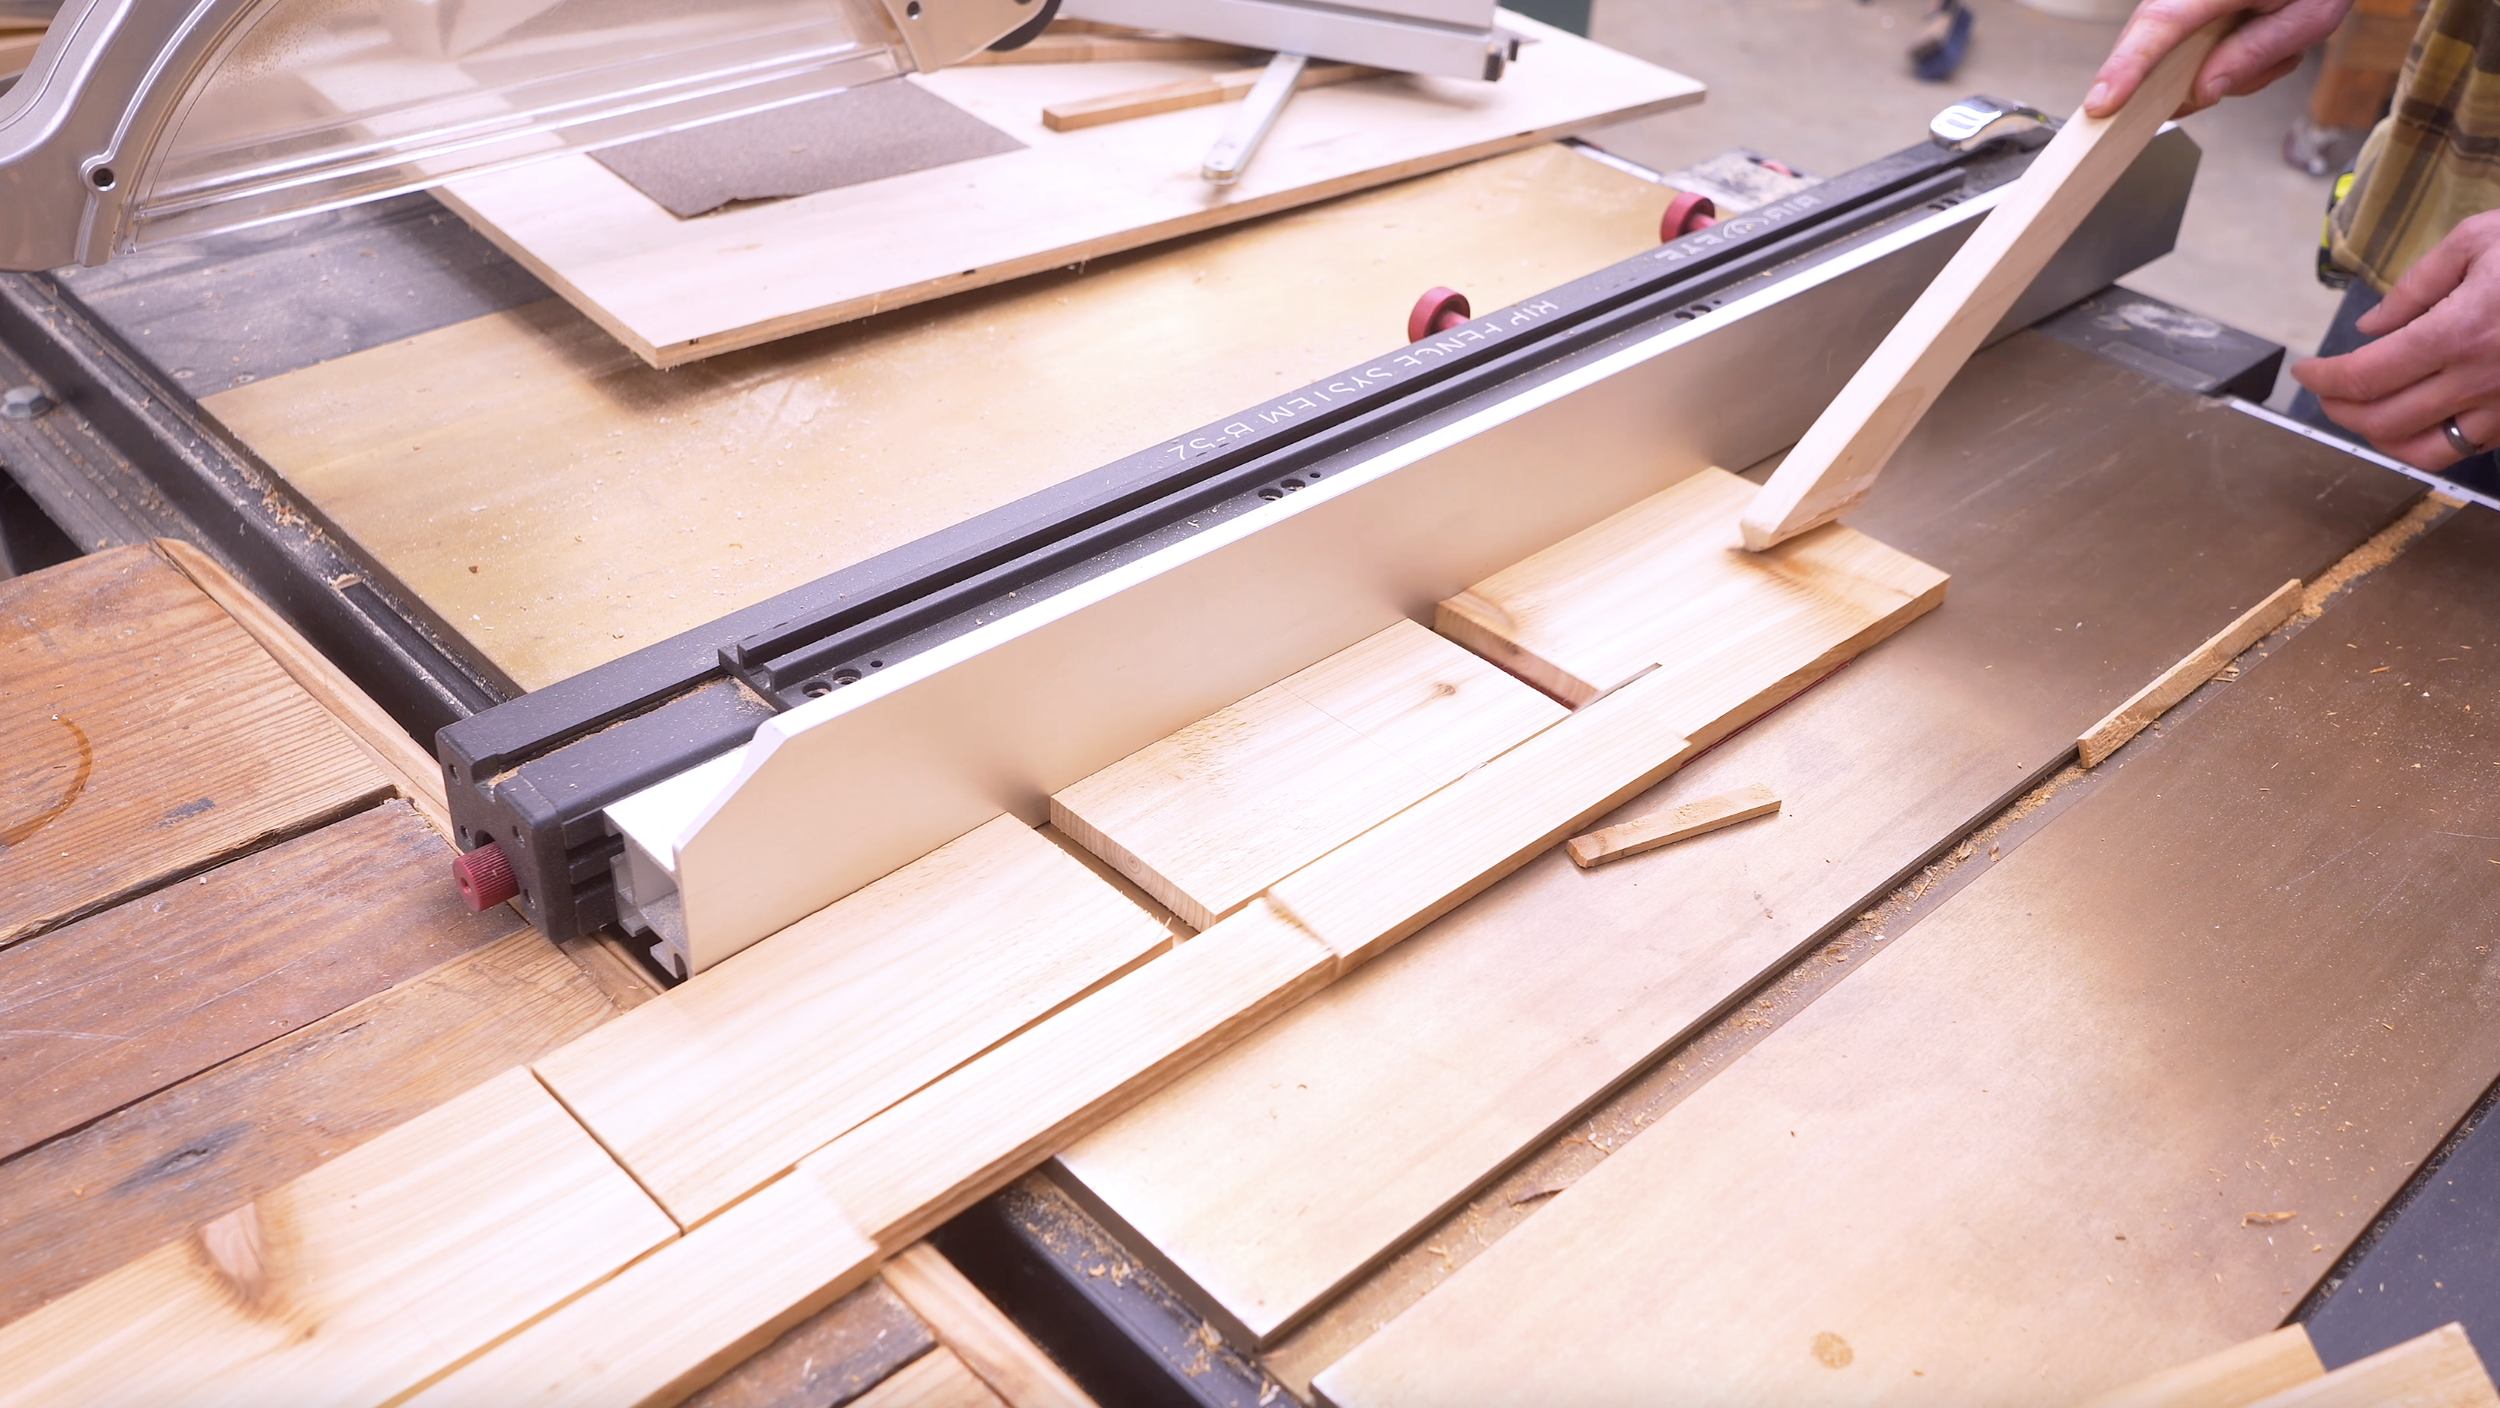
Step 2: Cut the Ladder Legs
Cut four leg pieces:
3/4" thick
2 1/2" wide
3 feet long, mitered at 45° so that the legs can breakdown and reattach
These will form the left and right sides of the ladder structure.
Step 3: Lay Out the Dowel Positions
The dowels act as upper ladder rungs.
First dowel 10 inches down from the top
Second dowel 12 inches below that
Mark matching positions on each leg piece.
Step 4: Drill Counterbores for the Dowels
At each dowel location:
Drill a 3/4" diameter counterbore into the inside face of each leg
Make each hole about 1/2" deep
This gives the dowels a secure inset seat on both sides.
Step 5: Cut and Install the Dowels
Because the finished width between the legs is 18 inches, and each side gets a 1/2-inch inset, the dowels should be cut to 19 inches long.
To install:
Add wood glue into each counterbore
Insert the dowels
Pull the frame together
Add screws from the outside of the legs into the dowel ends for extra strength
That locks in the upper structure.
Step 6: Cut the Feet Angles
This is one of the most important details of the whole build.
The boxes need to sit level when the ladder is leaning against the wall. To make that happen, cut an angle on the bottom of each leg before final assembly. I suggest a 15-degree angle.
That angle helps the ladder sit naturally while letting the shelf boxes stay level for display.
Step 7: Attach the Boxes
Once your leg assemblies are ready:
Position the larger box lower on the ladder
Position the smaller box above it
Check that they are level in the intended leaning position
Attach them at your desired heights with screws through the leg sides into the box structure
Once the boxes are attached, the main build is done.
Finishing Ideas
For a rustic look:
Use fence pickets
Distress edges lightly
Apply a medium brown stain
Dry brush white or black over the surface
For a cleaner modern farmhouse look:
Paint the ladder frame white or black
Use stained natural wood shelves
Add a matte topcoat
Tips for Turning These Into Better-Selling Products
If you are planning to sell these builds, here are a few simple ways to increase appeal and value:
Offer Wood Options
Give buyers a choice between pine, oak, walnut-tone, or painted finishes.
Add Personalization
Names, initials, dates, or simple engraved sayings can quickly turn a basic build into a gift item.
Build in Small Batches
All three of these projects are batch-friendly. Cut parts in groups, assemble in stages, then finish together.
Stage Products Well for Photos
A recipe box looks better with recipe cards inside.
A mason jar holder looks better with greenery or flowers.
A shelf ladder looks better with towels, baskets, or seasonal decor.
Create Price Tiers
Offer:
basic version
upgraded wood version
premium version with added detail or personalization
That gives you more room to catch different buyers.
Ready To Build?
One of the best skills a woodworker can develop is learning how to look at a product, break it down into simple parts, and say, “I can build that.” That’s the main takeaway running through this transcript. These are not overcomplicated projects. They are smart projects—projects that can be built with basic tools, low material cost, and enough style to catch a buyer’s eye.
Whether you’re new to woodworking or a seasoned pro, this project offers the perfect mix of functionality and creativity. Below I have the YouTube video linked for a step-by-step video tutorial for you to follow along with. If you’re a more “plans in the hand” person, click “Get Plan” down below for downloadable instructions. And if you’re ready to dive deeper into woodworking, check out my new course, “Woodworking Kickstart” (which is also linked below). It’s packed with step-by-step lessons to help you build confidence and skills, whether you’re a total beginner or an experienced DIYer. You’ll be building with confidence in no time.
Remember, creativity doesn’t have to be expensive; all you need is a little inspiration and a willingness to try.
Get Easy Step-By-Step Directions to build this by clicking the button below
⭐ 10,044 5 Star Reviews
📚 113 Plans to Choose From
🧩 Lego-Like Assembly Steps
📏 Exact Measurements
📋 Detailed cut and part list
🔍 X-Ray Views
🚀 Instant Delivery
