
How to Build a Rustic Barn Bird Feeder Birdhouse (Step-by-Step DIY Guide)
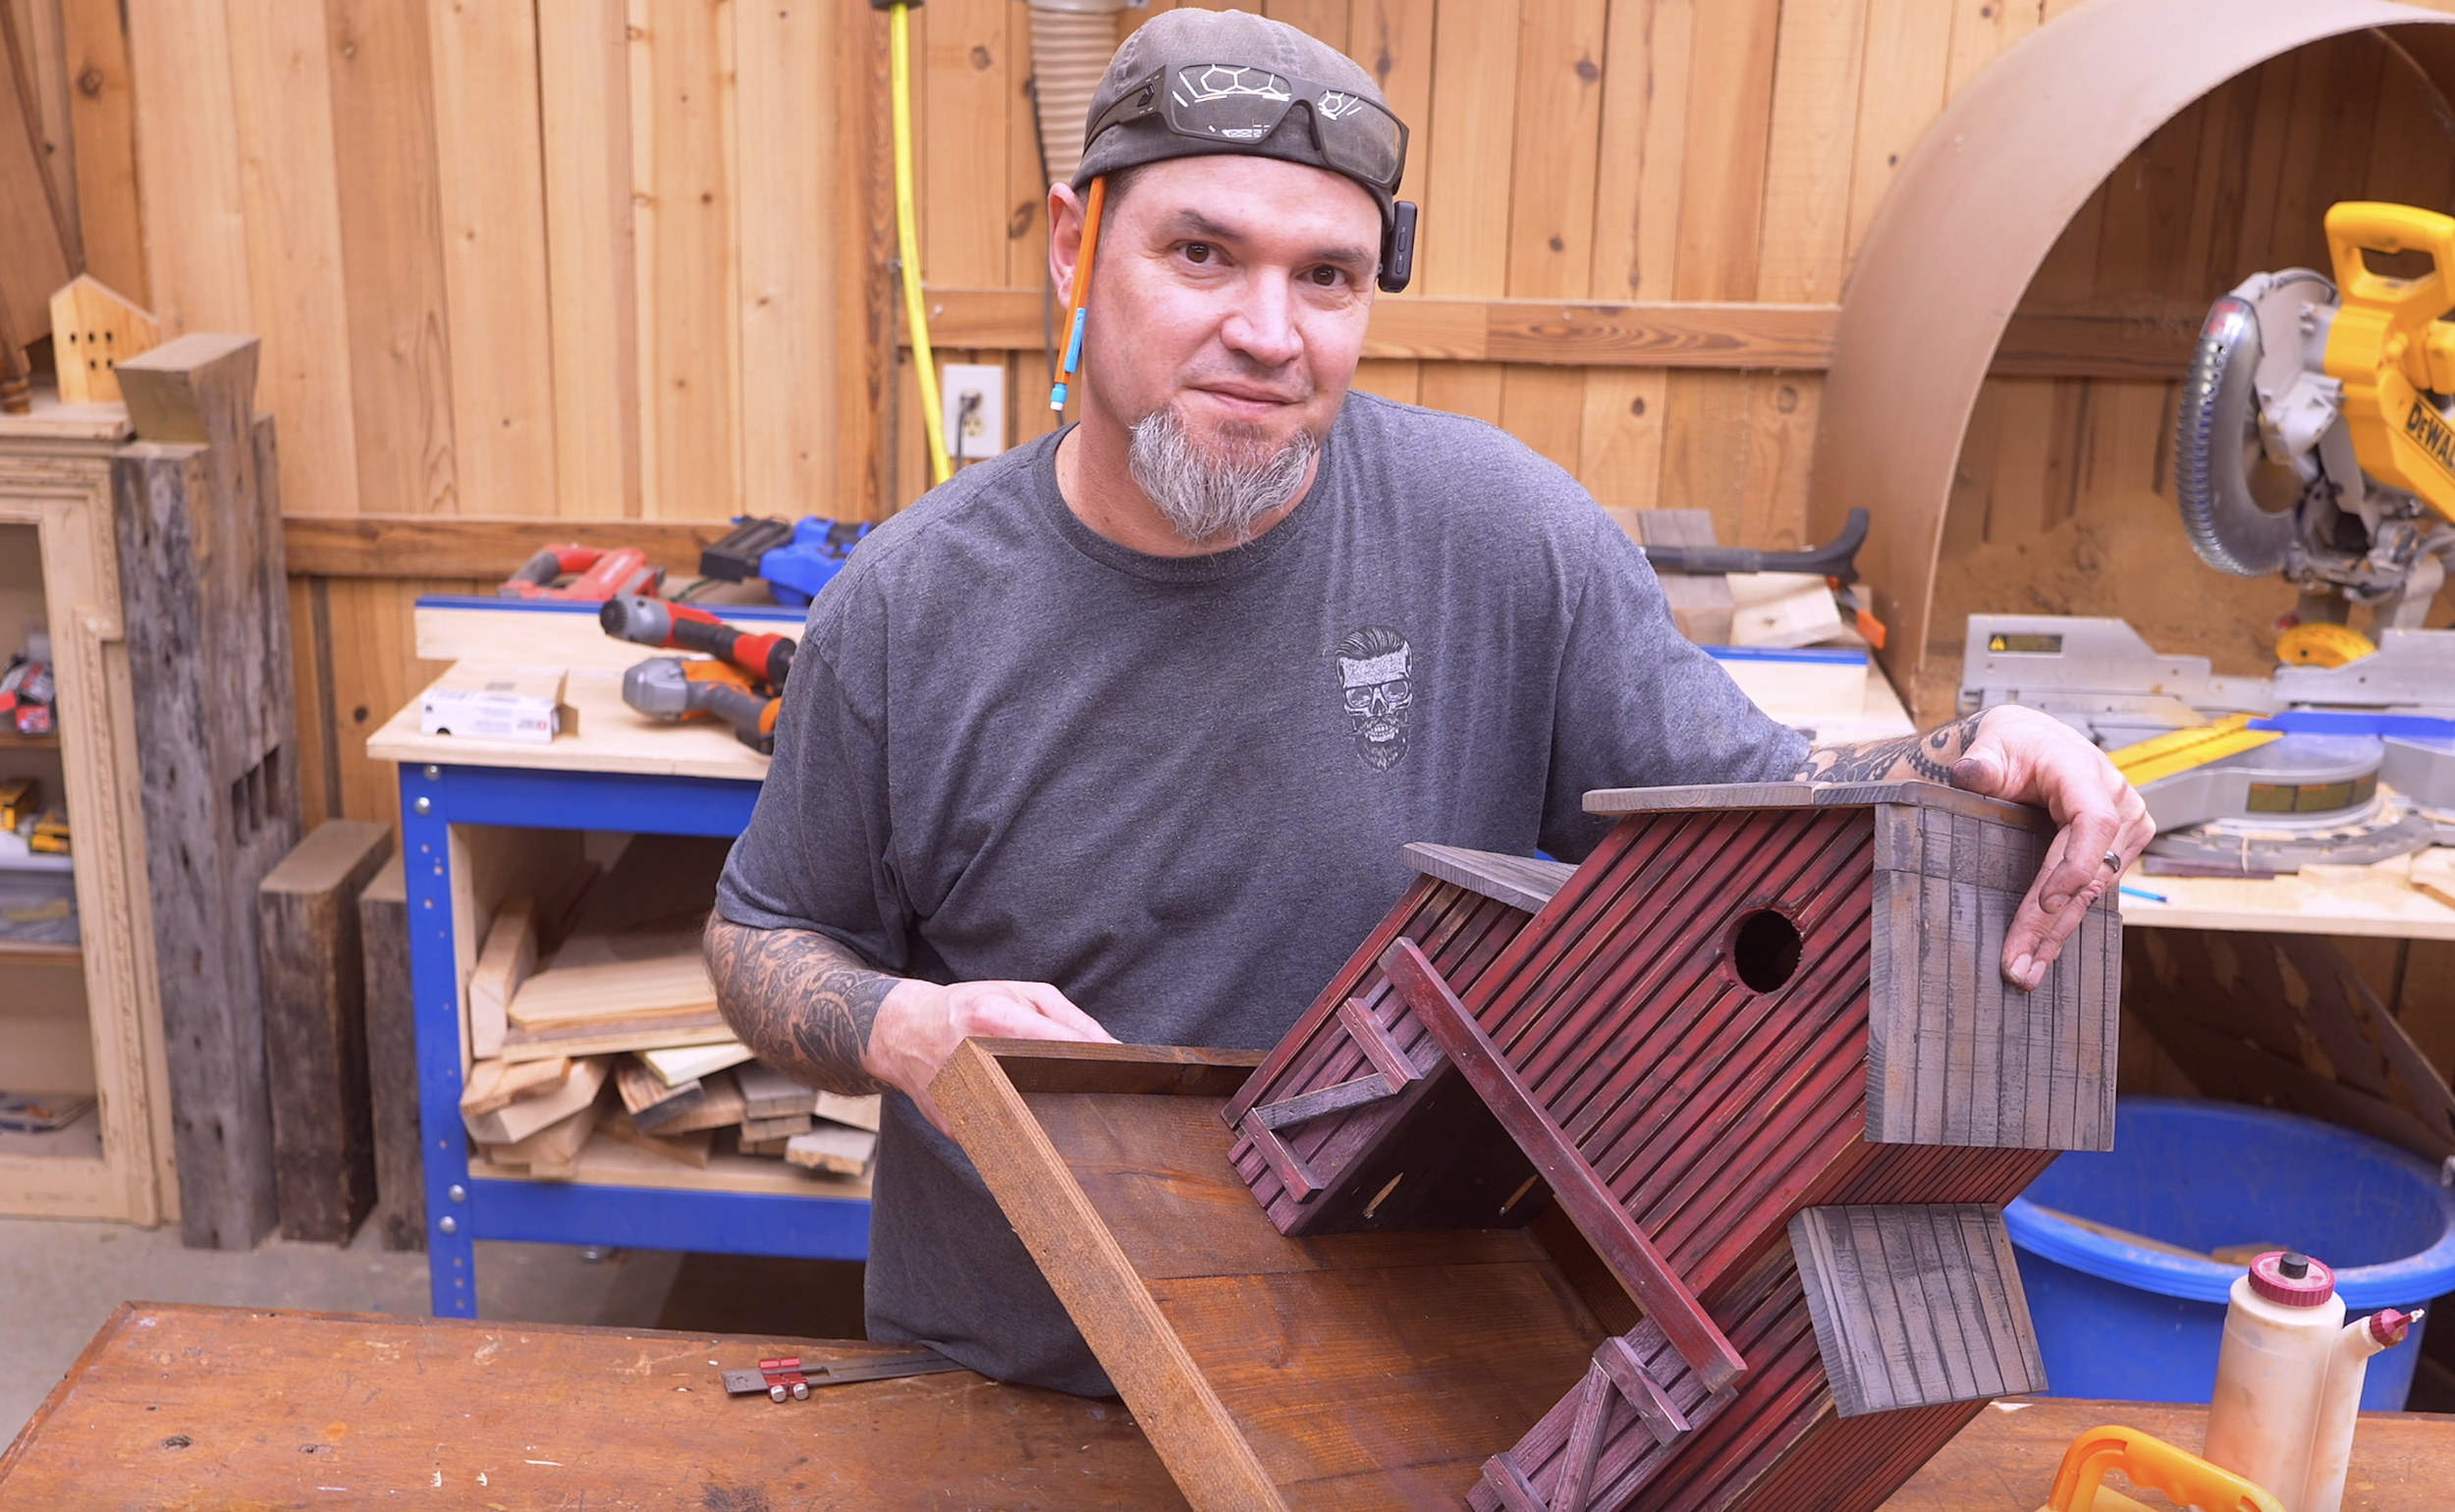
Functional & Iconic
If you’re looking for a simple woodworking project that looks awesome and could actually sell well, you’re going to love this one.
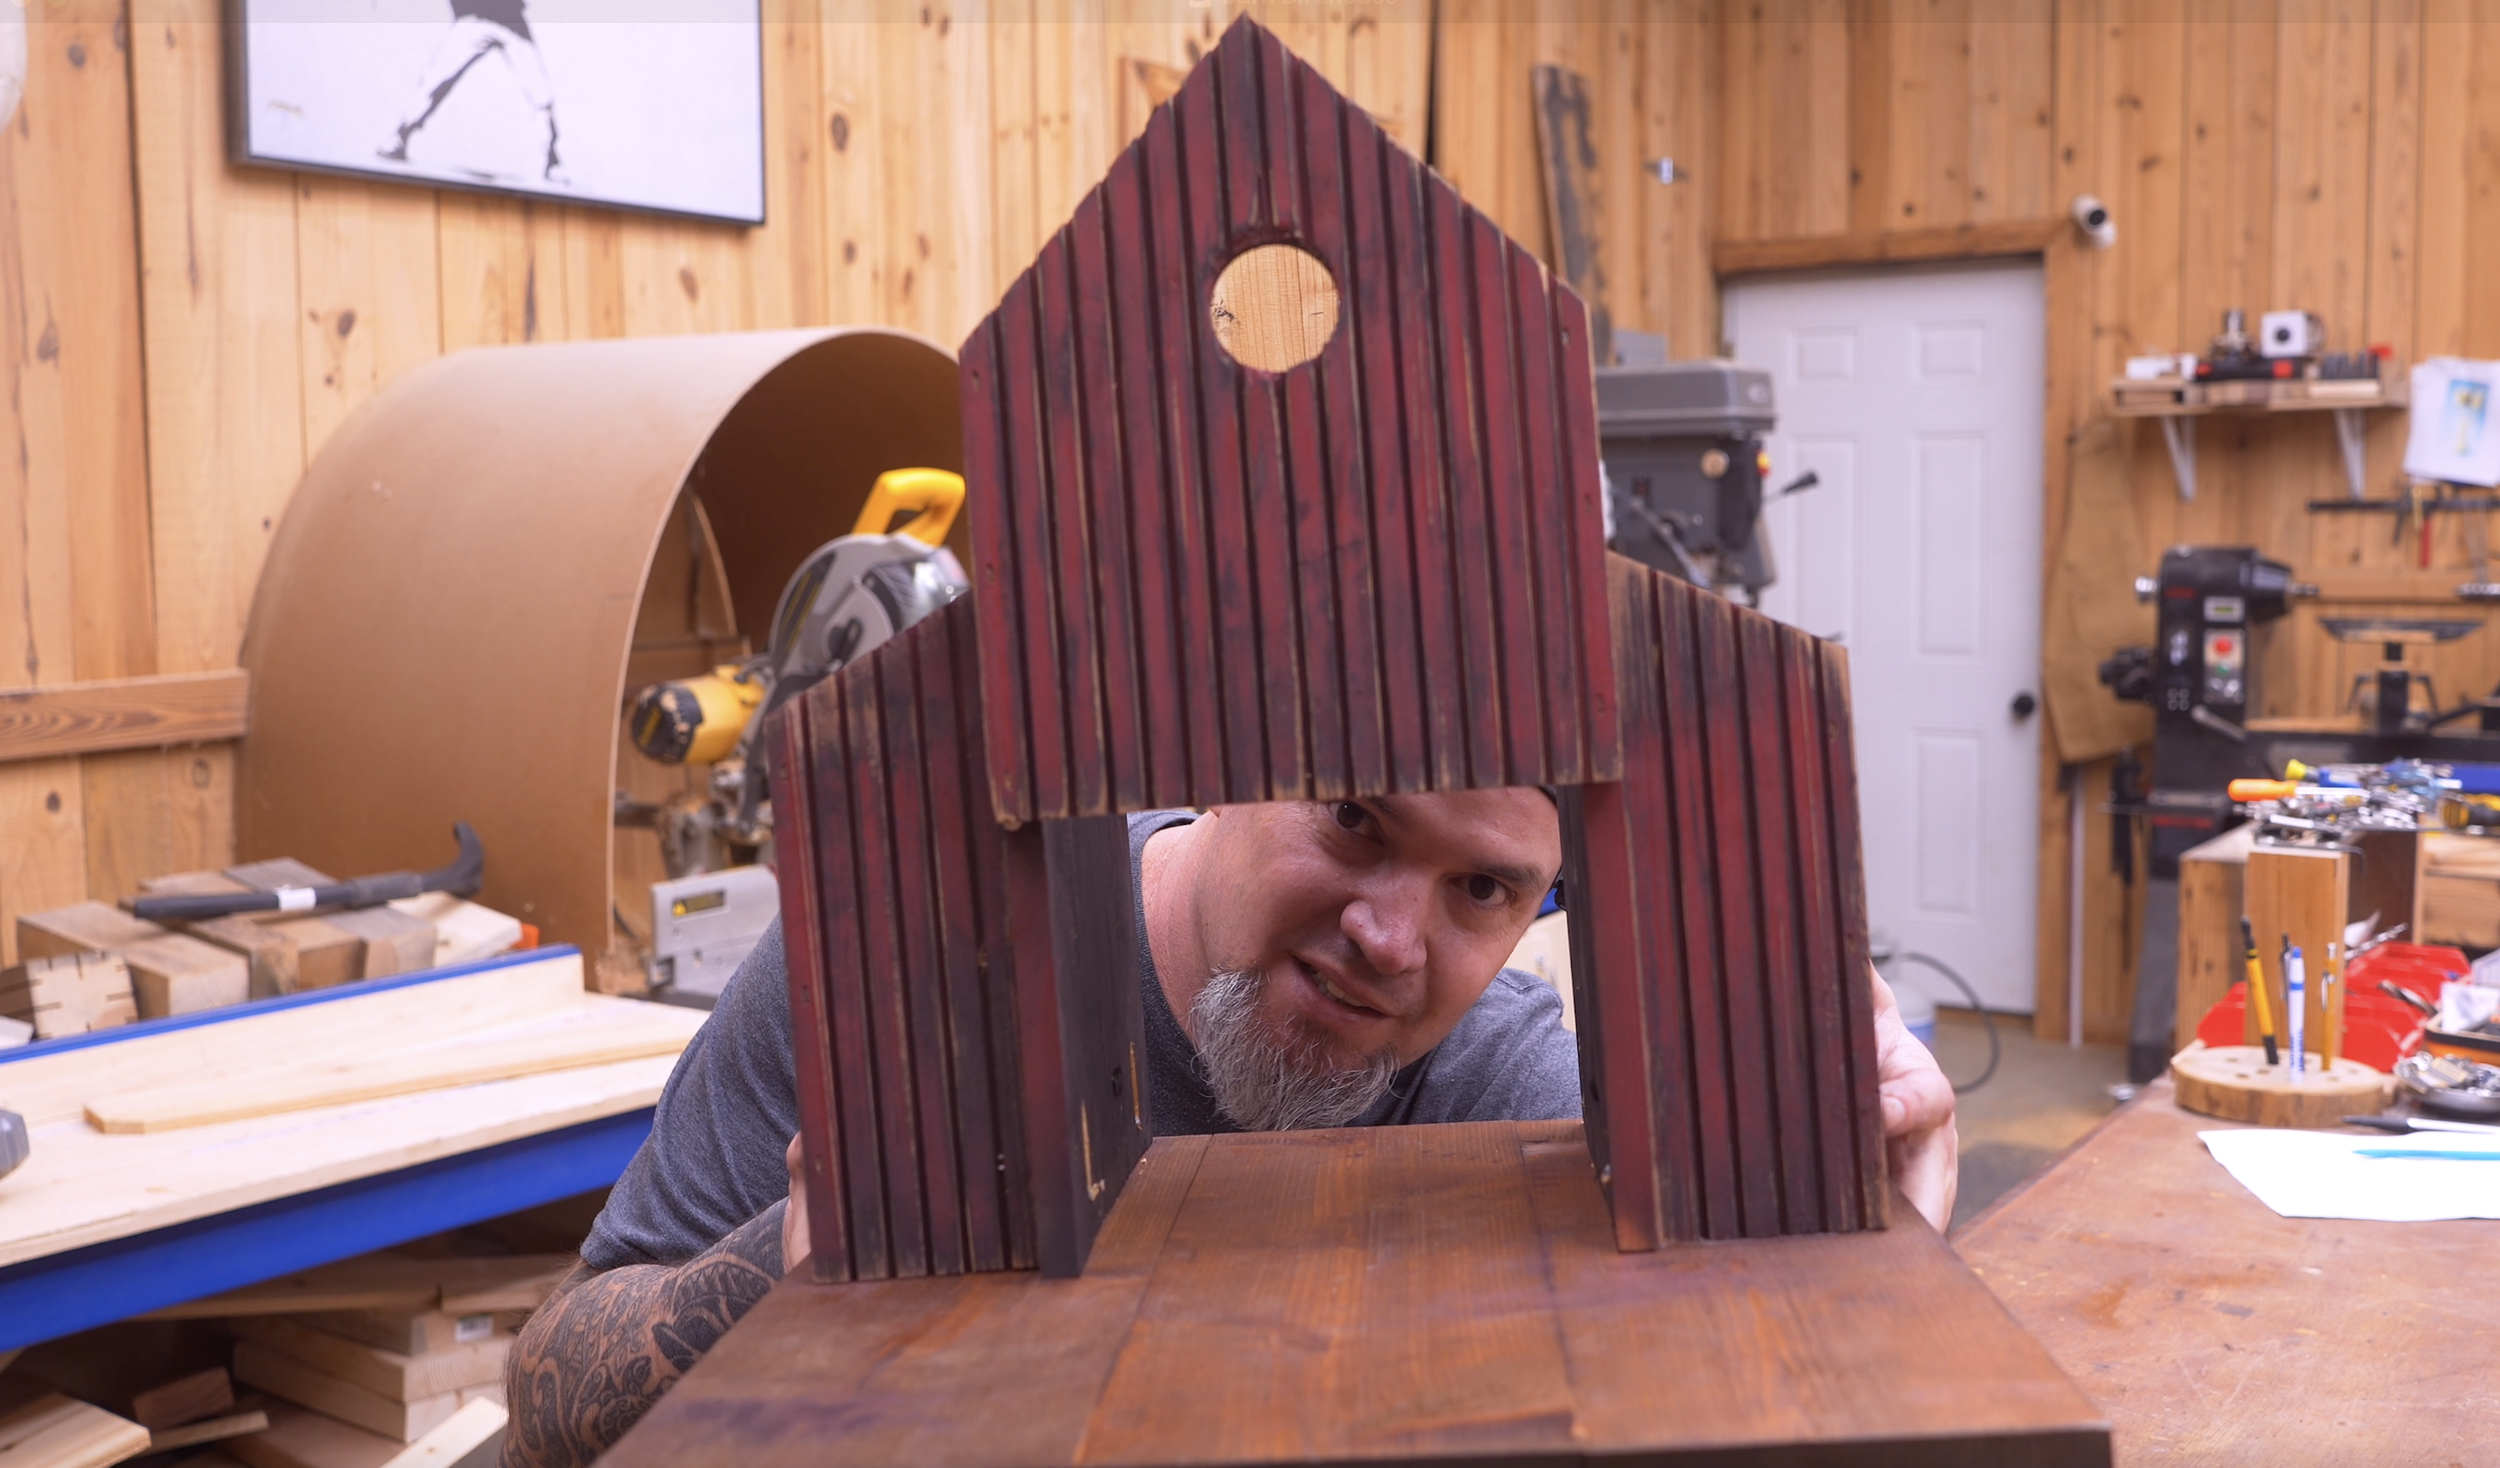
Today we’re building a rustic barn bird feeder birdhouse combo — and honestly this might be one of my favorite low-cost, high-profit builds yet.
Think about it… last year alone over $5 billion was spent on wild bird accessories. That means there’s a massive market for projects just like this one.
So whether you're building one for your backyard, making a gift, or selling them at craft shows — this project checks all the boxes:
Cheap materials
Beginner friendly
Rustic farmhouse style
Huge market appeal
Let’s walk through exactly how to build it.
Materials & Tools
One of the best parts about this project is that you don’t need expensive lumber.
I built this using fence pickets, which are inexpensive and easy to work with.
Tools Needed
Table saw
Miter saw
Drill
Pocket hole jig
Clamps
Brad nailer or crown stapler
Sandpaper
Hardware
Wood glue
1¼" pocket hole screws
Brad nails or crown staples
Exterior paint or stain
Time To Bring Your Barn-Styled Feeder To Life
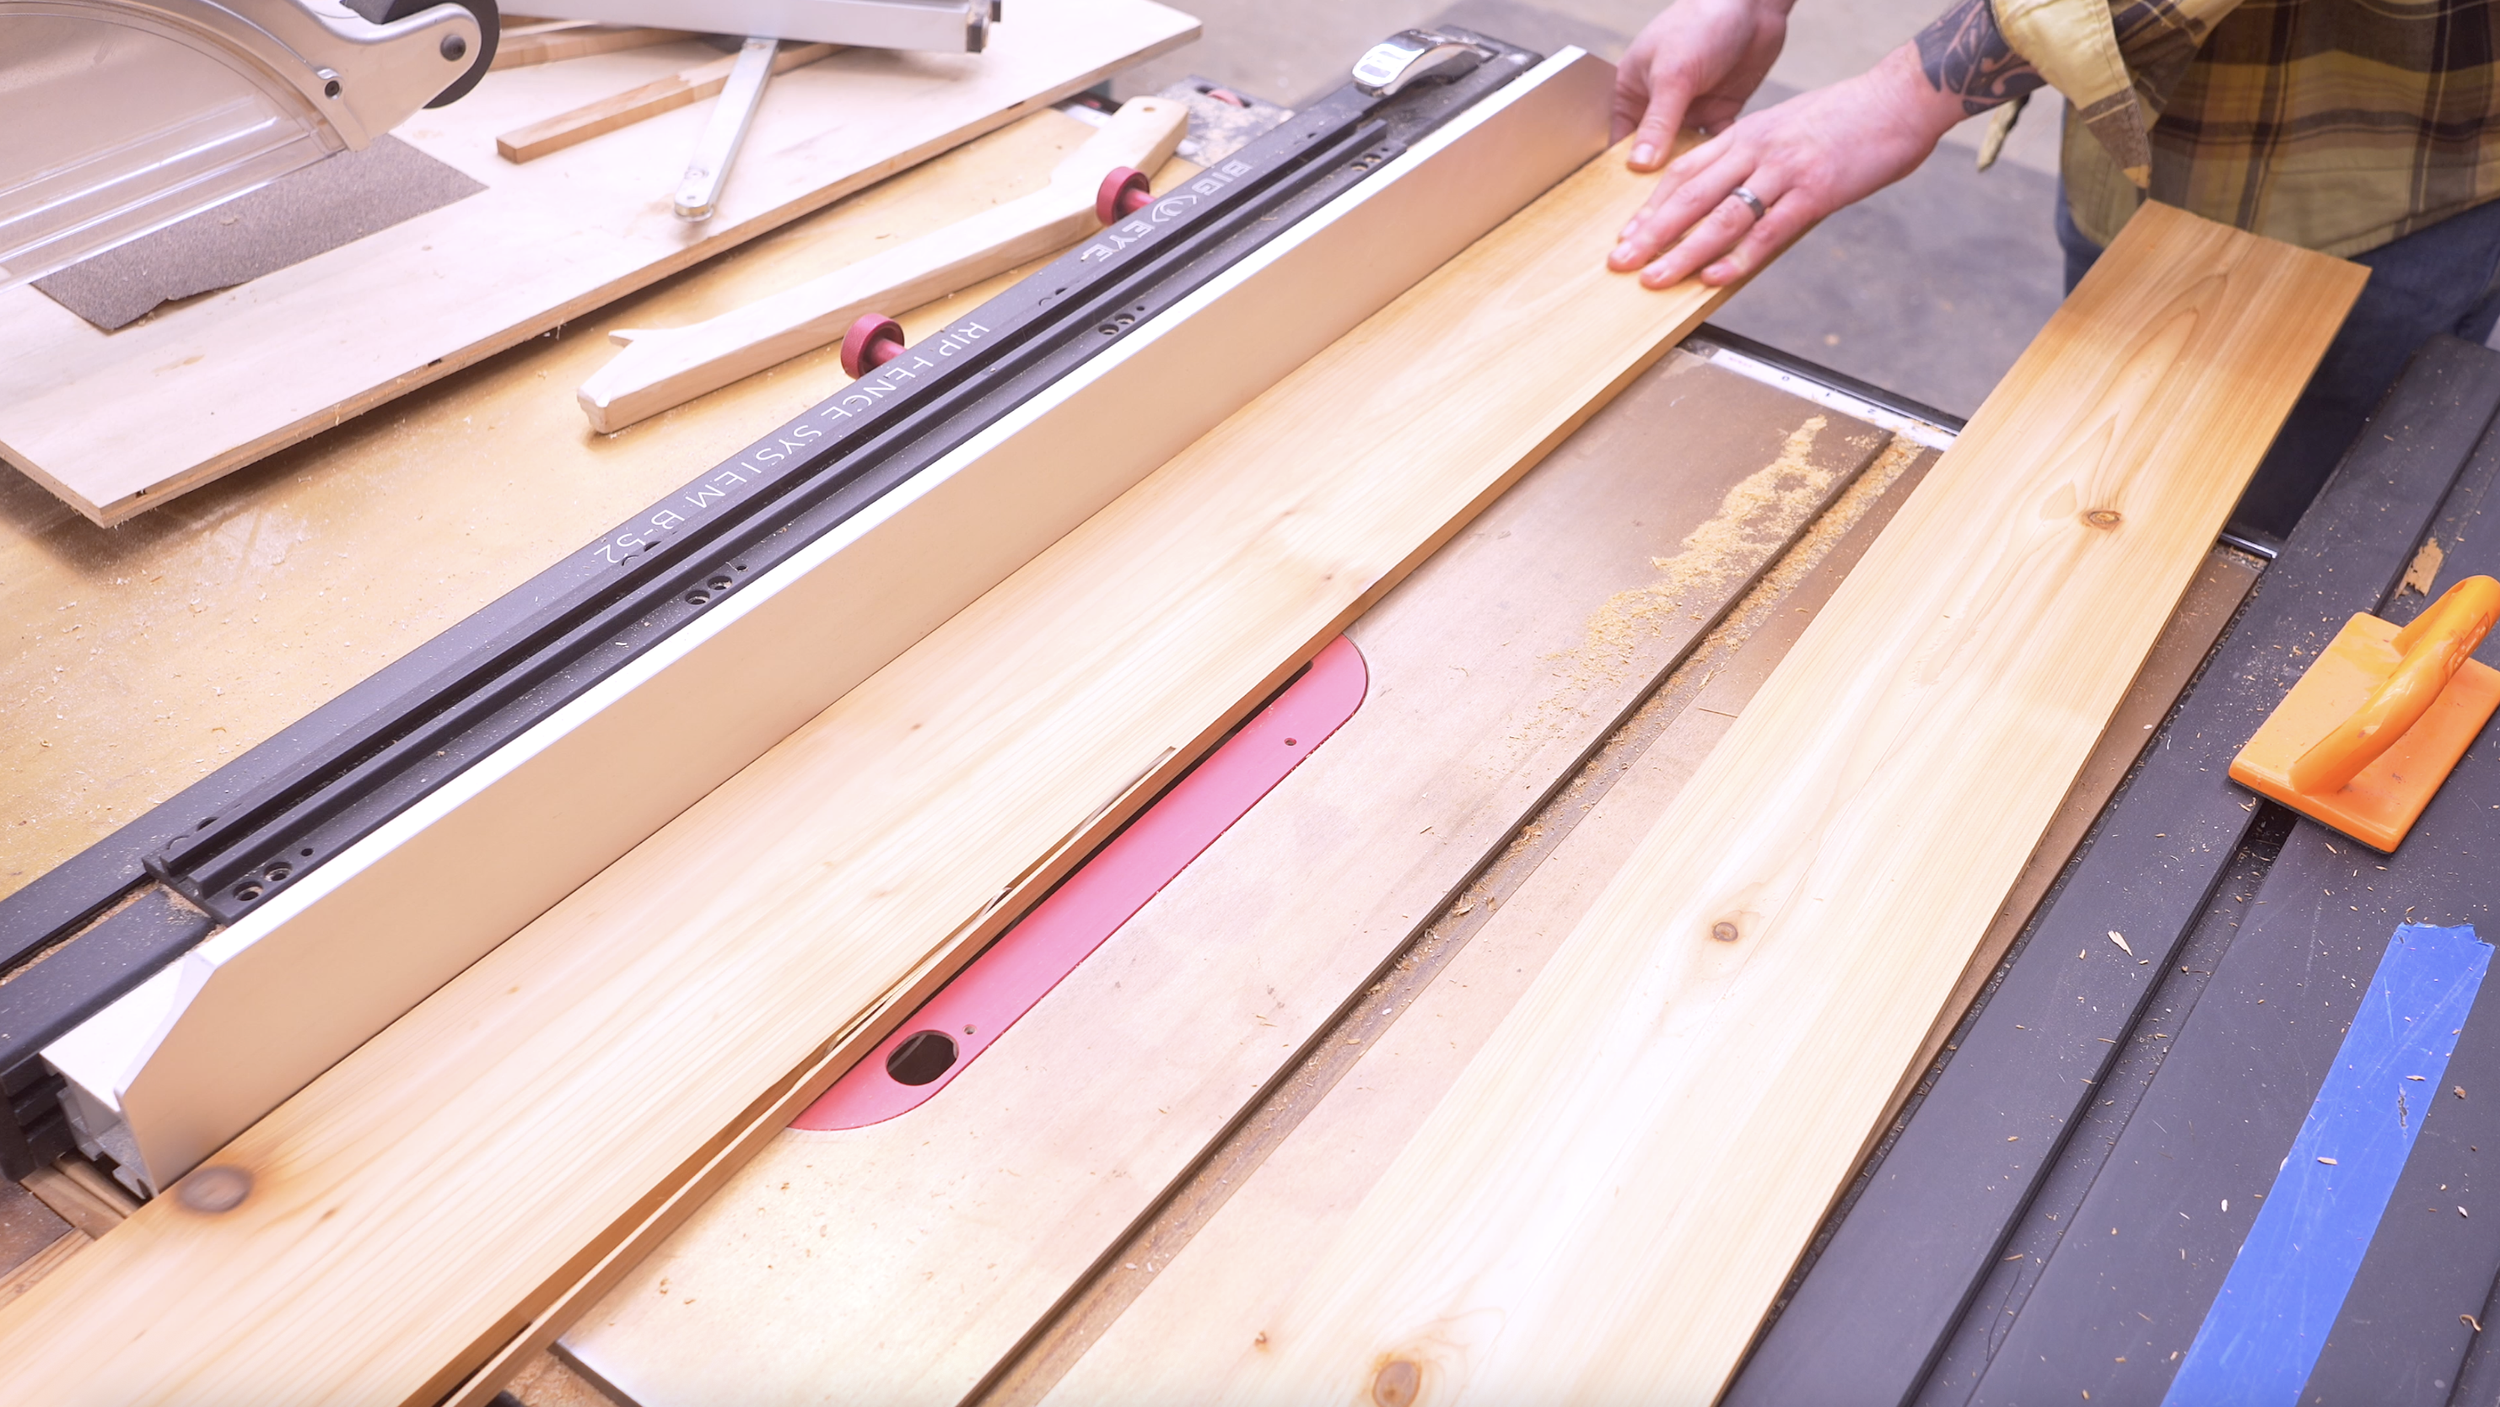
Step 1: Prepare and Mill Your Lumber
Fence pickets are supposed to be 5½ inches wide, but they’re rarely consistent.
To make everything uniform:
Rip all boards down to 5 inches wide on the table saw.
This cleans up the edges and gives you perfectly matching material for the build.
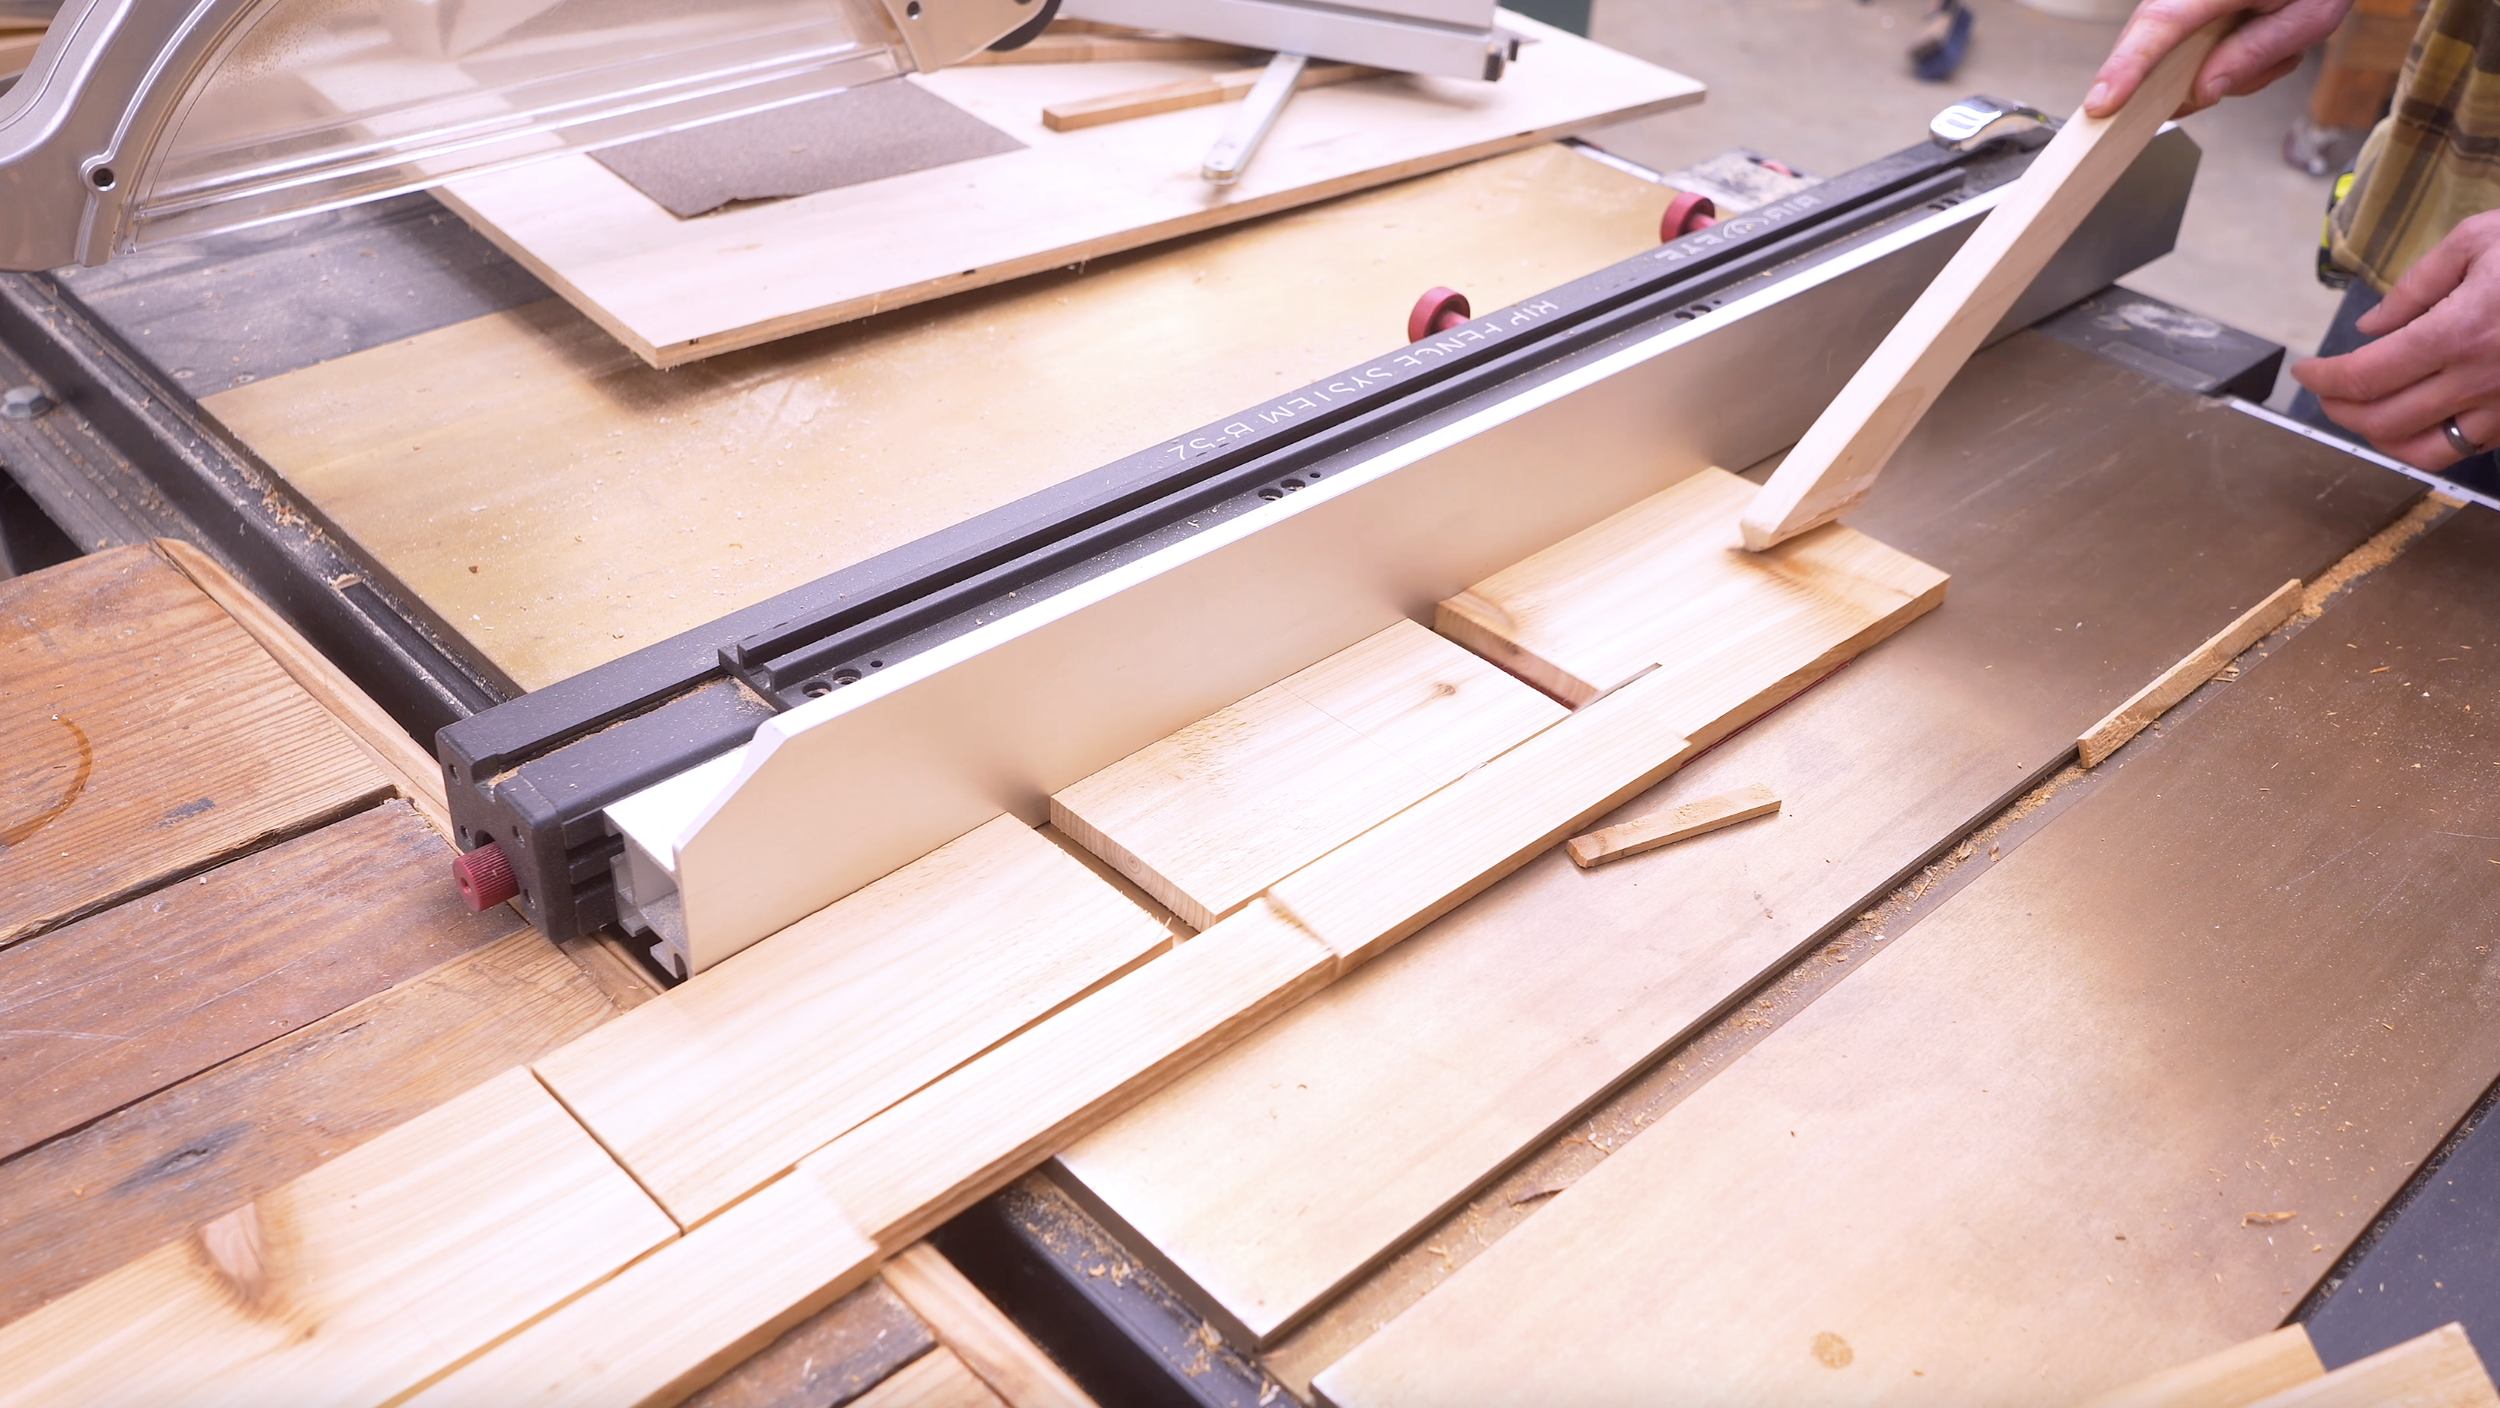
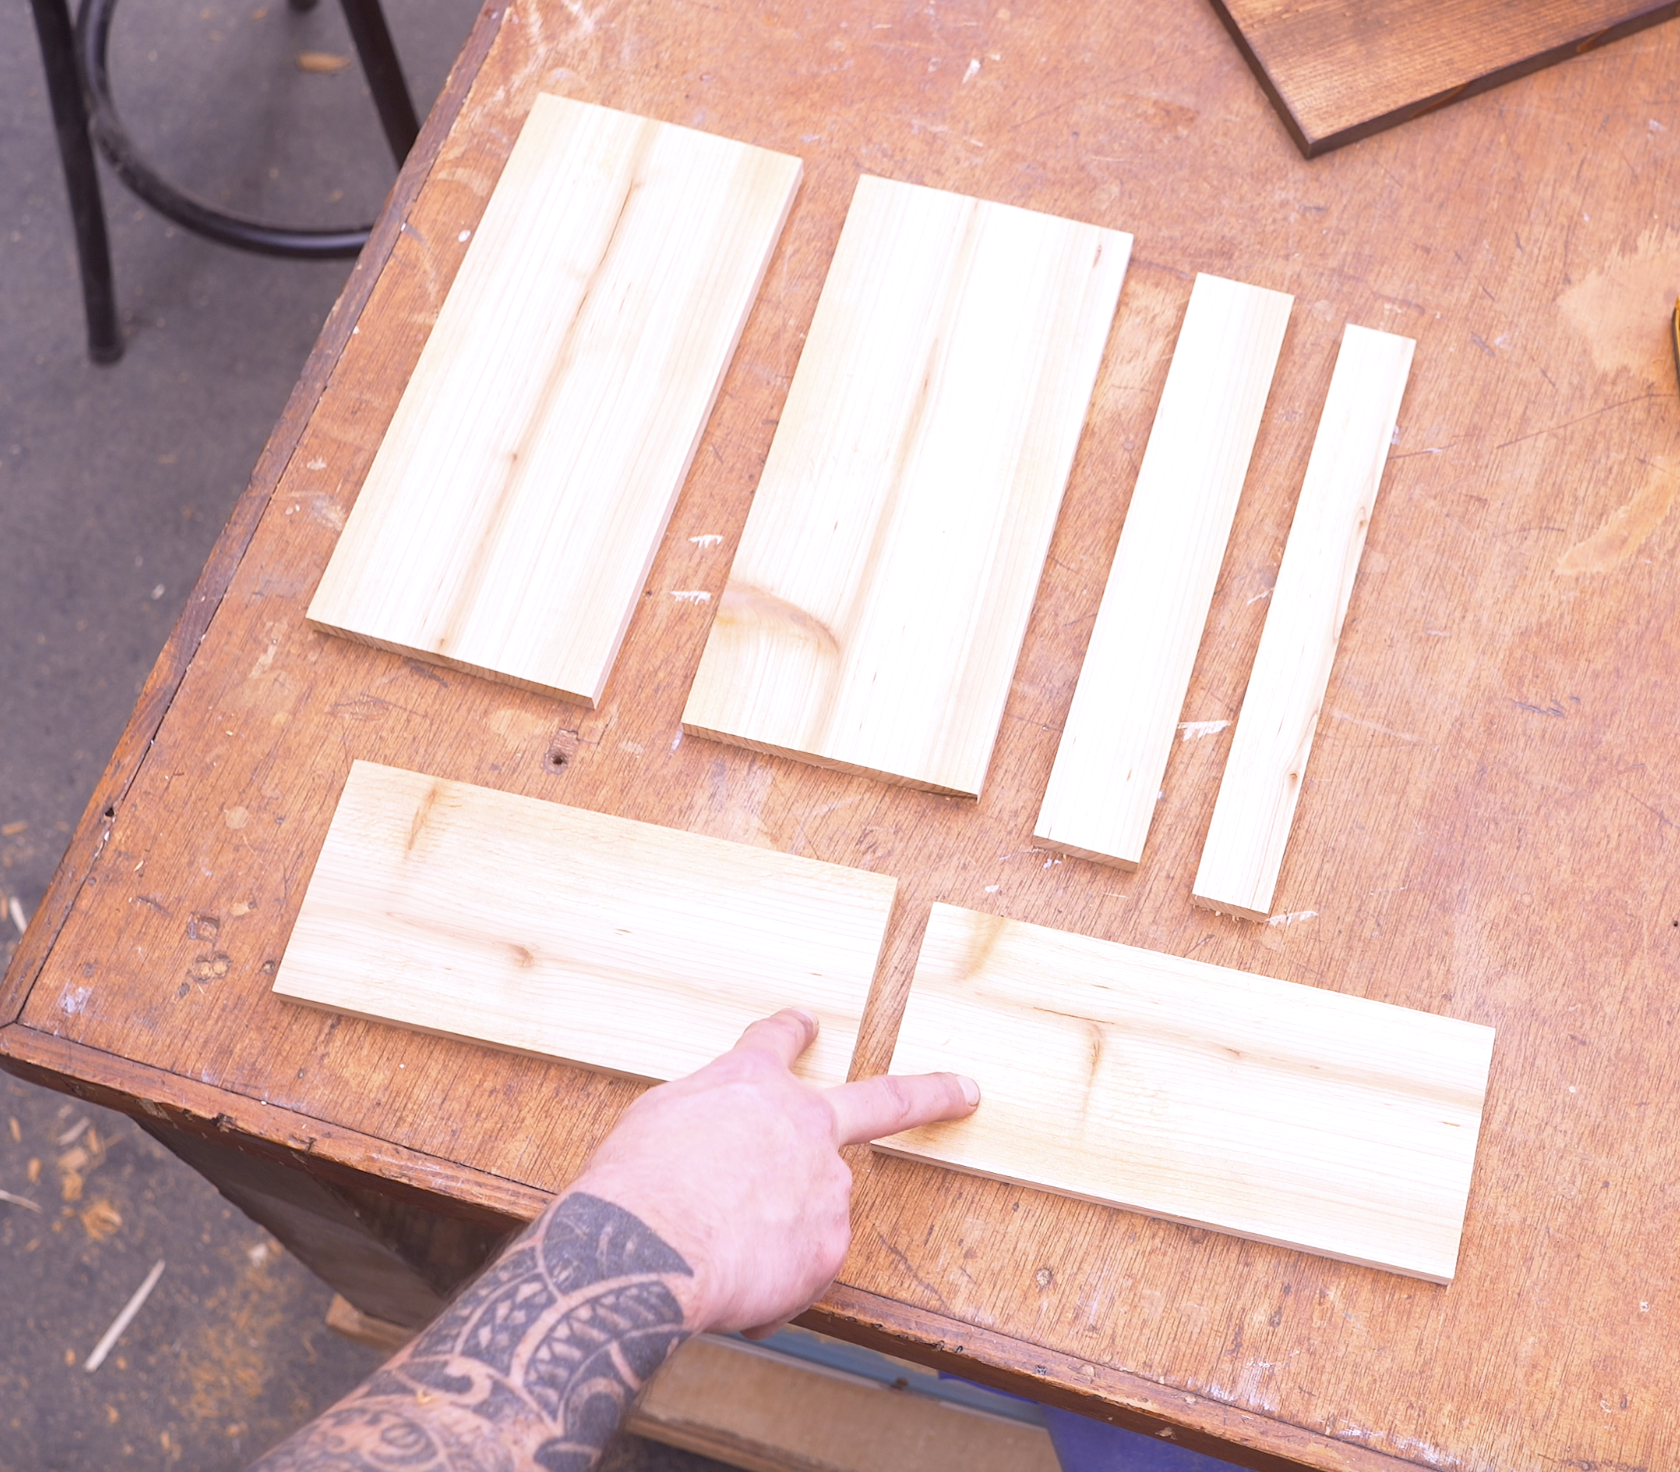
Step 2: Cut the Main Birdhouse Parts
Once the boards are ripped, cut the following pieces.
Base
3 boards — 5" x 17"
These will be glued together to create the base the entire barn sits on.
Loft Section (Center Barn)
Front and back walls:
4 boards — 4" x 10"
Side walls:
4 boards — 4½" x 12"
Shed Sections (Side Wings)
Front and back:
4 boards — 3" x 9"
Side walls:
4 boards — 3½" x 7½"
These smaller side structures create the classic barn look.
Step 3: Cut the Roof Angles
Now we add the angles that give the barn its shape.
Loft walls
Cut 45° angles on the top ends of the front and back boards.
Shed walls
Cut 27° angles on the top ends of the front and back boards.
This creates the sloped roof profile.
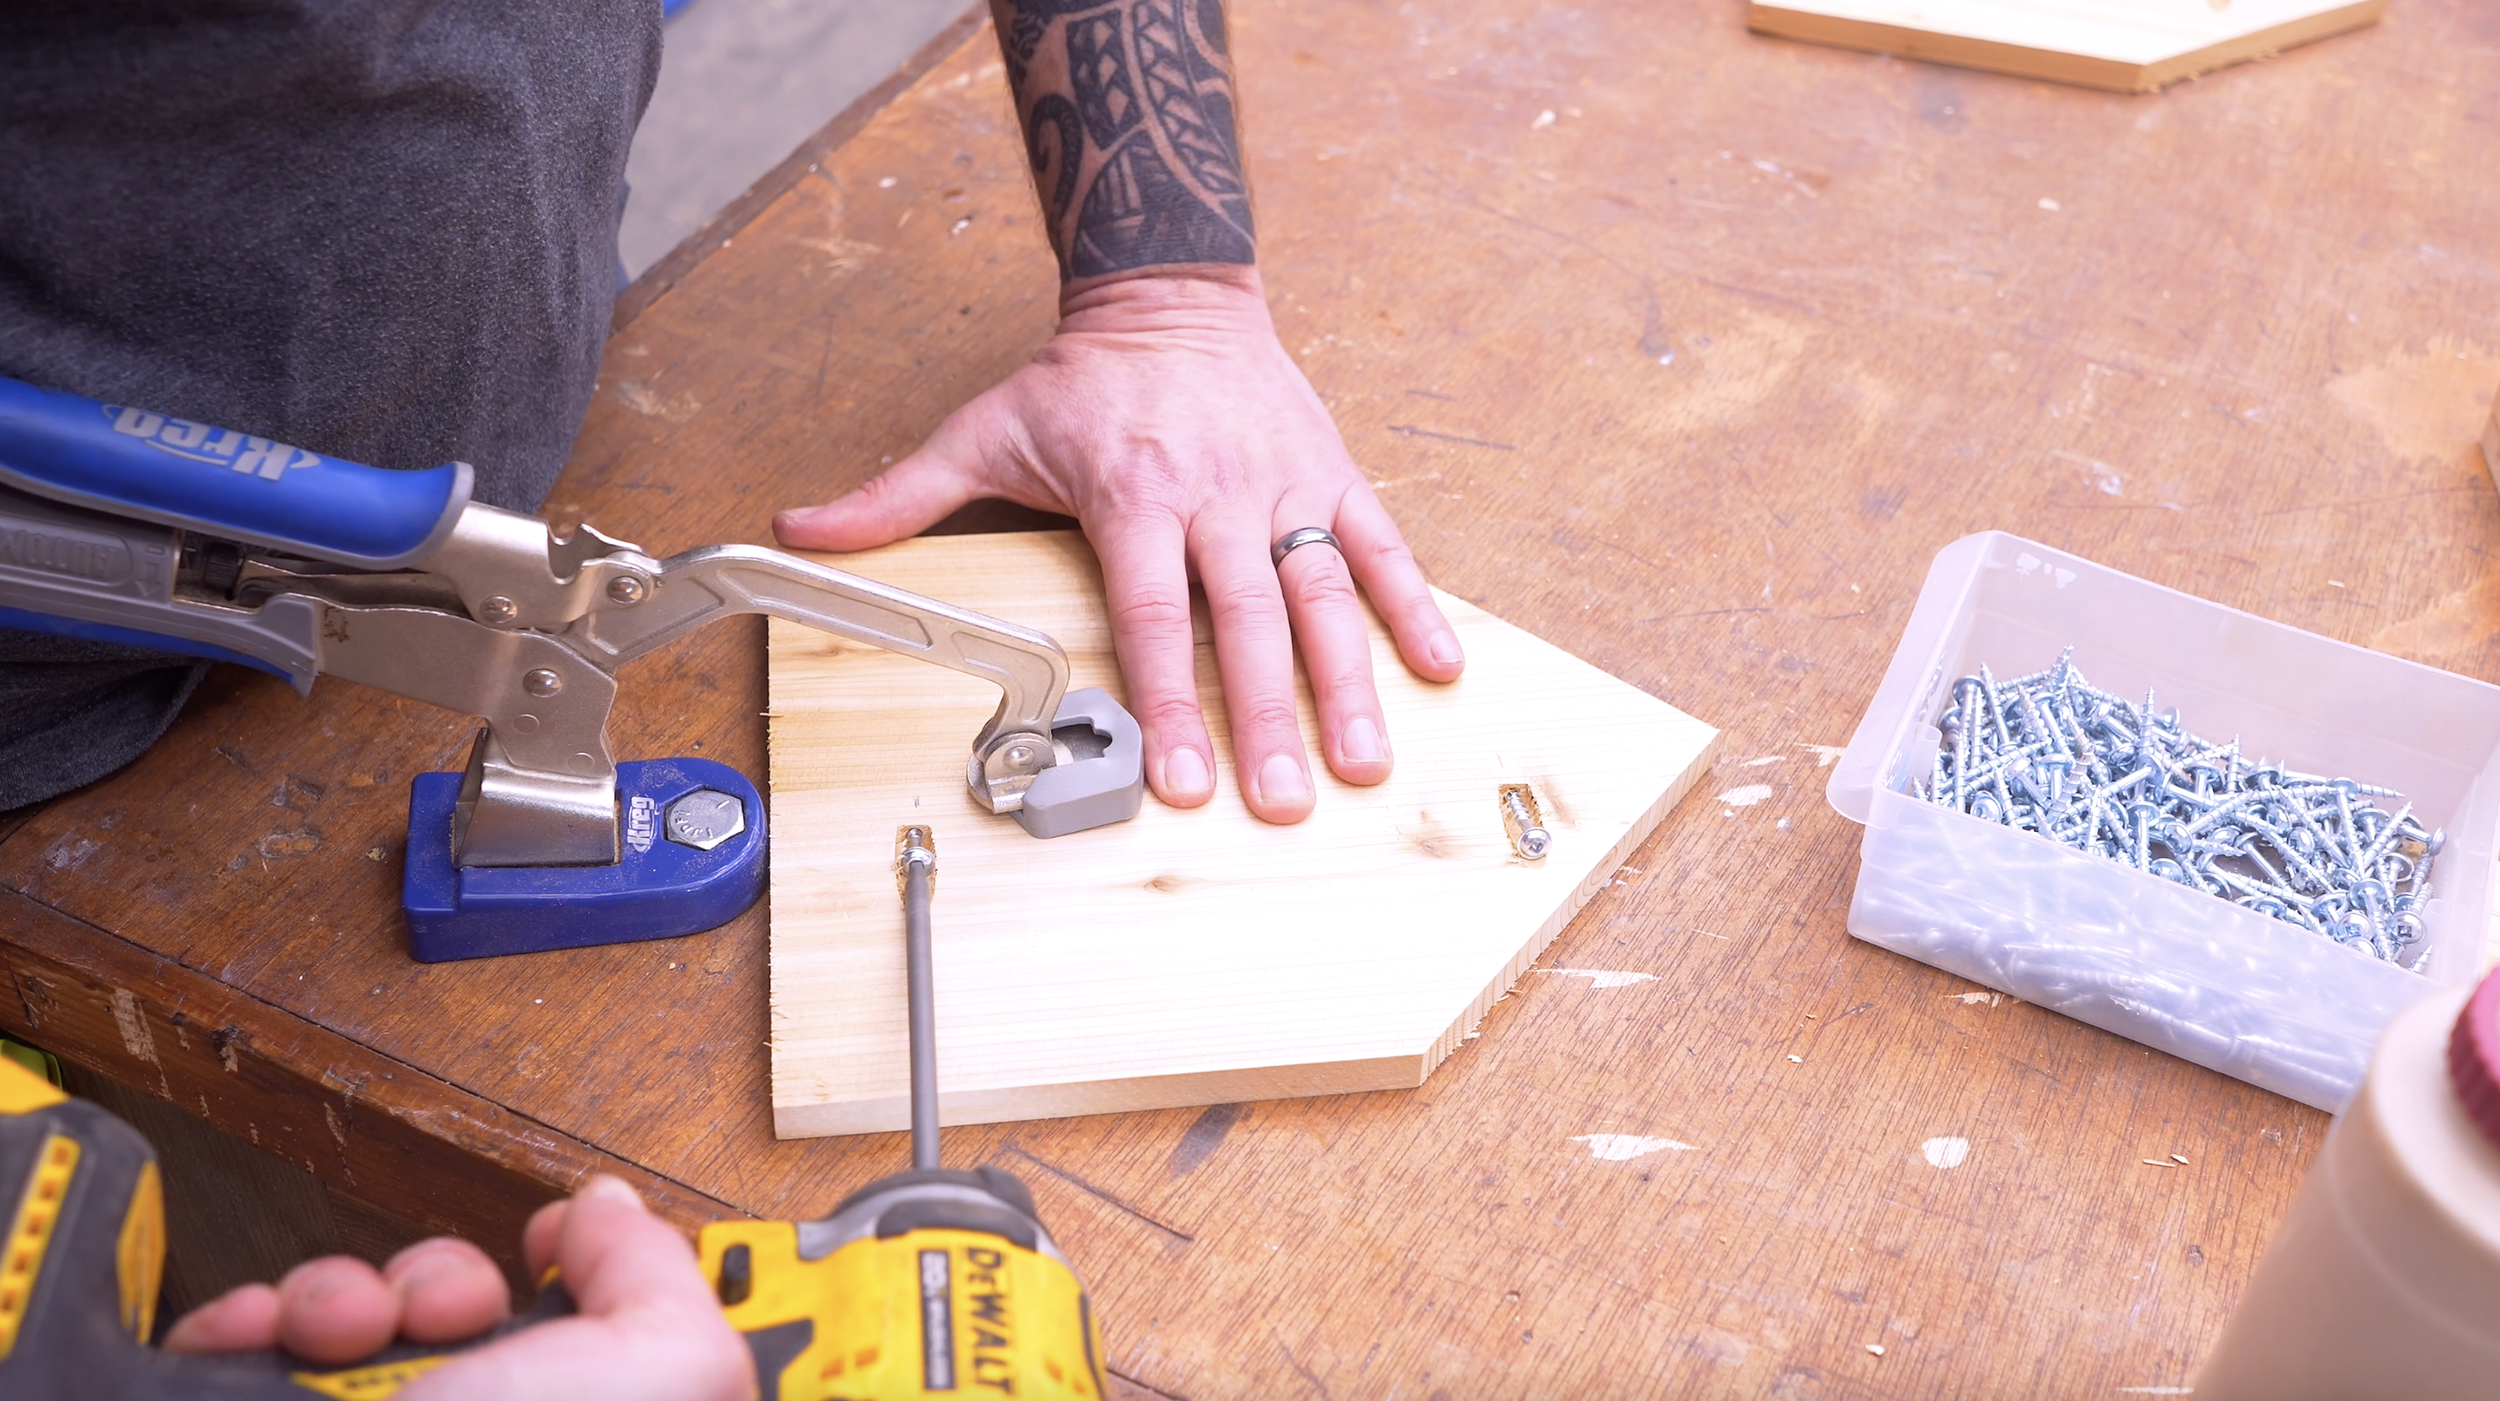
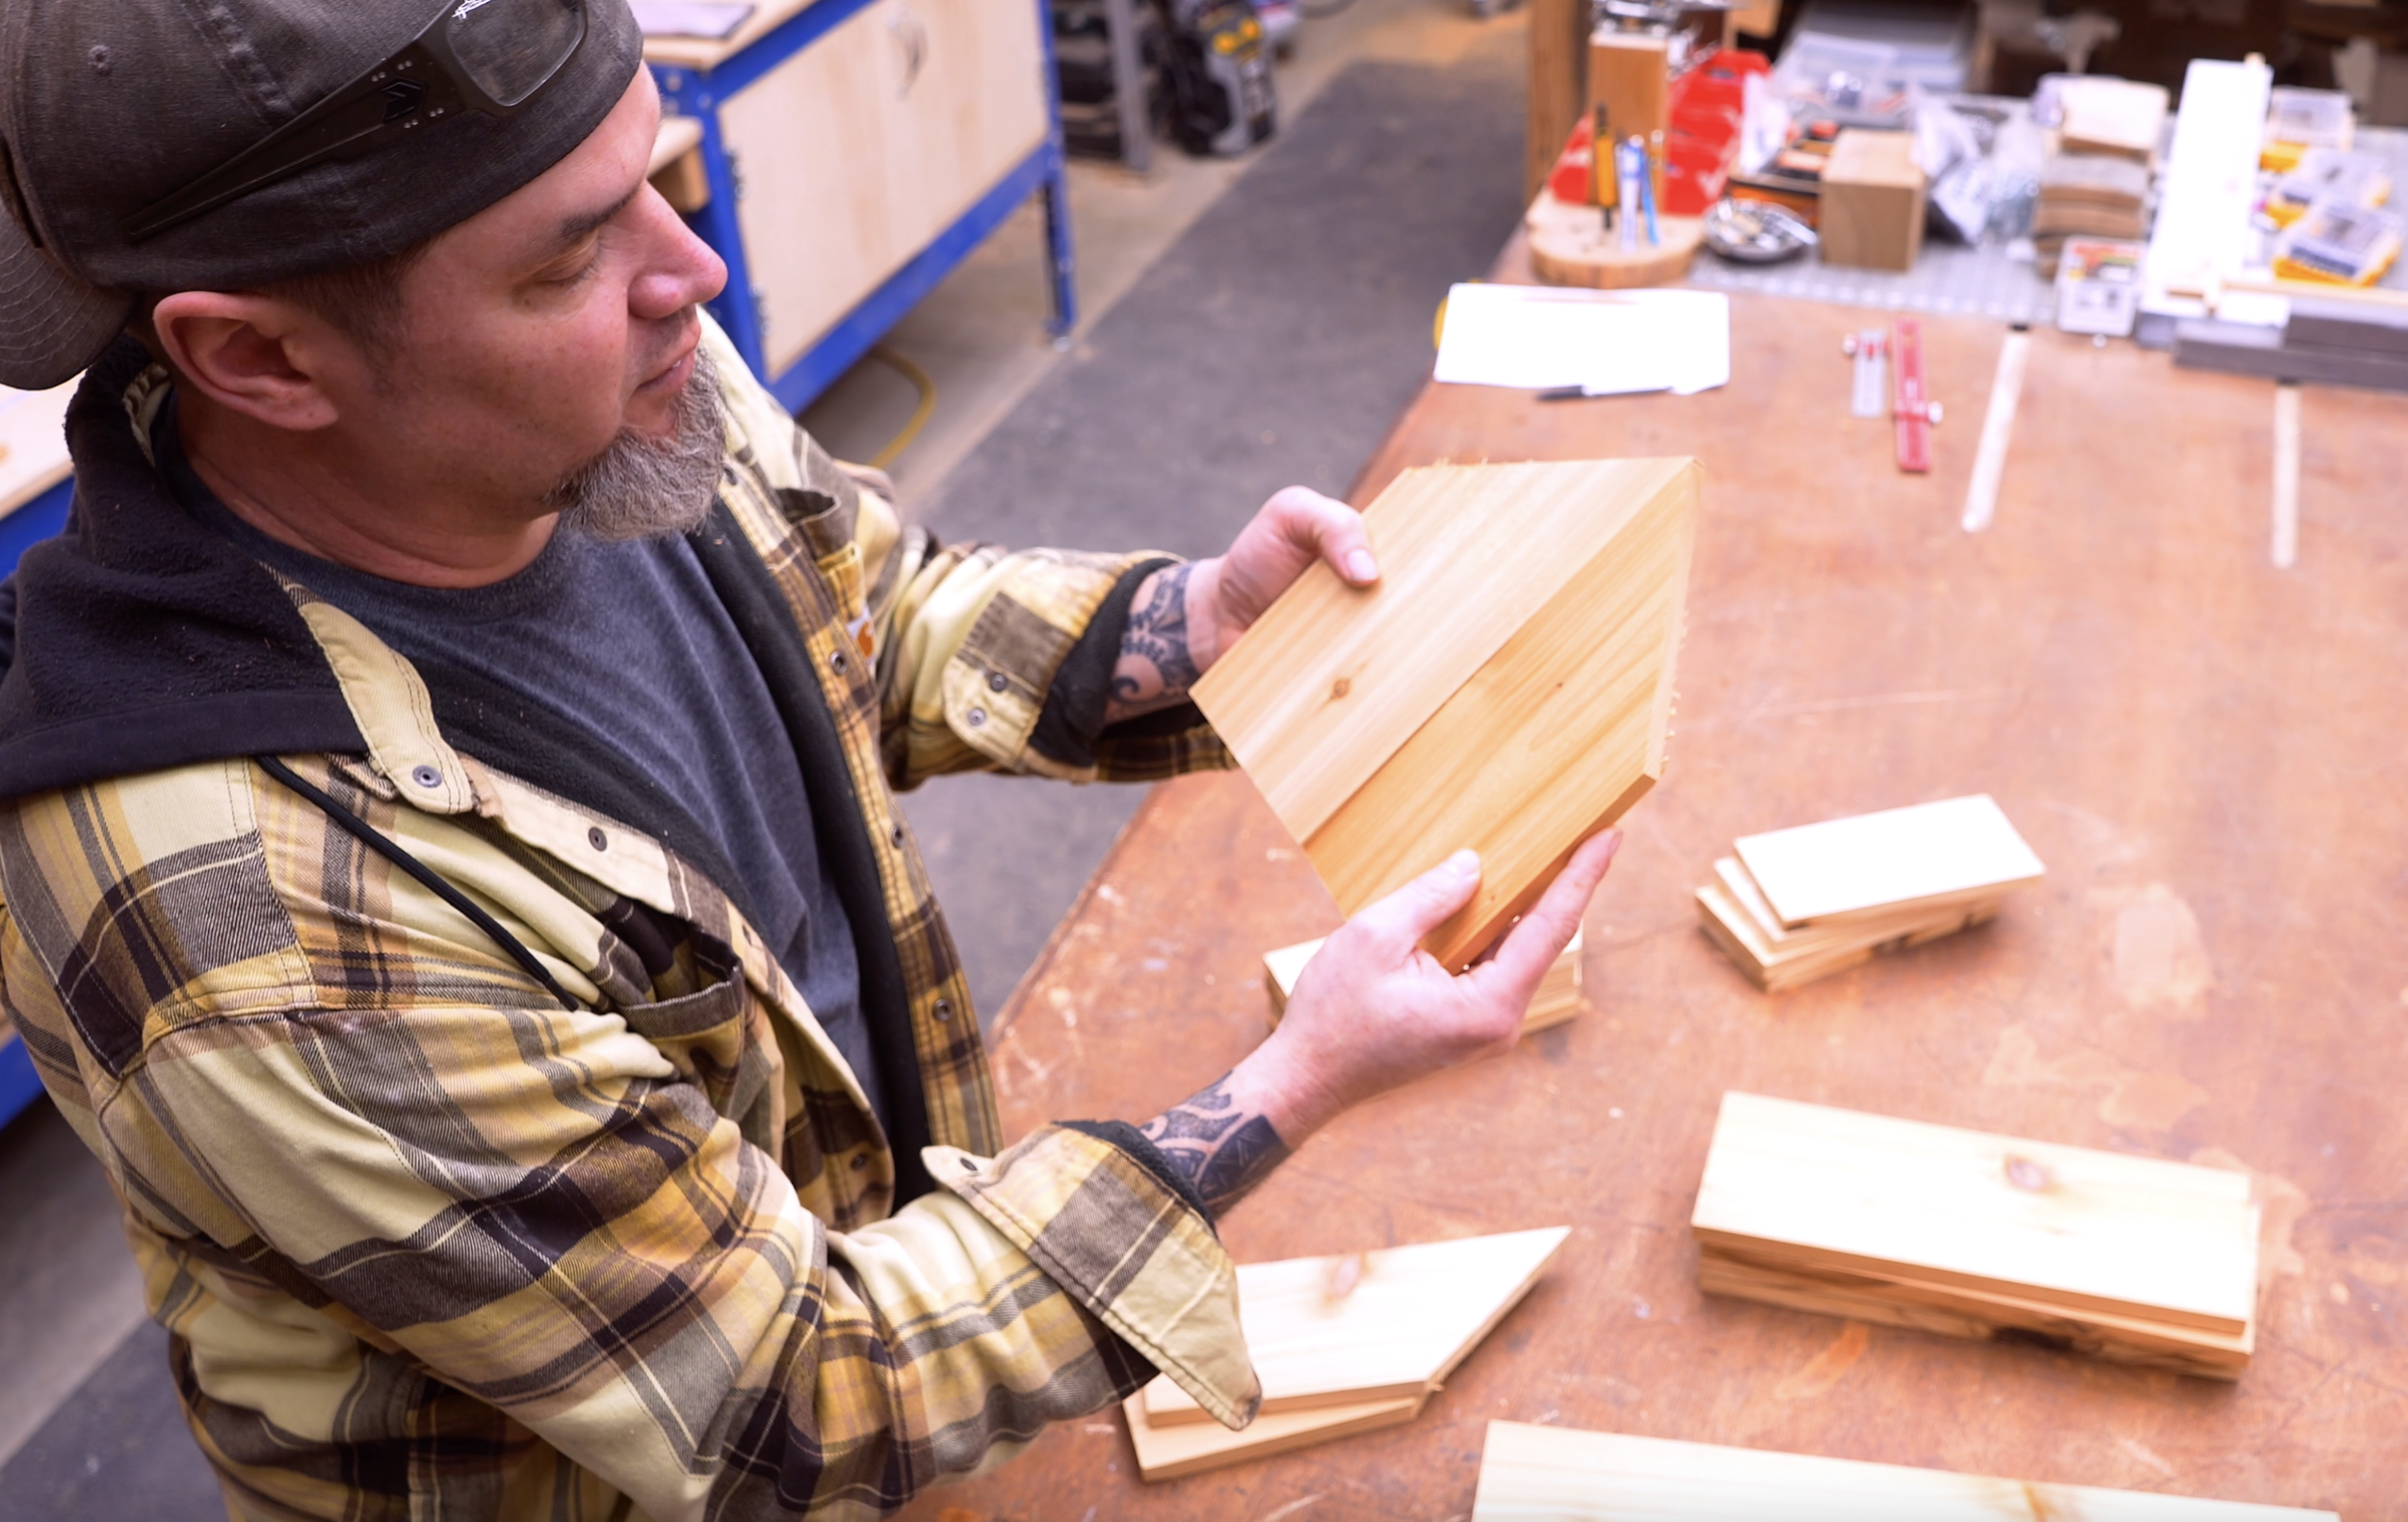
Step 4: Join the Wall Panels
Next we glue boards together to form the walls.
Use:
Wood glue
1¼" pocket hole screws
Each wall is built from two boards joined together, except the base which uses three boards.
Pocket hole placement
Base boards
1½"
8½"
15½"
Loft front/back
2"
8"
Loft sides
1½"
6"
10½"
Shed sides
1½"
6"
Note: The shed front and back boards do not get pocket holes.
Clamp boards flat while fastening to keep everything aligned.
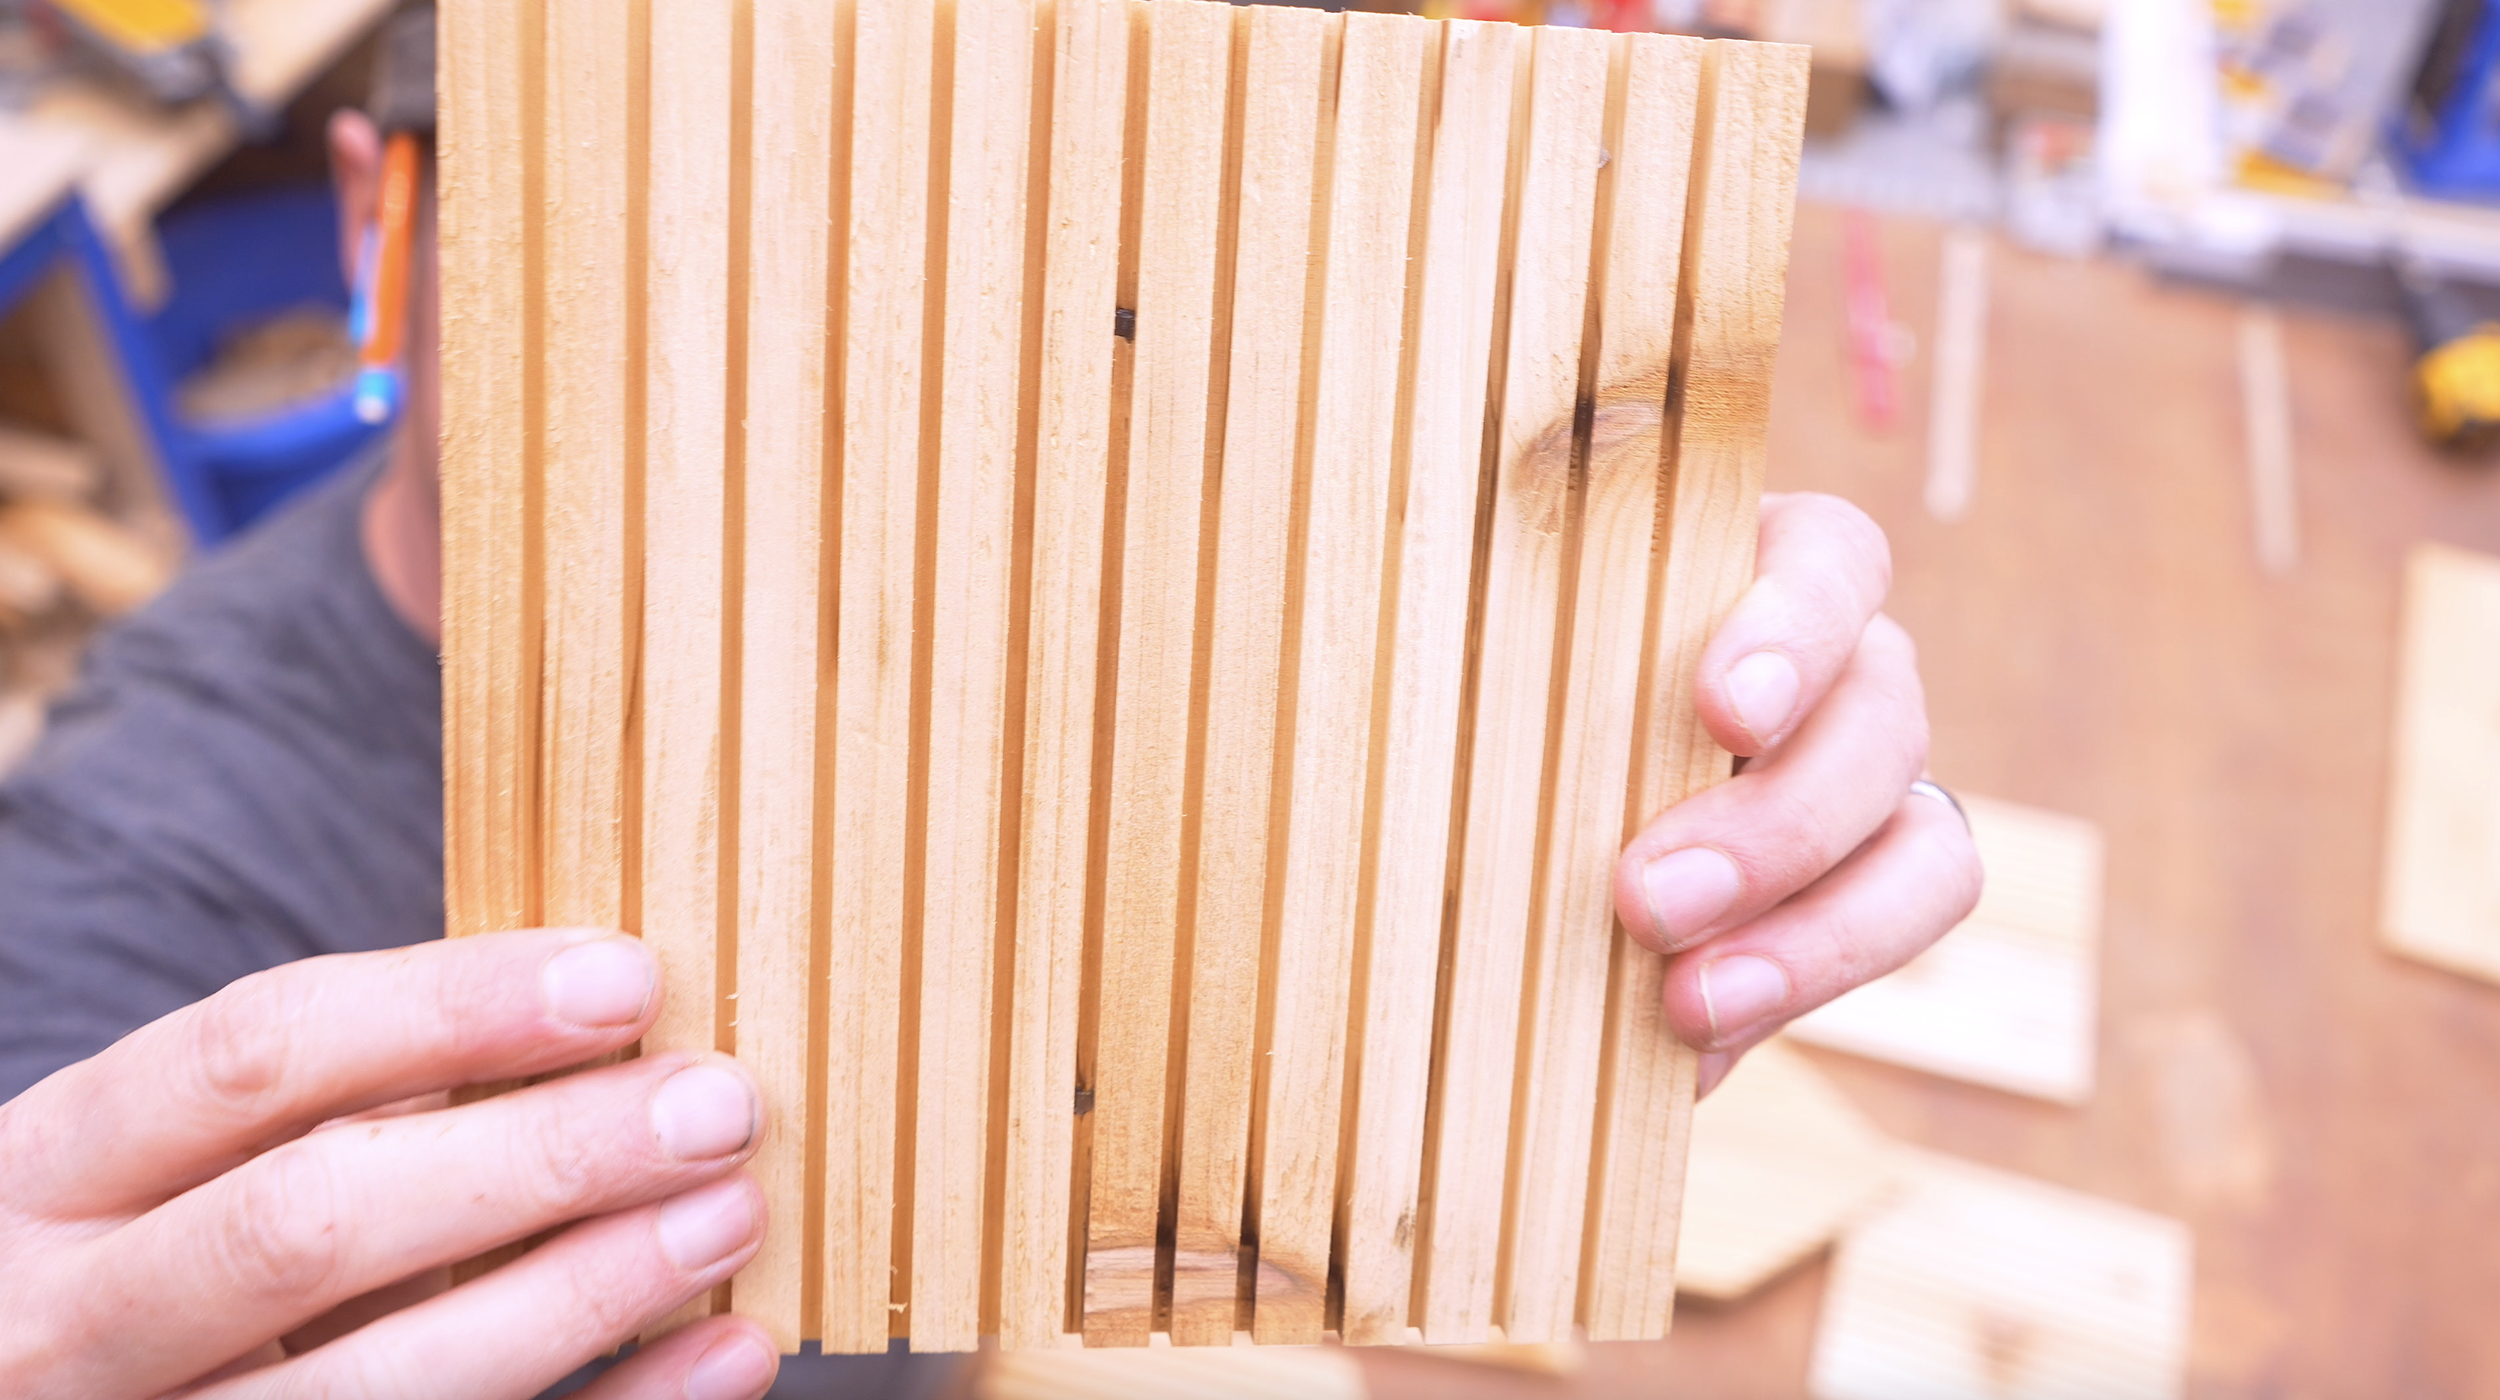
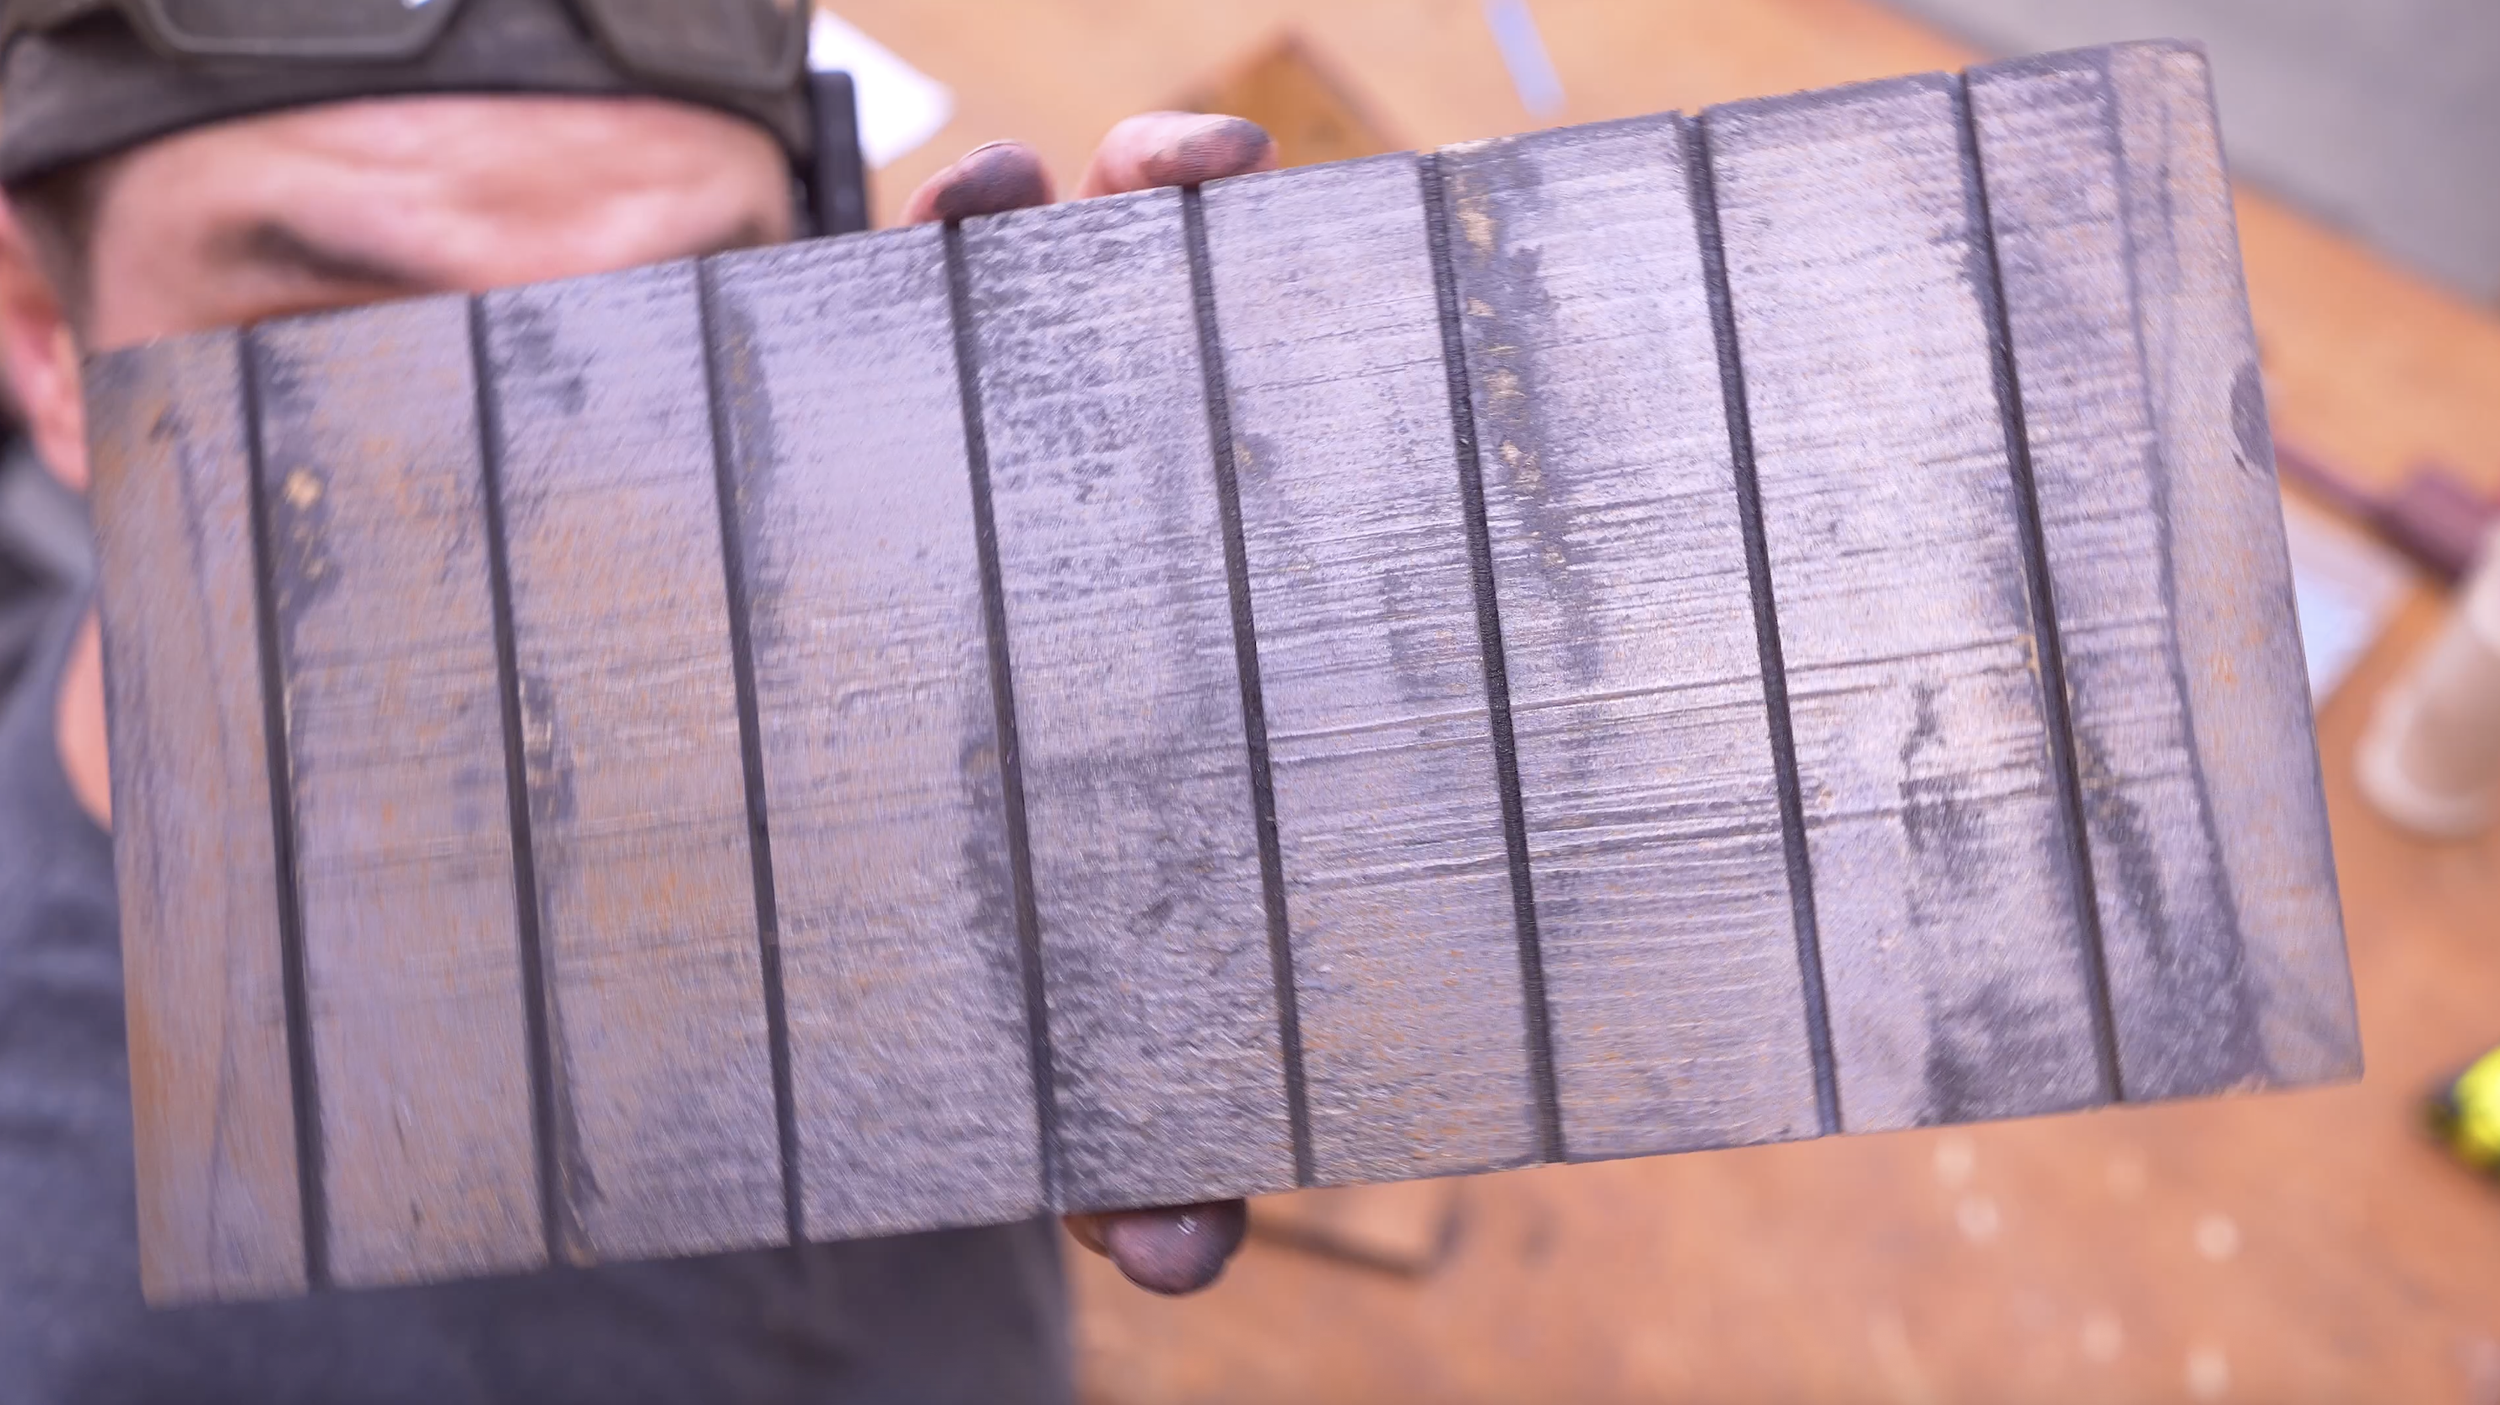
Step 5: Create the Rustic Barn Board Look
This step is what really makes the project stand out.
Instead of using separate boards, you’ll cut shallow grooves into the wood to simulate barn siding.
How to do it
Set your table saw blade height to:
1/8 inch
Run grooves across the boards at:
½"
1"
1½"
2"
Continue spacing every ½ inch until the edge.
This creates the illusion of multiple barn boards.
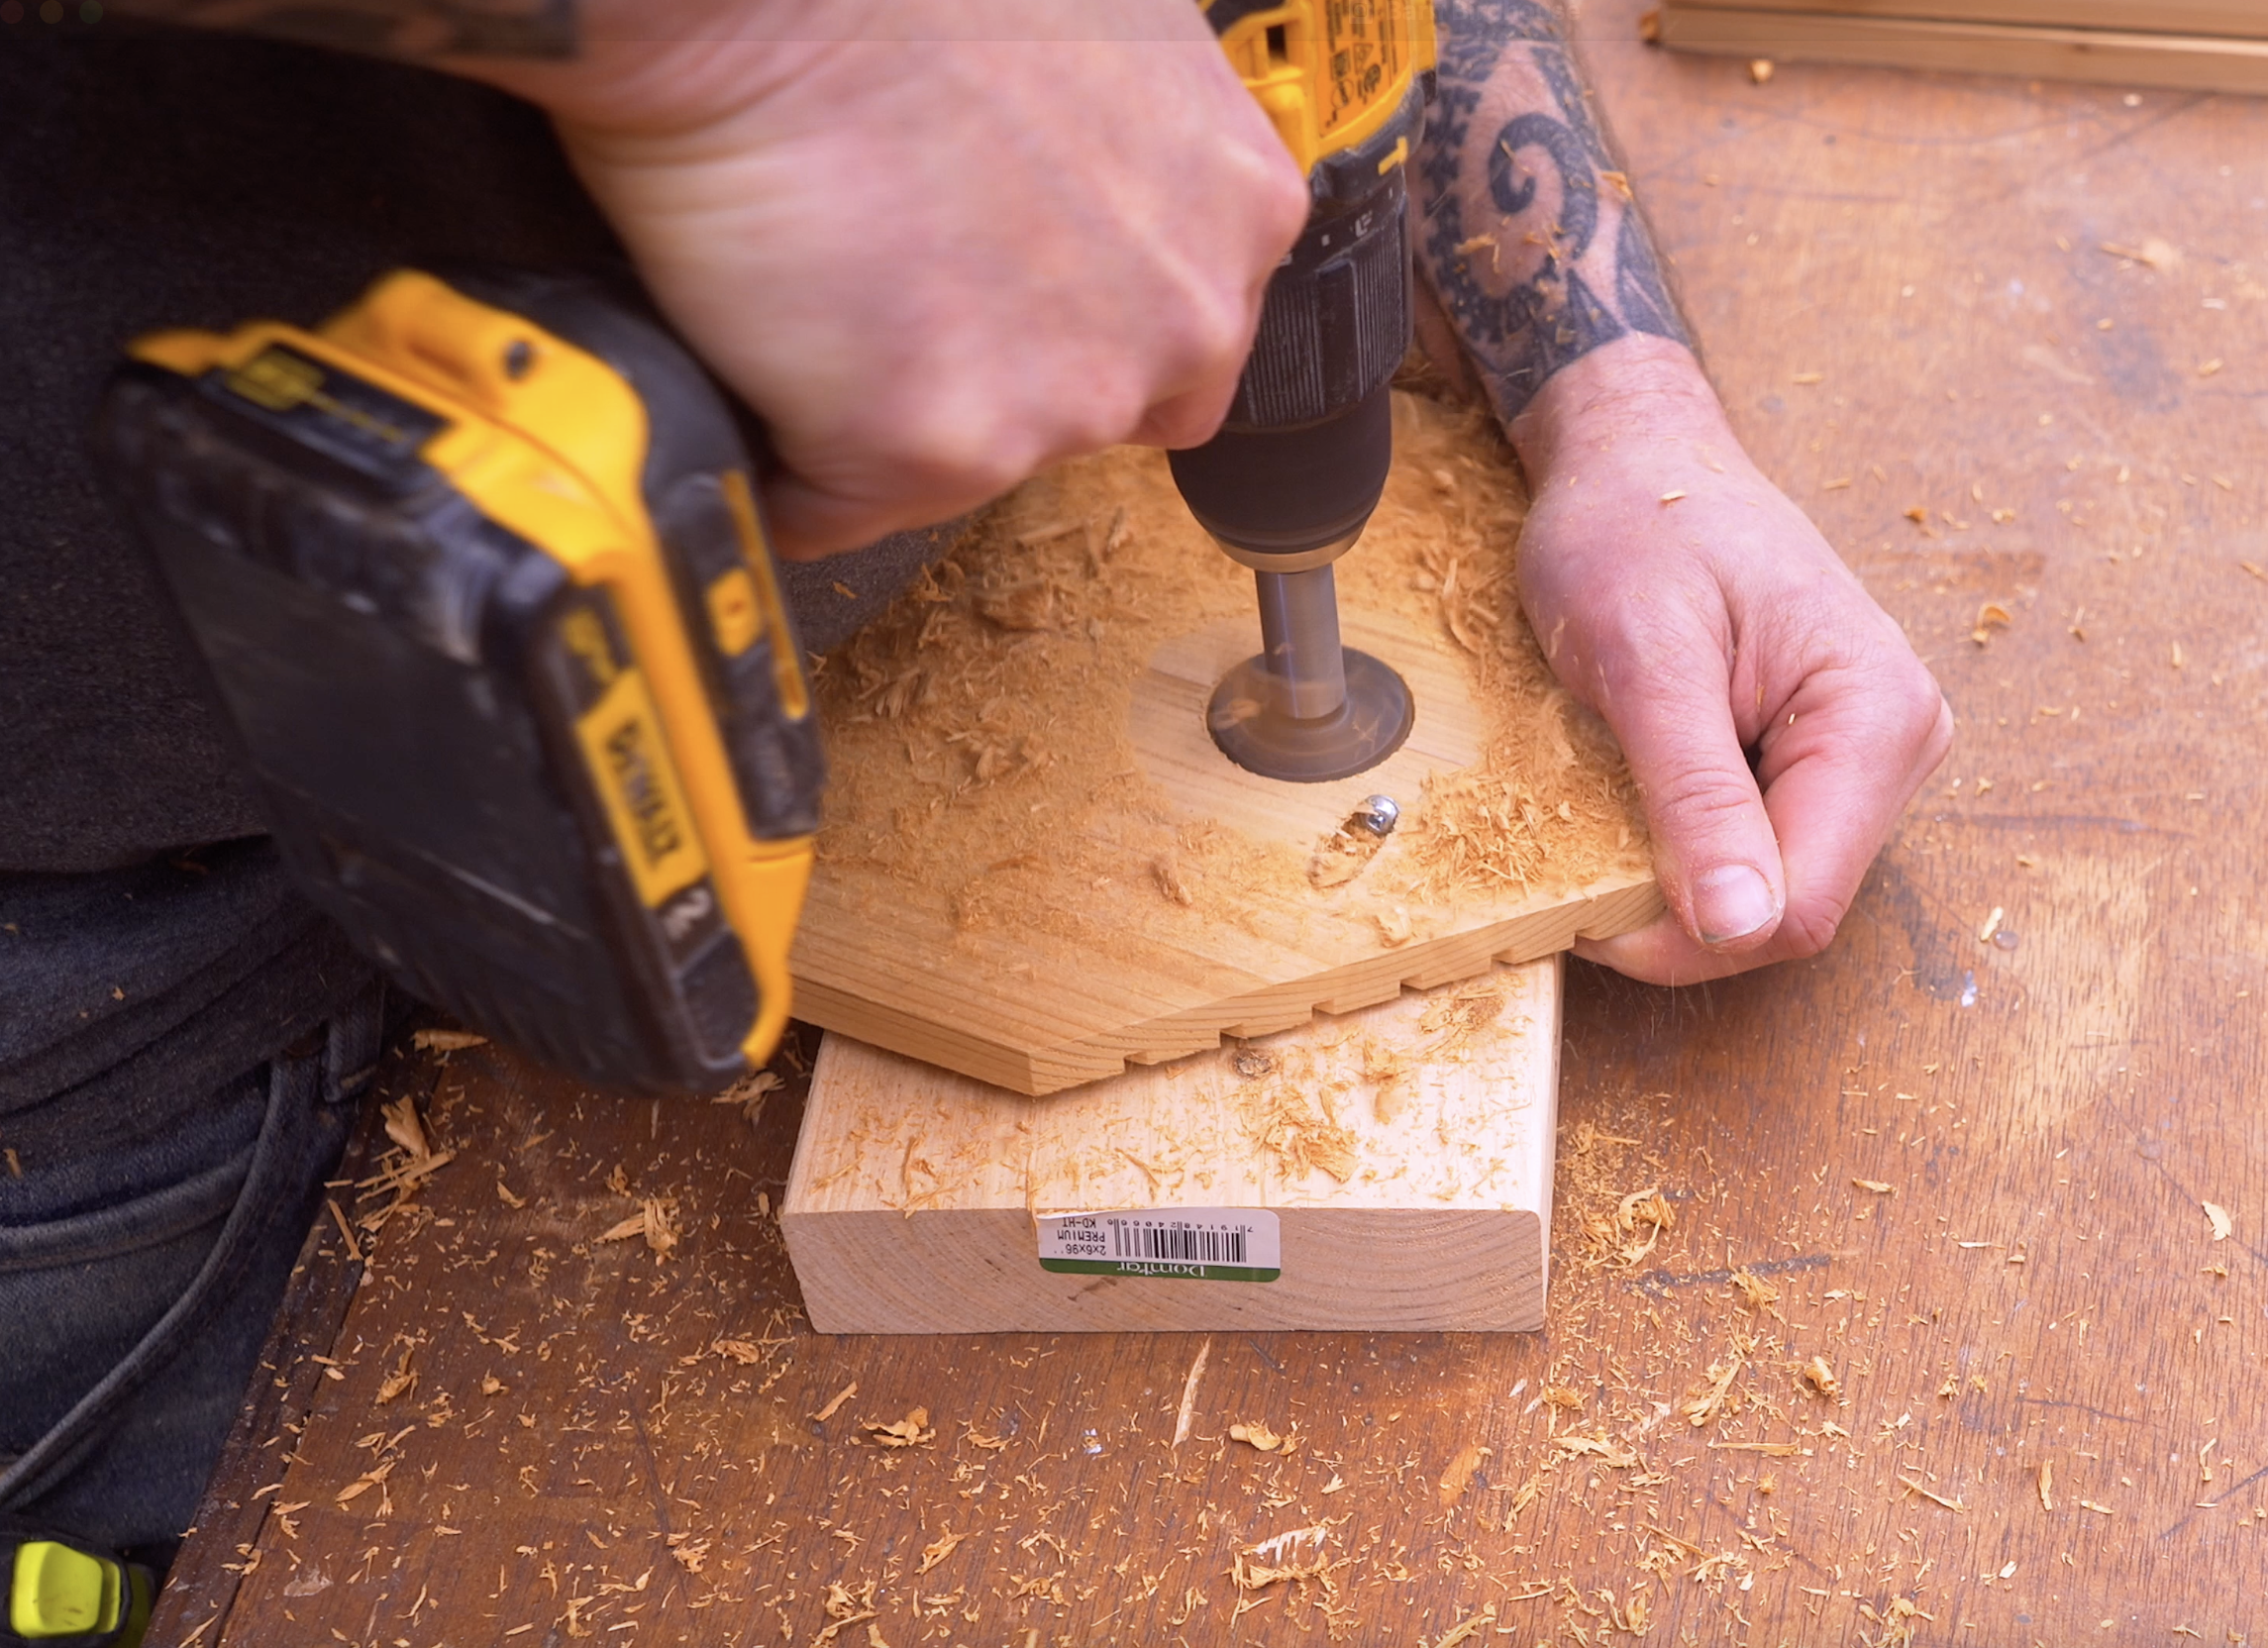
Step 6: Drill the Birdhouse Entry Hole
Choose one of the loft walls for the birdhouse entrance.
Measure:
3¾ inches down from the top
Drill a 1⅝ inch hole for the bird entry.
You can adjust hole size depending on the birds you want to attract.
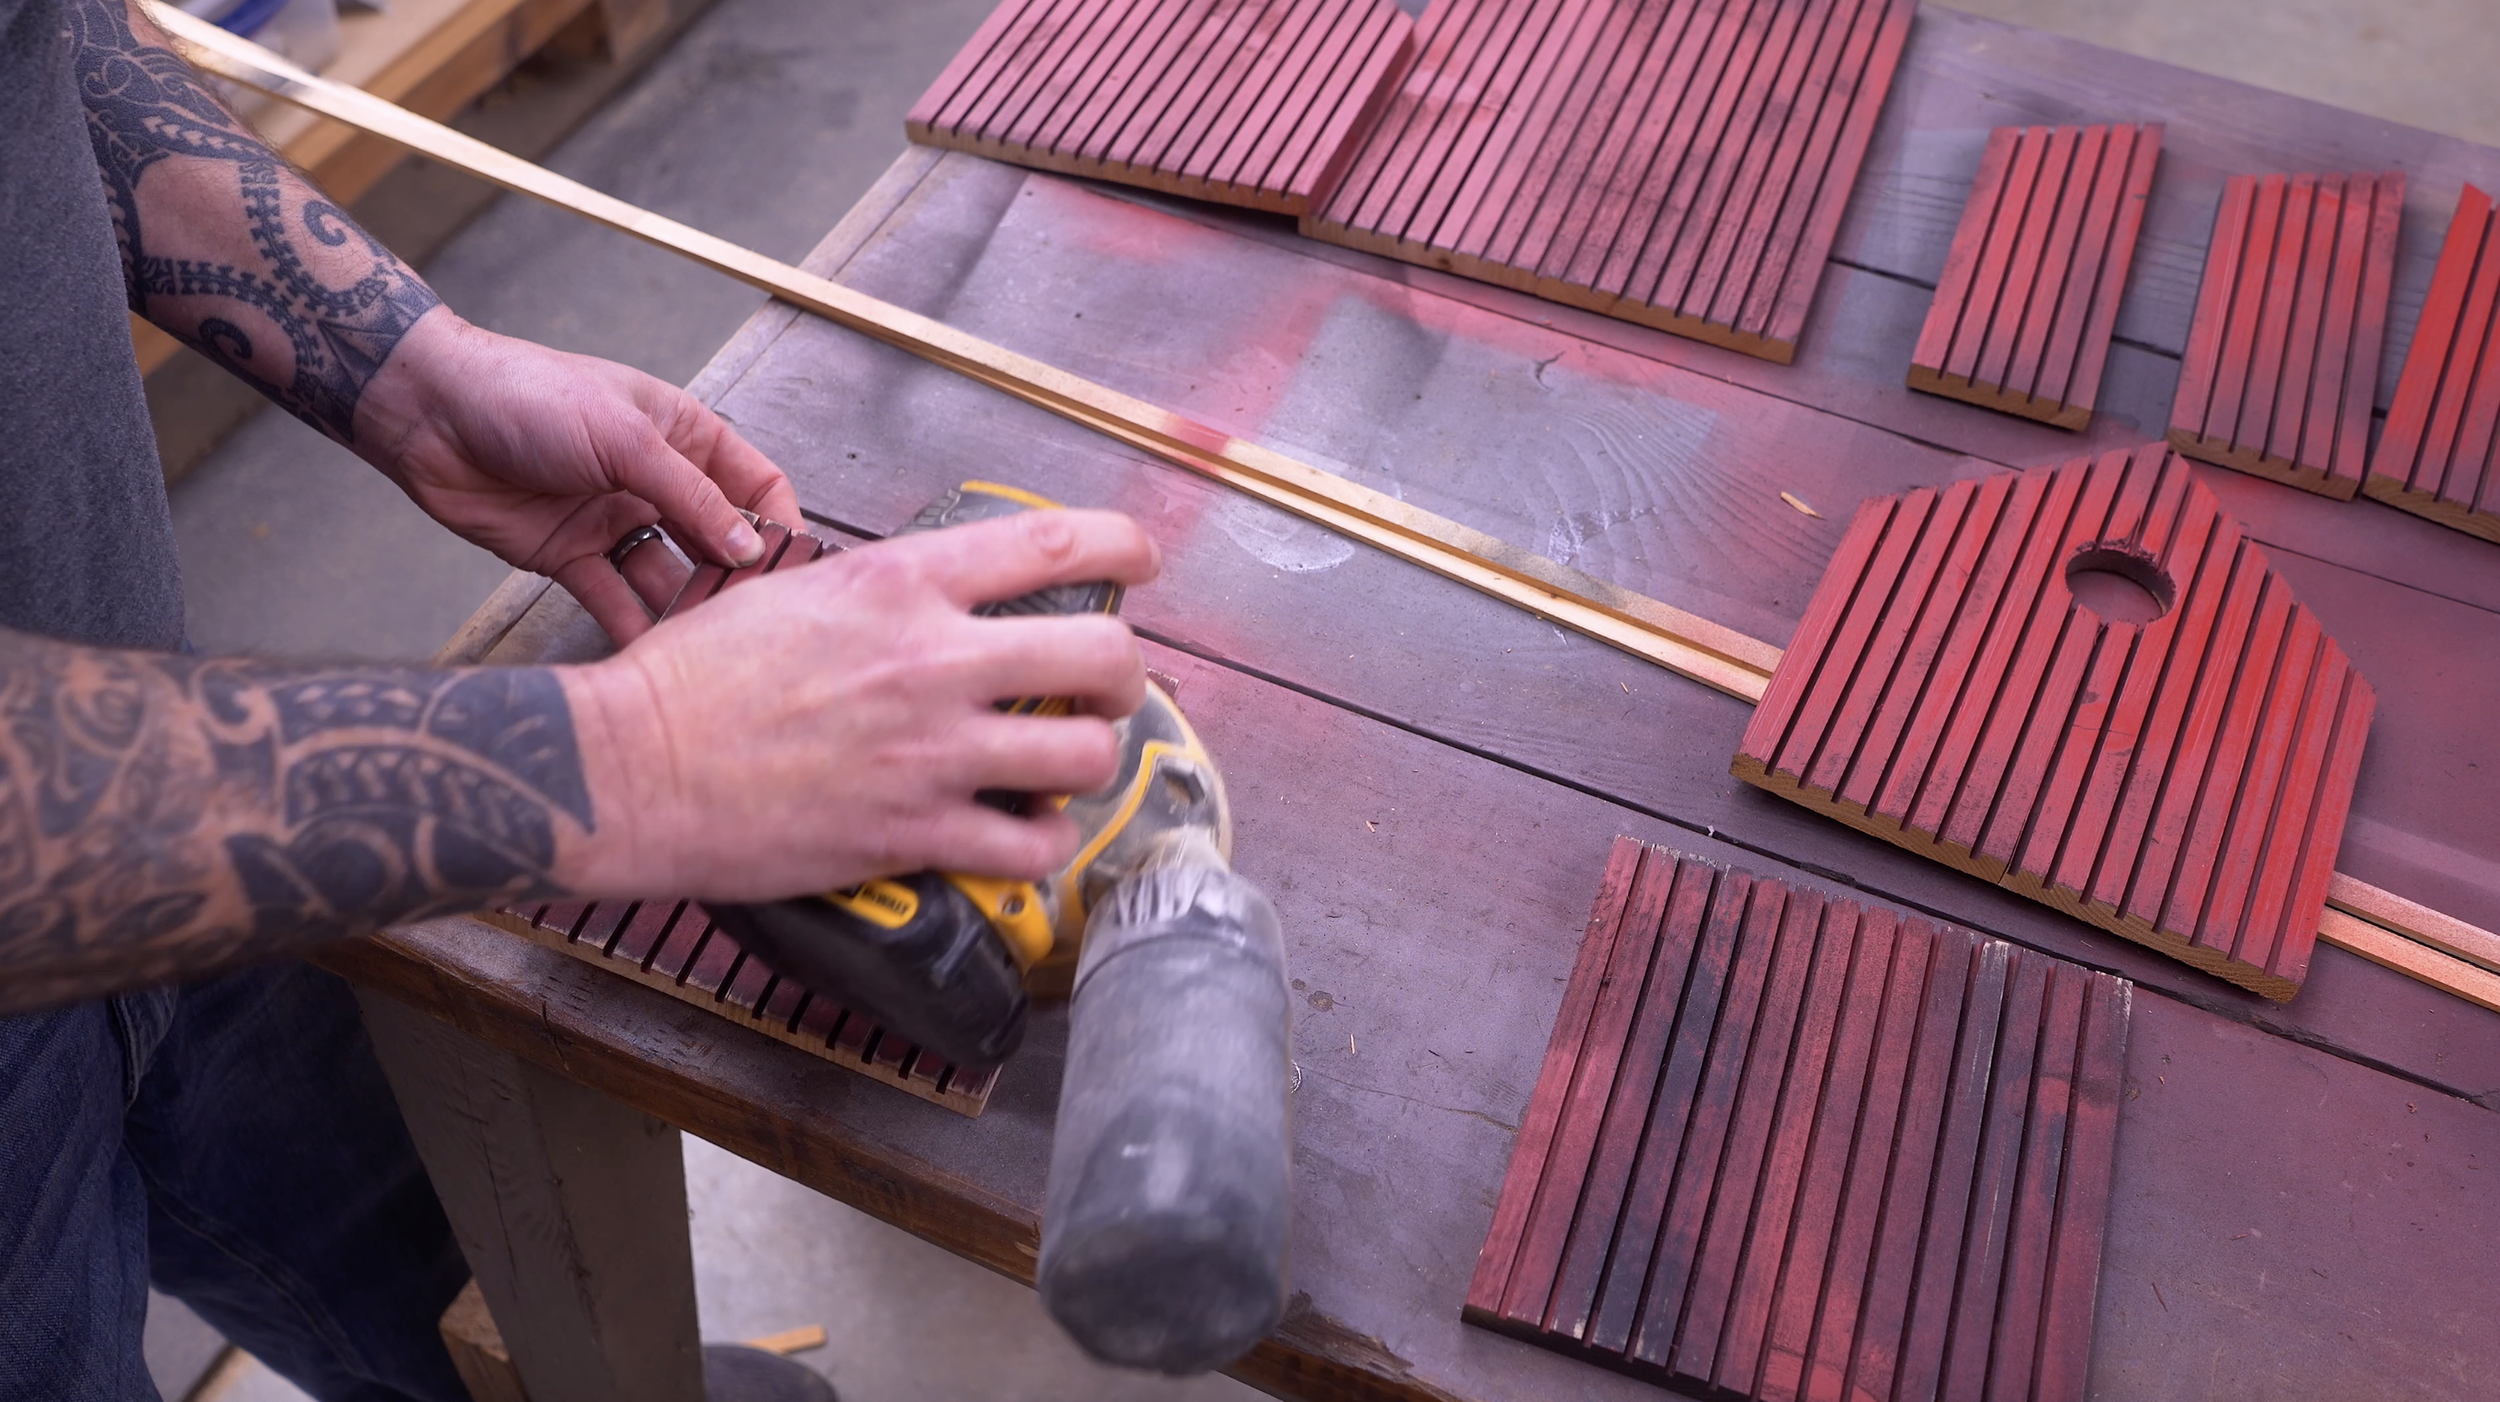
Step 7: Paint and Distress the Barn
This is where the project really comes to life.
For a realistic old barn look:
Paint all walls black first (base coat)
After drying, paint everything barn red
Lightly sand to expose the black and raw wood underneath
This gives the project a weathered multi-layer barn look.
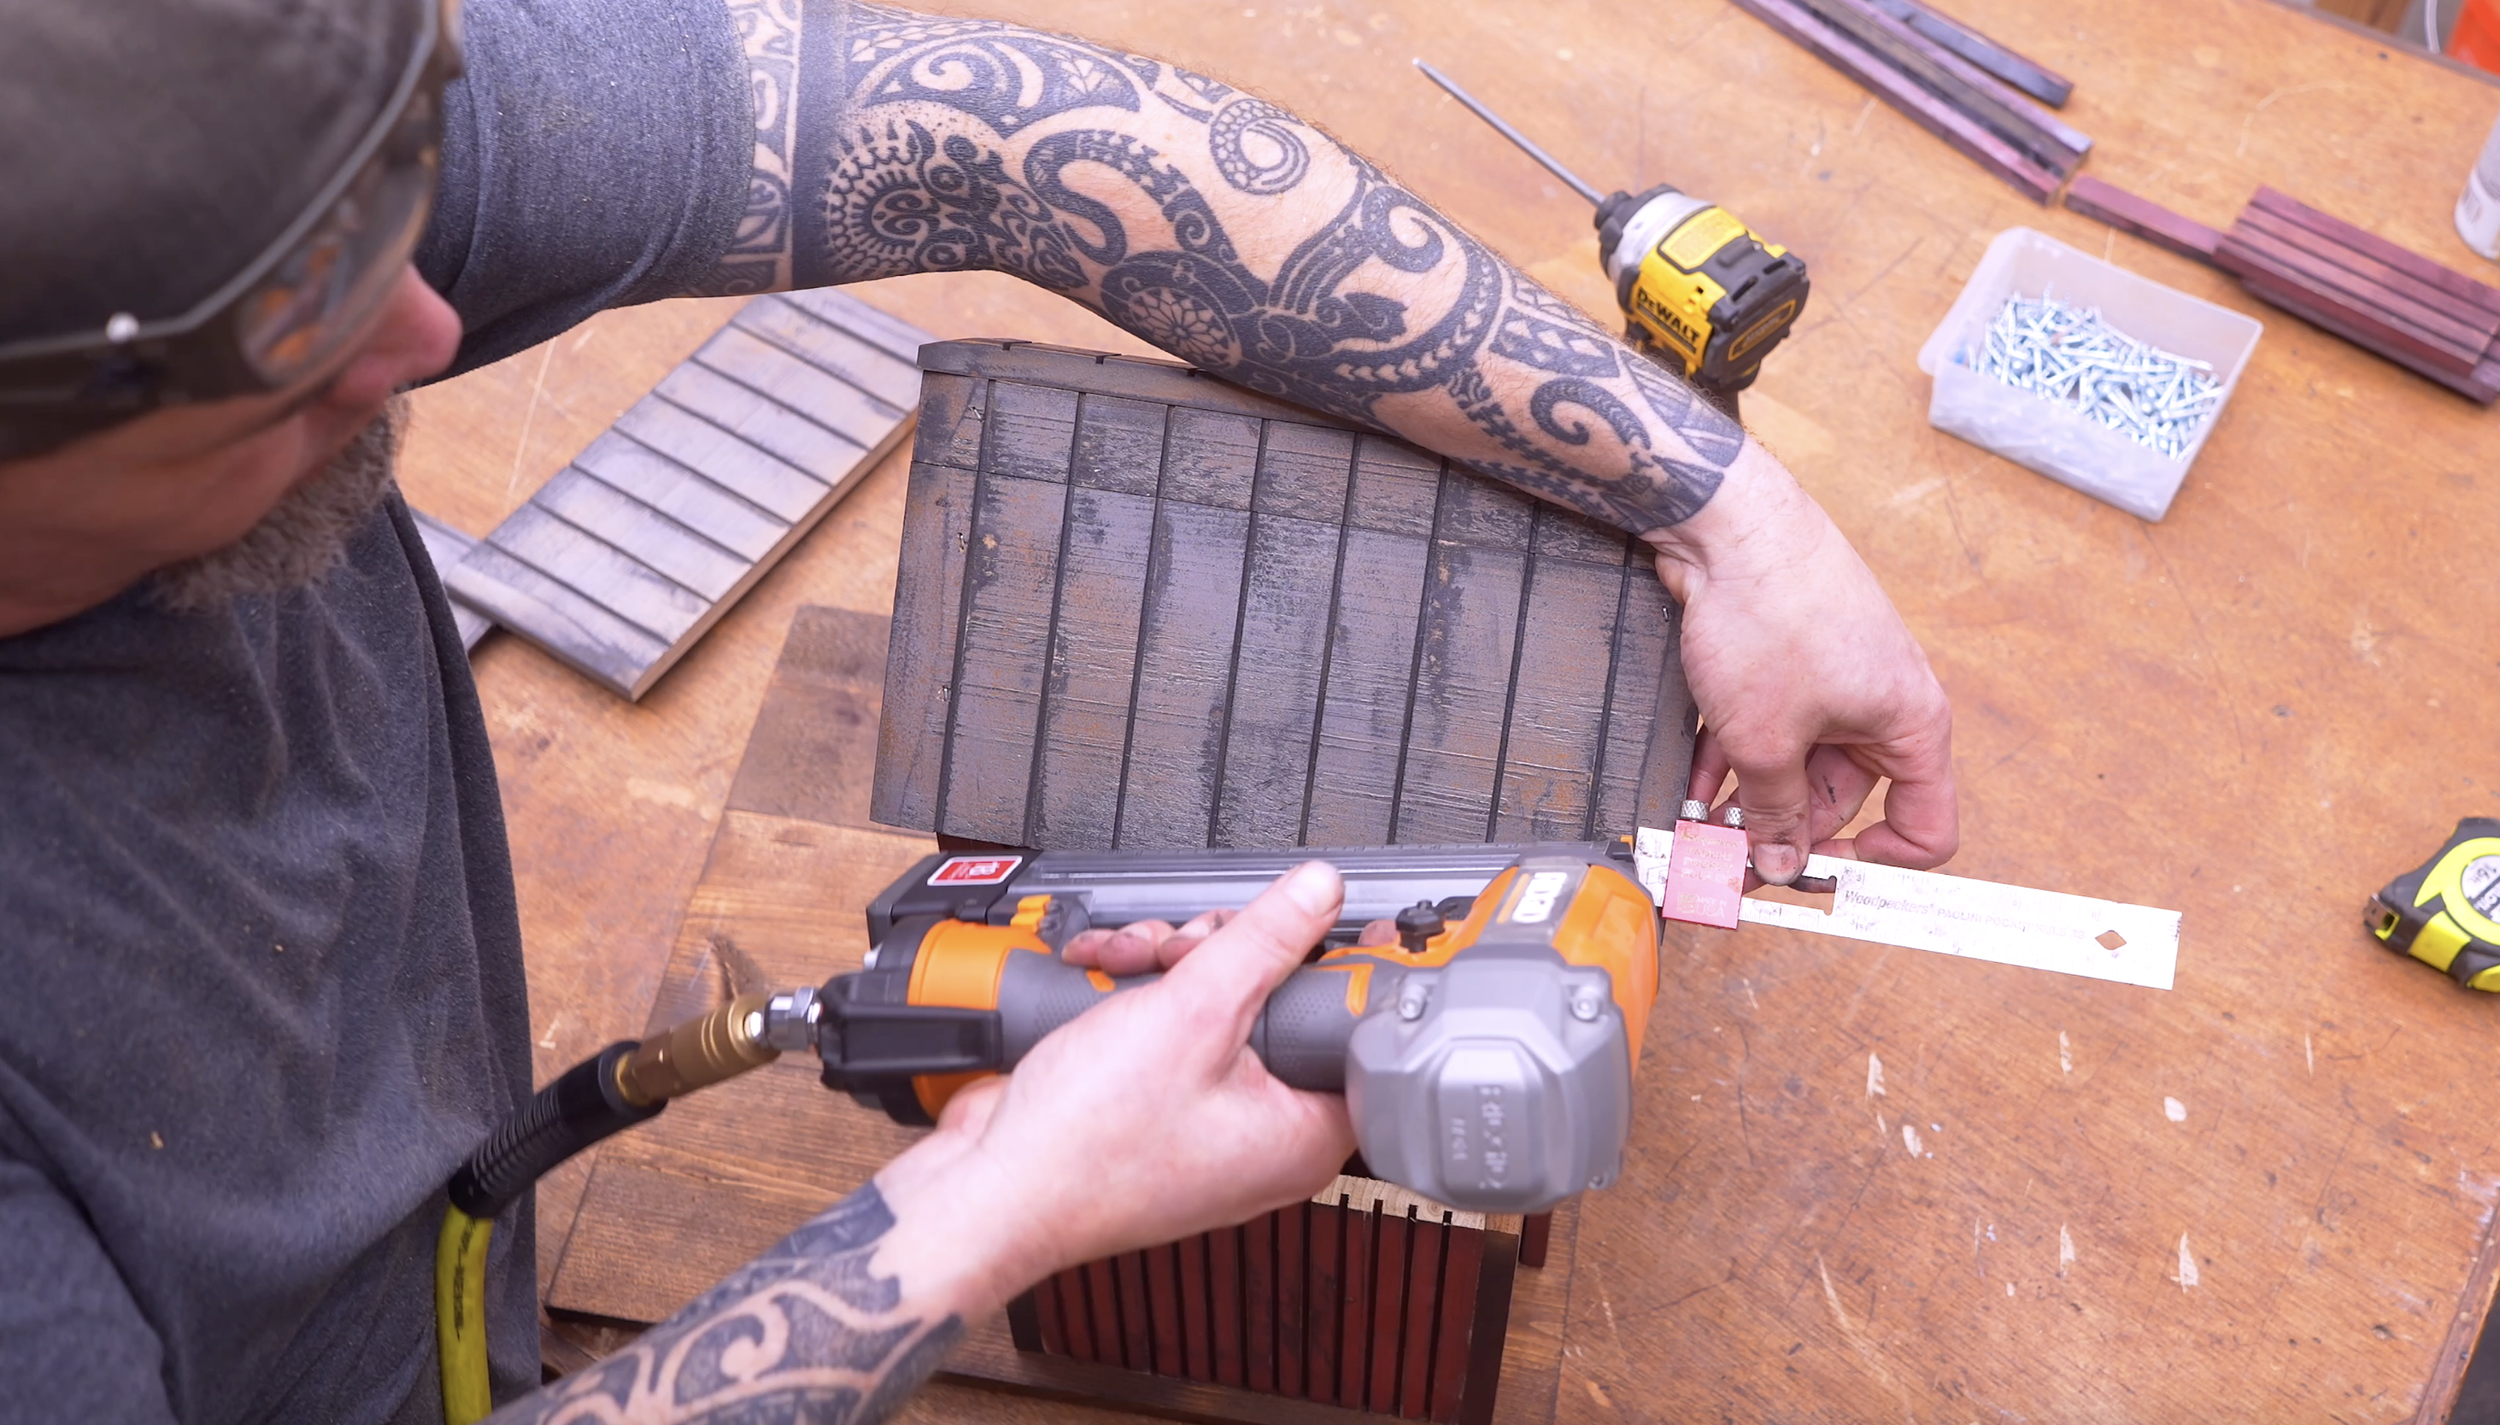
Step 8: Assemble the Barn Structure
Start assembling the barn.
Build the shed sections first
Attach:
Shed front
Shed back
Shed side walls
Use:
Wood glue
Brad nails or crown staples
Attach sheds to loft walls
Make sure:
Pocket holes face downward
Walls are centered
Glue and staple from the back.
Mount the structure to the base
Attach the left shed section:
Position it:
½ inch from the left edge
½ inch from the back edge
Secure with pocket screws.
Use the front board as a spacer to position the right side.

Step 9: Install the Loft Floor
Cut a board:
7" x 9"
Slide it between the front and back loft walls.
Nail it in place.
This becomes the floor of the birdhouse portion.
Step 10: Build the Roof
Shed roof boards
2 boards — 4" x 9"
Loft roof boards
2 boards — 5" x 11"
1 board — 1¾" x 11"
1 board — 1¼" x 11"
Step 11: Create the Faux Metal Roof
To mimic an old barn metal roof:
Mark grooves every 1¼ inches
Use a miter saw with a depth stop
Cut shallow grooves across each board
Paint process:
Black base coat
Silver top coat
Light copper highlights for rust effect
This creates a convincing weathered metal roof look.
Step 12: Install the Roof
Attach roof boards with ½ inch overhang on both sides.
Install the two narrow roof boards first, then the larger panels.
Repeat the same process for the shed roofs.

Step 13: Add Decorative Barn Doors
Cut doors:
2¼" x 6"
Add grooves just like the walls.
Create the classic barn Z brace using:
½" x ½" strips
Top and bottom: 2¼"
Center brace: 3¾" with 26° cuts
Glue the pieces together and attach to the barn.
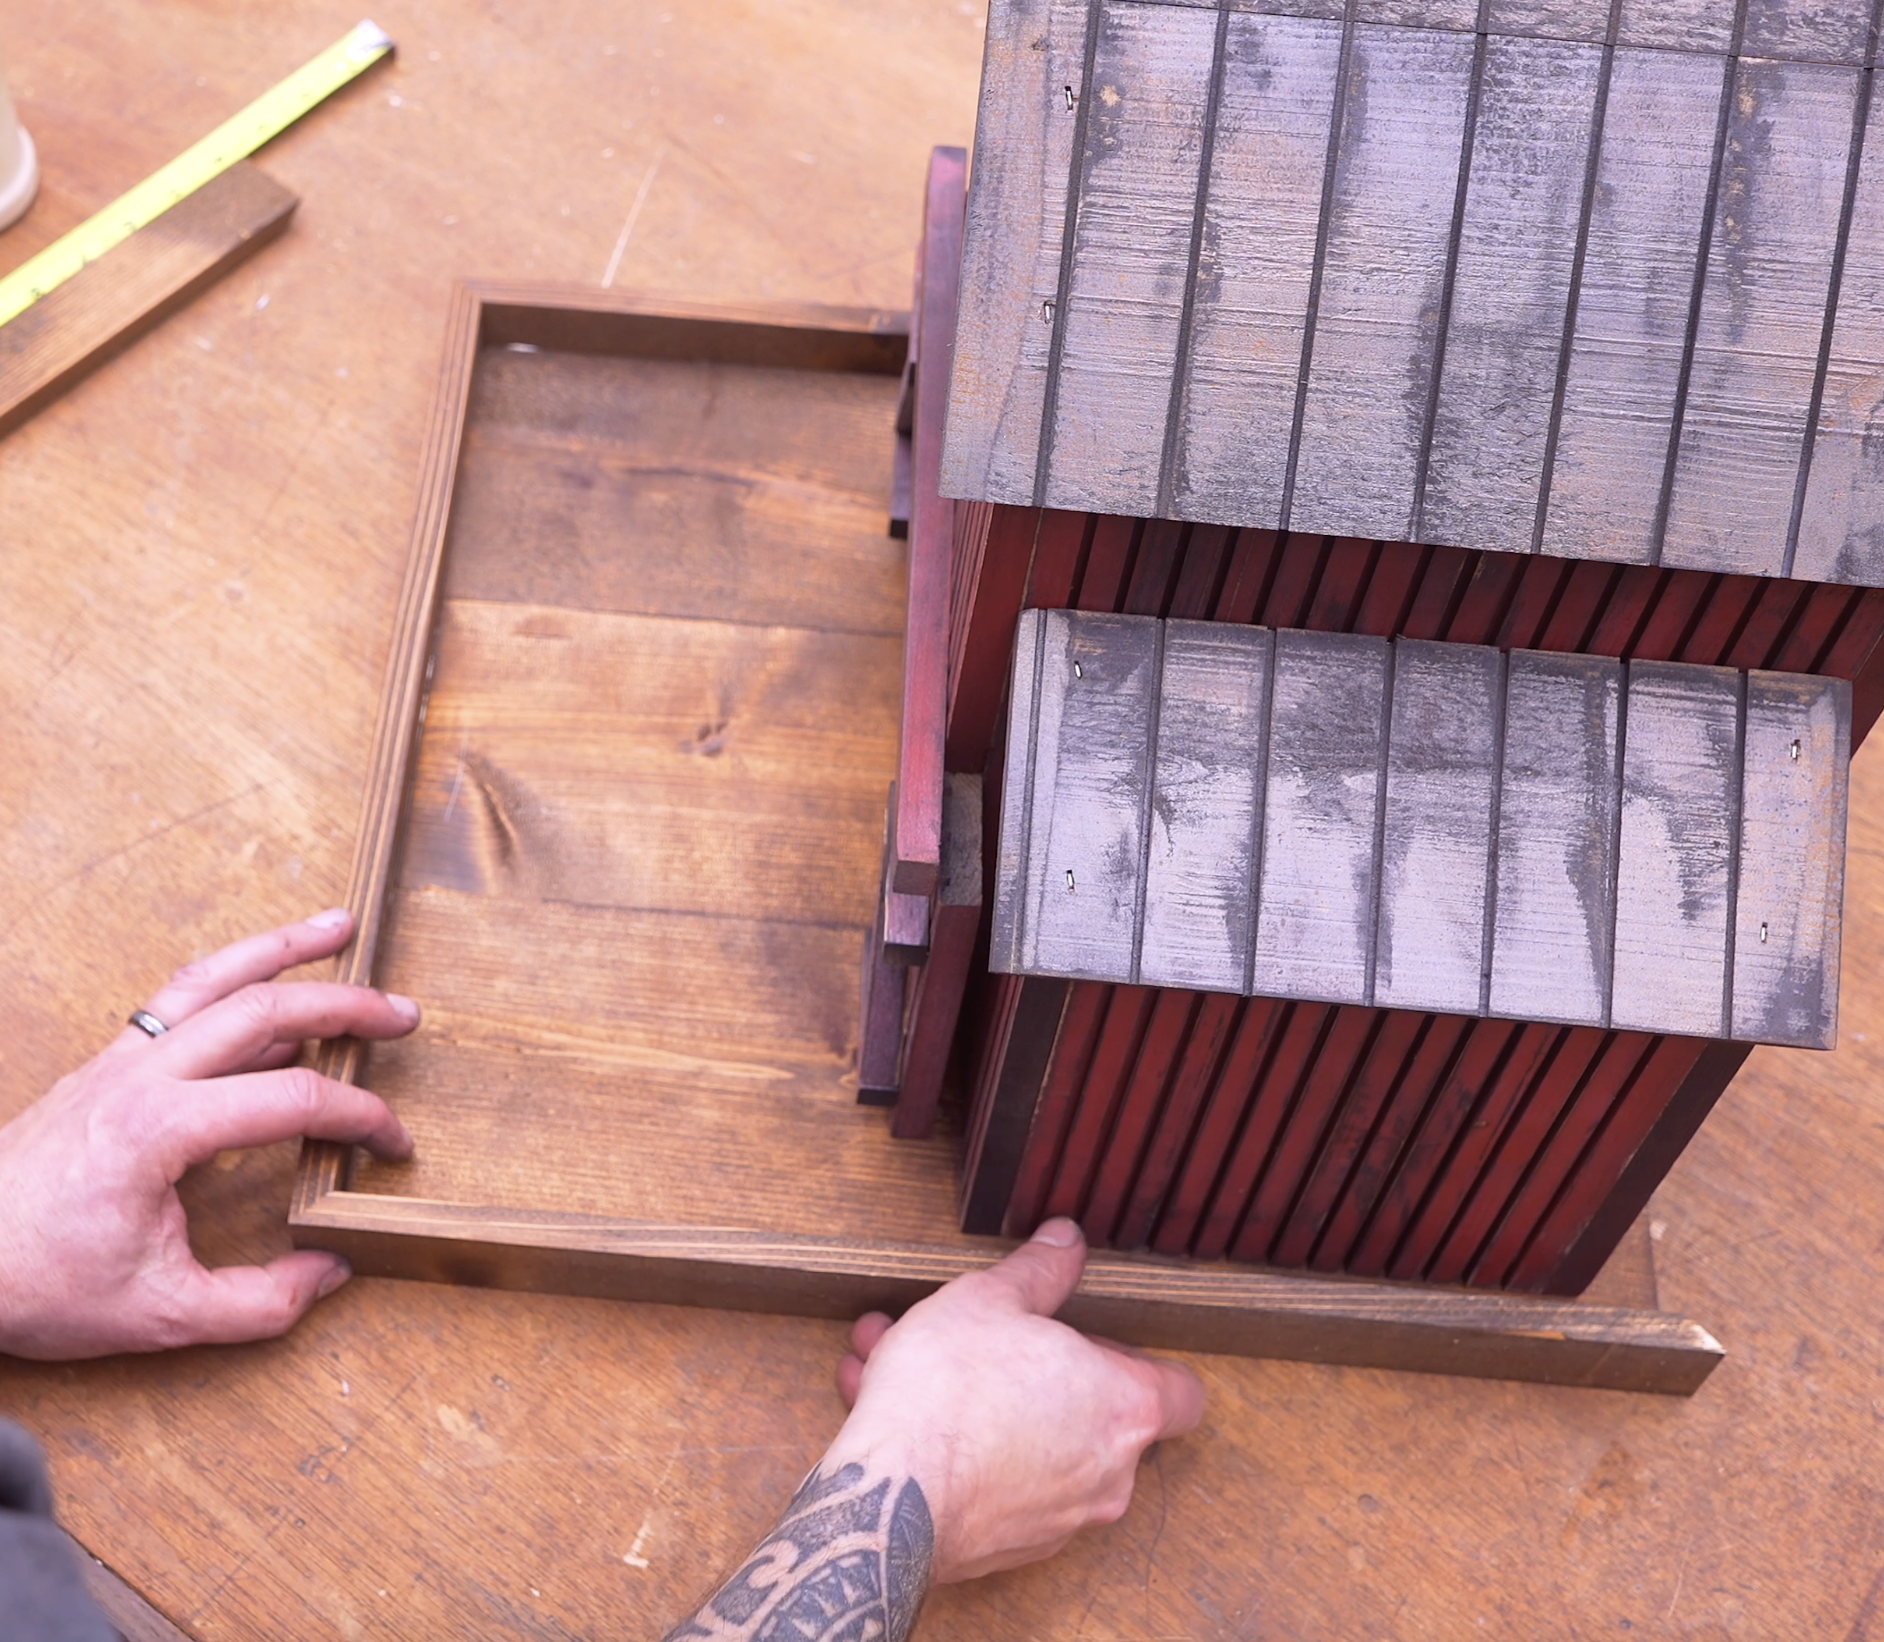
Step 14: Add Seed Tray Trim
To hold bird seed on the base:
Rip trim pieces to:
1½ inches wide
Cut 45° corners.
You’ll need:
2 boards — 16"
2 boards — 18"
Attach around the base perimeter.
Optional: Make It a Functional Birdhouse
If you want to clean it out later:
Attach one roof panel with screws instead of nails.
That way it can be removed for maintenance.
Ready To Build?
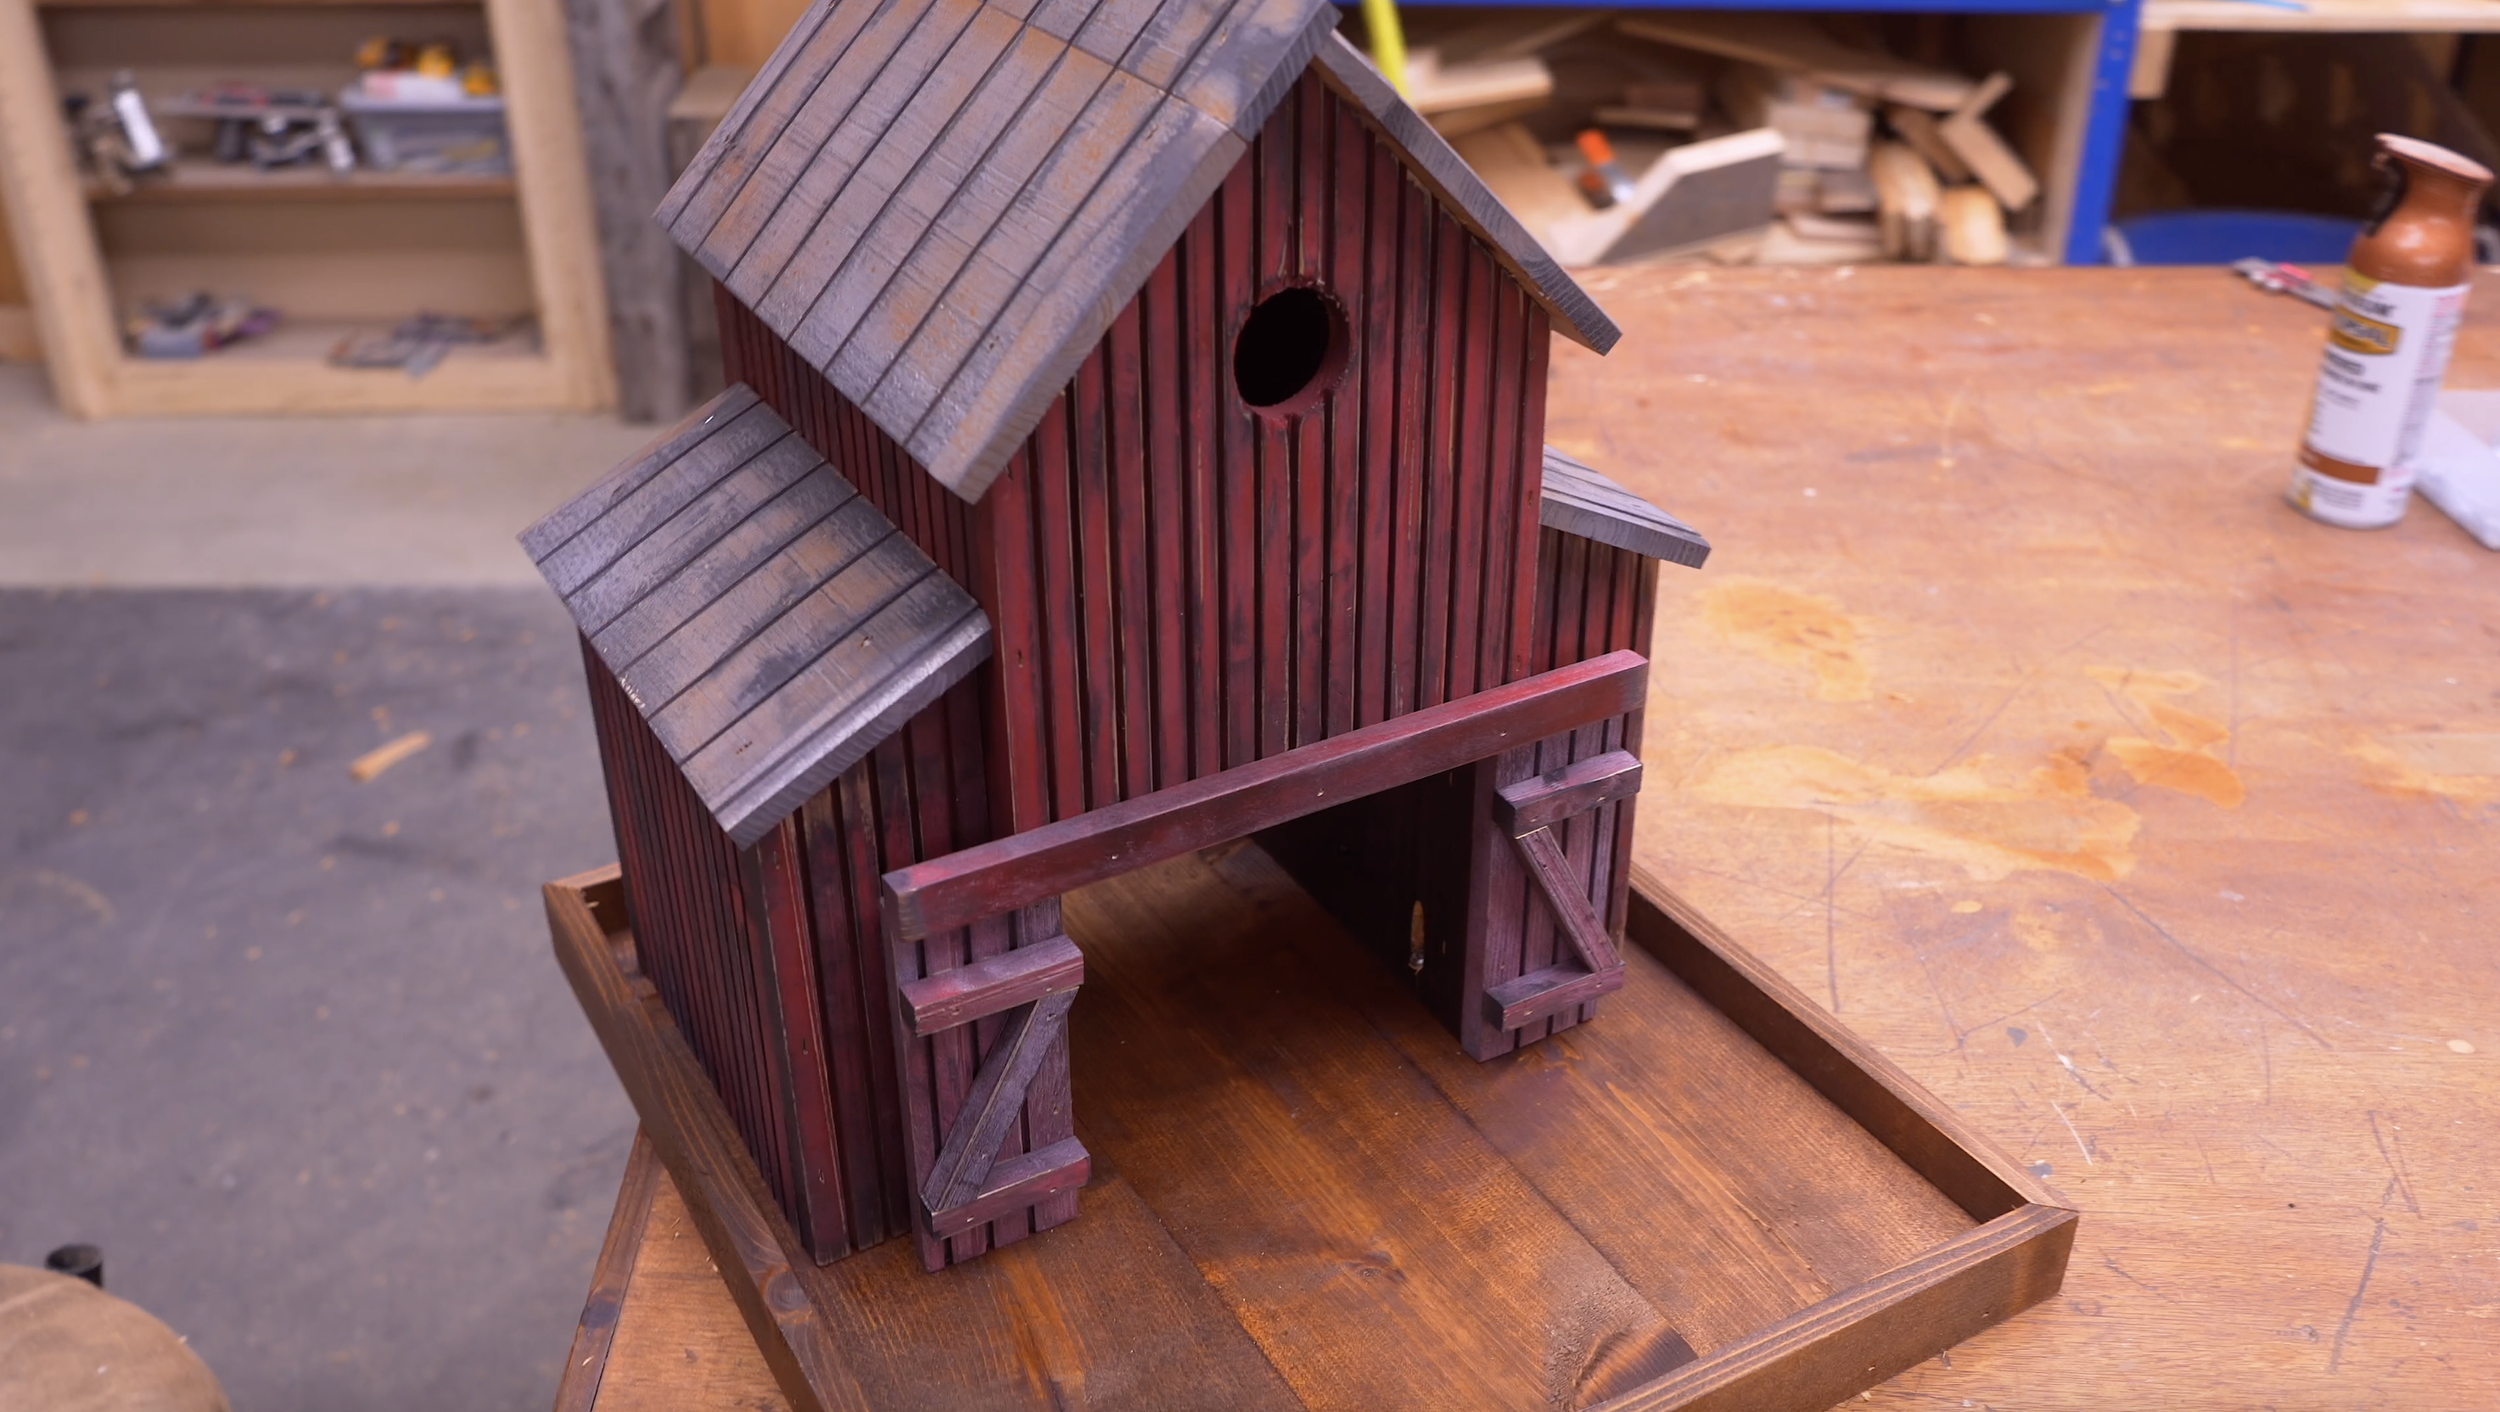
And that’s it — a rustic barn bird feeder birdhouse built almost entirely from cheap fence pickets.
It’s a project that:
Looks amazing
Uses minimal materials
Works for beginners
Has serious selling potential
There’s really no part of this build that you can’t handle.
So whether you build one for your yard, give it as a gift, or start selling them…
Get up, get out, and get your build on.
Whether you’re new to woodworking or a seasoned pro, this project offers the perfect mix of functionality and creativity. Below I have the YouTube video linked for a step-by-step video tutorial for you to follow along with. If you’re a more “plans in the hand” person, click “Get Plan” down below for downloadable instructions. And if you’re ready to dive deeper into woodworking, check out my new course, “Woodworking Kickstart” (which is also linked below). It’s packed with step-by-step lessons to help you build confidence and skills, whether you’re a total beginner or an experienced DIYer. You’ll be building with confidence in no time.
Remember, creativity doesn’t have to be expensive; all you need is a little inspiration and a willingness to try.
Get Easy Step-By-Step Directions to build this by clicking the button below
⭐ 10,044 5 Star Reviews
📚 113 Plans to Choose From
🧩 Lego-Like Assembly Steps
📏 Exact Measurements
📋 Detailed cut and part list
🔍 X-Ray Views
🚀 Instant Delivery
