
Build This DIY Modern Bench Planter This Weekend
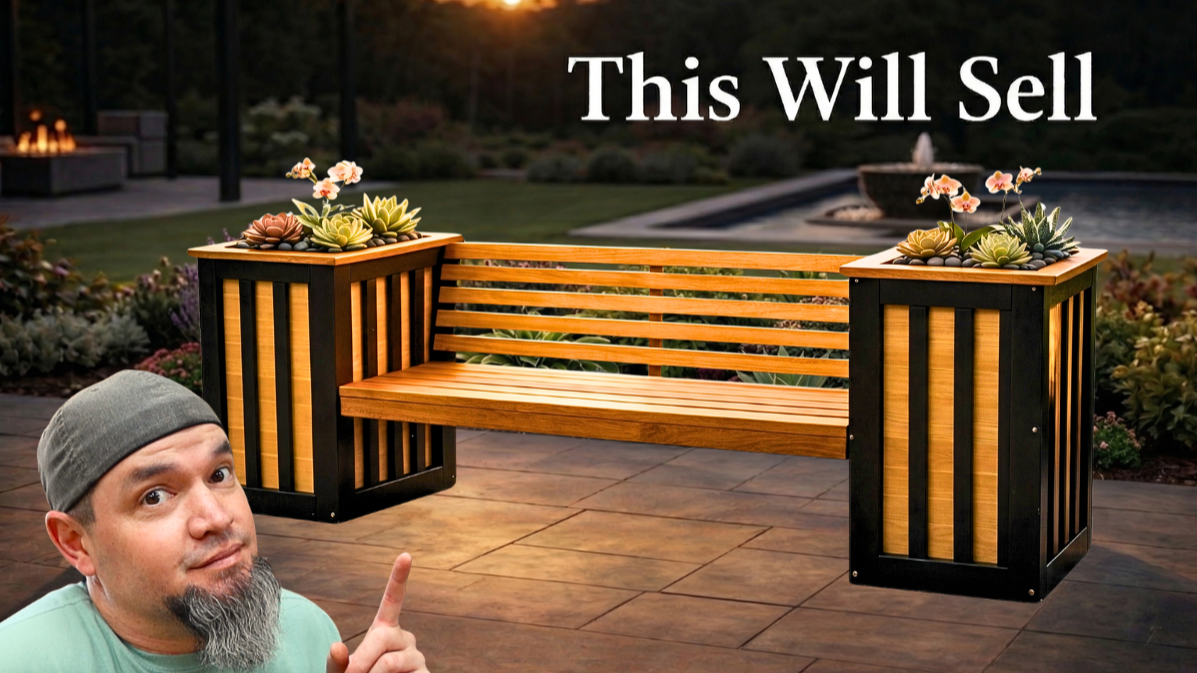
Functional & Iconic
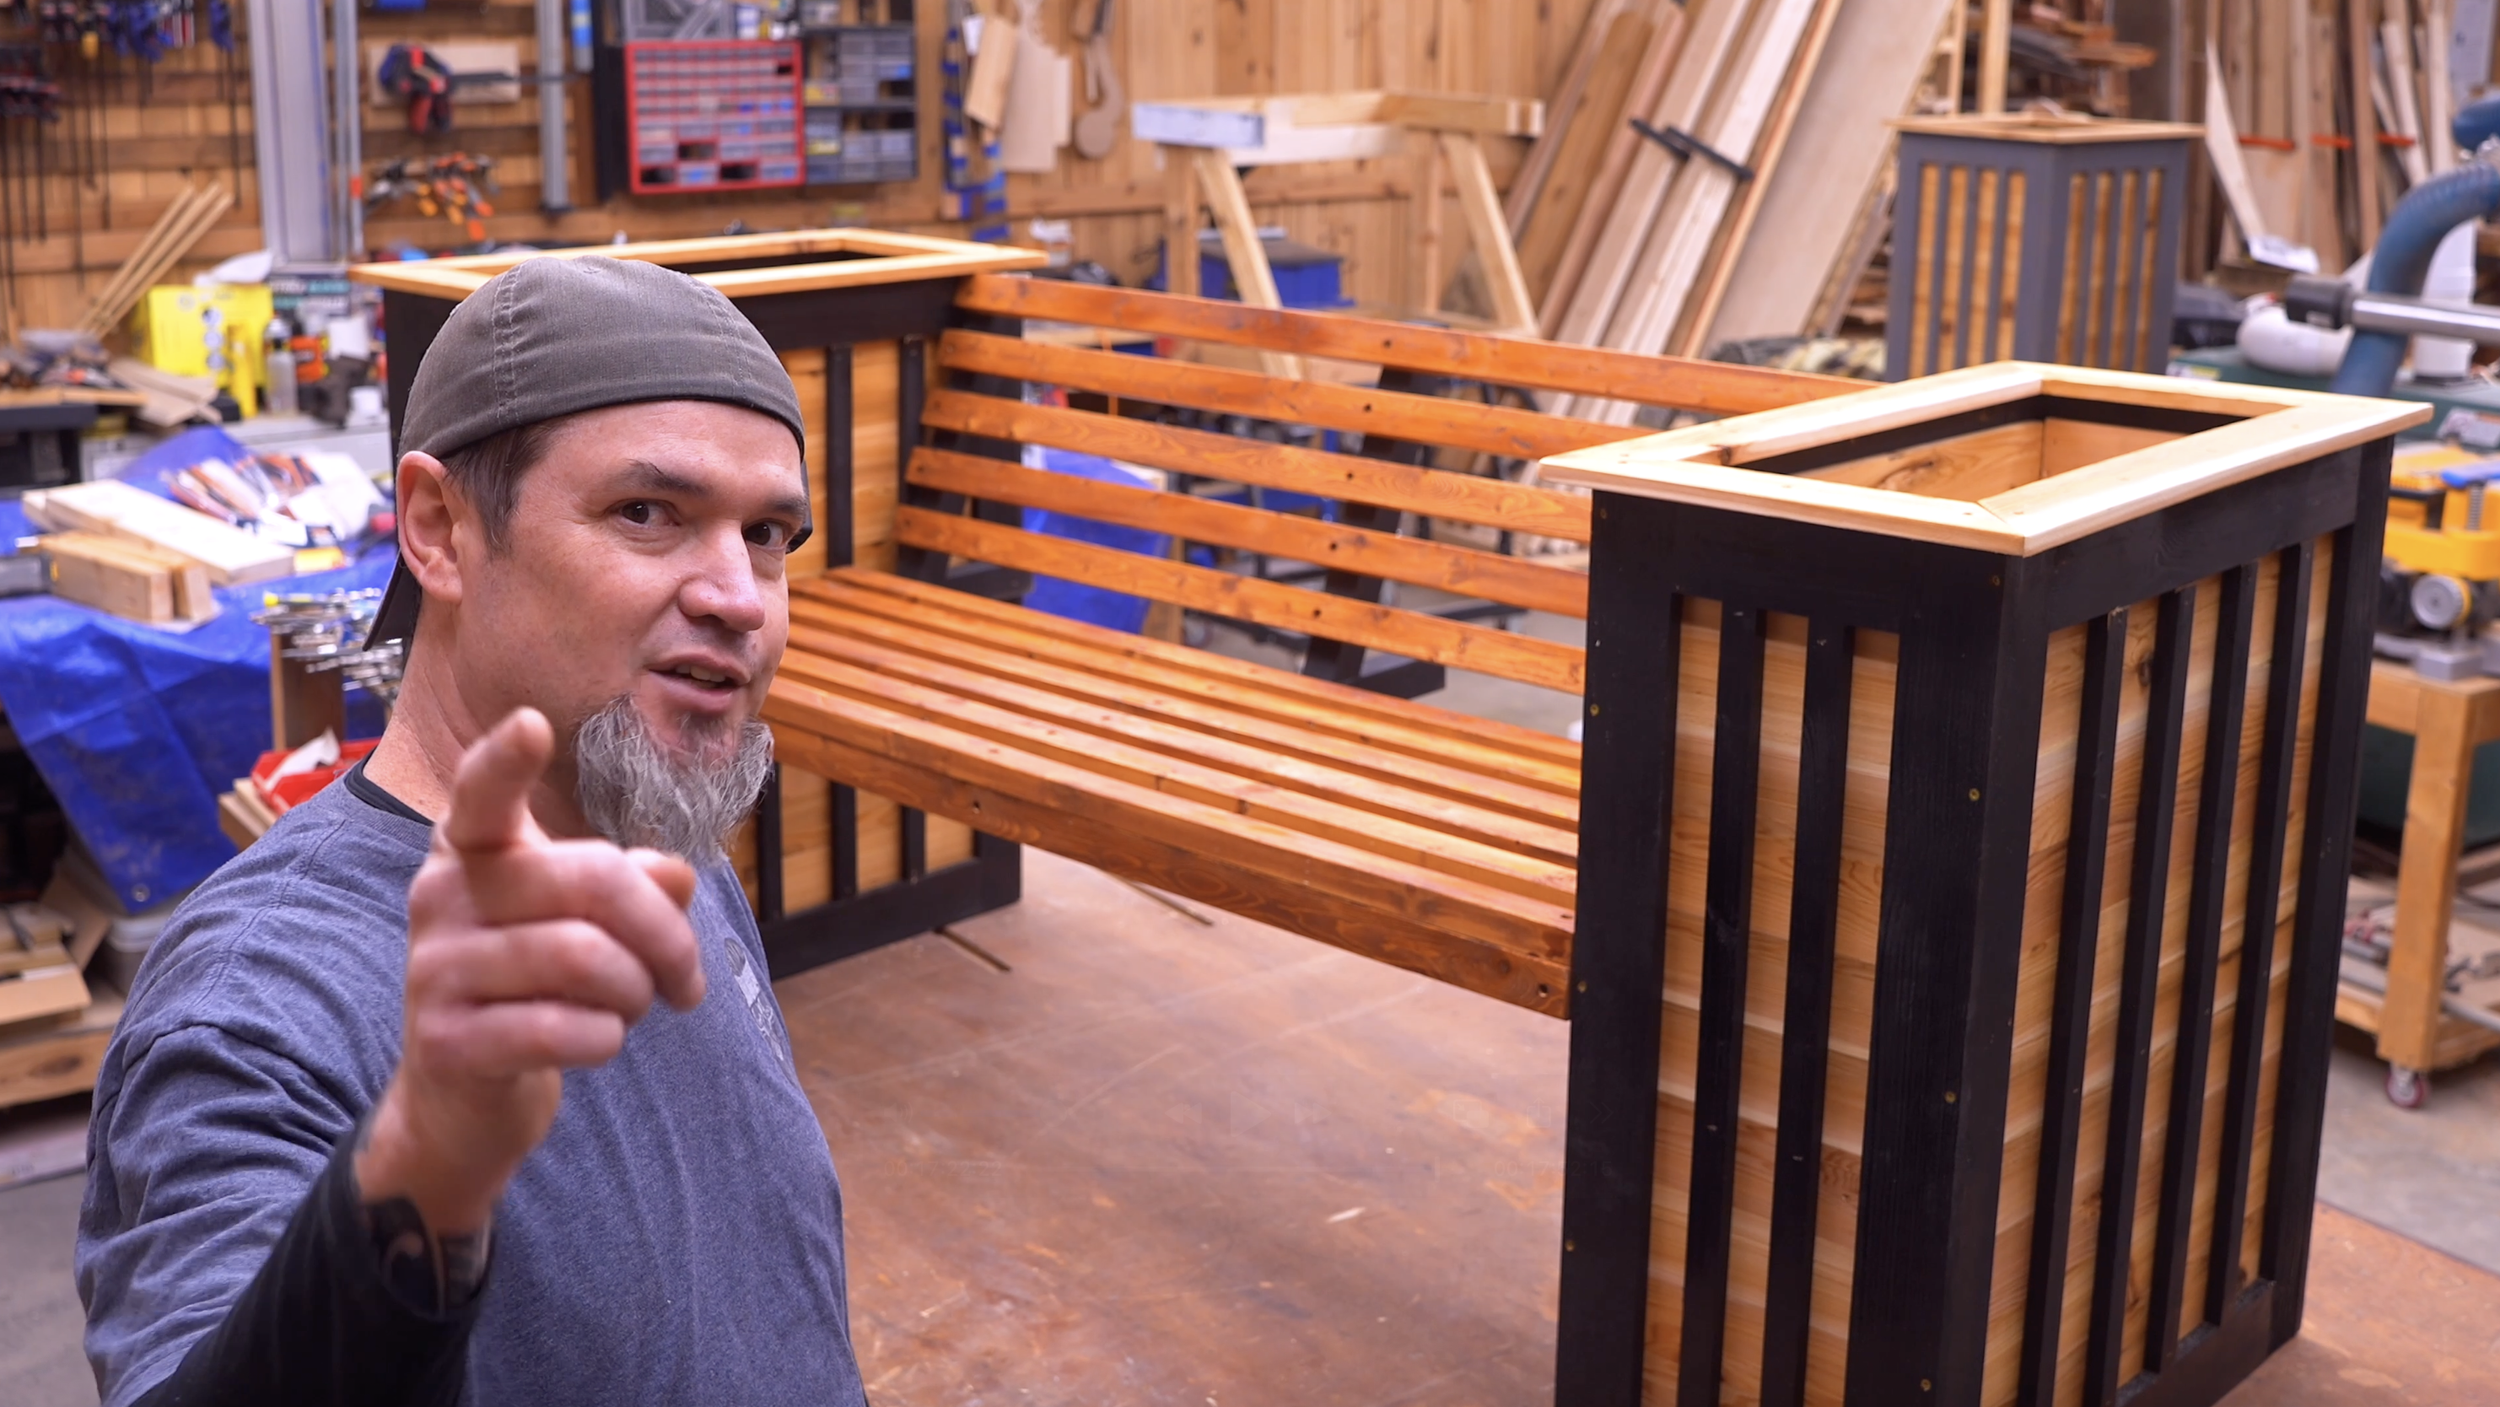
This modern bench planter takes two proven sellers—a tall planter and a bench—and merges them into one clean, functional outdoor piece. The result? A project that looks high-end, builds with simple materials, and has serious selling potential.
Best part? You can knock this out in a weekend using common lumber.
Let’s walk through exactly how to build it step-by-step.
Materials & Tools
One of the best parts about this project is that you don’t need expensive lumber.
Lumber
Fence pickets (for planter panels)
2x4 boards (for bench supports)
2x lumber (for bench slats)
Hardware
Pocket hole screws
1" exterior screws
1 ¾" screws
2" screws
Wood glue
Brad nails or staples
Tools
Table saw (or circular saw)
Miter saw
Drill/driver
Pocket hole jig
Clamps
Stapler or nailer
Time To Bring Your Modern Bench Planter To Life
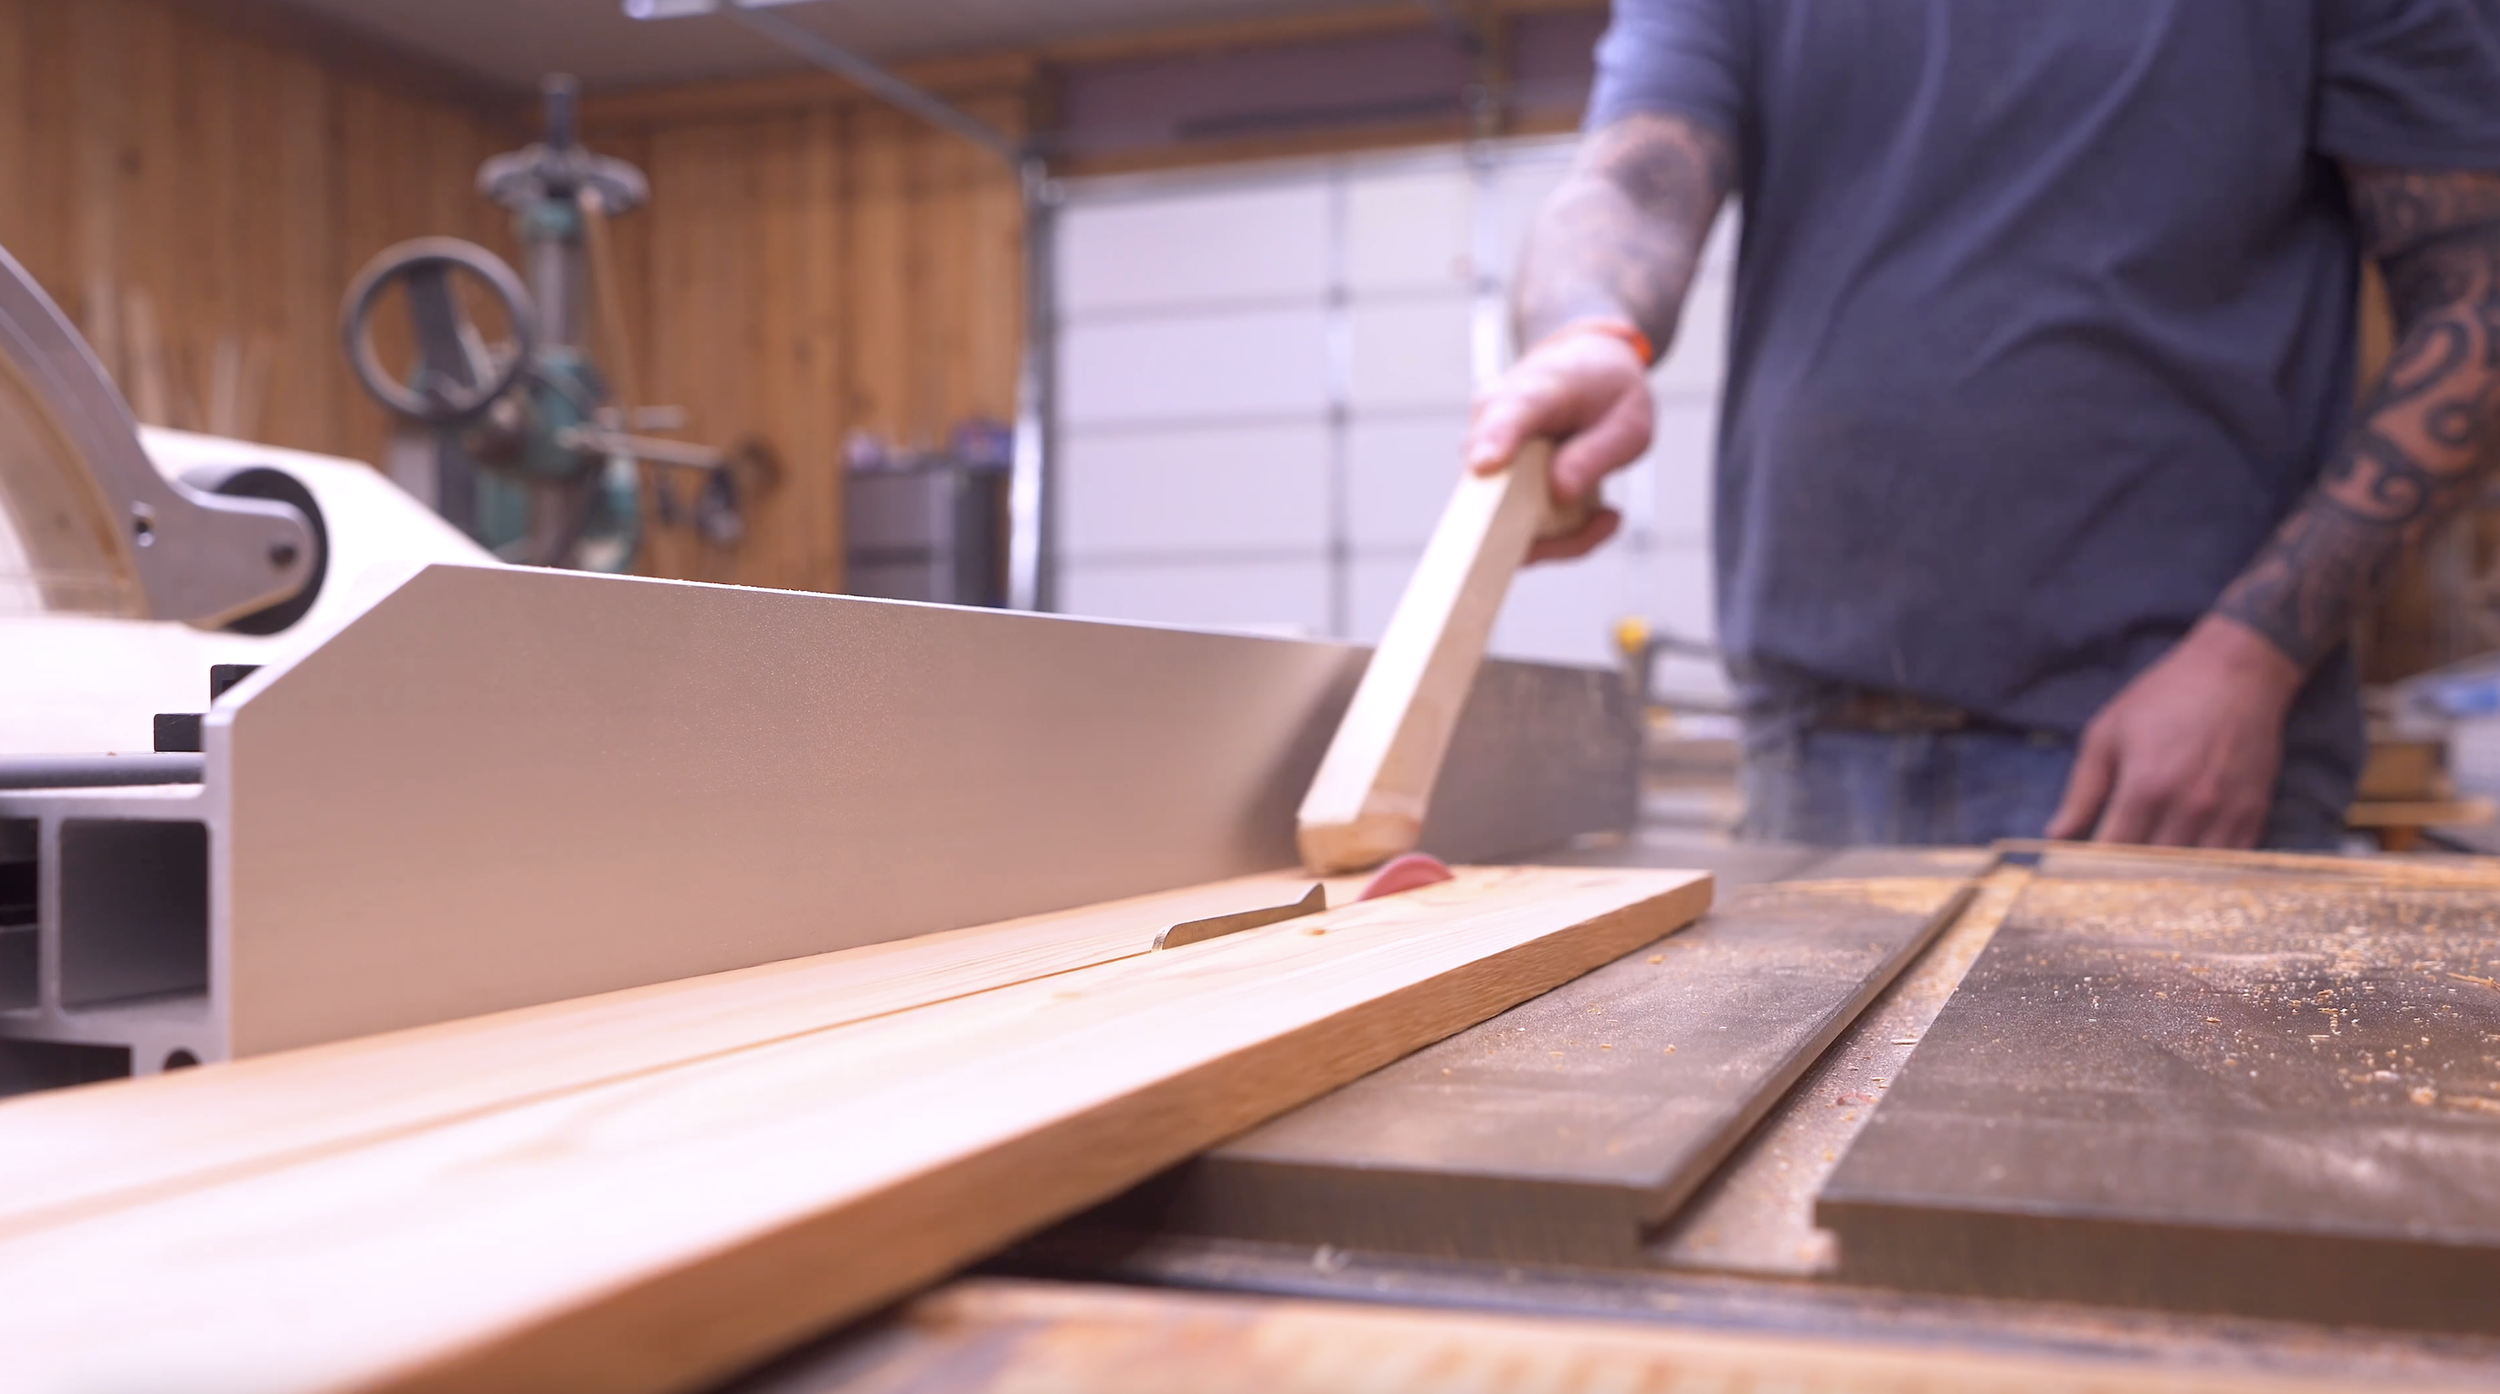
Step 1: Prep and Rip Your Material
Start by ripping your fence pickets down to:
2 ½ inches wide (standard size for most parts)
Some pieces will be narrower—just rip those as needed.
This consistent width is what makes the whole build simple and repeatable.
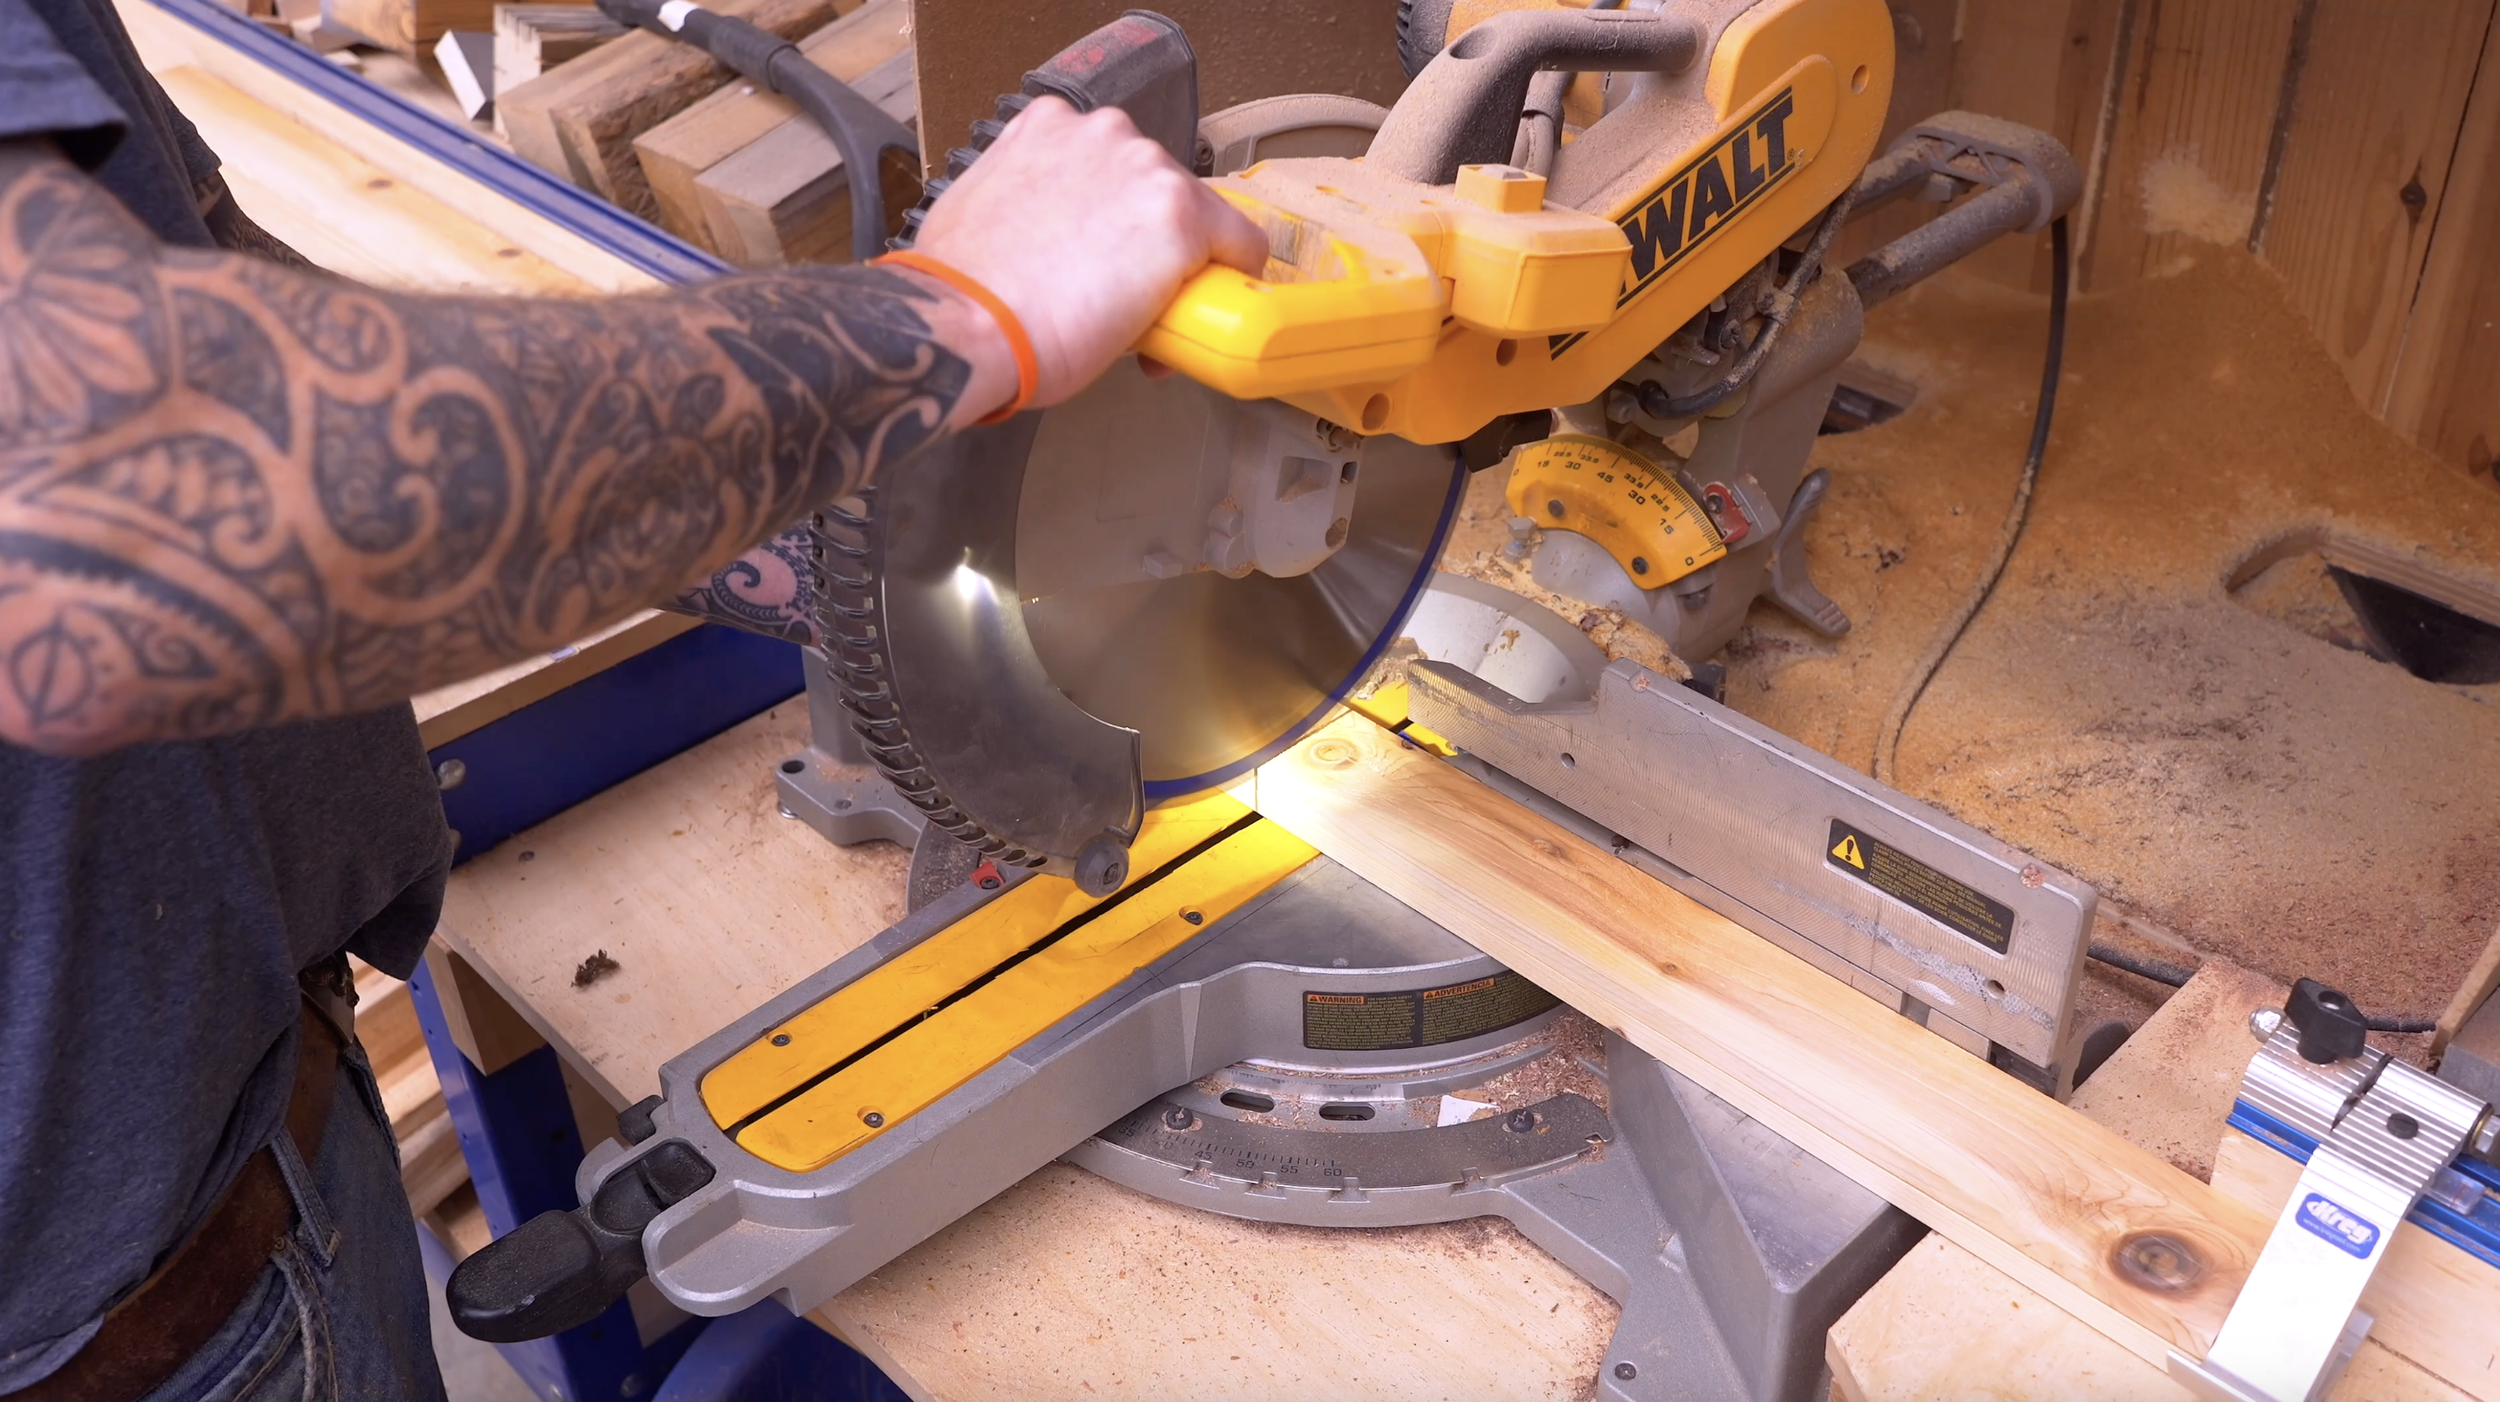
Step 2: Cut the Planter Frame Parts
Legs (per planter)
8 pieces total
Length: 28 ½ inches
4 at 2 ½" wide
4 at 2" wide
Rails
Front/back rails:
4 pieces at 6 ¼ inches
Side rails:
4 pieces at 18 ½ inches
All rails are 2 ½" wide.
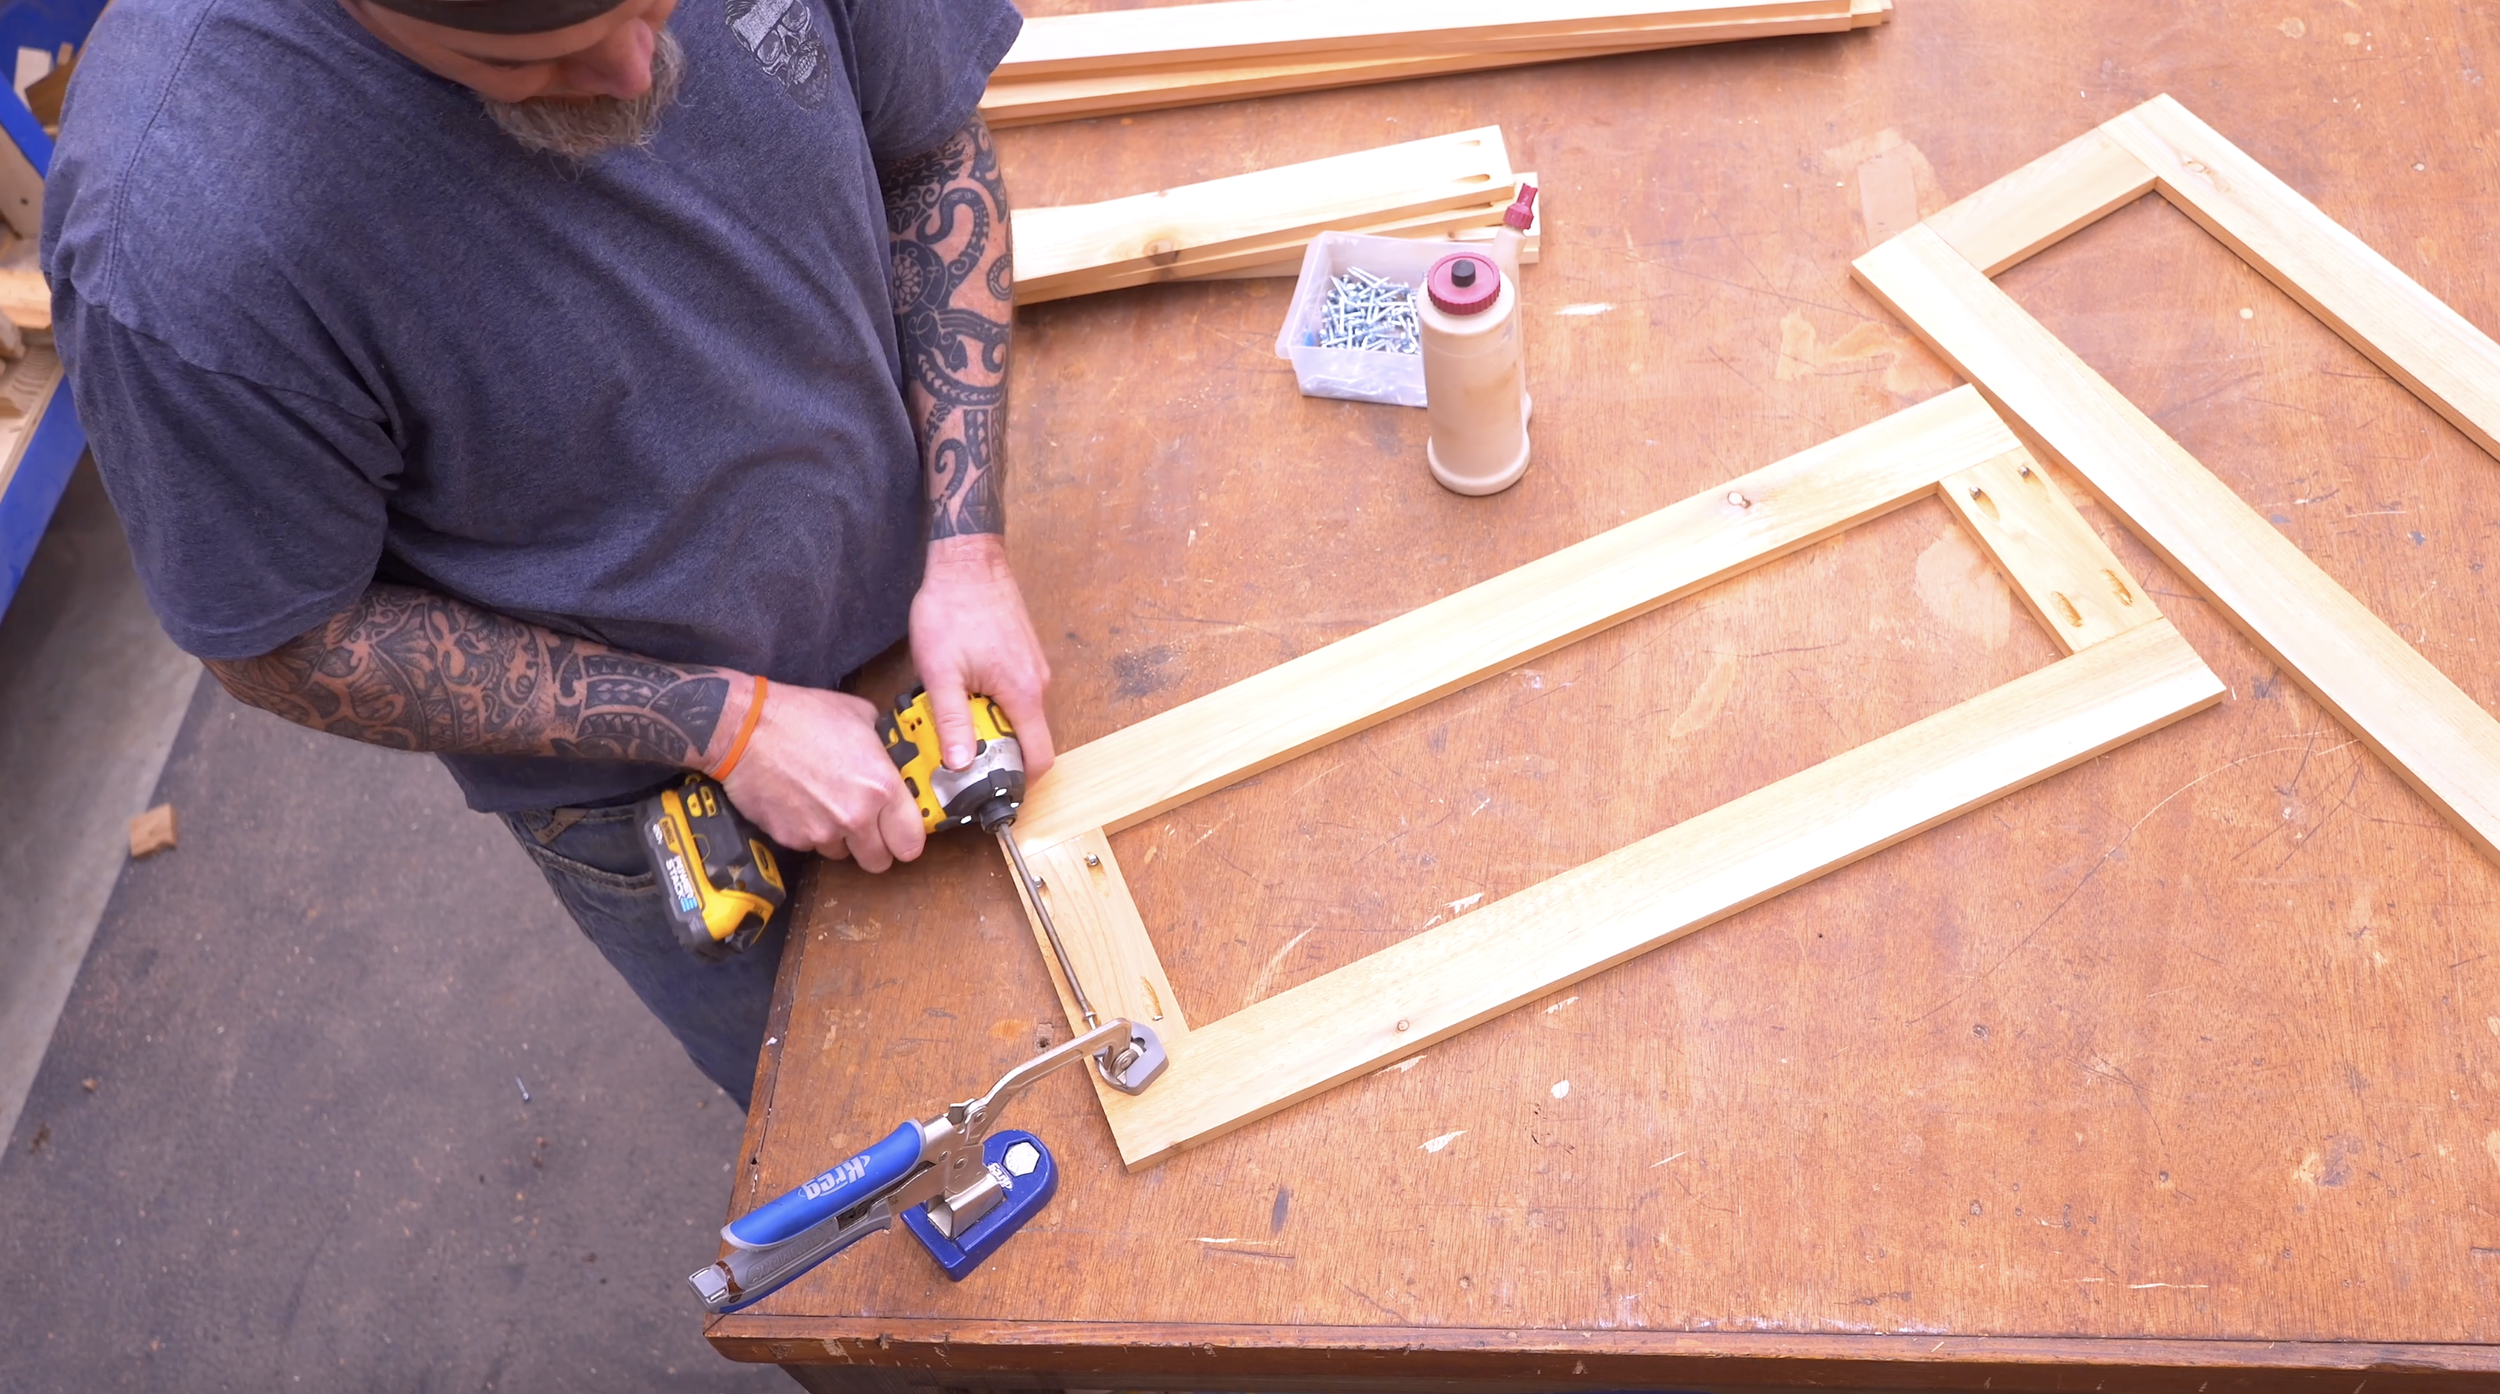
Step 3: Assemble the Frames
You’ll build 4 frames per planter:
2 front/back frames
2 side frames
How to assemble:
Drill pocket holes in each end of your rails
Attach rails between legs using:
Pocket hole screws
Wood glue (recommended for strength)
Clamp everything square before fastening
Repeat until all frames are built.
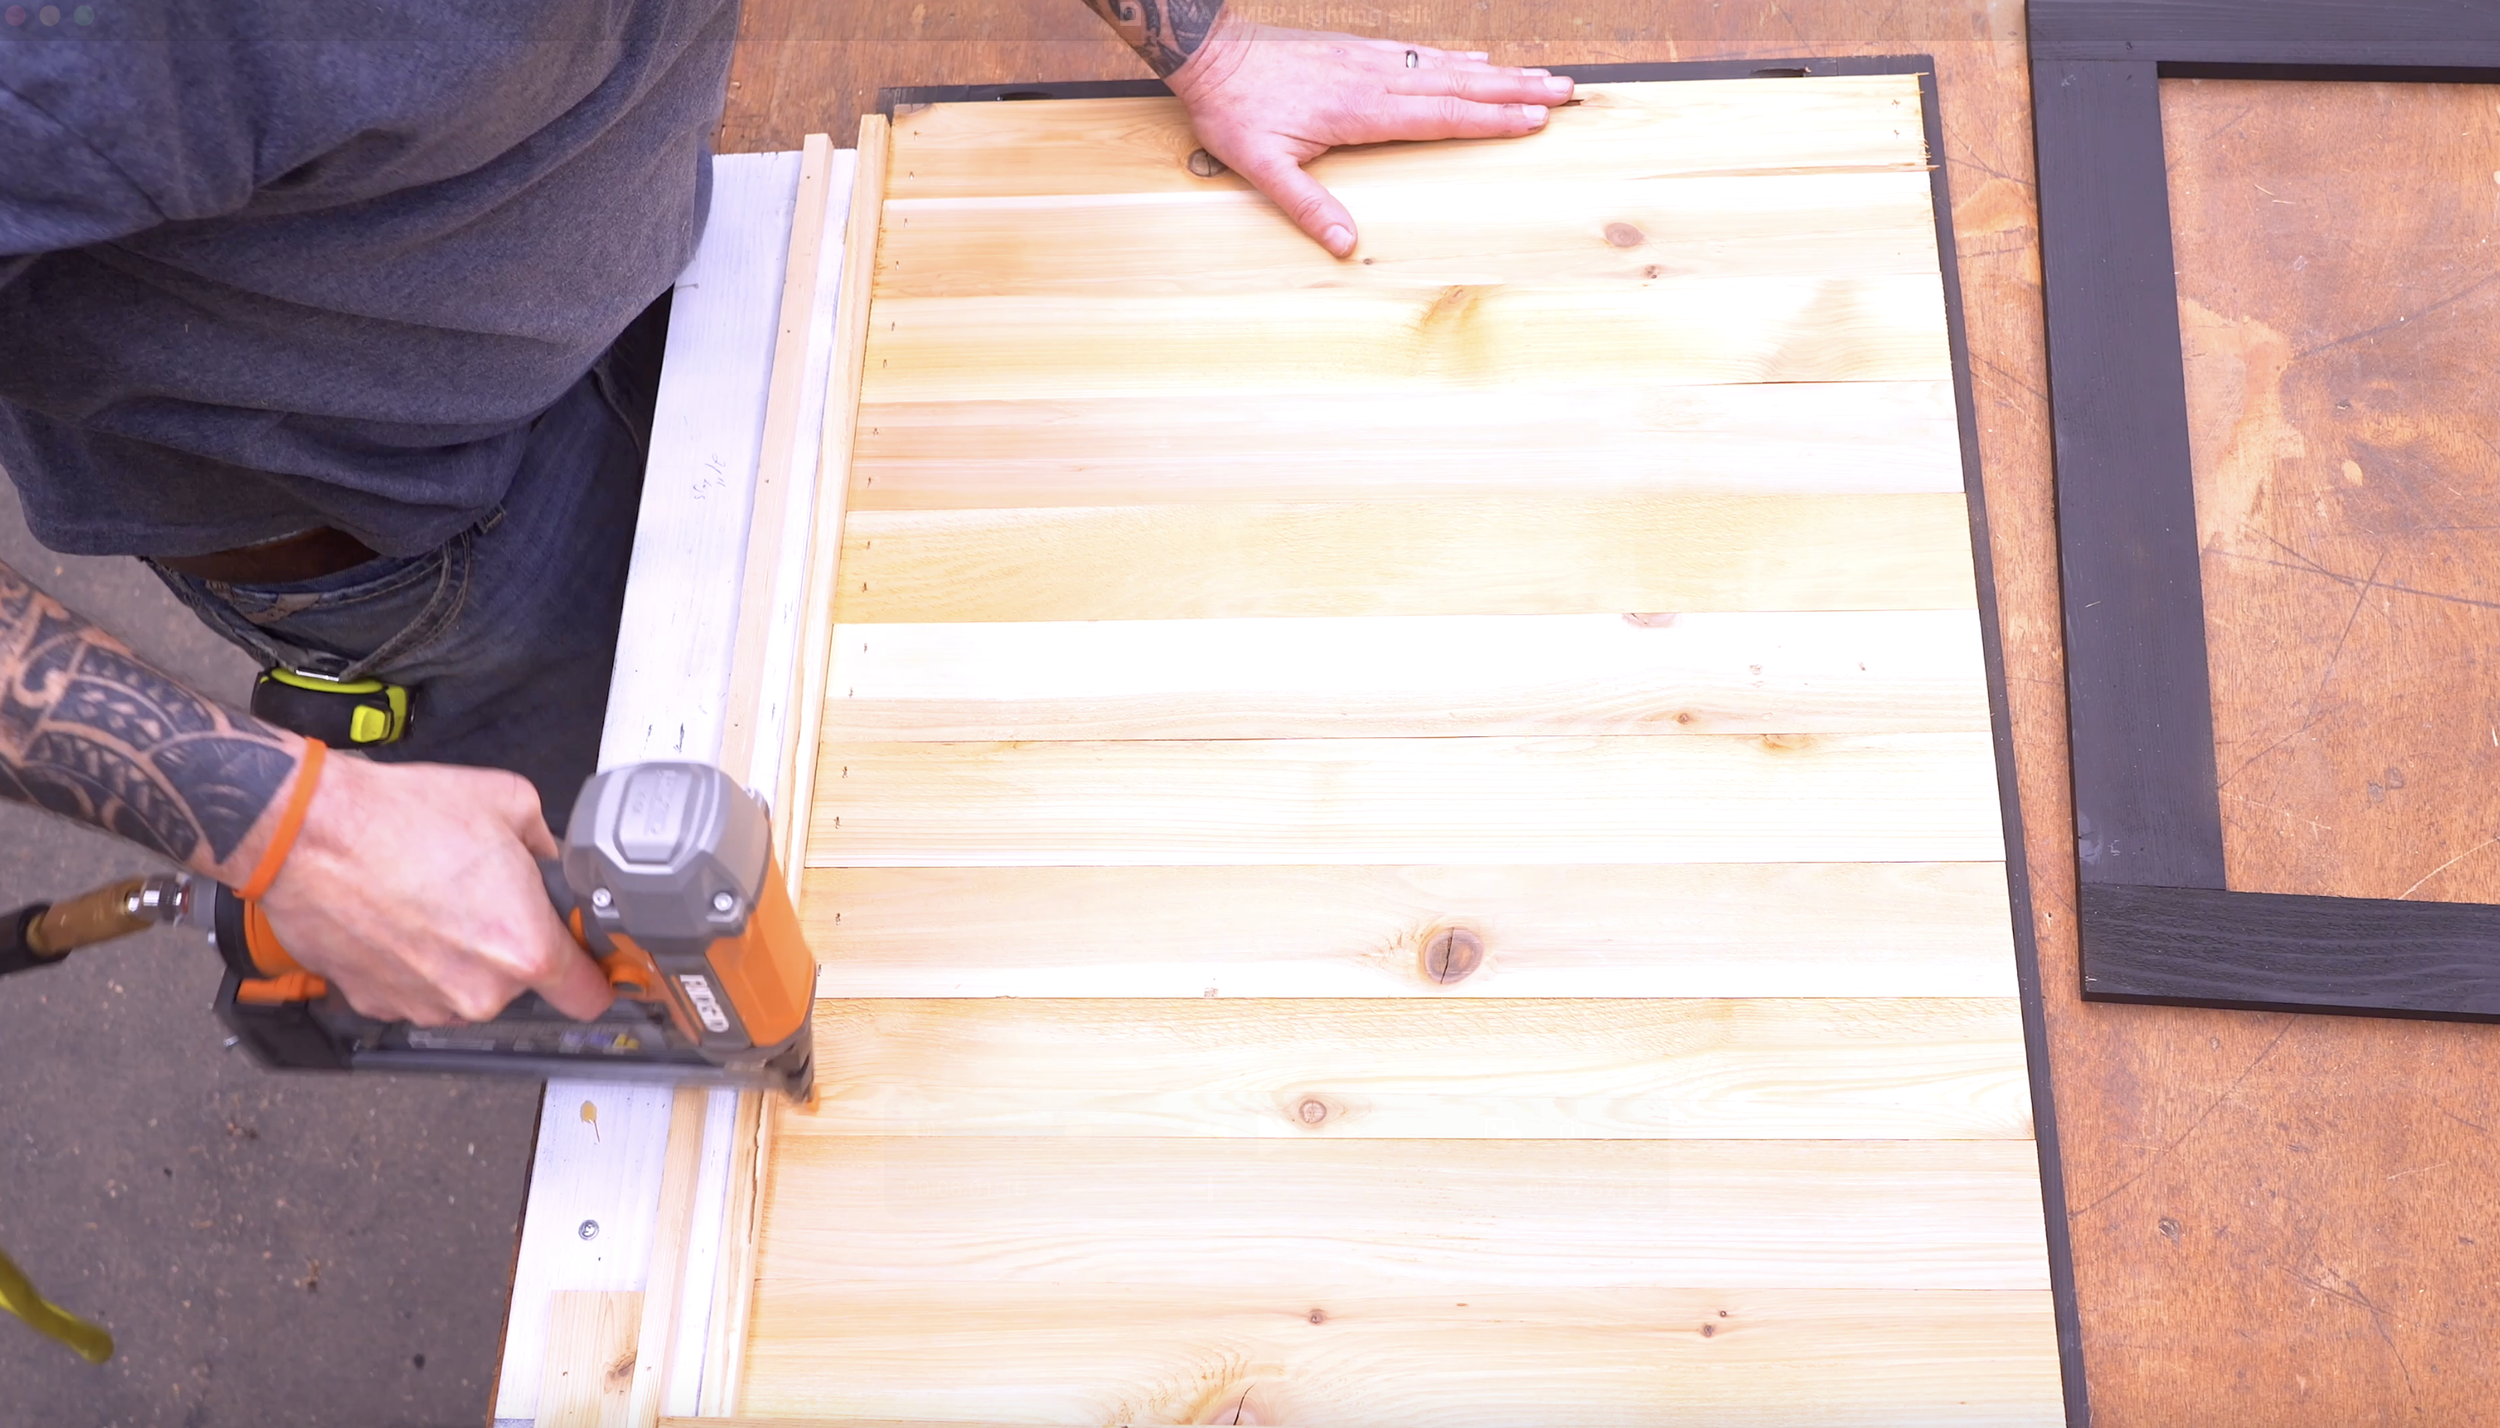
Step 4: Cut and Install Panel Boards
Panel boards:
Front/back panels:
22 boards at 9 ¼ inches
Side panels:
22 boards at 21 ½ inches
Installation:
Start your first board:
Flush with the bottom
Offset:
1" from edge (front/back)
½" from edge (sides)
Attach using:
Wood glue
Staples or brad nails
Continue stacking boards tightly side-by-side
💡 Important:
Boards must start flush at the bottom so weight transfers directly to the ground (especially important for the bench).
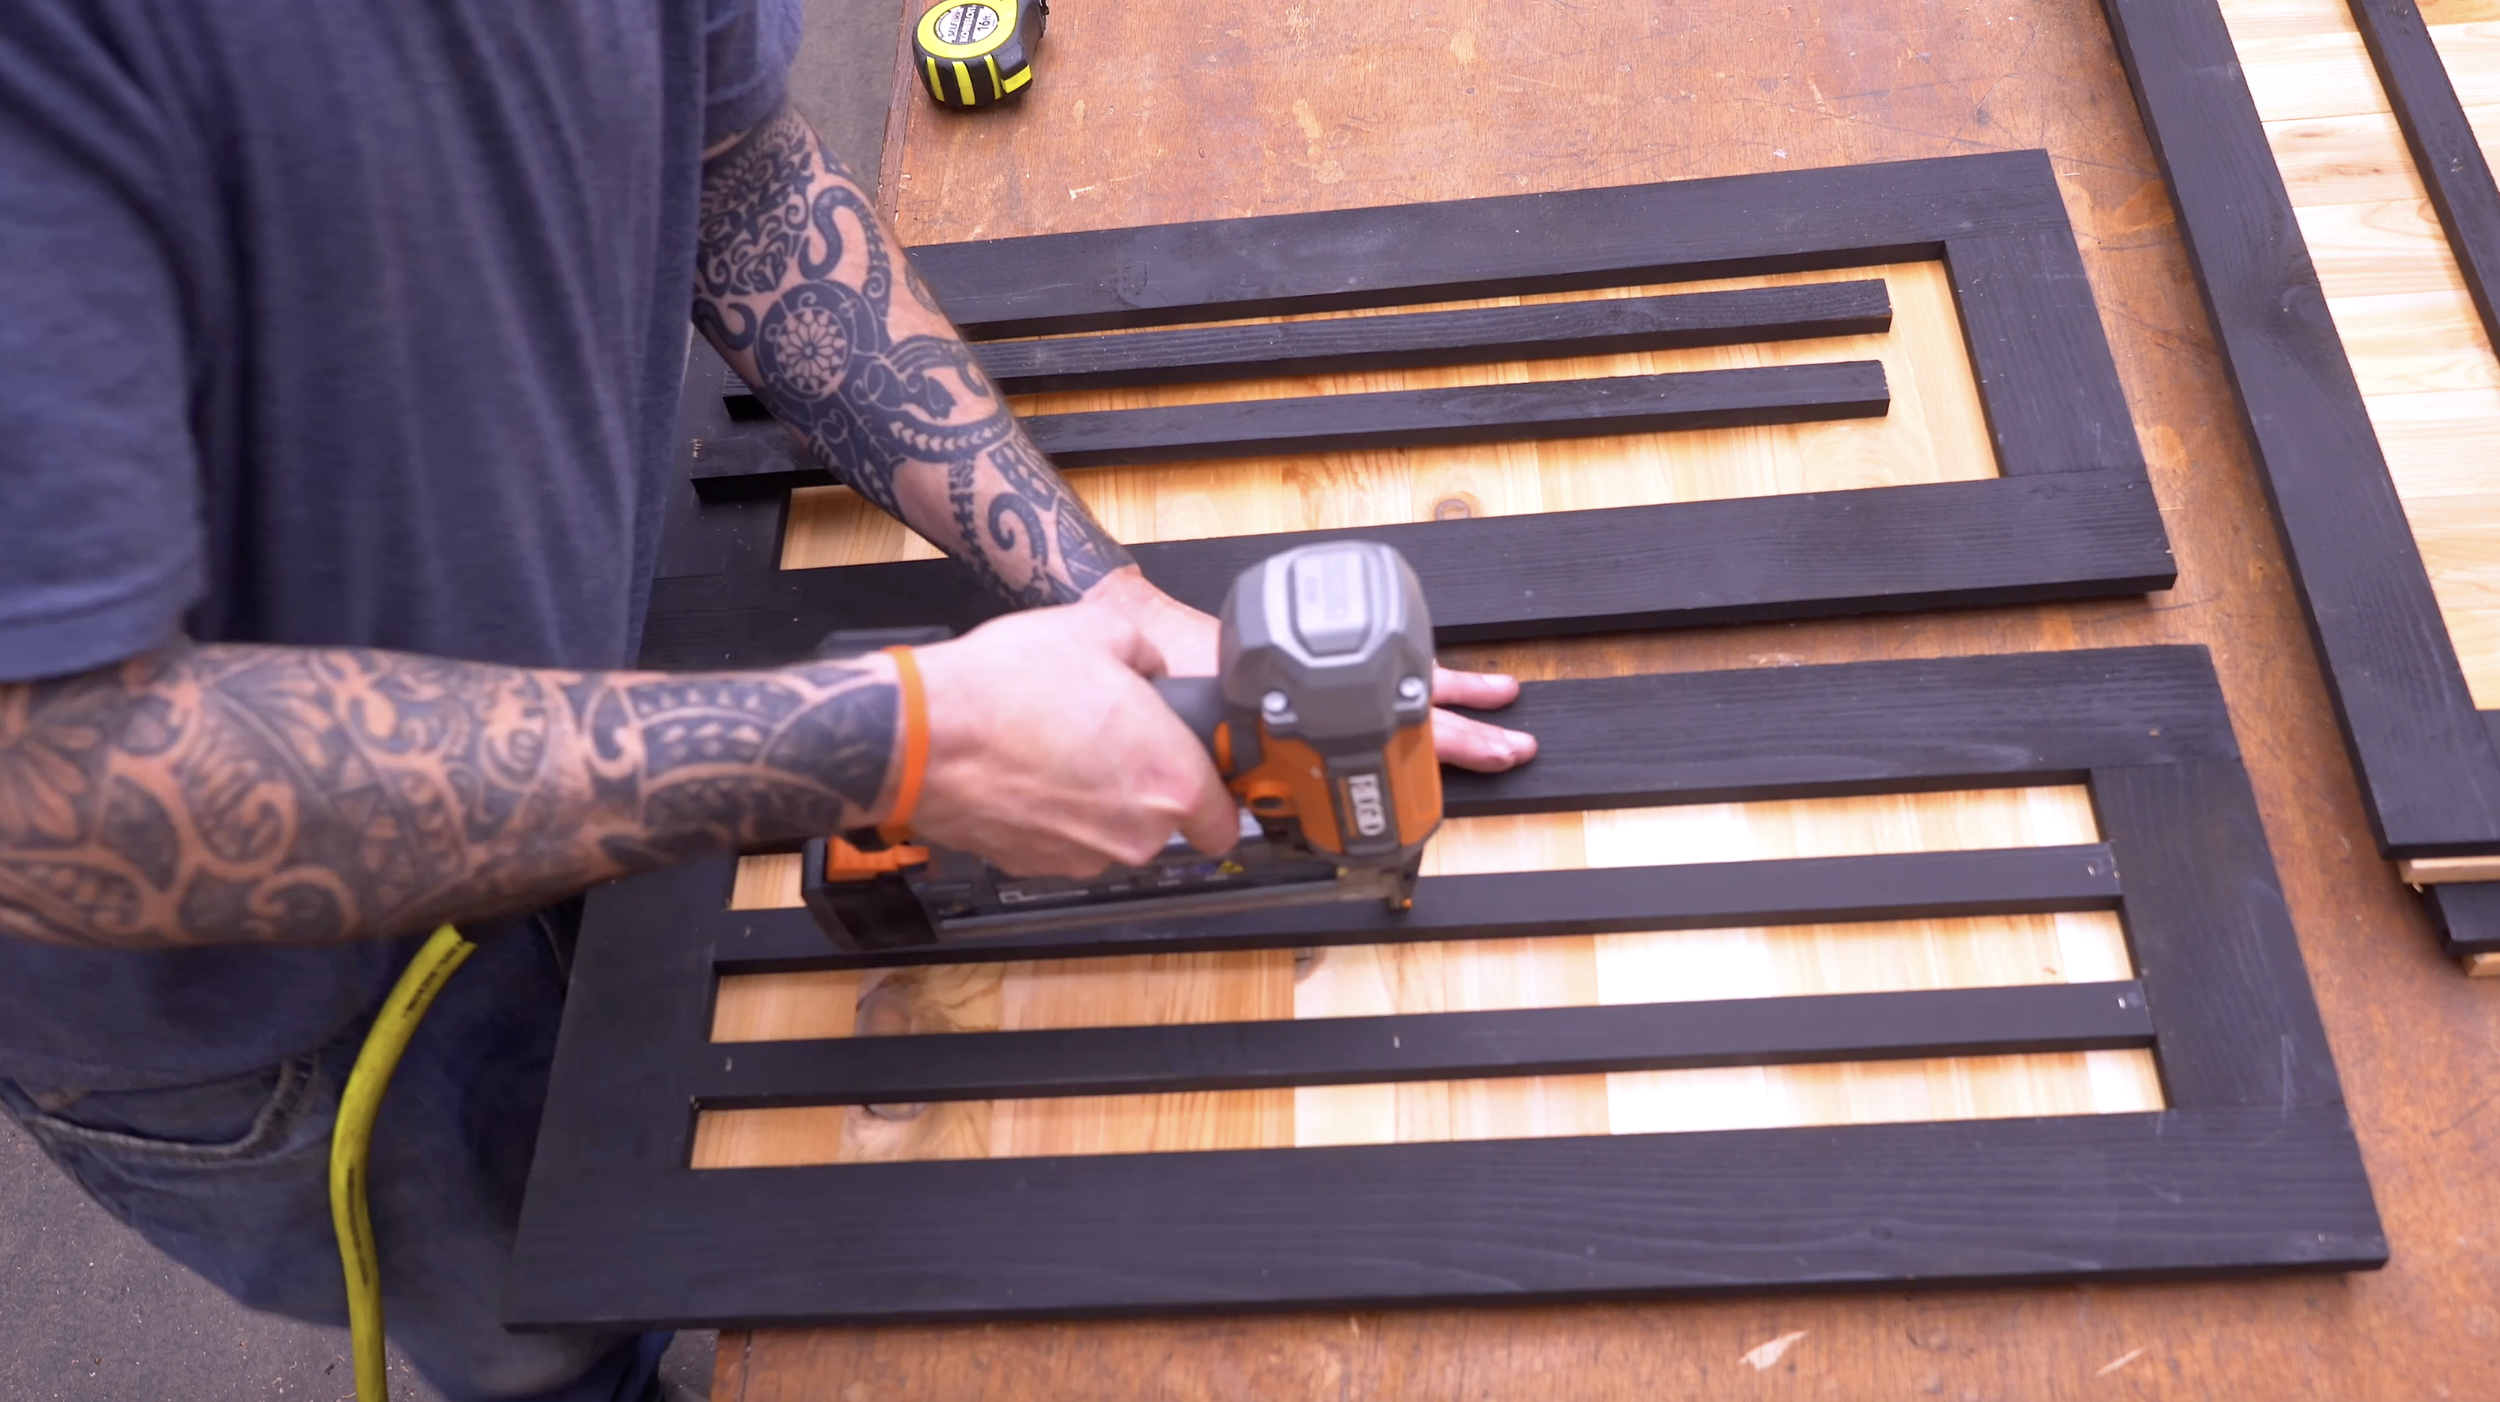
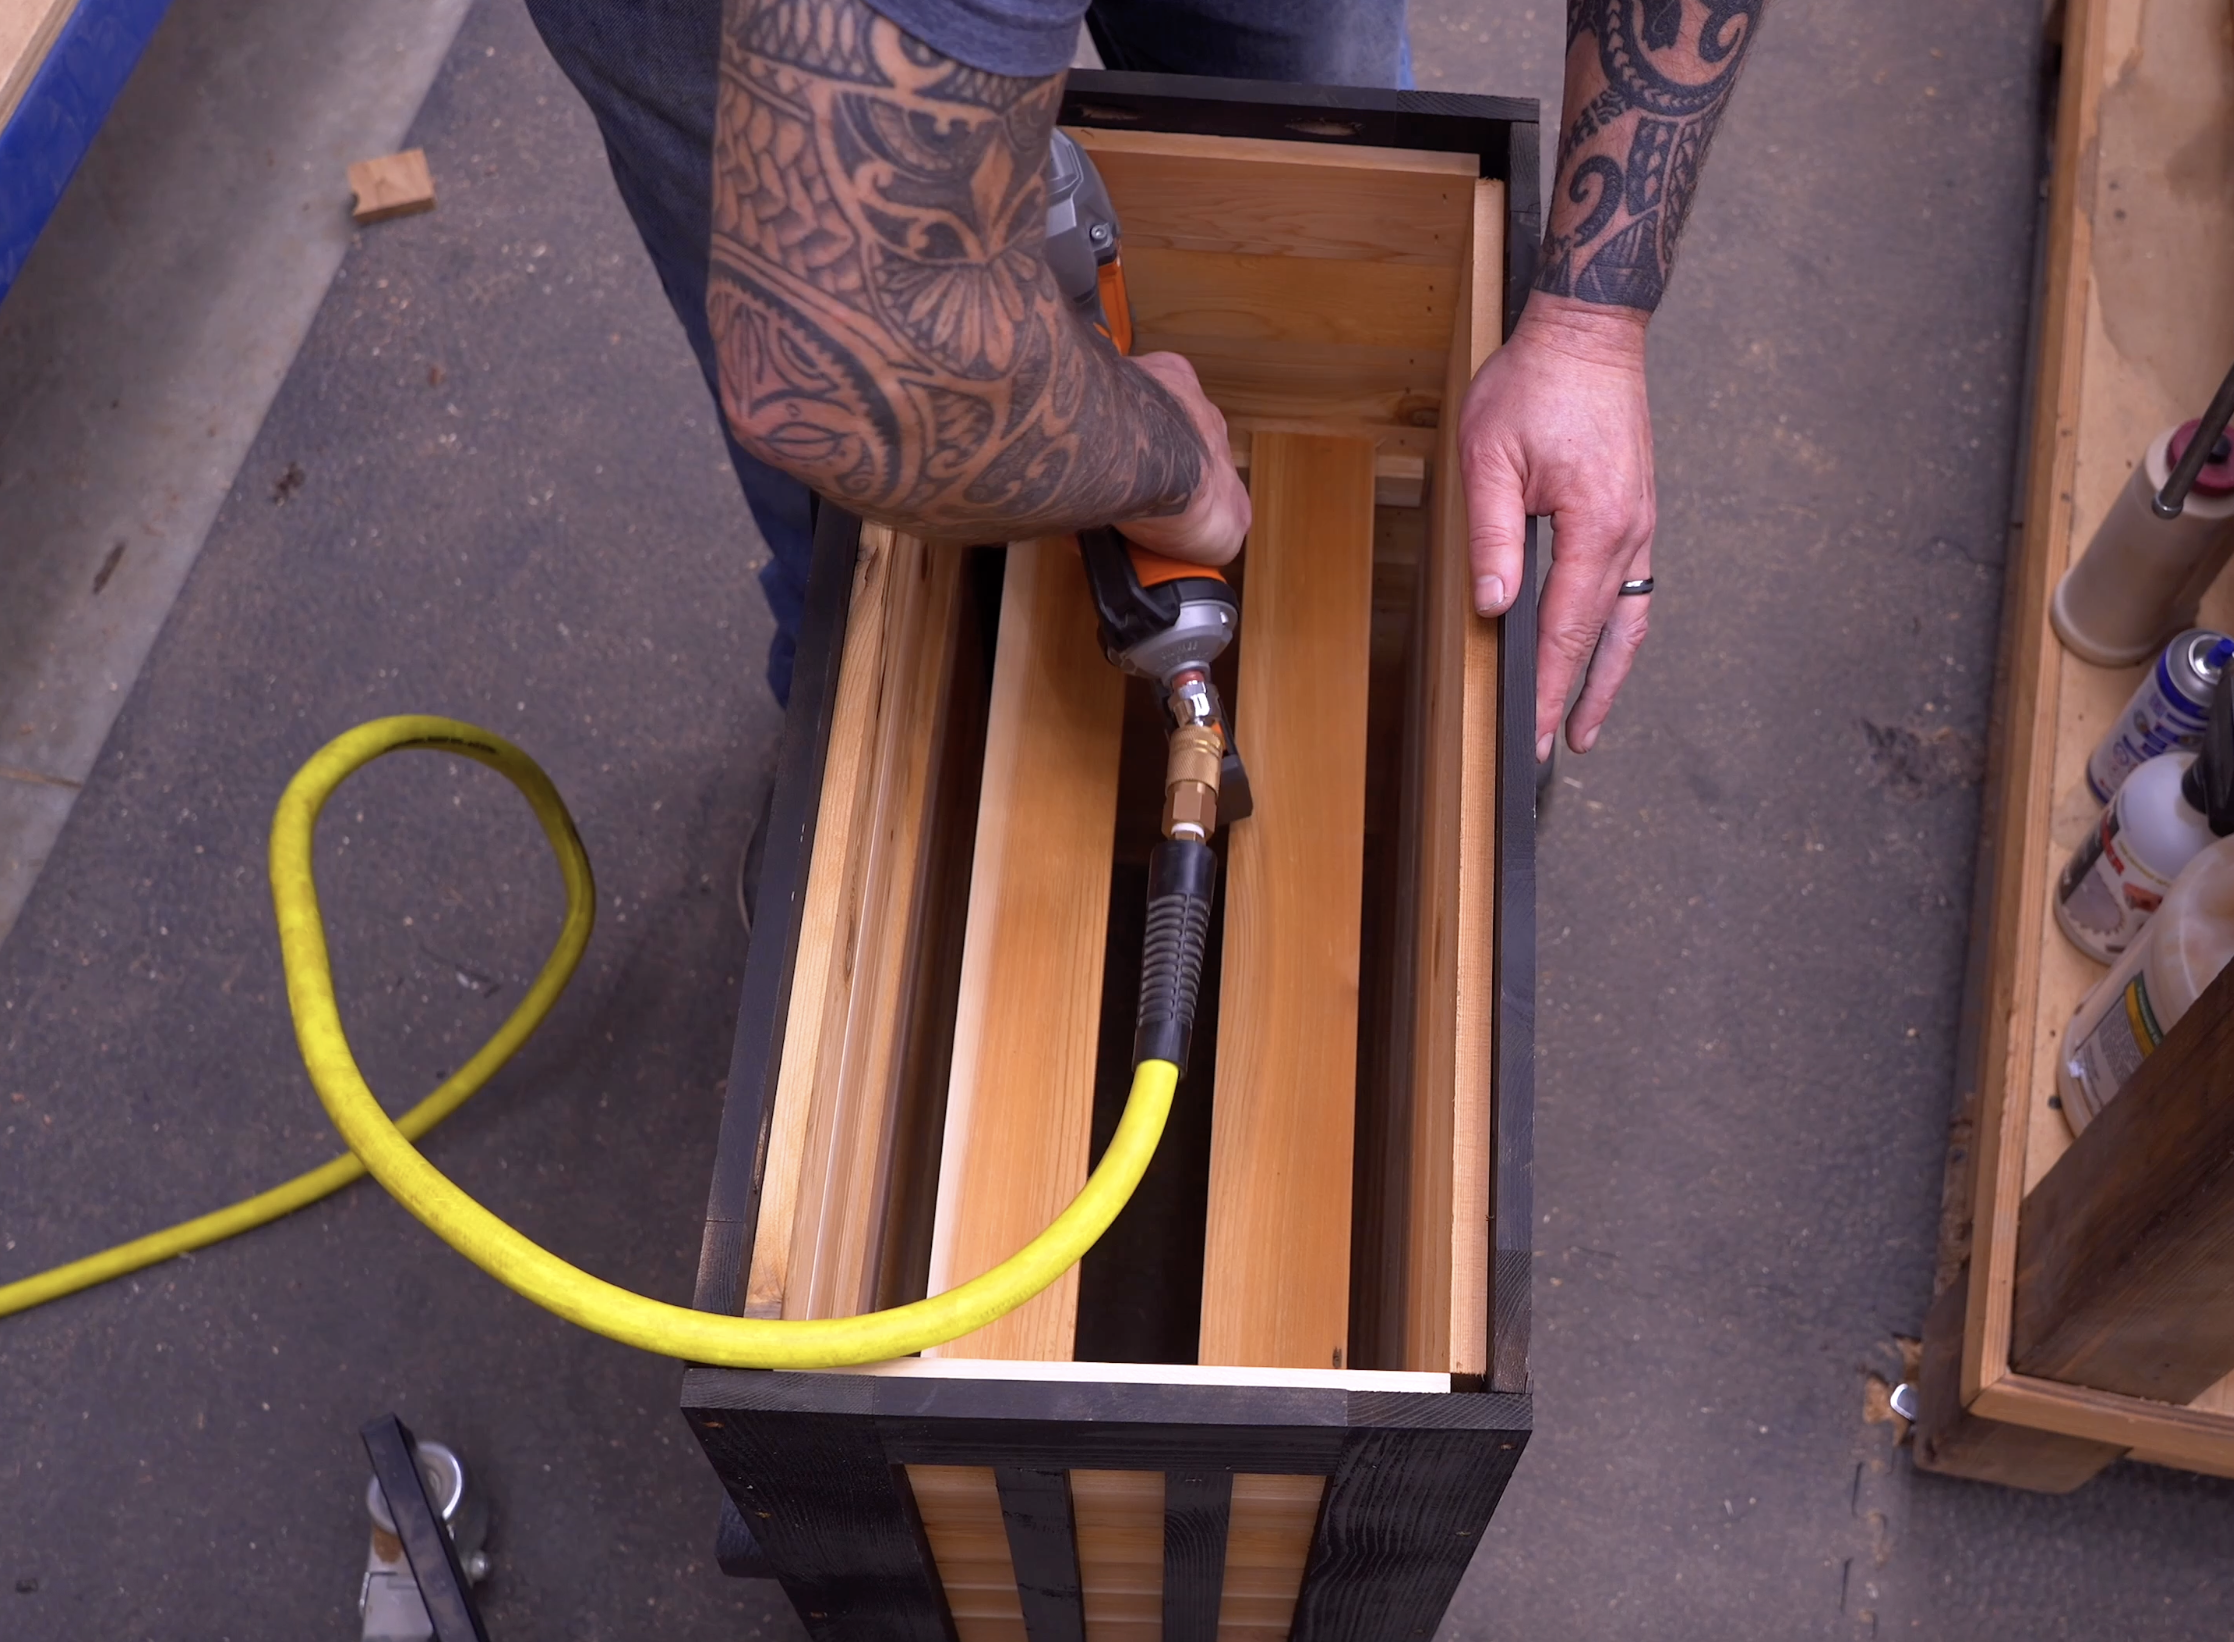
Step 5: Add Decorative Trim Strips
Cut:
12 strips total
Length: 23 ½ inches
Width: 1 inch
Spacing (side panels):
2 13/16"
6 5/8"
10 7/16"
14 ¼"
Attach:
Line strips to marks
Nail or staple in place
This step adds that clean, modern detail that really elevates the look.

Step 6: Build Bench Supports
Rip 2x4 into:
1 ½" x 1 ½" boards
Cut:
Support rails:
4 pieces at 18 inches
Seat supports:
3 pieces at 22 ½ inches
5° angle on both ends
Back supports:
3 pieces at 13 7/8 inches
22.5° top angle
17° bottom angle
Assembly:
Attach back support to seat support
Position:
5" down from top
Secure with screws
Repeat for all 3 brackets.
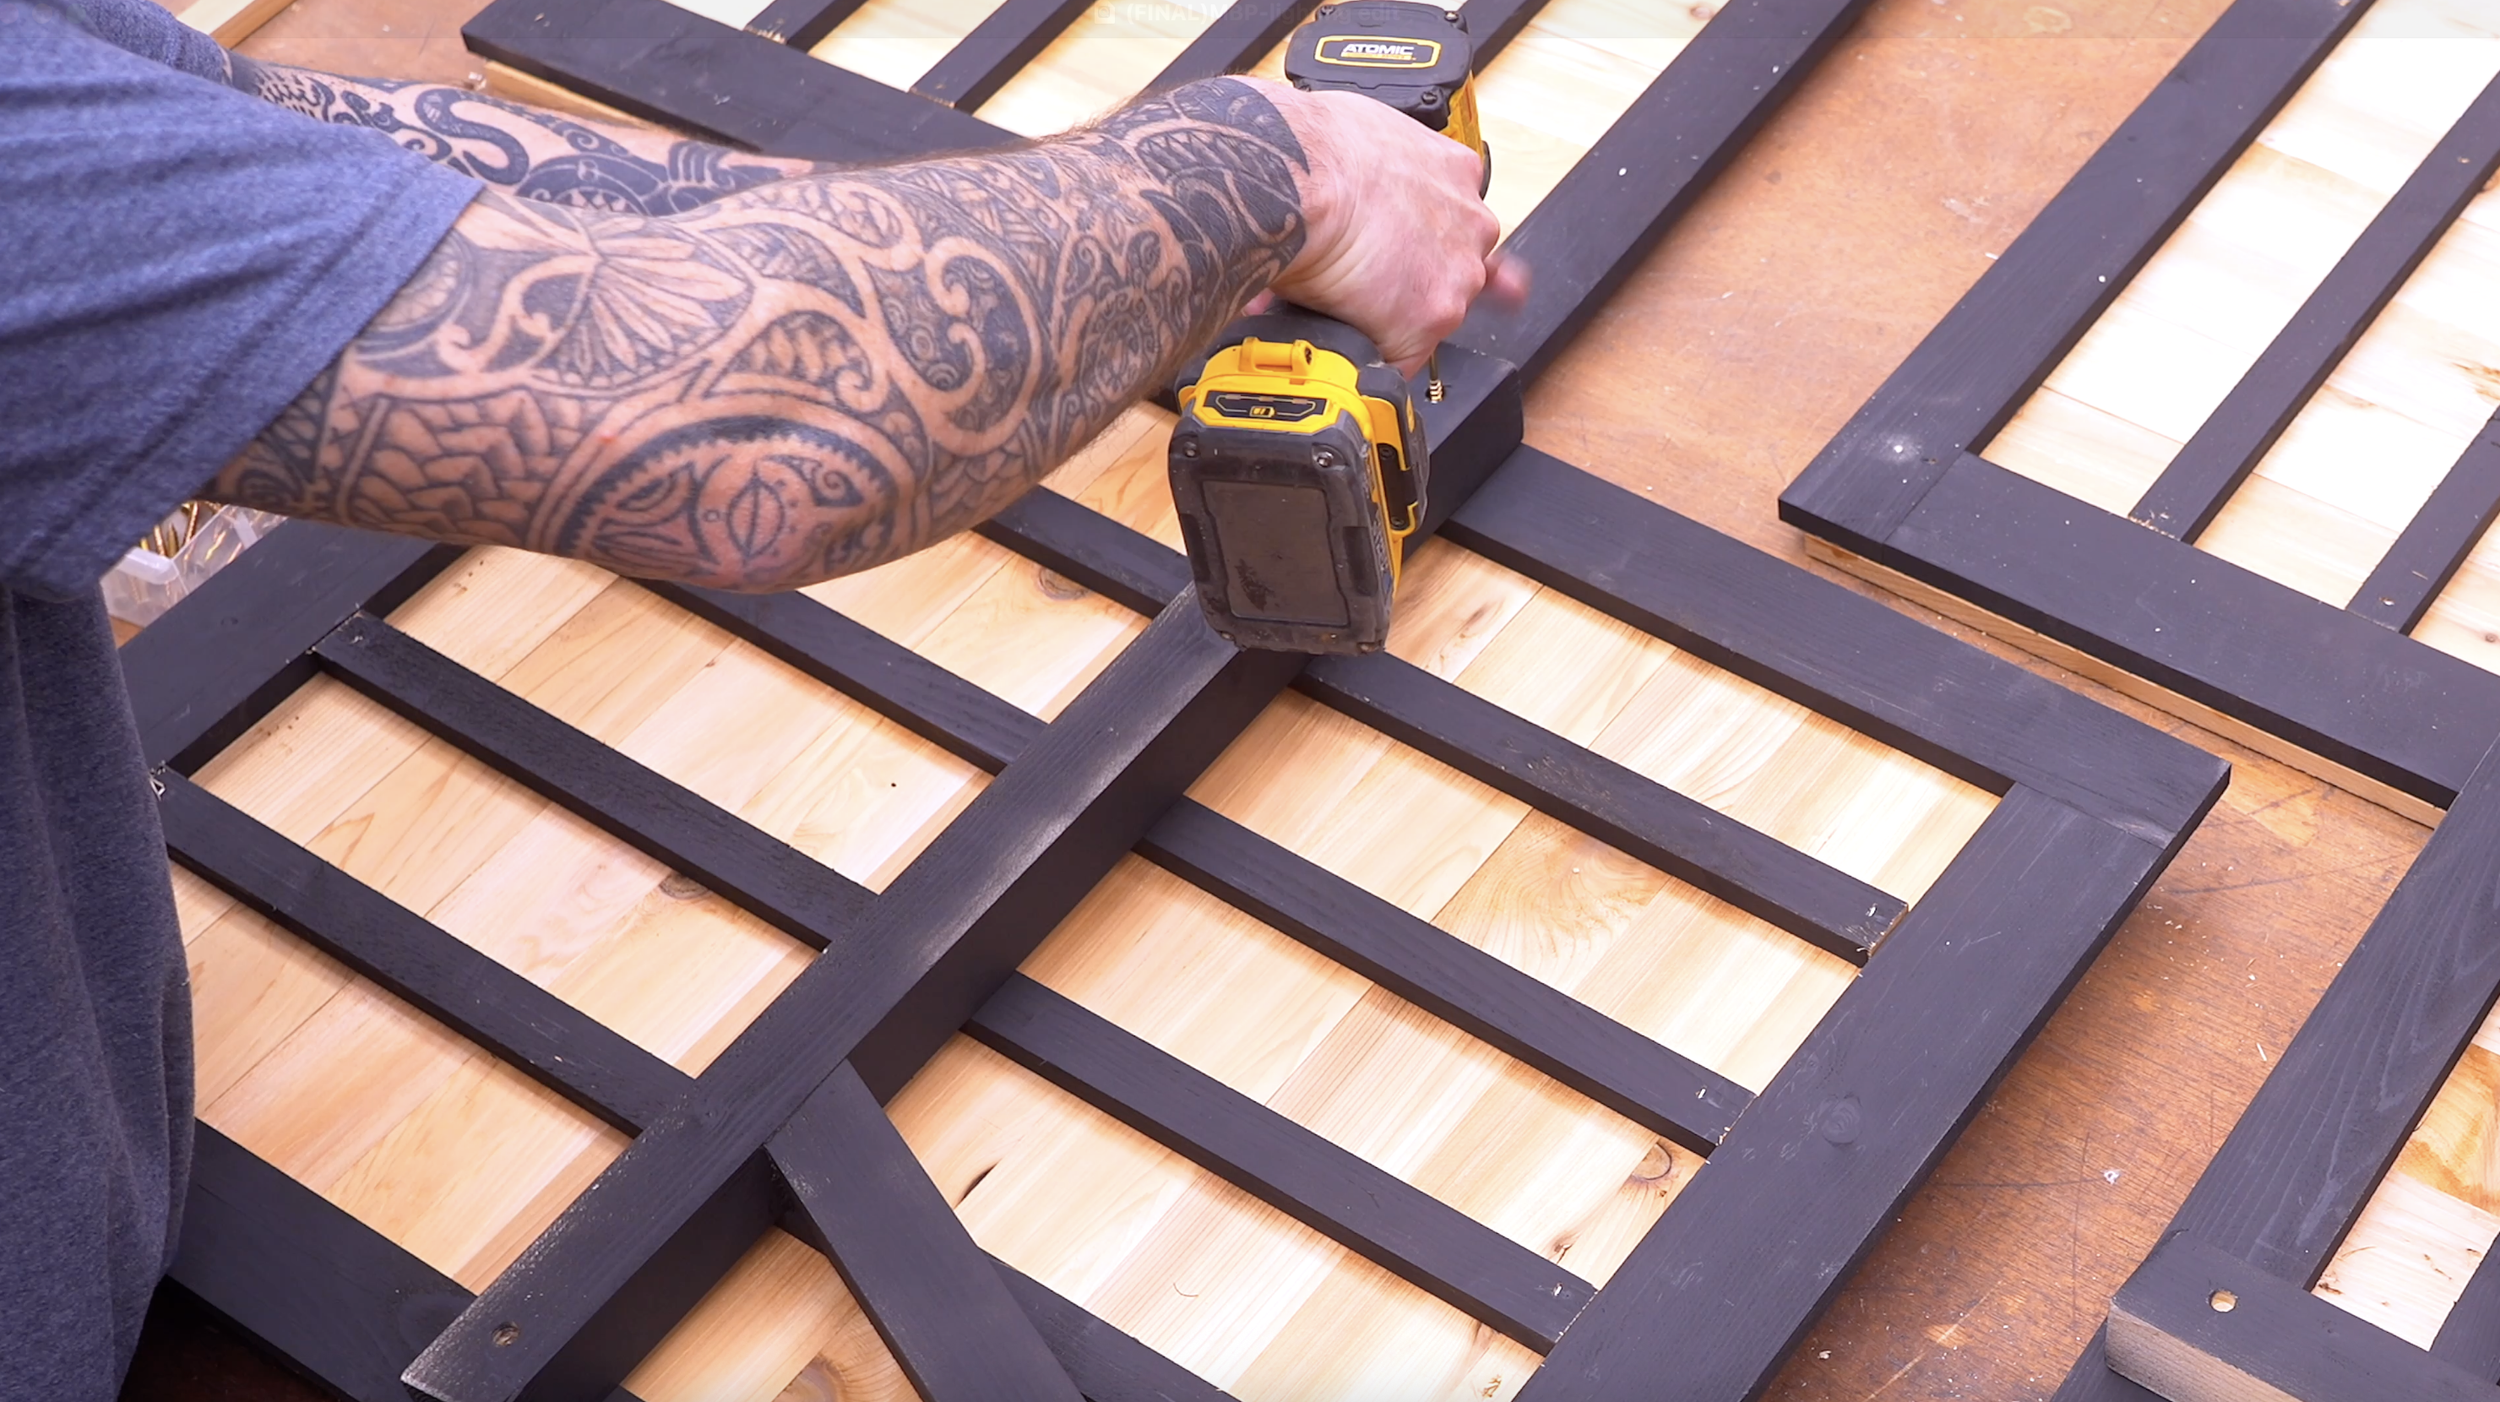
Step 7: Attach Supports to Planter Panels
Choose inner-facing side panels
Install vertical support blocks:
Flush with bottom
½" from edge
Attach bench brackets:
Align angles
Screw through panel into supports
These supports transfer the bench weight directly to the ground.
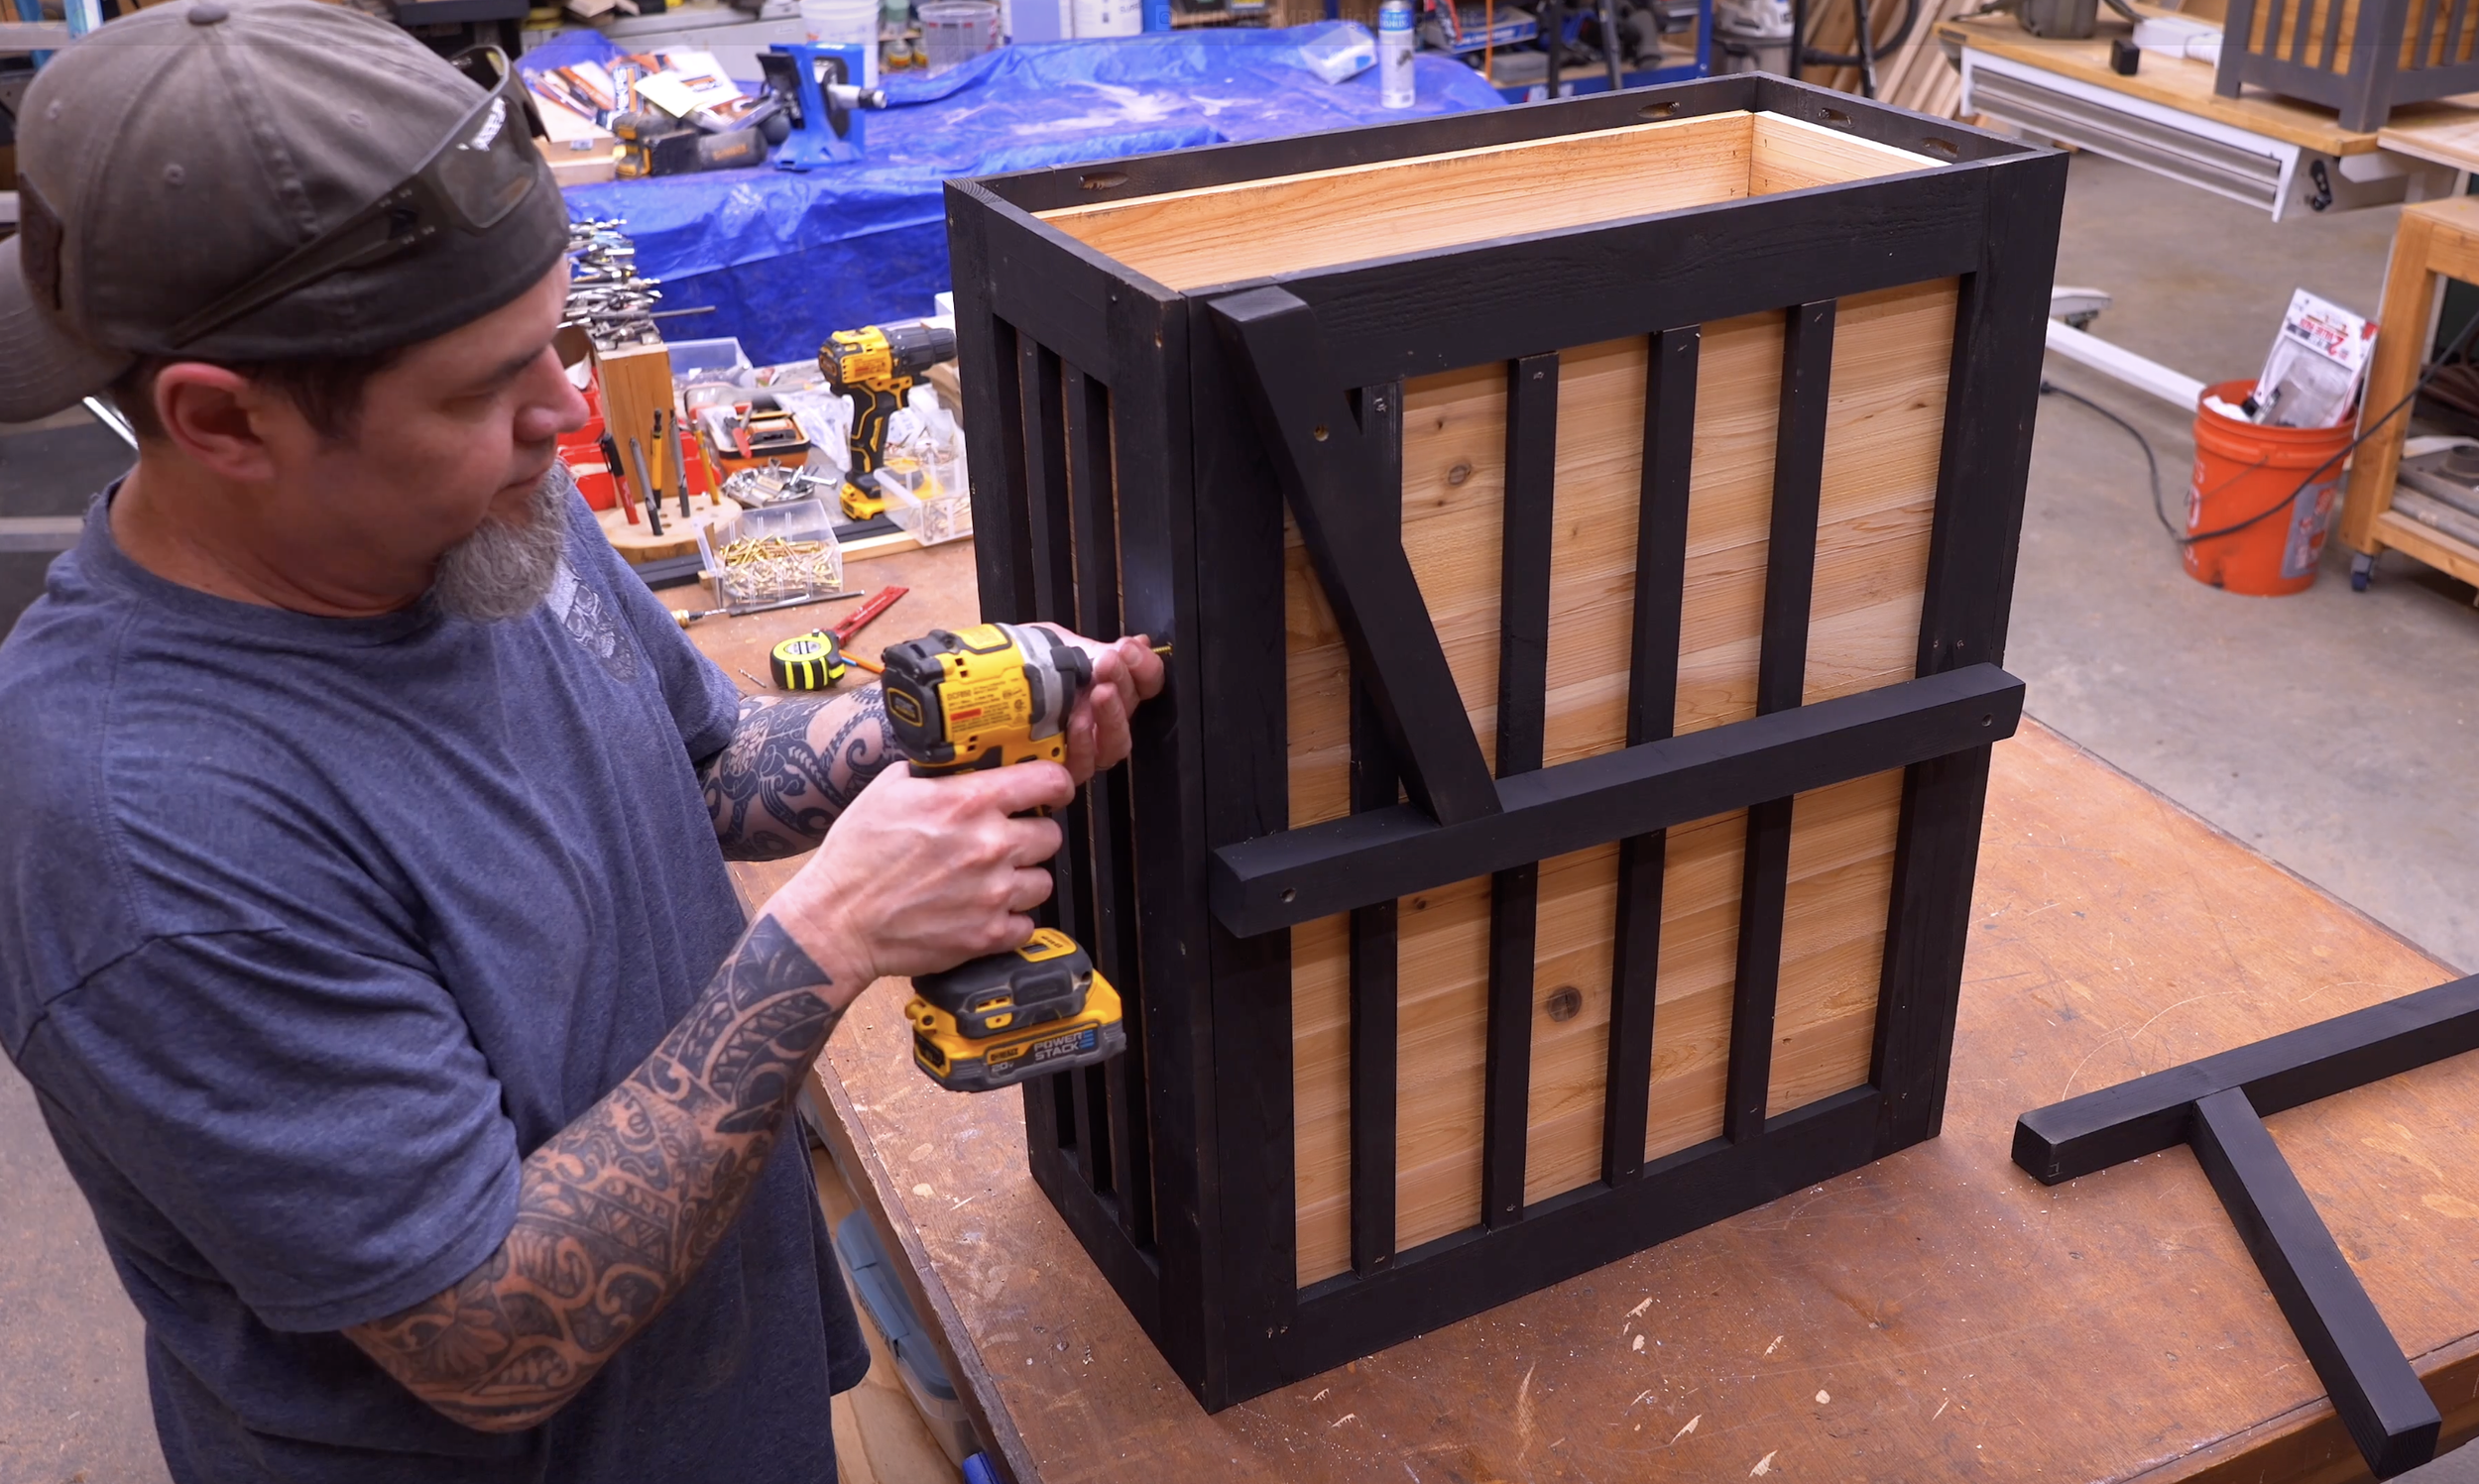
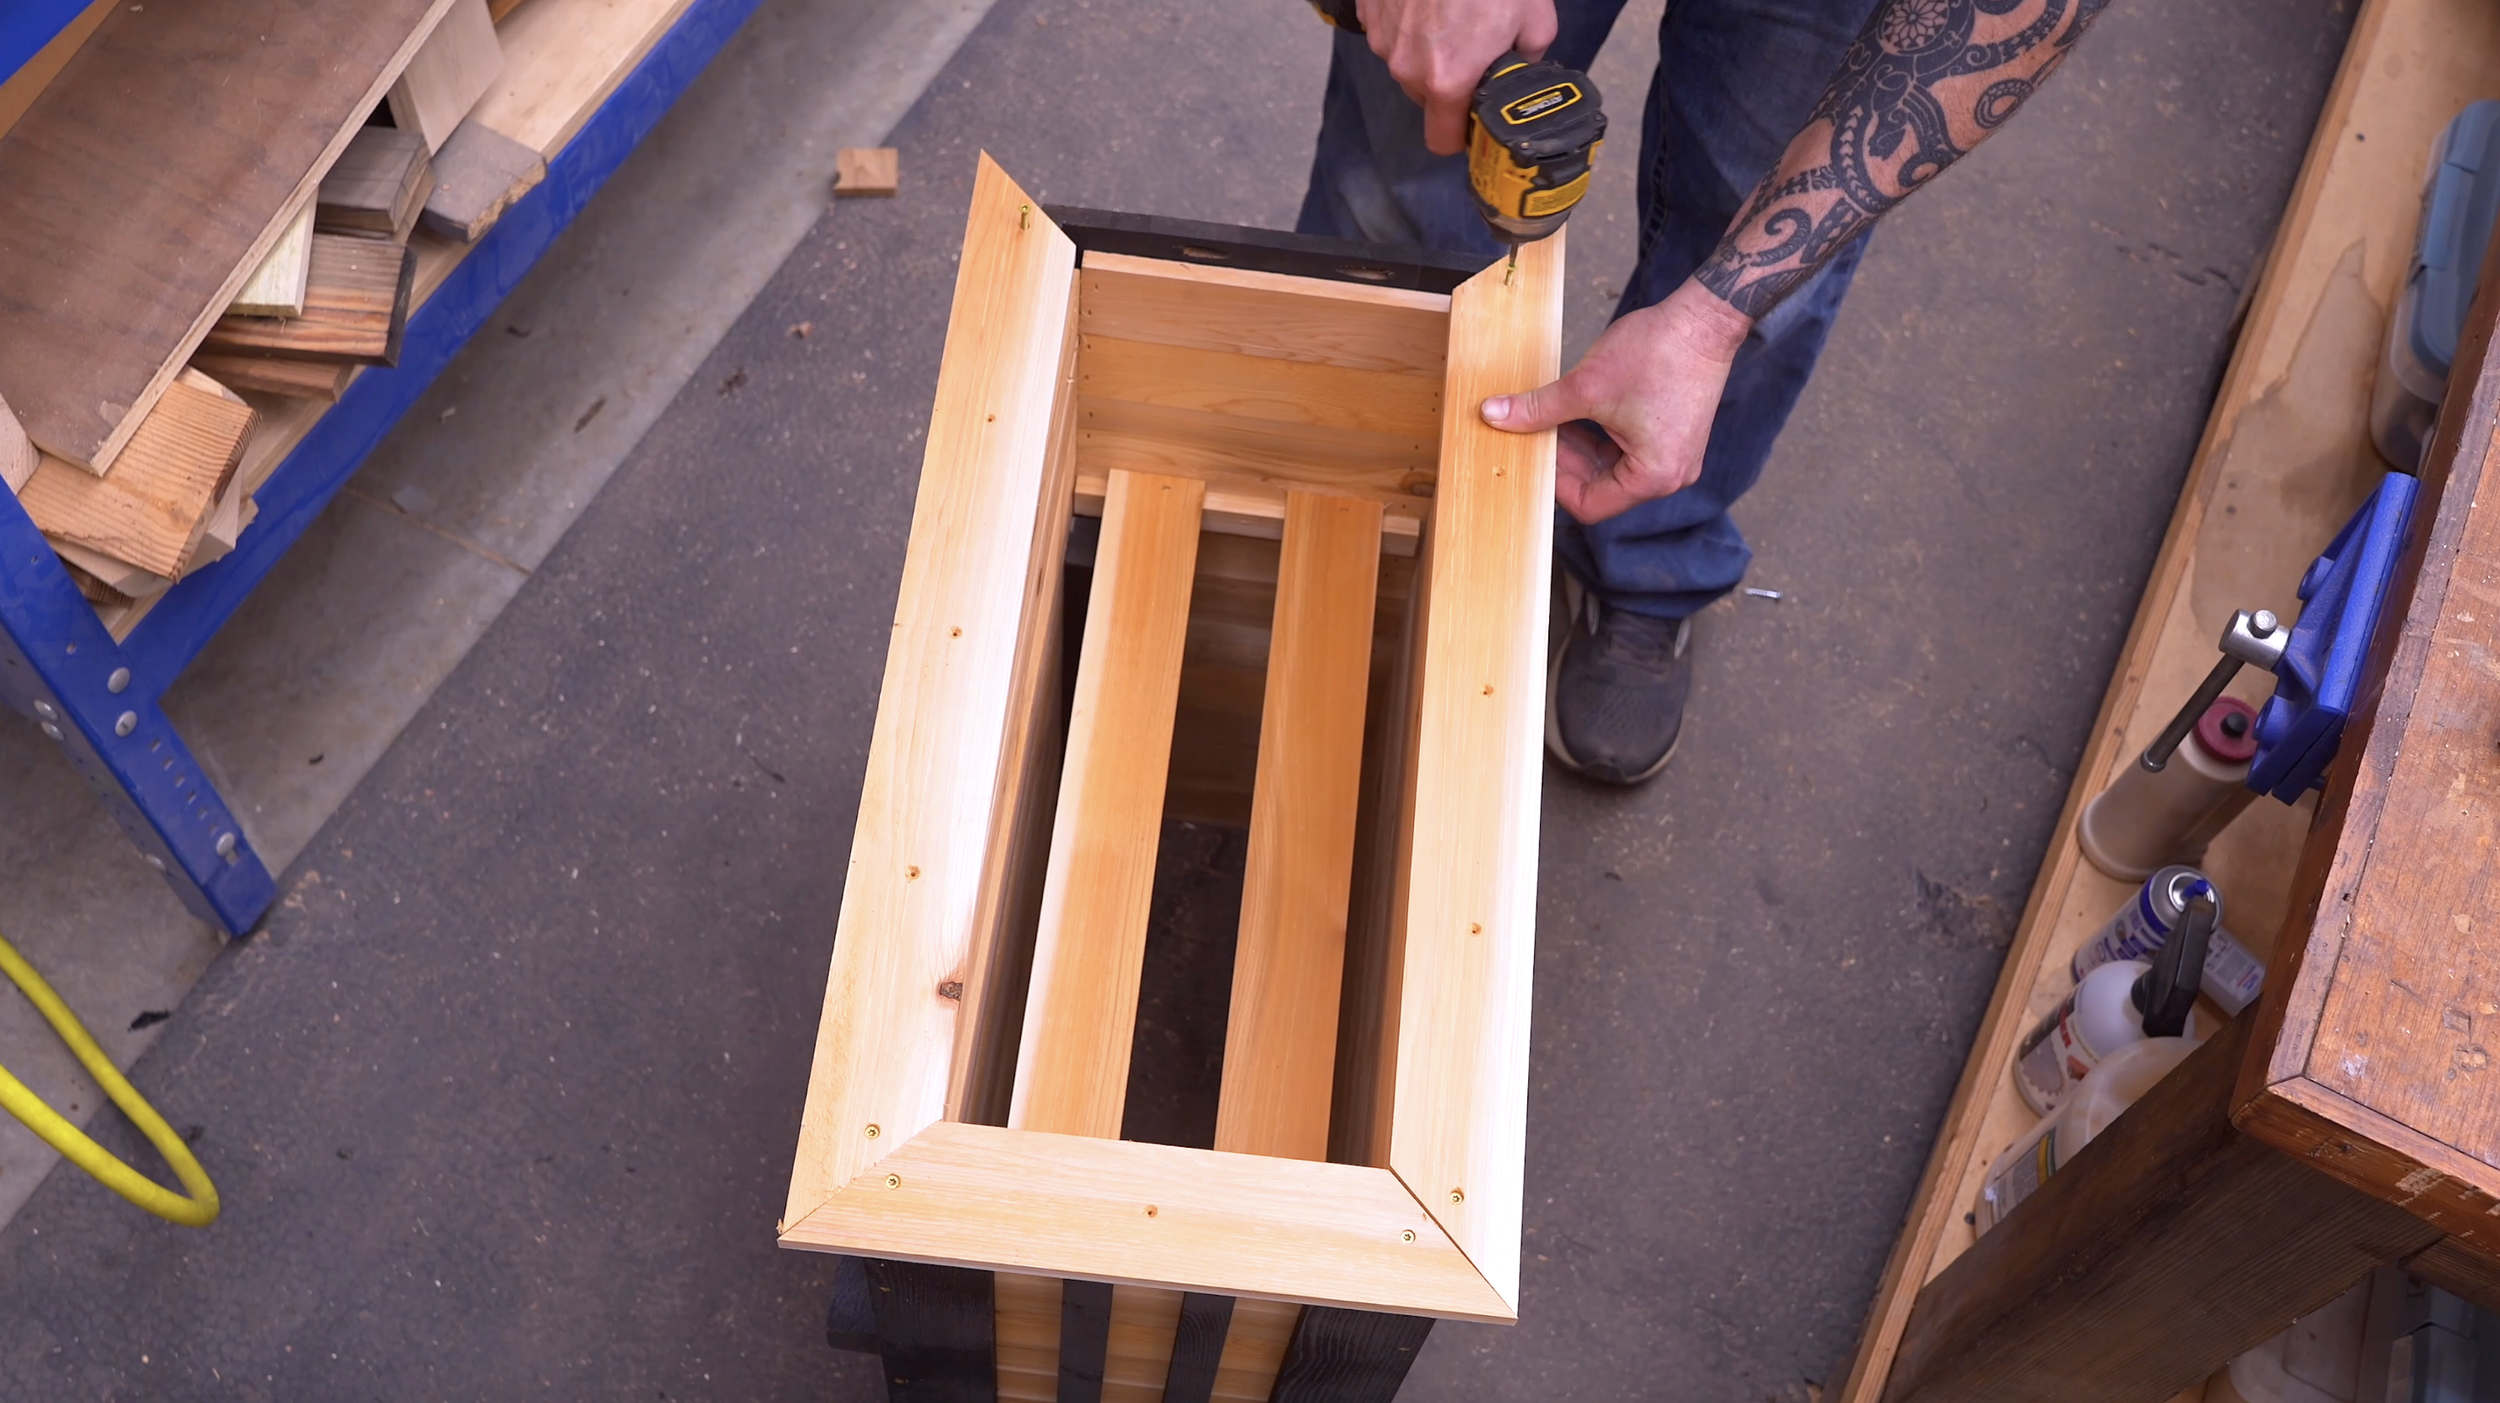
Step 8: Assemble the Planter Boxes
Pre-drill front/back panels at:
1"
6"
13 ½"
21"
27"
2. Attach panels together with:
1" exterior screws
3. Make sure:
Bench supports are facing inward
Now you have two complete planter boxes.
Step 9: Install the Loft Floor
Cut a board:
7" x 9"
Slide it between the front and back loft walls.
Nail it in place.
This becomes the floor of the birdhouse portion.
Step 10: Add Top Trim
Cut trim (45° ends):
Front/back: 13 ¼ inches
Sides: 25 ½ inches
Install:
1" screws
1" overhang on all sides
This gives the planter a finished, high-end look.
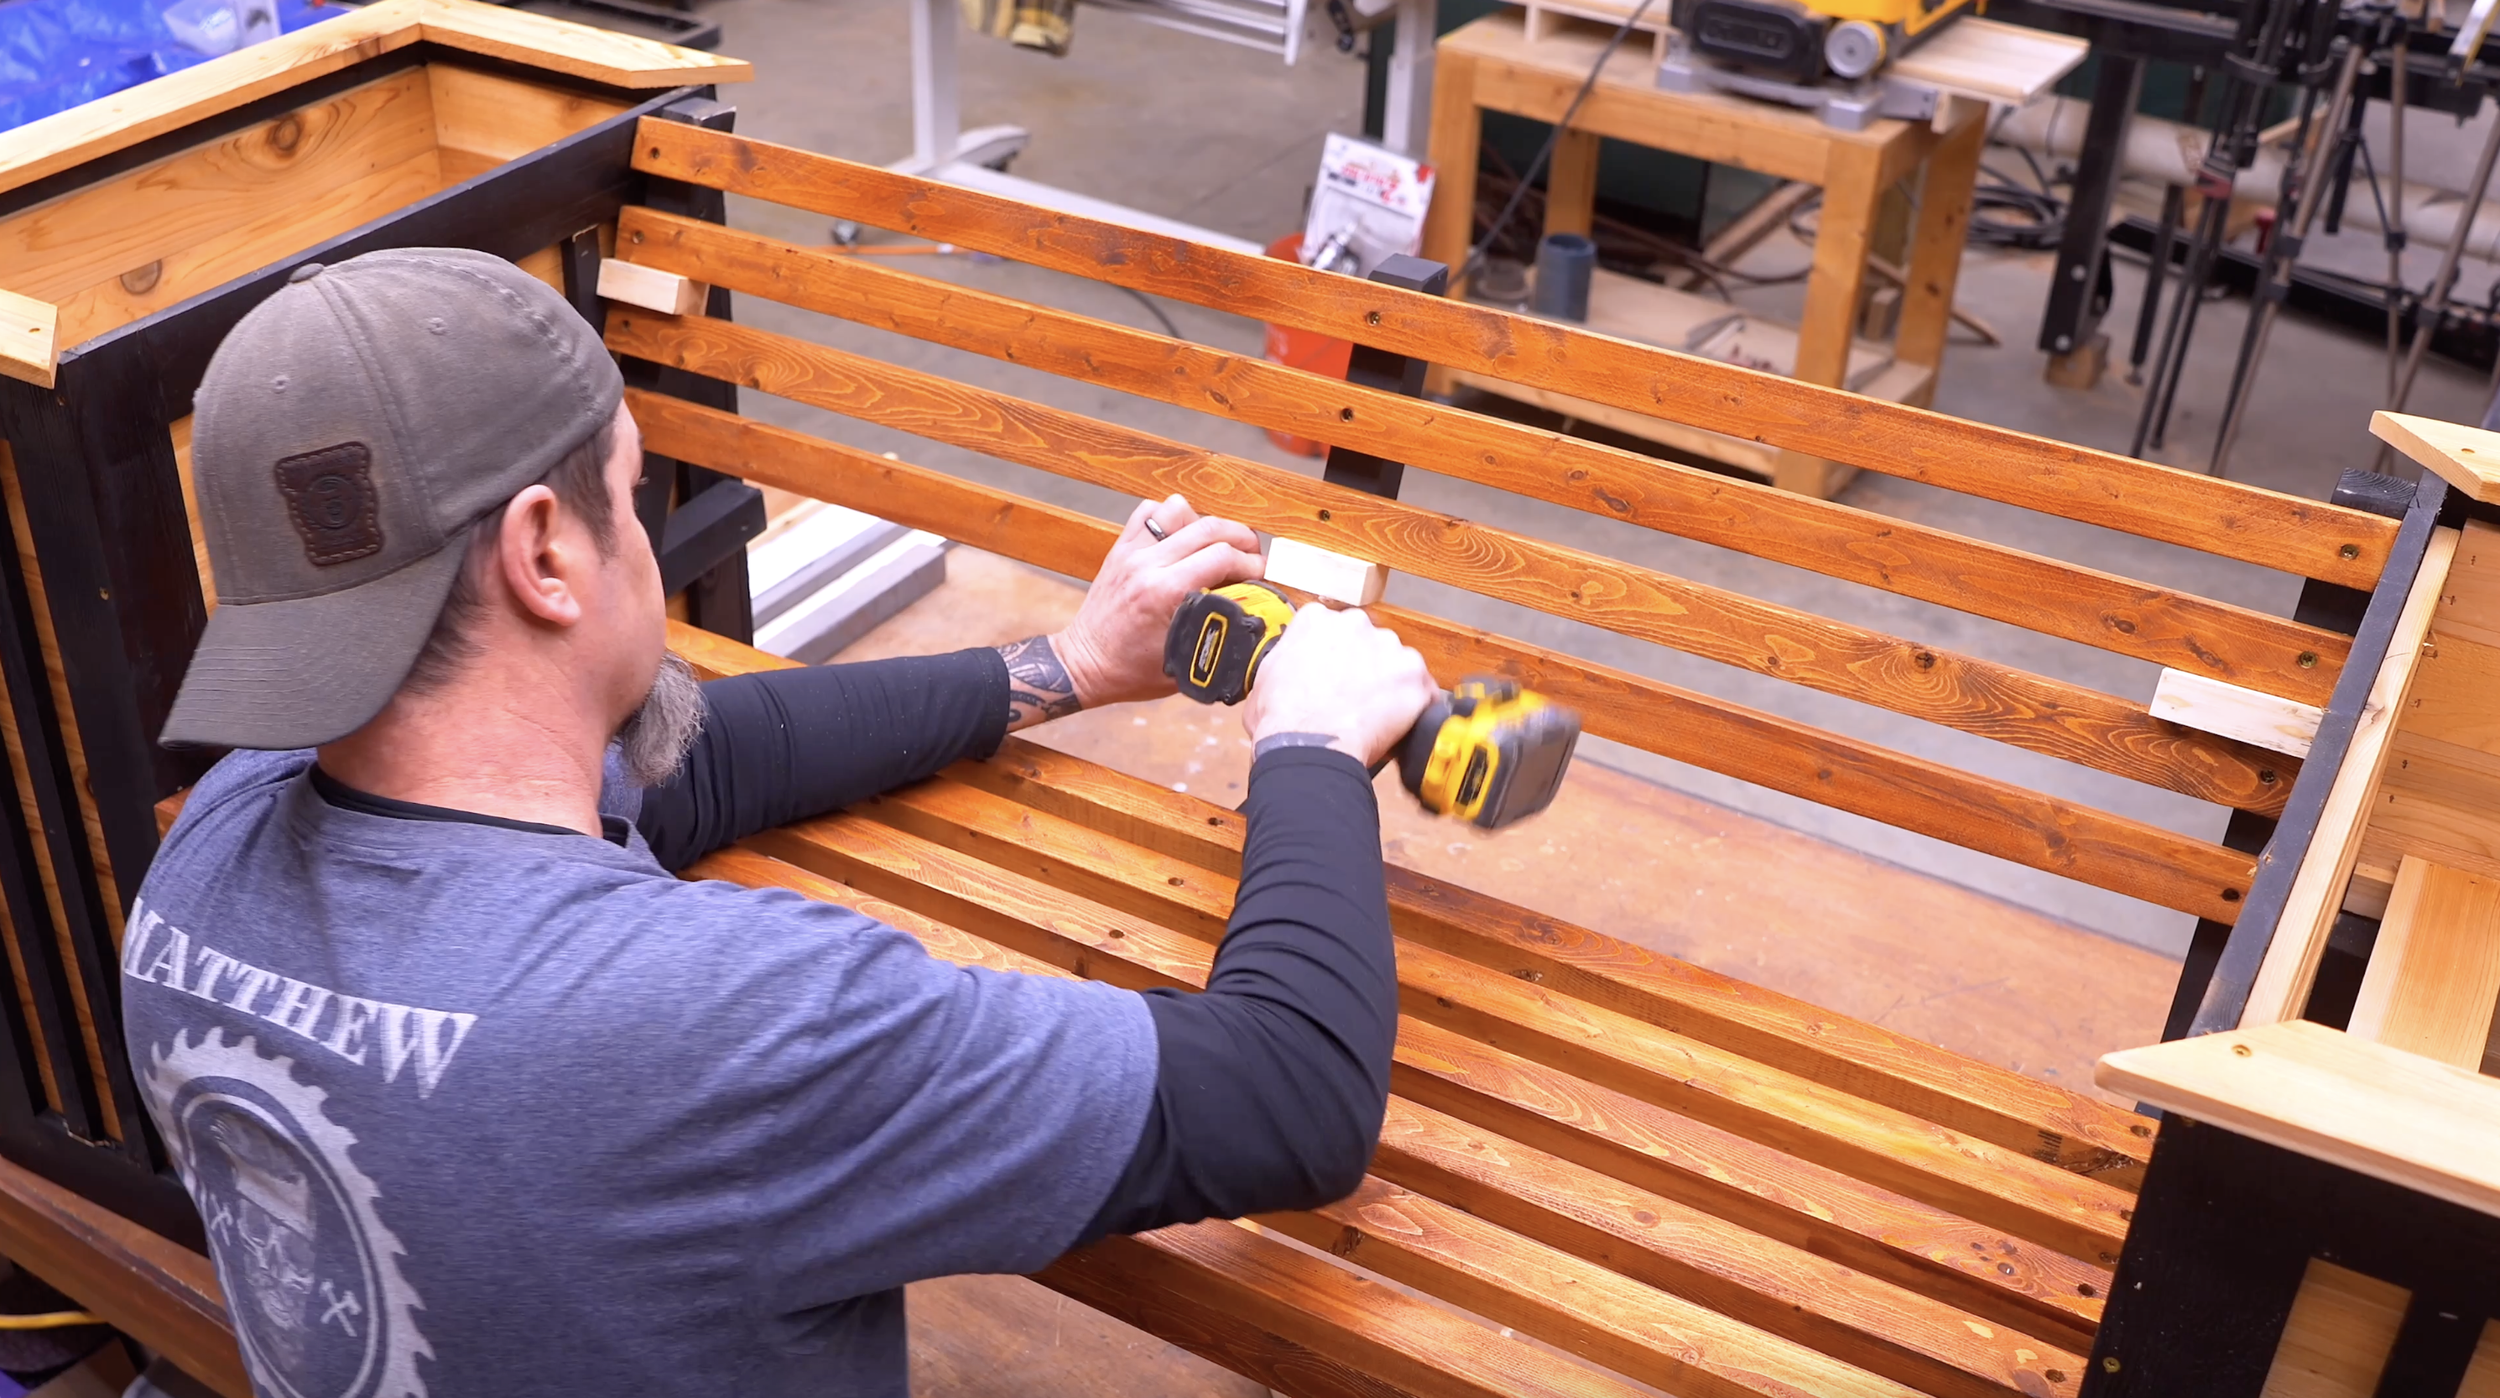
Step 11: Build and Install Bench Slats
Cut:
14 slats
Length: 46 inches
Width: 1 inch
Prep:
Pre-drill holes:
¾" from edges
Center support at 23"
Install:
First slat (front)
Top back slat
Install center brace
Fill remaining slats:
Use 1" spacing
Attach using 2" screws.
Finishing Options
This build looks great in a variety of styles:
Modern
Black frame + natural wood slats
Rustic
Stained wood + distressed edges
Clean outdoor look
Solid stain or painted finish
Ready To Build?
This is one of those builds that checks all the boxes:
Simple construction
Clean design
Strong visual impact
Real selling potential
Yeah, there are a few steps—but nothing complicated. Just a series of straightforward builds stacked together into one solid project.
And once you build one…
You’ll probably end up building a few more.
Whether you’re new to woodworking or a seasoned pro, this project offers the perfect mix of functionality and creativity. Below I have the YouTube video linked for a step-by-step video tutorial for you to follow along with. If you’re a more “plans in the hand” person, click “Get Plan” down below for downloadable instructions. And if you’re ready to dive deeper into woodworking, check out my new course, “Woodworking Kickstart” (which is also linked below). It’s packed with step-by-step lessons to help you build confidence and skills, whether you’re a total beginner or an experienced DIYer. You’ll be building with confidence in no time.
Remember, creativity doesn’t have to be expensive; all you need is a little inspiration and a willingness to try.
Get Easy Step-By-Step Directions to build this by clicking the button below
⭐ 10,044 5 Star Reviews
📚 113 Plans to Choose From
🧩 Lego-Like Assembly Steps
📏 Exact Measurements
📋 Detailed cut and part list
🔍 X-Ray Views
🚀 Instant Delivery
